HoloLens Advent Calendar 2018の14日目の記事です。
HoloLensのMRC(MixedRealityCapture)画像をTCP通信を使って、PCへ送信してみました。
開発環境
クライアント側
- HoloLens RS5
- Visual Studio 2017(15.9.2)
- Unity 2017.4.11f1
- HoloToolkit-Unity-2017.4.3.0.unitypackage
- HoloToolkit-Unity-Examples-2017.4.3.0.unitypackage
サーバー側
- Windows 10 PC
- Python 3.7
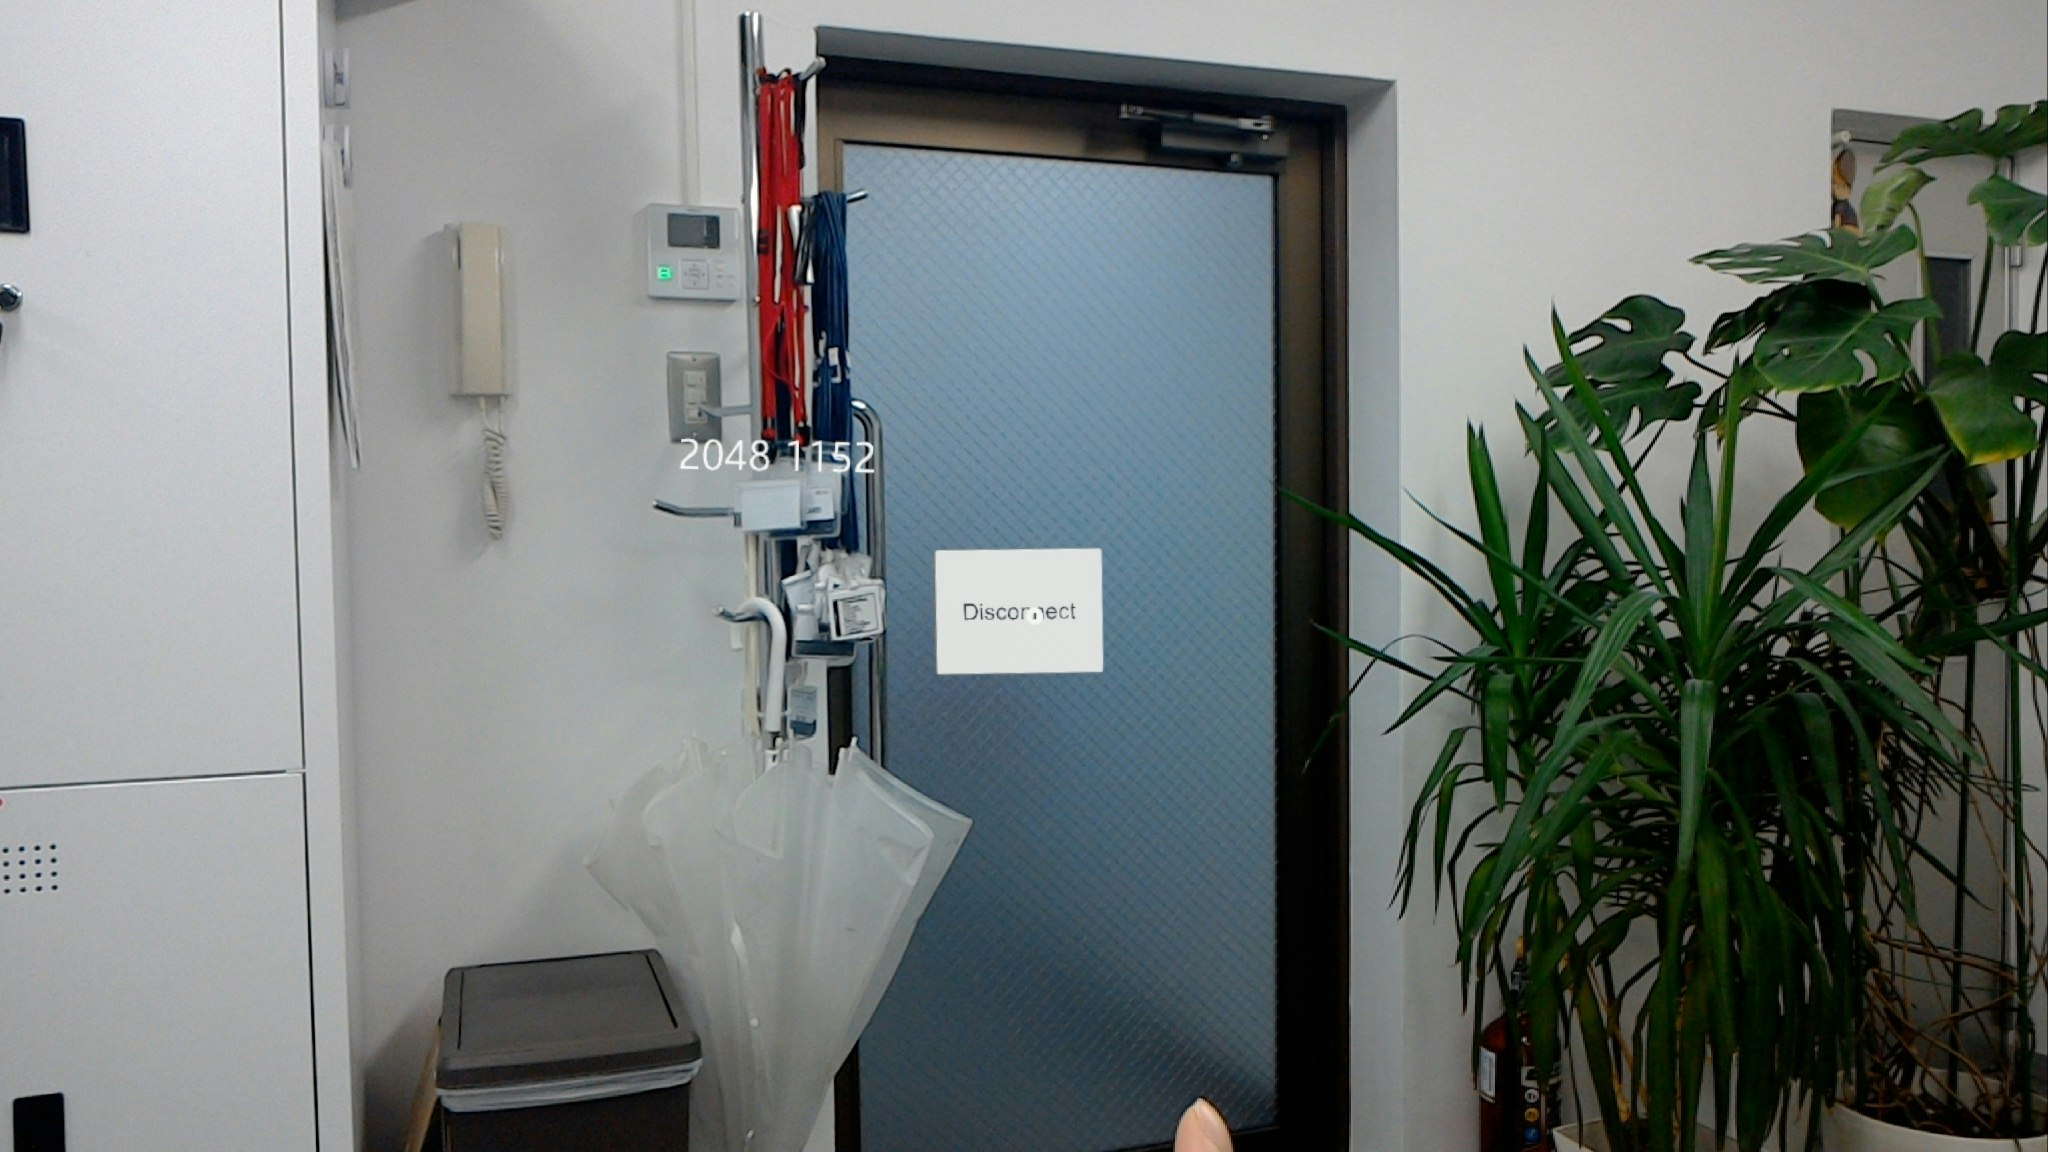
クライアント側(HoloLens)
Connectボタンをタップすることでサーバーへ接続し、タップしたときのMRC画像をサーバーへ送信します。TcpNetworkClientManager.csはアキヒロさんのを参考にSendImage関数を追加しています。コードはこちら。

● Client.cs
using System.Collections;
using System.Collections.Generic;
using UnityEngine;
using UnityEngine.UI;
using UnityEngine.XR.WSA.WebCam;
using HoloToolkit.Unity.InputModule;
using System;
using System.Linq;

public class Client : MonoBehaviour, IInputClickHandler
{

    public string IP;
    public int port;
    public Text connectButtonText;
    public TextMesh debugText;

    private PhotoCapture photoCaptureObject = null;
    private Texture2D targetTexture = null;
    private Resolution cameraResolution;

    private TcpNetworkClientManager client = null;

    // Use this for initialization
    void Start () {
        cameraResolution = PhotoCapture.SupportedResolutions.OrderByDescending((res) => res.width * res.height).First();
        debugText.text = cameraResolution.width.ToString() + " " + cameraResolution.height.ToString();
        targetTexture = new Texture2D(cameraResolution.width, cameraResolution.height);
        // targetTexture = new Texture2D(480, 270);
        // InputManager.Instance.PushFallbackInputHandler(gameObject);
        InputManager.Instance.AddGlobalListener(gameObject);
    }

    void OnStoppedPhotoMode(PhotoCapture.PhotoCaptureResult result)
    {
        photoCaptureObject.Dispose();
        photoCaptureObject = null;
    }

    void OnCapturedPhotoToMemory(PhotoCapture.PhotoCaptureResult result, PhotoCaptureFrame photoCaptureFrame)
    {
        photoCaptureFrame.UploadImageDataToTexture(targetTexture);
        //byte[] texByte = targetTexture.EncodeToJPG();
        //byte[] image = new byte[texByte.Length];
        //Array.Copy(texByte, image, texByte.Length);

        byte[] image = targetTexture.GetRawTextureData();
        client.SendImage(image);
        photoCaptureObject.StopPhotoModeAsync(OnStoppedPhotoMode);
    }

    public void OnInputClicked(InputClickedEventData eventData)
    {
        if (client != null)
        {
            PhotoCapture.CreateAsync(true, delegate (PhotoCapture captureObject)
            {
                photoCaptureObject = captureObject;
                CameraParameters cameraParameters = new CameraParameters();
                cameraParameters.hologramOpacity = 0.9f;
                cameraParameters.cameraResolutionWidth = cameraResolution.width;
                cameraParameters.cameraResolutionHeight = cameraResolution.height;
                cameraParameters.pixelFormat = CapturePixelFormat.BGRA32;
                photoCaptureObject.StartPhotoModeAsync(cameraParameters, delegate (PhotoCapture.PhotoCaptureResult result)
                {
                    photoCaptureObject.TakePhotoAsync(OnCapturedPhotoToMemory);
                });
            });
        }
    }

    public void ConnectButtonClicked()
    {
        if(client != null)
        {
            Debug.Log("Disconnected");
            connectButtonText.text = "Connect";
            client = null;
        }
        else
        {
            Debug.Log("Connected");
            client = new TcpNetworkClientManager(IP, port);
            connectButtonText.text = "Disconnect";
        }
    }
}
● TcpNetworkClientManager.cs
using System;
# if UNITY_UWP
using System.IO;
using System.Threading.Tasks;
using Windows.Networking;
using Windows.Networking.Sockets;
# endif

public class TcpNetworkClientManager
{
# if UNITY_UWP
    private Stream stream = null;
    private StreamWriter writer = null;
# endif

    public TcpNetworkClientManager(string IP, int port)
    {
# if UNITY_UWP
        Task.Run(async () => {
            StreamSocket socket = new StreamSocket();
            await socket.ConnectAsync(new HostName(IP),port.ToString());
            stream = socket.OutputStream.AsStreamForWrite();
            writer = new StreamWriter(stream);
            StreamReader reader = new StreamReader(socket.InputStream.AsStreamForRead());
            try
            {
                string data = await reader.ReadToEndAsync();
            }
            catch (Exception) { }
            writer = null;
        });
# endif
    }

    public void SendMessage(string data)
    {
# if UNITY_UWP
        if (writer != null) Task.Run(async () =>
        {
            await writer.WriteAsync(data);
            await writer.FlushAsync();
        });
# endif
    }

    public void SendImage(byte[] image)
    {
# if UNITY_UWP
        if (stream != null) Task.Run(async () =>
        {
            await stream.WriteAsync(image, 0, image.Length);
            await stream.FlushAsync();
        });
# endif
    }
}
サーバー側(Python)
サーバーを起動し、接続を待ちます。
接続できたら受信を待ち、画像を受信したら表示します。
● tcpserver.py
import socket
import numpy as np
import cv2

def main():
    host = "192.168.0.31"
    port = 4000

    width = 2048
    height = 1152

    serversock = socket.socket(socket.AF_INET, socket.SOCK_STREAM)
    serversock.setsockopt(socket.SOL_SOCKET, socket.SO_REUSEADDR, 1)
    serversock.bind((host,port))
    serversock.listen(10)

    print('Waiting for connections...')
    clientsock, client_address = serversock.accept()
    print("Succeeded in Connection!")

    total = 0
    buffer_size = 4*width*height
    while True:
        data = b''
        data = clientsock.recv(buffer_size)
        print(len(data))
        if len(data) == buffer_size:
            tmp = np.frombuffer(data, np.uint8, -1)
            img = tmp.reshape(height, width, 4)
            img = cv2.resize(img, (480, 270))
            img = cv2.cvtColor(img, cv2.COLOR_RGB2BGR)
            img = cv2.flip(img, 0)
            cv2.imshow("img", img)
            cv2.imwrite("out.jpg", img)
            cv2.waitKey(0)
            cv2.destroyAllWindows()
    clientsock.close()

if __name__ == '__main__':
    main()
実行
1.Anaconda Promptを開き、tcpserver.pyを実行しておきます。
2.HoloLensTCPClientを起動し、Connectボタンをタップし接続します。
3.タップ時に、MRC(Mixed Reality Capture)の画像を送信します。
4.サーバー側に表示されれば、完了です。
まとめ
- タップしたときのMRC(Mixed Reality Capture)を、TCP通信を使ってHoloLensからPCへ送信できた
- Editorで動作しないのマジ面倒くさい
- bufferデカすぎて、安定しない
参考文献
[1] HoloLensでSharingする方法(TCP編)
[2] Python server, UWP(C#)client間でTCP通信がしたい