HoloLens Advent Calendar 2018の25日目の記事です。
Mixed Reality Academyの301~313までをMixed Reality Toolkitを用いて、実装しました。(今回は301~305まで公開、今年中に更新予定)もちろん、実機なしでもできます!
開発環境
- HoloLens RS5(日本語)
- Visual Studio 2017(15.9.2)
- Unity 2017.2.2p2
- HoloToolkit-Unity-2017.4.2.0.unitypackage
- HoloToolkit-Unity-Examples-2017.4.2.0.unitypackage
ソースコードはこちら。
ゼロから作りたい人は、301~304までだったら20181121 - ガチラボvol.10 資料を読んでください。
MR and Azure 301: Language translation
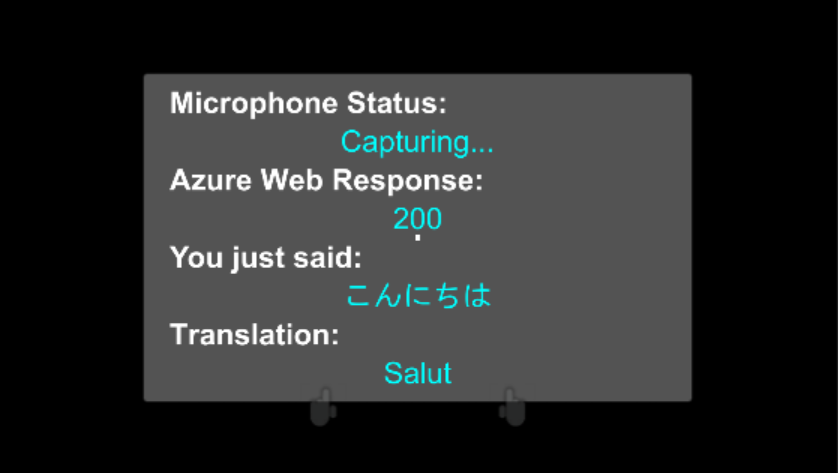
HoloLensのマイクで拾った音声をテキスト化し、Translator Text APIを用いて、言語翻訳します。
音声入力はOSの言語に依存するので注意してください。
1.Translator Text APIの作成、Keyをメモる
2.Translator.csの17行目authorizationKeyにメモったKeyを入れる
3.実行
「こんにちは」と言うと、結果がフランス語で「Salut」と返ってきました。言語の設定はTranslator Manager->Translator(Script)のInspectorビューから変更できます。フランス語、イタリア語、韓国語、英語、日本語に対応しています。
MR and Azure 302: Computer vision
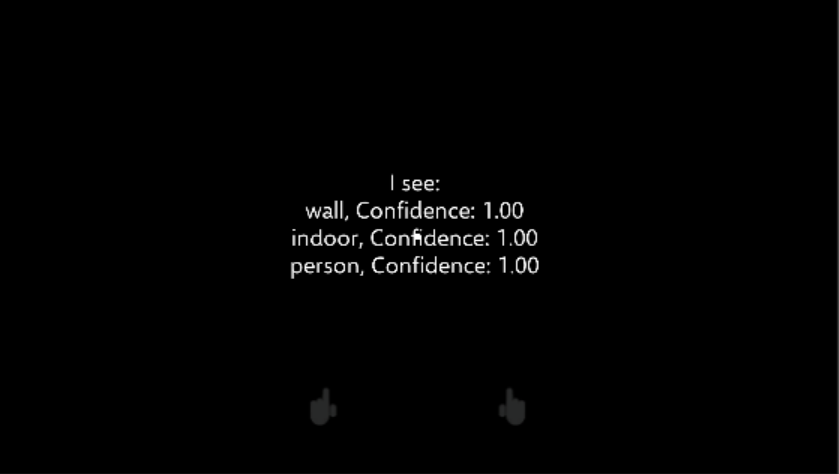
HoloLensで画像をキャプチャし、Computer Vision APIを用いて一般物体認識を行います。
1.Computer Vision API を作成、Keyをメモる
2.VisionManager.csの29行目authorizationKeyにメモったKeyを入れる
3.実行
タップすると画像をキャプチャし、認識結果が表示されます。
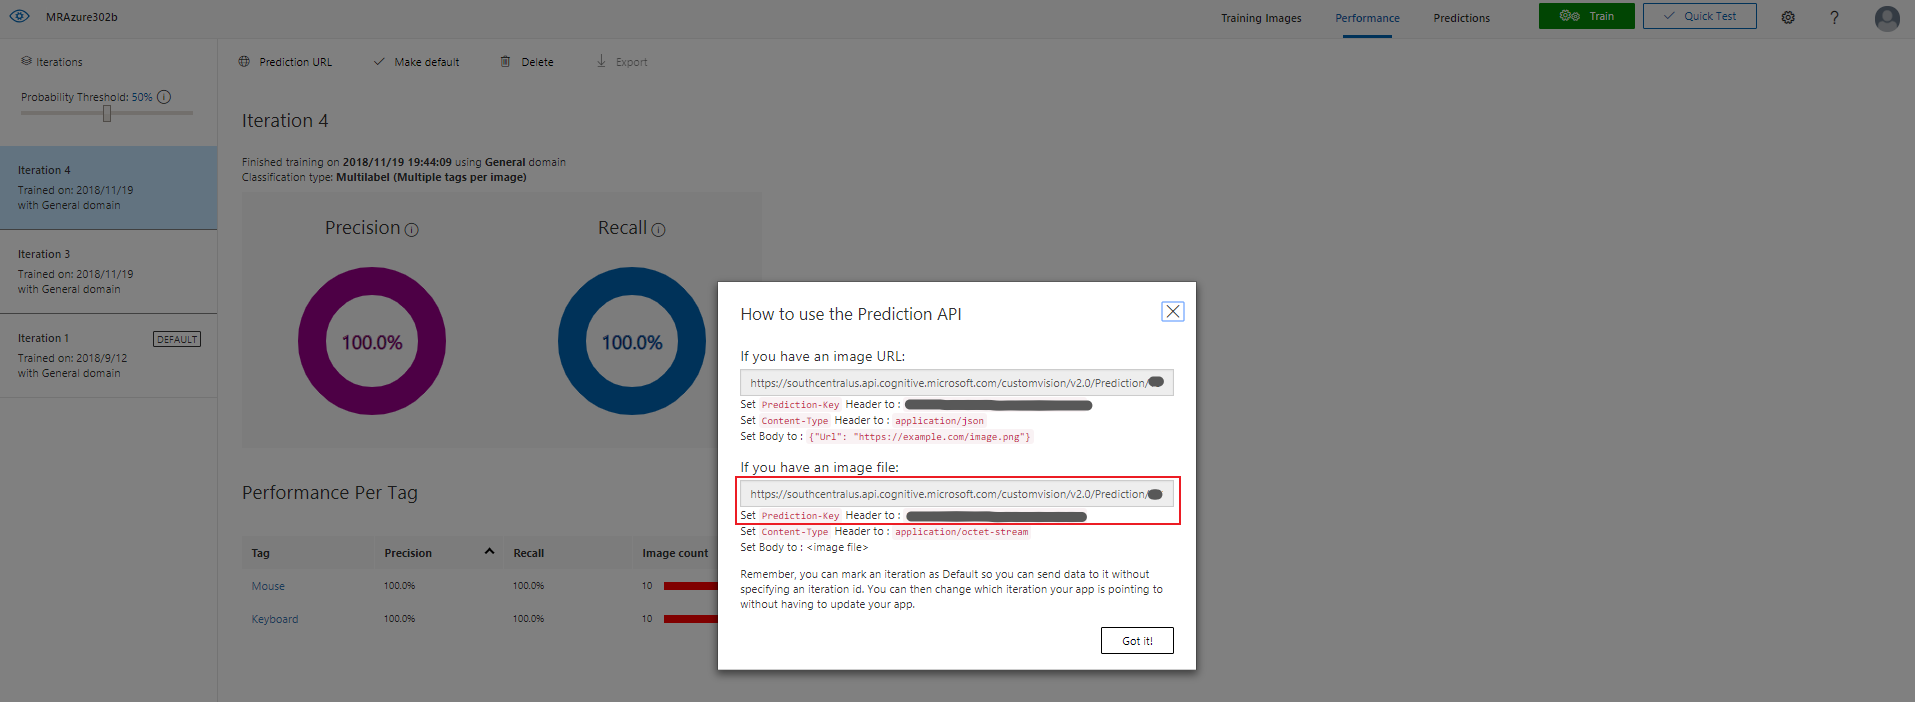
MR and Azure 302b: Custom vision
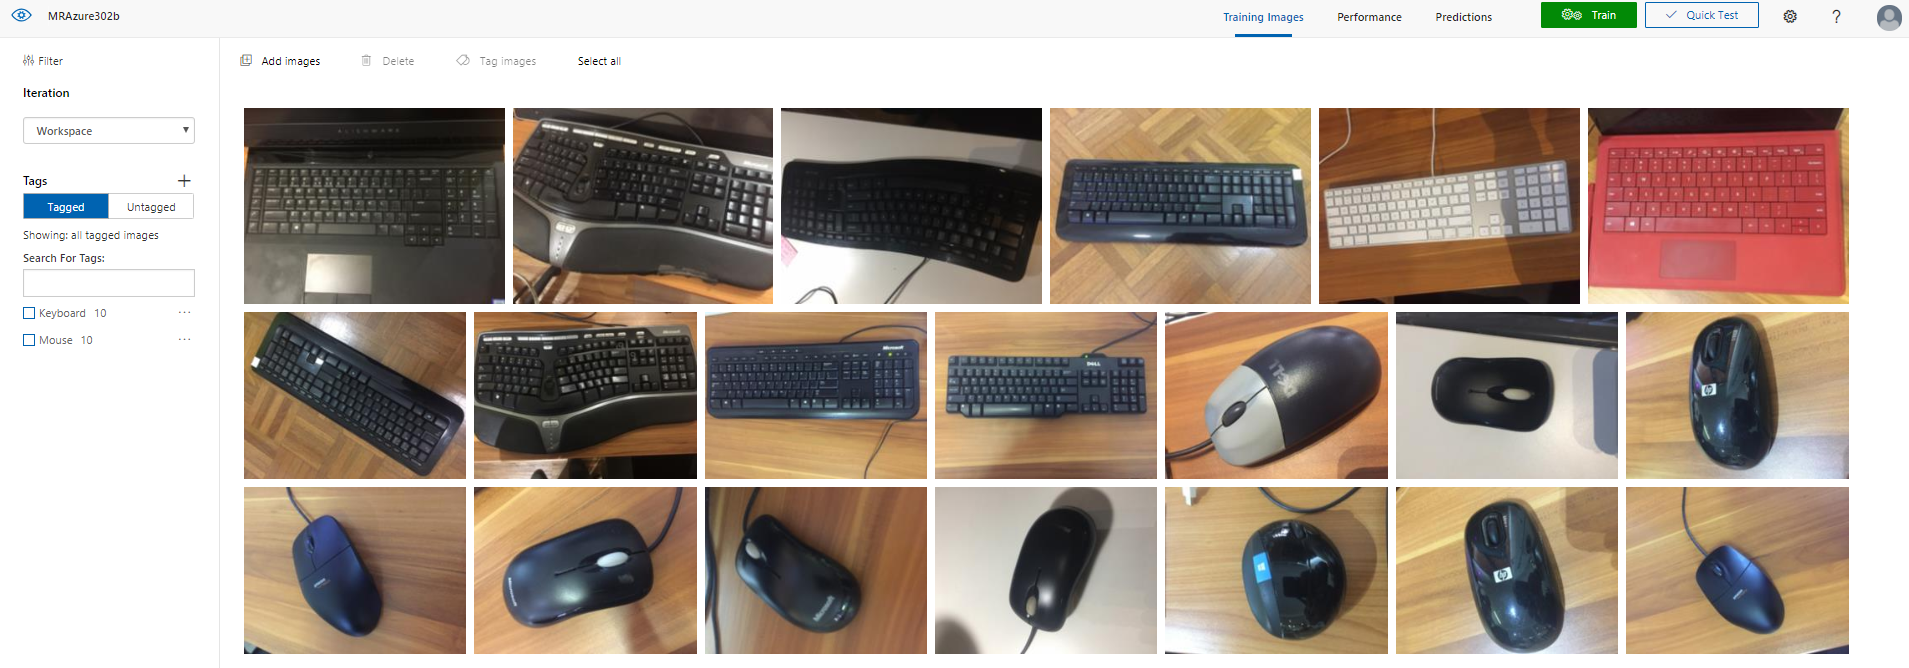
HoloLensで画像をキャプチャし、Custom Vision APIを用いて転移学習し、特定物体認識を行います。
今回はマウスとキーボードの物体認識を行います。
1.Custom Visionにサインイン
2.画像とタグを準備、学習させる
3.APIの設定
CustomVisionTrainer.csの24行目trainingKey、29行目projectId
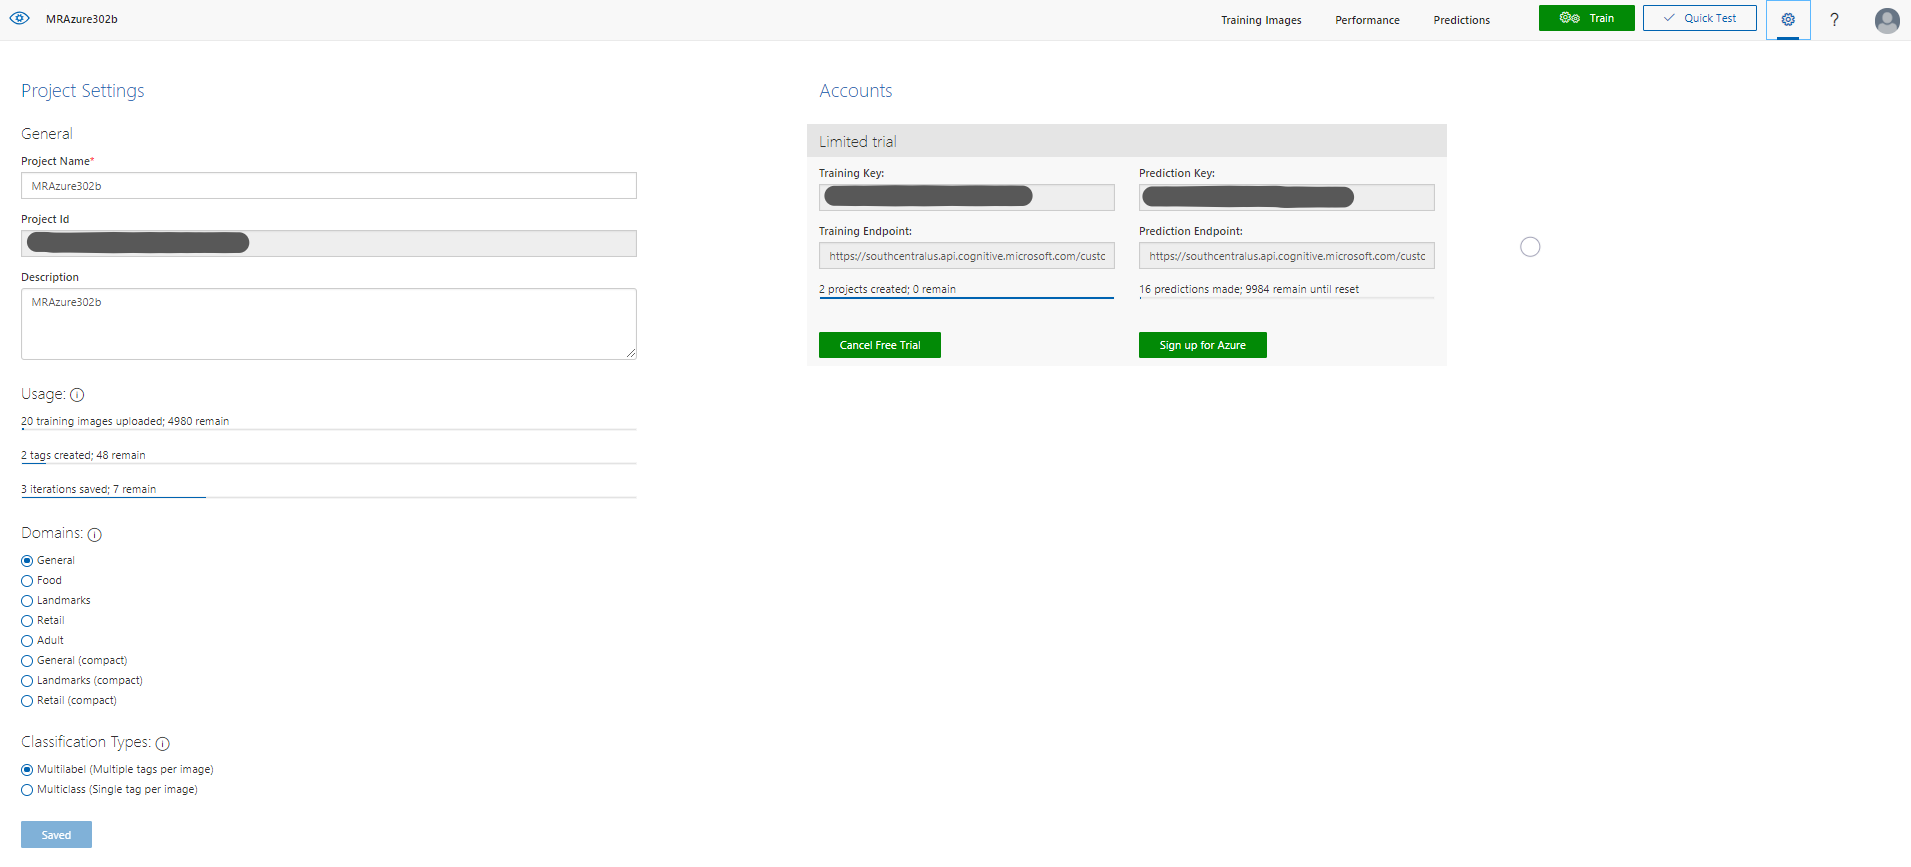
CustomVisionAnalyser.csの17行目predictionKey、22行目のpredictionEndpoint
4.実行
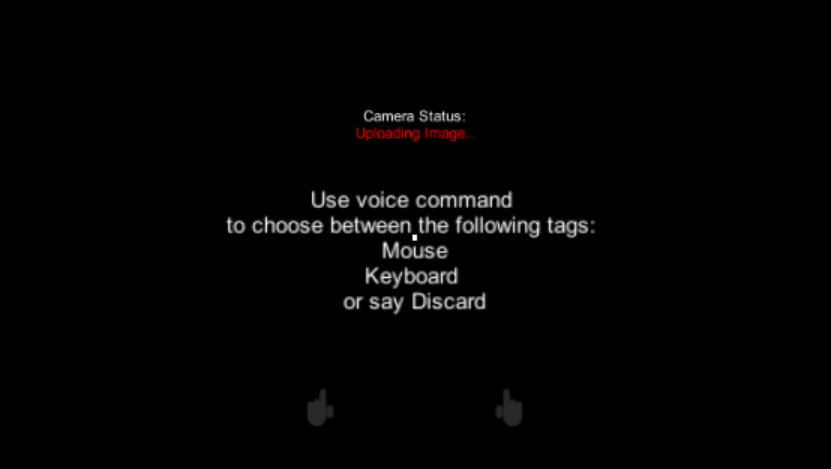
学習モード
ImageCaptureCustom.csのAwake()内のAppModeをAppModes.Trainingにしてください。
タップすると画像をキャプチャし、音声入力でMouseかKeyboardと言いタグをつけます。Custom Vision APIへ学習画像がアップロードされます。アップロード完了したら、Custom Vision APIへサインインし再学習をしてみましょう。
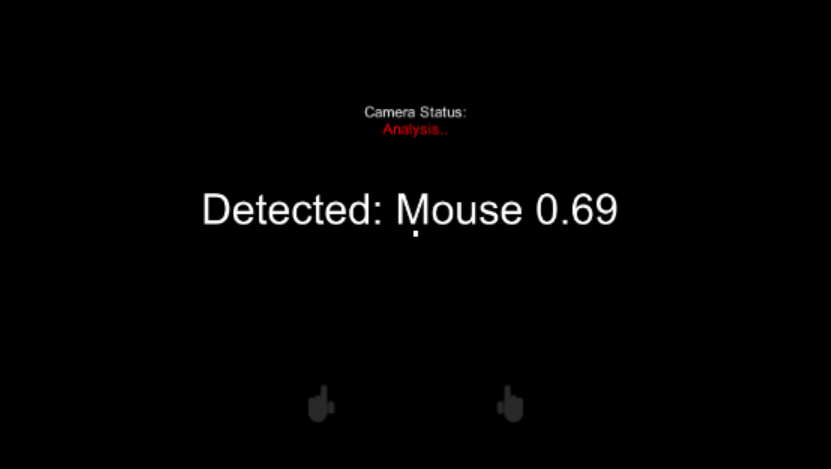
解析モード
ImageCaptureCustom.csのAwake()内のAppModeをAppModes.Analysisにしてください。
タップすると、解析を開始し、マウスもしくはキーボードが認識されれば結果が表示されます。
もう一度タップすると、解析を停止します。
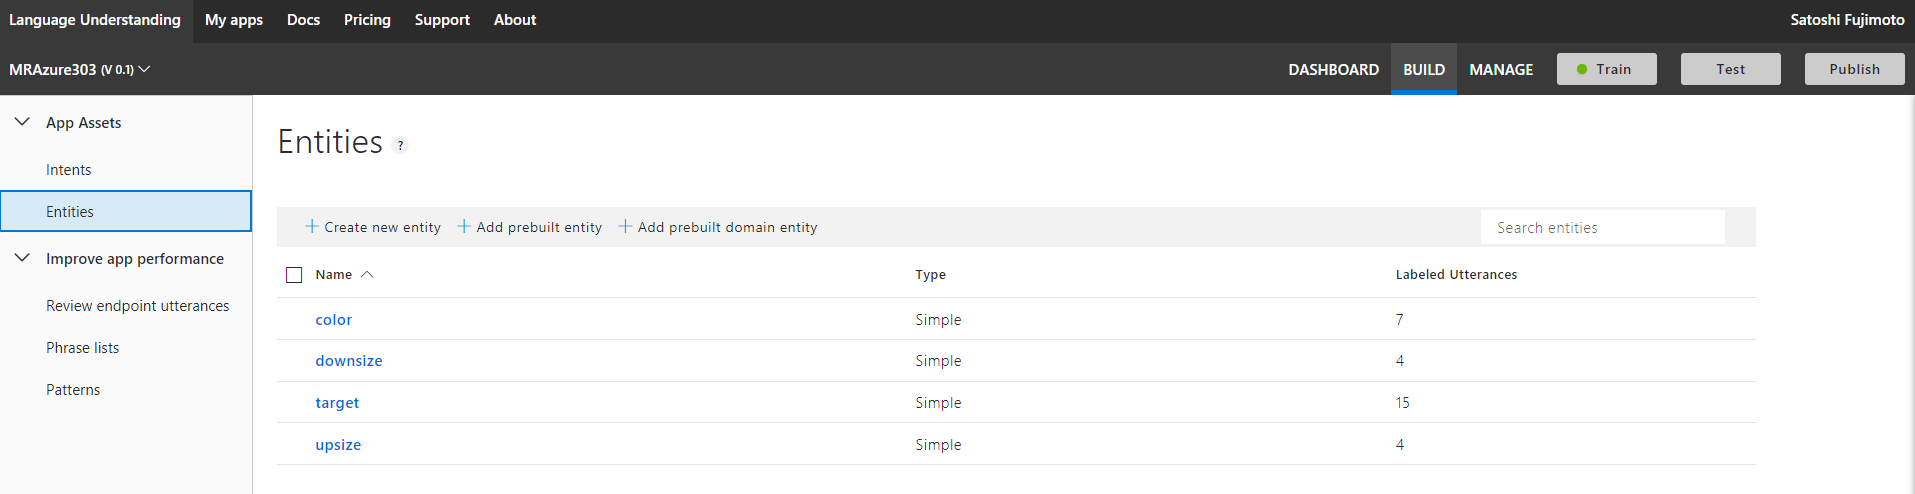
MR and Azure 303: Natural language understanding (LUIS)
HoloLensで音声入力し、Language Understanding APIを用いて言語理解し、オブジェクトの色やサイズを変更します。
1.Language Understanding APIを作成し、Keyをメモる
2.Language Understanding Portalへサインインし、アプリを作成
3.Entityの作成
4.Intentの作成
ChangeObjectColor
 ### ChangeObjectSize

5.Train(学習)して、Publishする
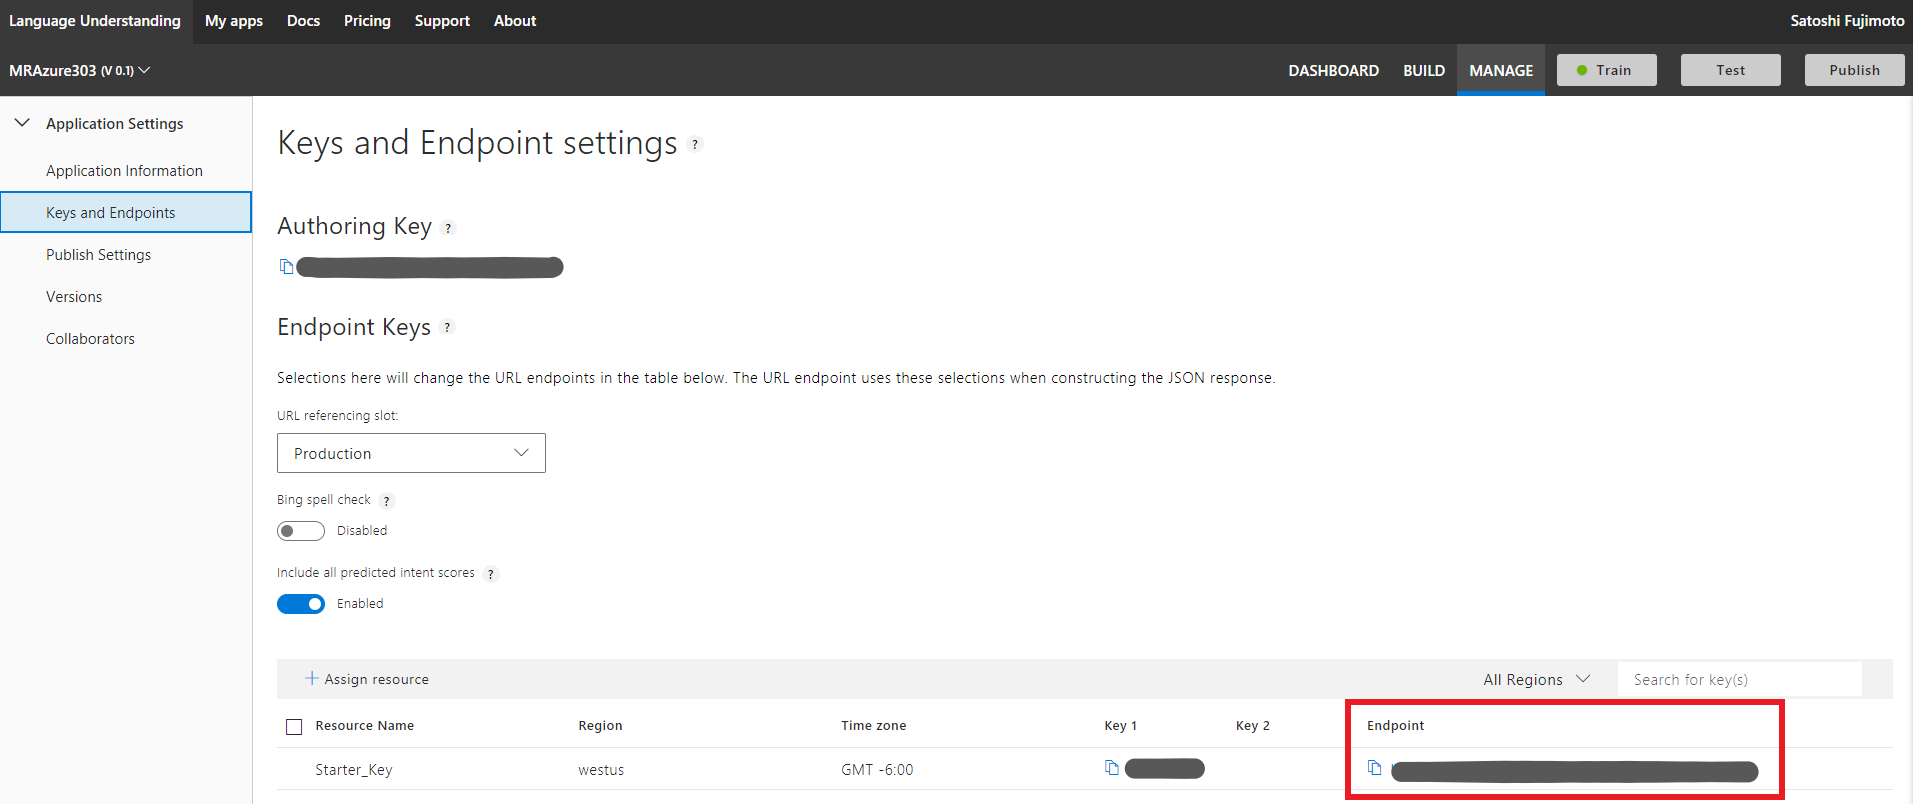
6.APIの設定
LuisManager.csの42行目luisEndpointにEndpointを入れる
7.実行
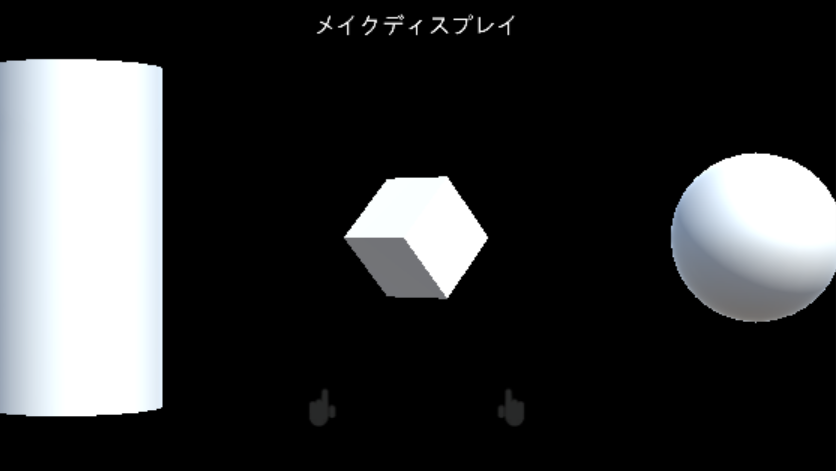
Cubeに向かって「make this blue」と発音してみました。「メイクディスプレイ」...「マイクテスブルー」...
HoloLensのOSが日本語だったので失敗、LUISを日本語対応に変えましょう。(保留、しかしCustom Visionの学習はうまくいってたな...)
MR and Azure 304: Face recognition
HoloLensで画像をキャプチャし、Face APIを用いて、顔認識を行います。
1.Face APIを作成し、Keyをメモる
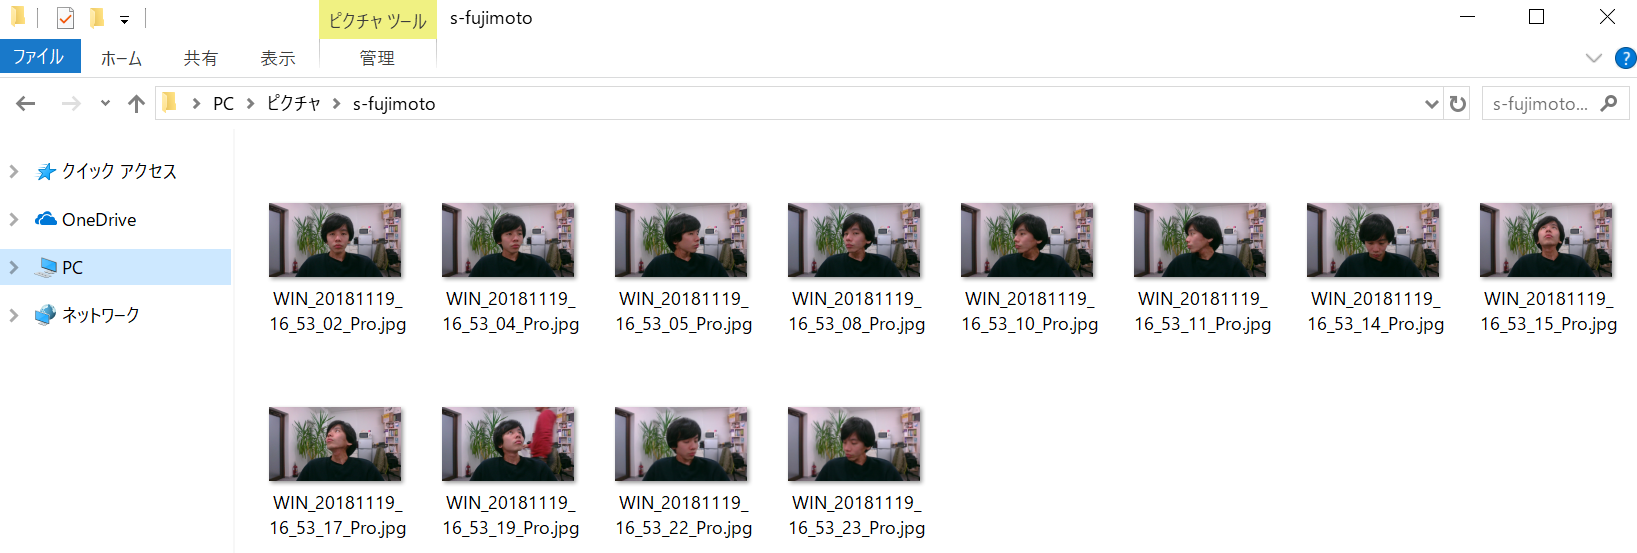
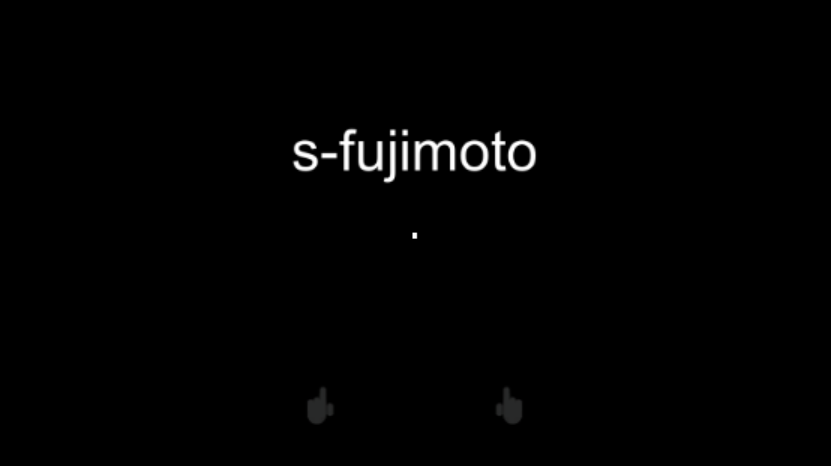
2.UWPアプリケーションのPerson Makerを用いて、顔画像の学習を行う。メモったKeyはここでも使います。
3.FaceAnalysis.csの39行目keyにメモったKeyを入れ、personGroupIdをPerson Makerで設定したものにします。
4.実行
タップすると画像をキャプチャし、顔認識結果(personId)が表示されます。
MR and Azure 305: Functions and storage
Cubeに視線を合わせるとFunctionsを用いてランダムなオブジェクト(Cube、Sphere、Cylinder)を生成したり、生成したオブジェクトのリストをStorageのファイルに保存します。
1.Storageアカウントを作成し、Connection String(接続文字列)をメモる
2.Function Appを作成し、Get Function URLからURLをメモる
using System.Net;
    using System.Threading.Tasks;

    public static int Run(CustomObject req, TraceWriter log)
    {
        Random rnd = new Random();
        int randomInt = rnd.Next(0, 3);
        return randomInt;
    }

    public class CustomObject
    {
        public String name {get; set;}
    }
3.APIの設定
AzureServices.csの28行目azureFunctionEndpointにメモったURLを入れる
34行目storageConnectionStringにメモったConnection Stringを入れる
4.作成したStorageのfileshare->storagedirectoryにTextShapeFile(拡張子無し)を保存する(実行したらできるカモ)
2,0,2,1,0,1,1,2,0,0,2,1,0,1
5.実行
まず、TextShapeFileが存在していると、リストを読み込み、オブジェクトが生成されます。
完了(LoadComplete)したら、上に配置しているCubeに視点を合わせると、ランダムにオブジェクトが生成されます。

MR and Azure 306: Streaming video
MR and Azure 307: Machine learning
MR and Azure 308: Cross-device notifications
MR and Azure 309: Application insights
Mr and Azure 310: Object detection
MR and Azure 311 - Microsoft Graph
MR and Azure 312: Bot integration
MR and Azure 313: IoT Hub Service
まとめ
- MRTKを用いて、すべてのMR and Azure プロジェクトを統一、簡単にしました。
- Academyの資料はMRTKを用いていないので、スクリプトが多くなり結構大変です。
- Cognitive Servicesには様々なAPIが用意されているので使いこなしてHoloLens×Azureのマスターになってください。