はじめに
けいじろう先生のUnity Barracuda 関連レポジトリをやっていきます
開発環境
- Unity 2020.3.0f1
- Windows 10 PC
ニューラルネットで何でもできちゃう!? Unity Barracudaで遊ぼう! - Unityステーション
メモ
- ONNXに対応した推論ができる
- NNCam ウェブ会議でよく使う
- FaceMesh
- UnityLabsのstyle-transfer
- waifu2x アニメの超解像
- UltraFace 正面顔のみ
- BrazeFace 少人数高速
- TinyYOLOv2 物体検出
ONNXのモデルリスト
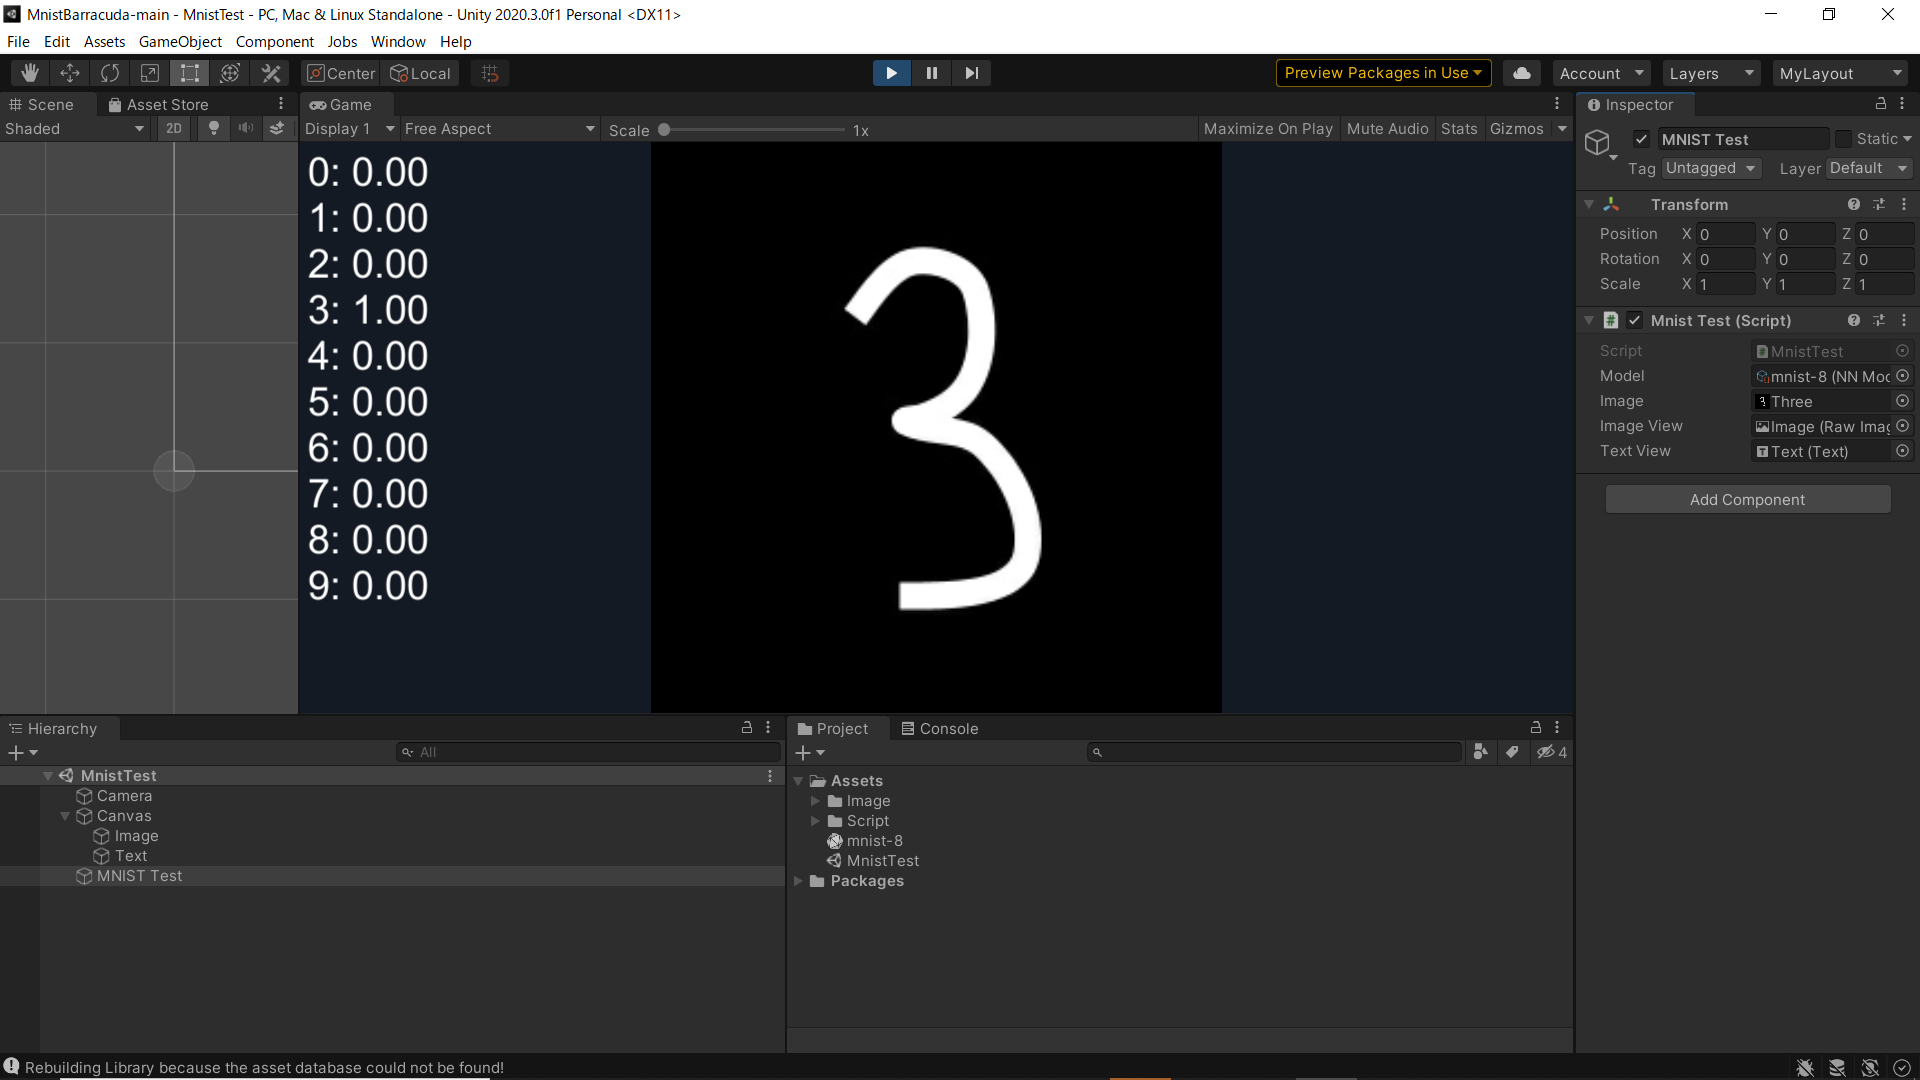
MNIST
- ONNXをドラッグドロップしたら ONNX インポーター動く
- ONNXの中身見れる
- 画像をアタッチして再生、推論スコアが見れる(MNISTTest.cs)
- import Unity.Barracuda
- NNModelクラス
- Tensor 多次元配列
- 1,y,x,gray
- unity 上下反転
- inspectorにインプット、アウトプットの形見える
- ModelLoader CreateWorker
- worker.Execute(input)
- worker.PeekOutput
- SoftMax で 0~1に正規化したスコアを表示する
- forとGetPixelしていて遅い ここだけCPUで計算していて ModelのところがGPU、遅い
- TinyYoloV2を見たら工夫しているよ
- ComputeShaderで計算している
- Textureで参照
- NMS 重なった矩形を一つにするやつ、シェーダーで書いている!
- 検出から描画までGPUでやっている
Body Tracking
SelfieBarracuda
NNCam2
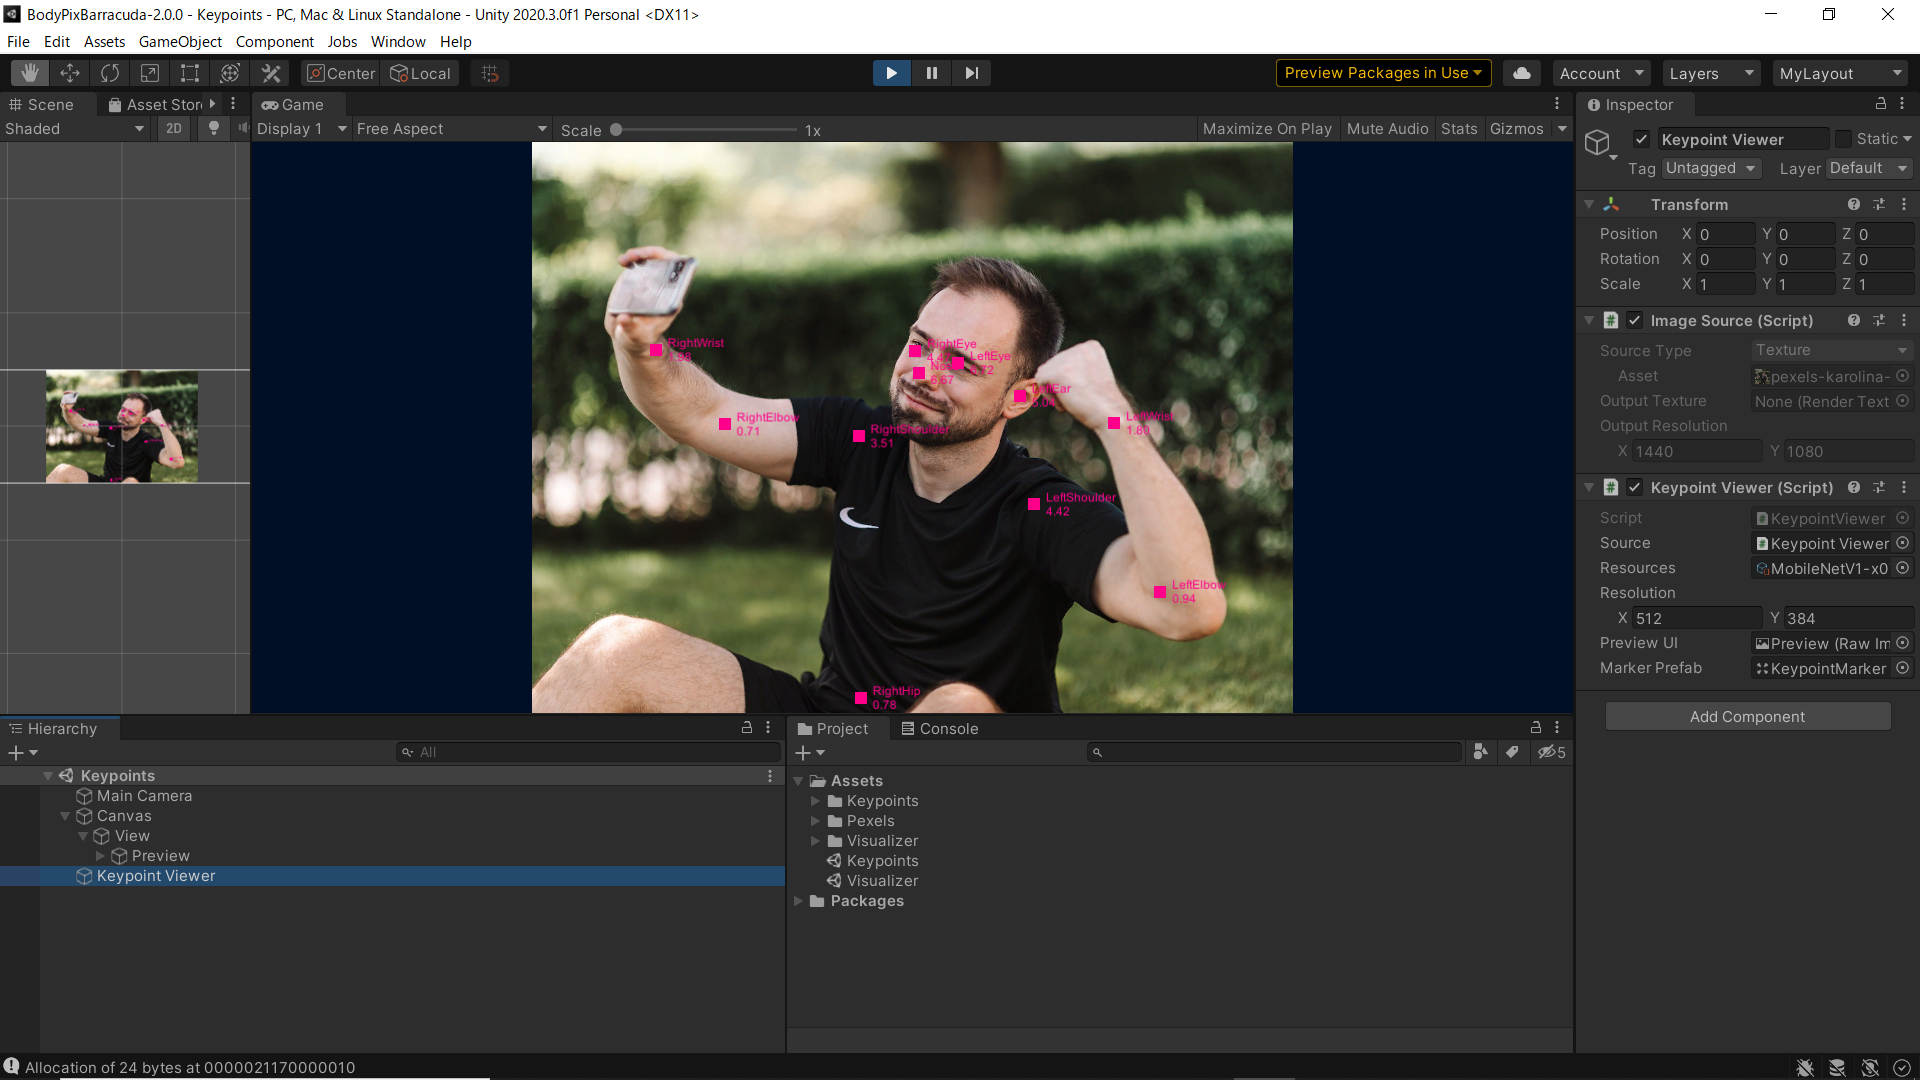
BodyPixBarracuda
Unity2021.2.0b4 → Unity2020.3.0f1で動作確認

WebCamからも使える(50FPSくらい)
NNCam
Object Detection
YoloV4TinyBarracuda
Unity2021.2.0b3 → Unity2020.3.0f1で動作確認
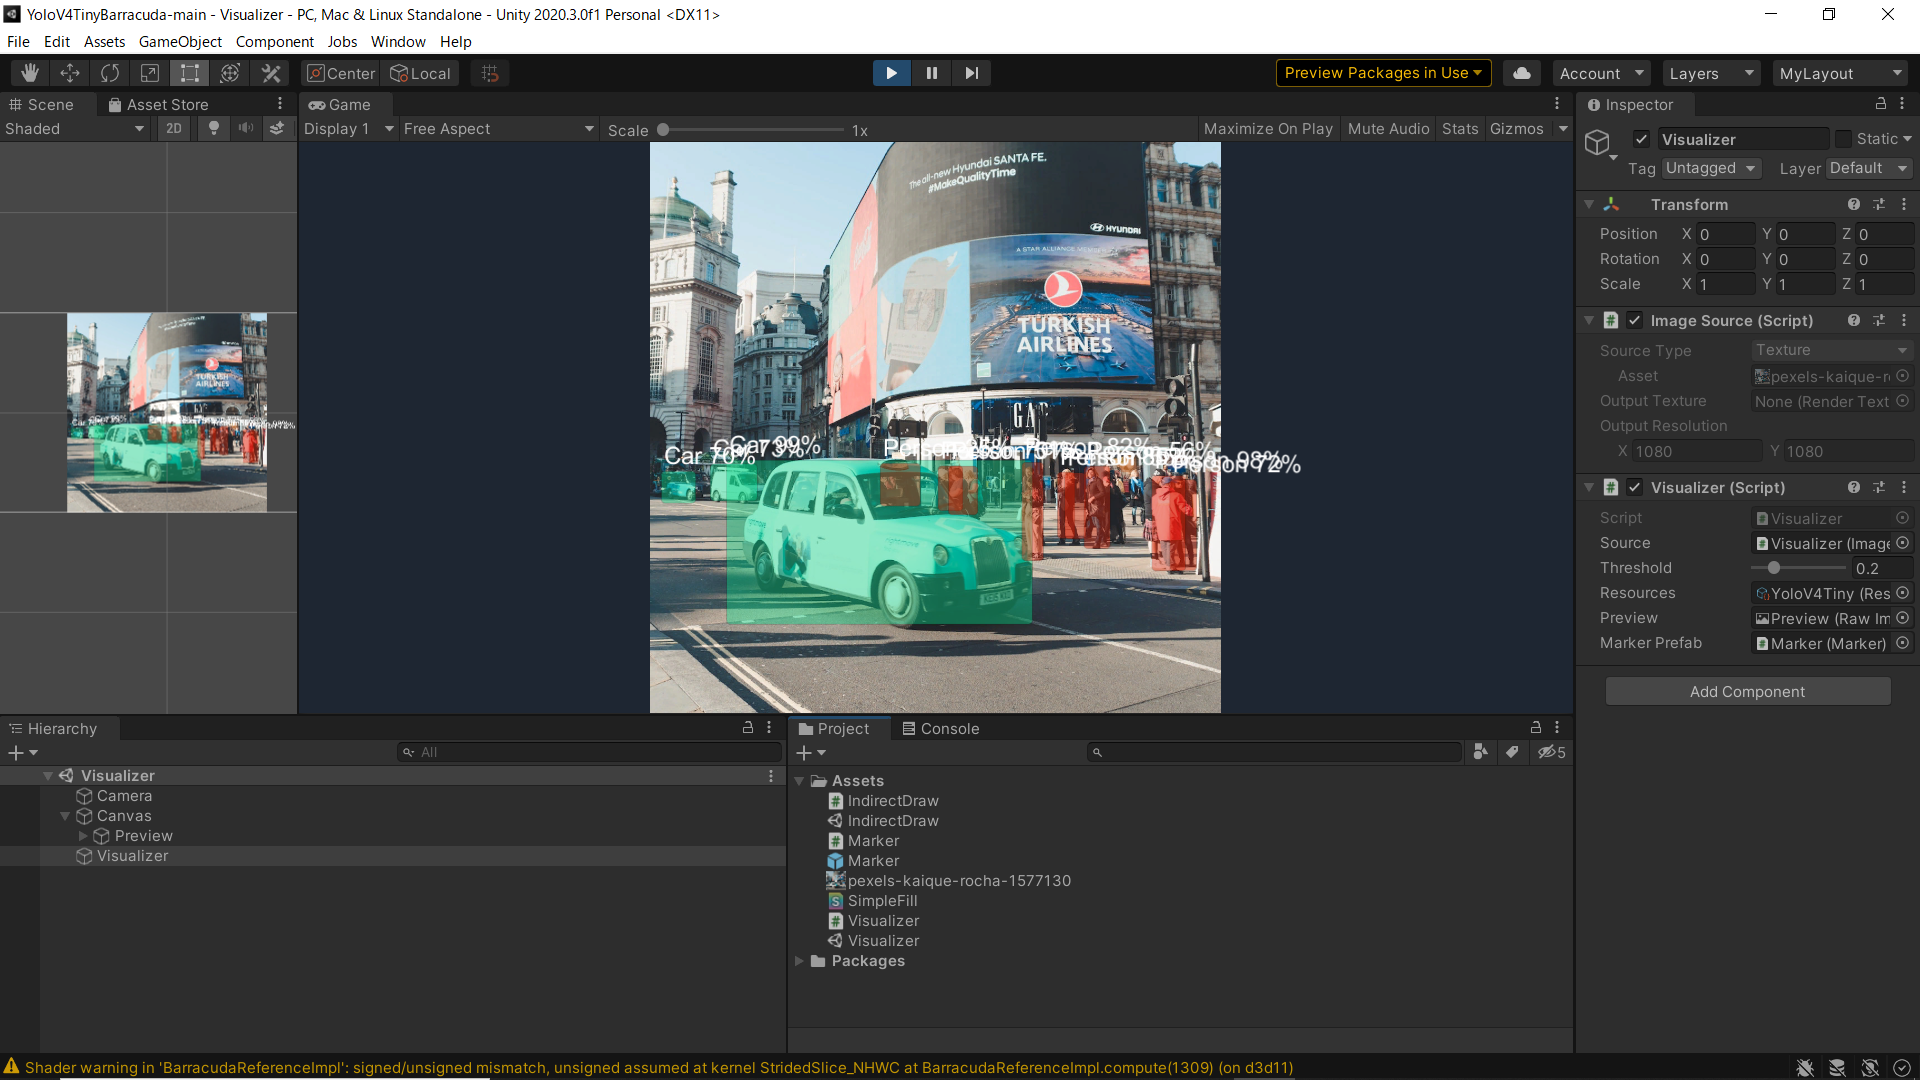
WebCamからもできる(30FPSくらい)
TinyYOLOv2Barracuda
Line Detection
MlsdBarracuda
Unity2021.2.0a19 → Unity2020.3.0f1で動作確認
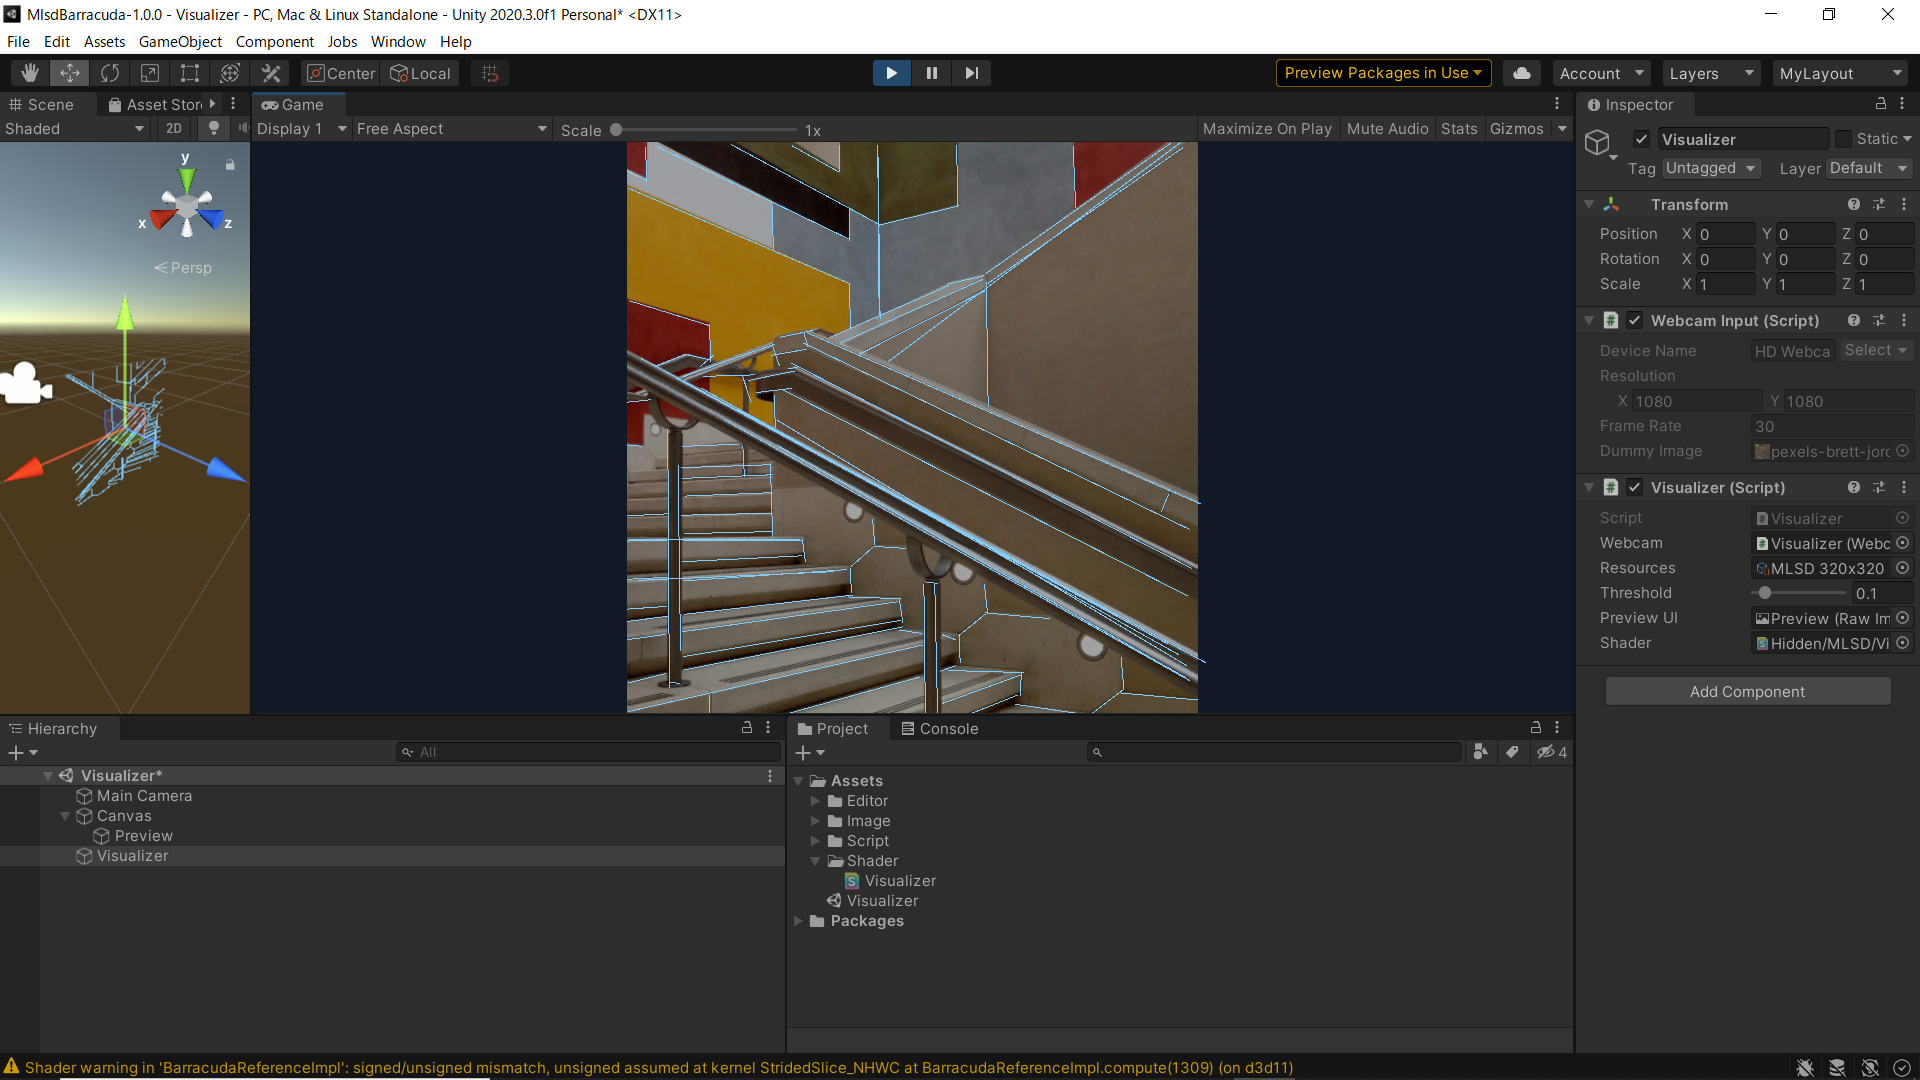
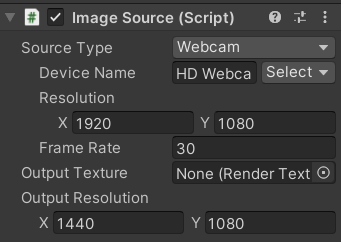
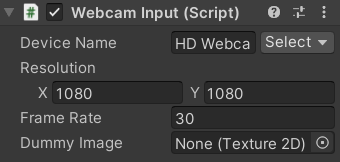
Dummy ImageをNoneにしたらWebCameraが動く(50FPSくらい)
Hand Tracking
HandPoseBarracuda
Unity2020.3.6f1 → Unity2020.3.0f1で動作確認
Dummy Imageなし WebCamが起動(45FPSくらい)
"HanCo_tester\rgb\0110\cam7\00000010.jpg"
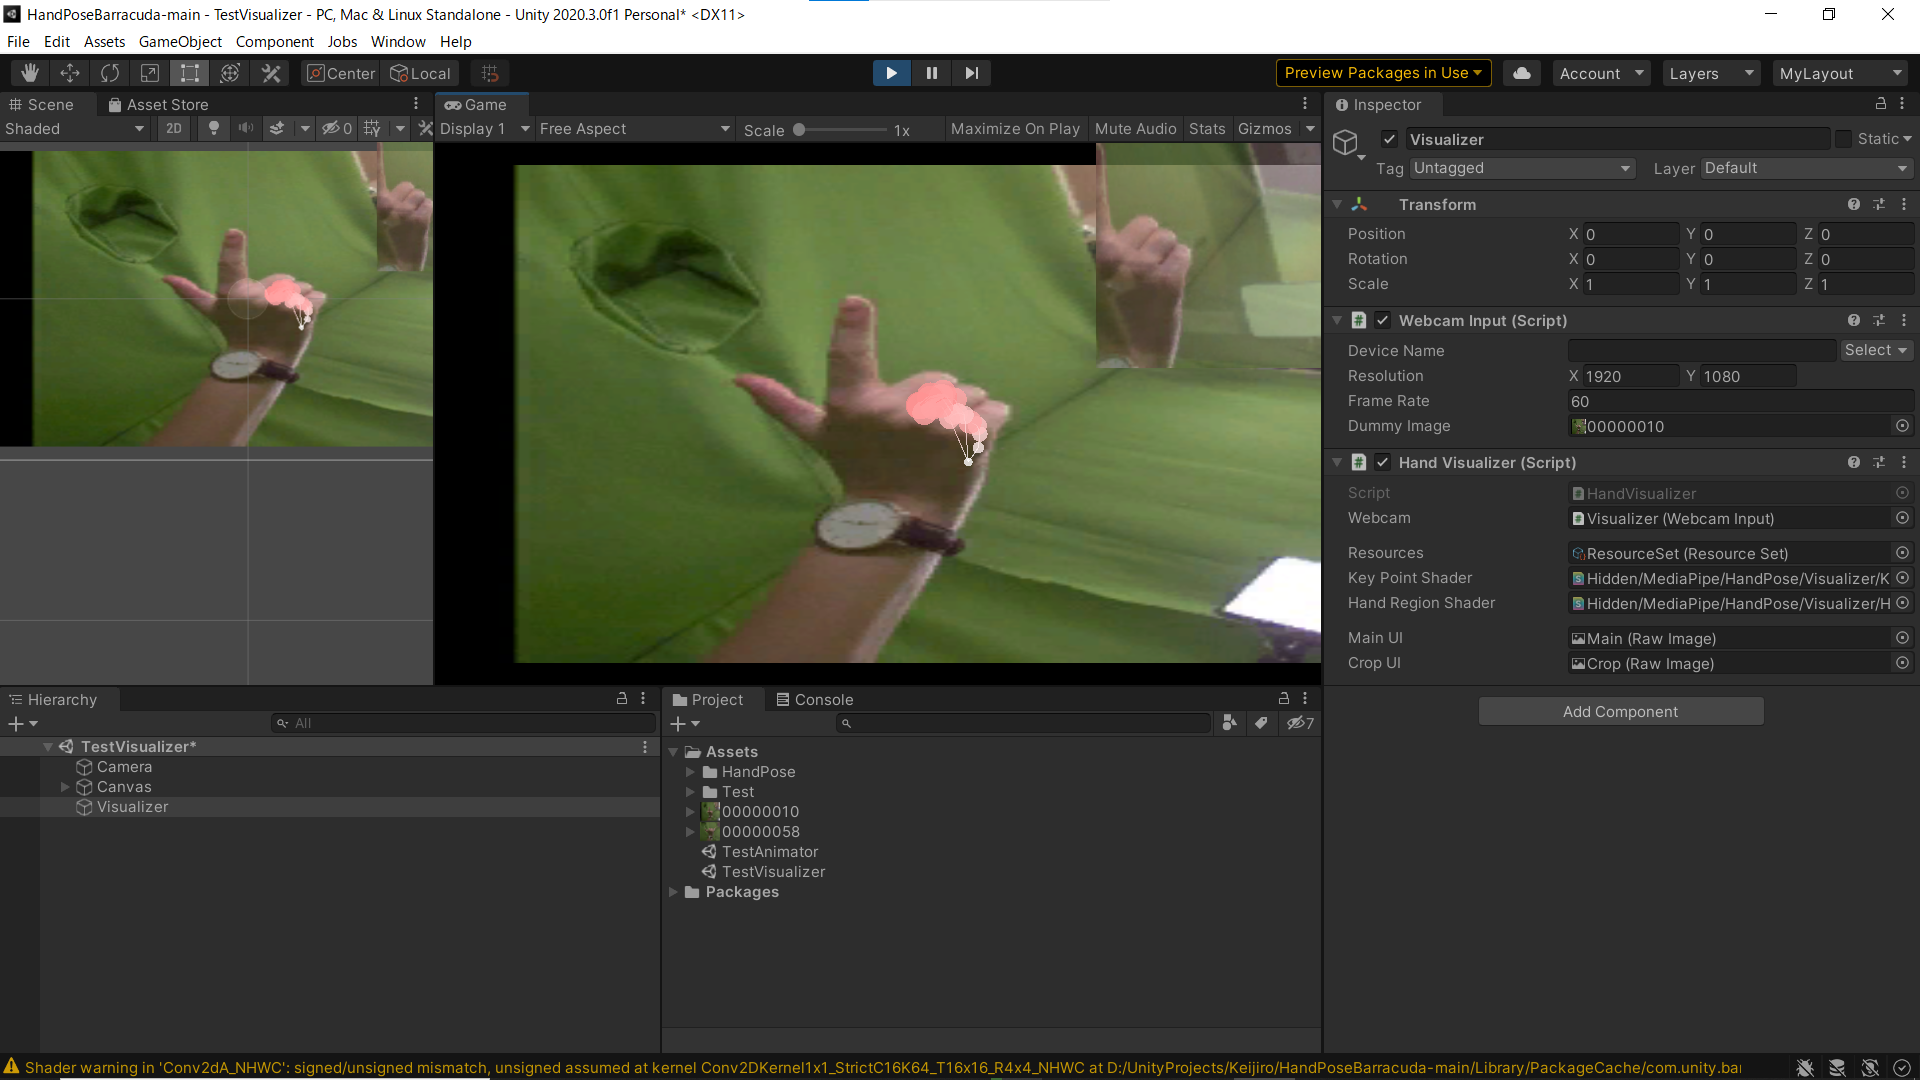
画像サイズが224×224と小さく、難しかったっぽい
BlazePalmBarracuda
HandLandmarkBarracuda
Face Tracking
UltraFaceBarracuda
BlazeFaceBarracuda
FaceMeshBarracuda
FaceLandmarkBarracuda
Eye Tracking
IrisBarracuda
pad->concatに置換
Super Resolution
Waifu2xBarracuda
Handwritten Digit Recognition
MnistBarracudaGpu
Unity2020.3.14f1
MnistBarracuda
Unity2020.3.14f1 → Unity2020.3.0f1で動作確認
using System.Linq;
using UnityEngine;
using Unity.Barracuda;
using UI = UnityEngine.UI;

sealed class MnistTest : MonoBehaviour
{
    public NNModel _model;
    public Texture2D _image;
    public UI.RawImage _imageView;
    public UI.Text _textView;

    void Start()
    {
        // Convert the input image into a 1x28x28x1 tensor.
        using var input = new Tensor(1, 28, 28, 1);

        for (var y = 0; y < 28; y++)
        {
            for (var x = 0; x < 28; x++)
            {
                var tx = x * _image.width  / 28;
                var ty = y * _image.height / 28;
                input[0, 27 - y, x, 0] = _image.GetPixel(tx, ty).grayscale;
            }
        }

        // Run the MNIST model.
        using var worker =
          ModelLoader.Load(_model).CreateWorker(WorkerFactory.Device.CPU);

        worker.Execute(input);

        // Inspect the output tensor.
        var output = worker.PeekOutput();

        var scores = Enumerable.Range(0, 10).
                     Select(i => output[0, 0, 0, i]).SoftMax().ToArray();

        // Show the results on the UI.
        _imageView.texture = _image;
        _textView.text = Enumerable.Range(0, 10).
                         Select(i => $"{i}: {scores[i]:0.00}").
                         Aggregate((t, s) => t + "\n" + s);
    }
}
using System.Collections.Generic;
using System.Linq;
using UnityEngine;

static class SoftmaxLinqExtension
{
    public static IEnumerable<float> SoftMax(this IEnumerable<float> source)
    {
        var exp = source.Select(x => Mathf.Exp(x)).ToArray();
        var sum = exp.Sum();
        return exp.Select(x => x / sum);
    }
}
Classify
TFClassify-Unity-Barracuda
Depth Estimation
MiDaSV2BarracudaCpu
1.MnistBarracudaを参考に一から作ってみる
- Unity 2020.3.0f1
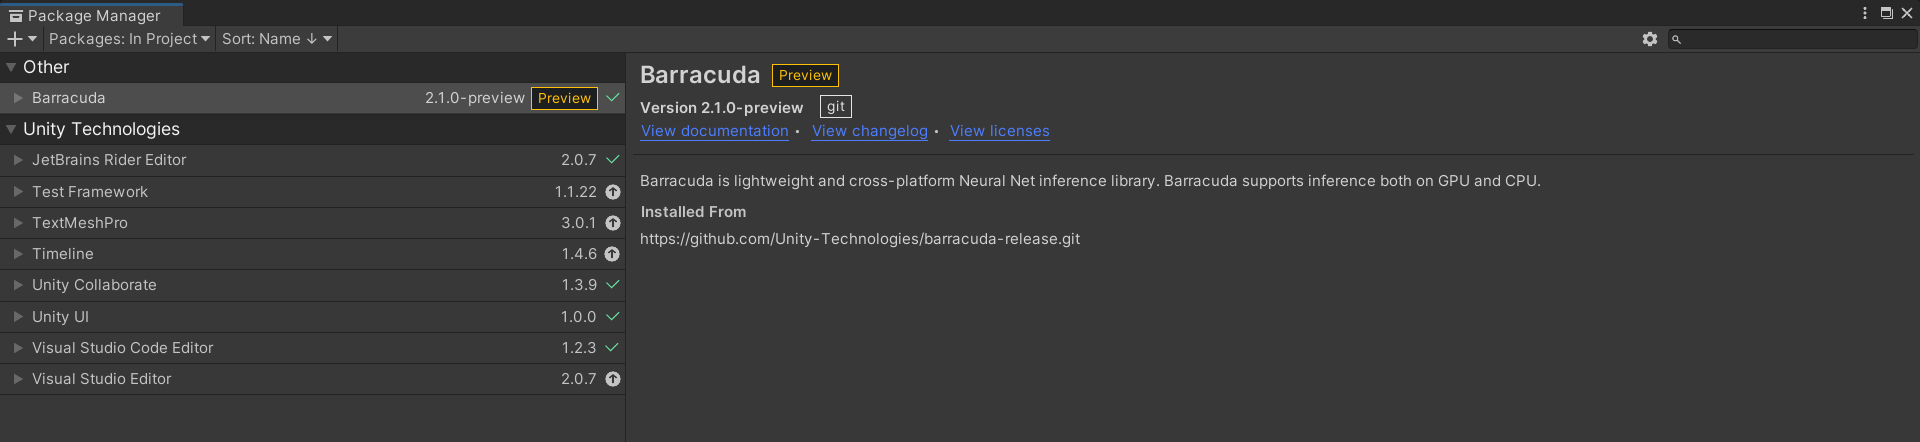
- Barracuda 2.1.0-preview
- Windows 10
2.Package Manager から https://github.com/Unity-Technologies/barracuda-release.git を指定し、インストールする
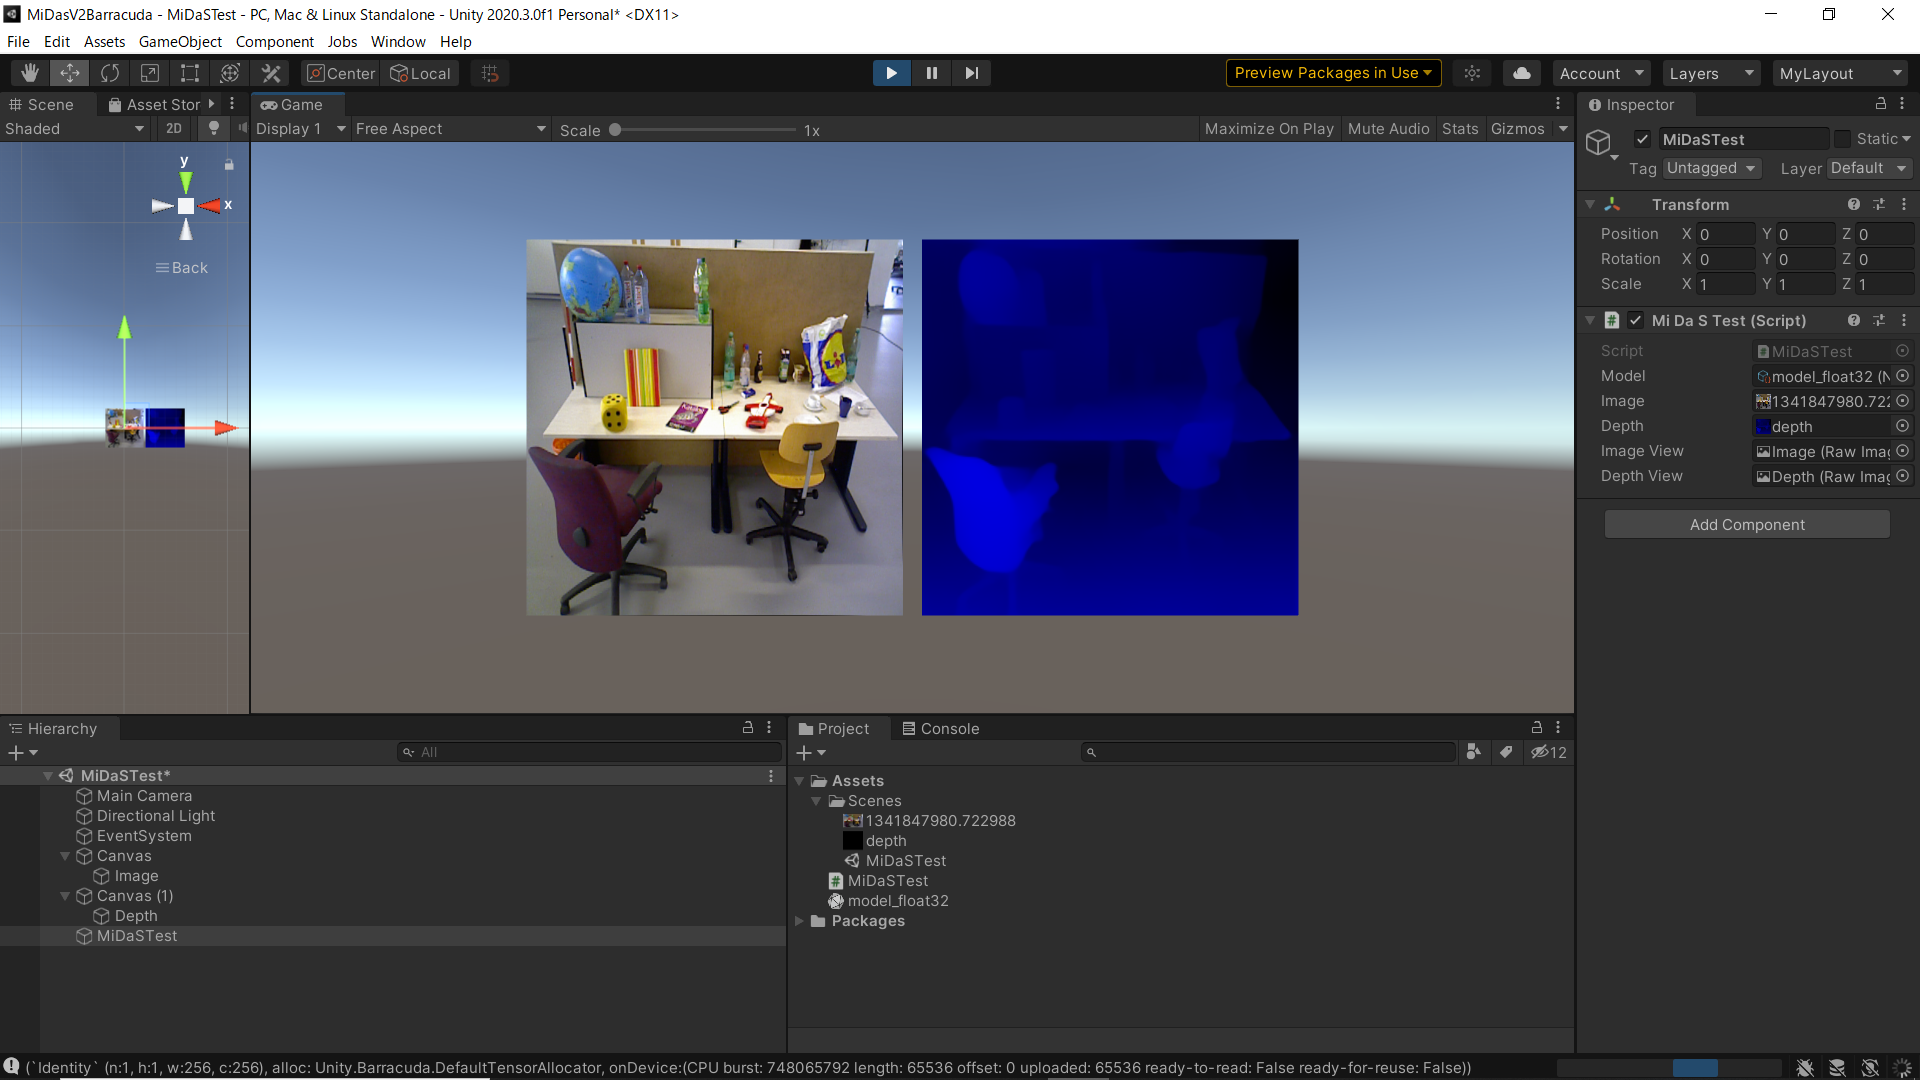
3.プロジェクトはこんな感じでImageとDepthのRawImageを配置
download_256x256.shにGoogle Driveのリンクがあるのでそこからダウンロード
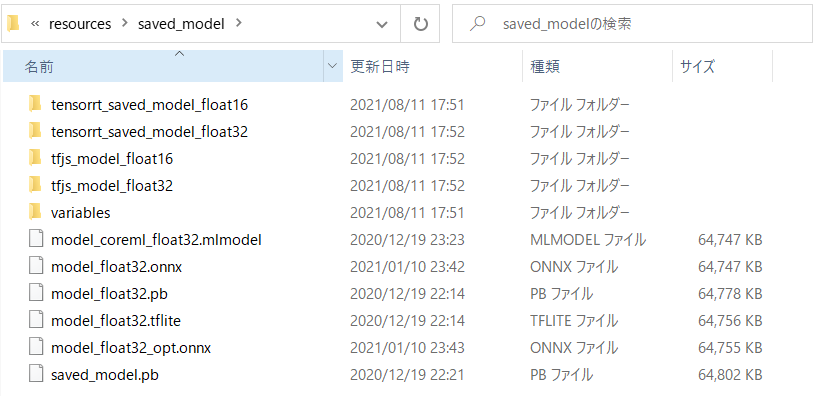
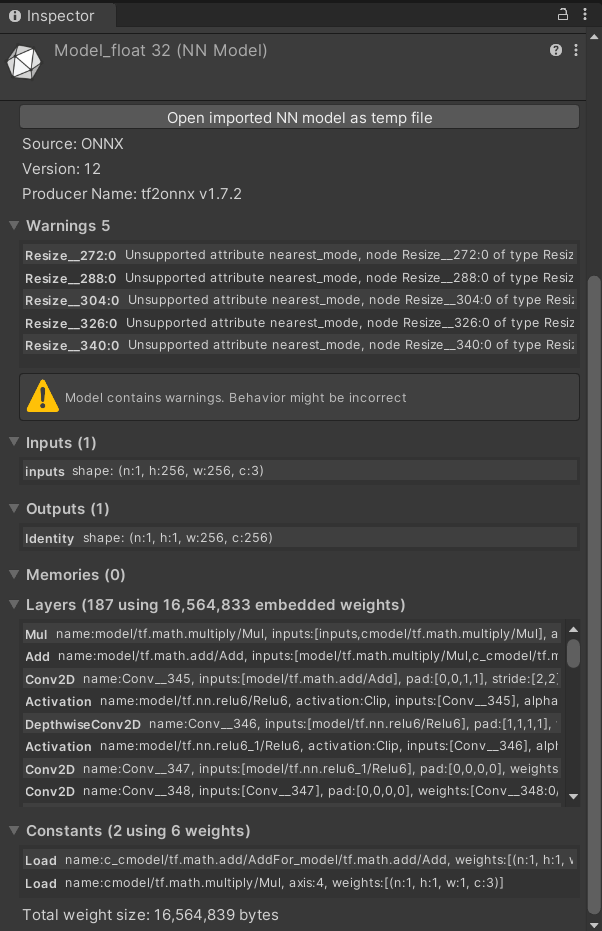
5.ダウンロードしたmodel_float32.onnxをプロジェクトビューにD&D。Inputs、Outputsのshape大事。
6.MiDaSTest.csを作成、GameObjectにAddComponent。必要なものをアタッチ。
using System.Linq;
using UnityEngine;
using Unity.Barracuda;
using UI = UnityEngine.UI;

sealed class MiDaSTest : MonoBehaviour
{
    public NNModel _model;
    public Texture2D _image;
    public Texture2D _depth;
    public UI.RawImage _imageView;
    public UI.RawImage _depthView;

    void Start()
    {
        // Convert the input image into a 1x256x256x3 tensor.
        using var input = new Tensor(1, 256, 256, 3);

        for (var y = 0; y < 256; y++)
        {
            for (var x = 0; x < 256; x++)
            {
                var tx = x * _image.width  / 256;
                var ty = y * _image.height / 256;
                input[0, 255 - y, x, 0] = _image.GetPixel(tx, ty).r;
                input[0, 255 - y, x, 1] = _image.GetPixel(tx, ty).g;
                input[0, 255 - y, x, 2] = _image.GetPixel(tx, ty).b;
            }
        }

        // Run the MiDaS model.
        using var worker = ModelLoader.Load(_model).CreateWorker(WorkerFactory.Device.CPU);

        worker.Execute(input);

        // Inspect the output tensor.
        var output = worker.PeekOutput();

        // 1, 1, 256, 256
        Debug.Log(output);

        for (var y = 0; y < 256; y++){
            for (var x = 0; x < 256; x++){
                // Debug.Log(x+y*256);
                // Debug.Log(output[0,0,x,y]/1000.0f);
                var tx = x * _depth.width  / 256;
                var ty = y * _depth.height / 256;
                Color color = new Color(0.0f, 0.0f, output[0,0,x,255-y]/1000.0f);
                _depth.SetPixel(tx, ty, color);
            }
        }

        _depth.Apply();

        // Show the results on the UI.
        _imageView.texture = _image;
        _depthView.texture = _depth;

    }
}
7.実行結果
MiDaS v2 Barracuda #Unity pic.twitter.com/jdmyy2OawI
— がちもとさん@熊本 (@sotongshi) August 11, 2021
8.ソースコードはここにあげました
9.keijiro先生みたいにShaderでGPU化したい