はじめに
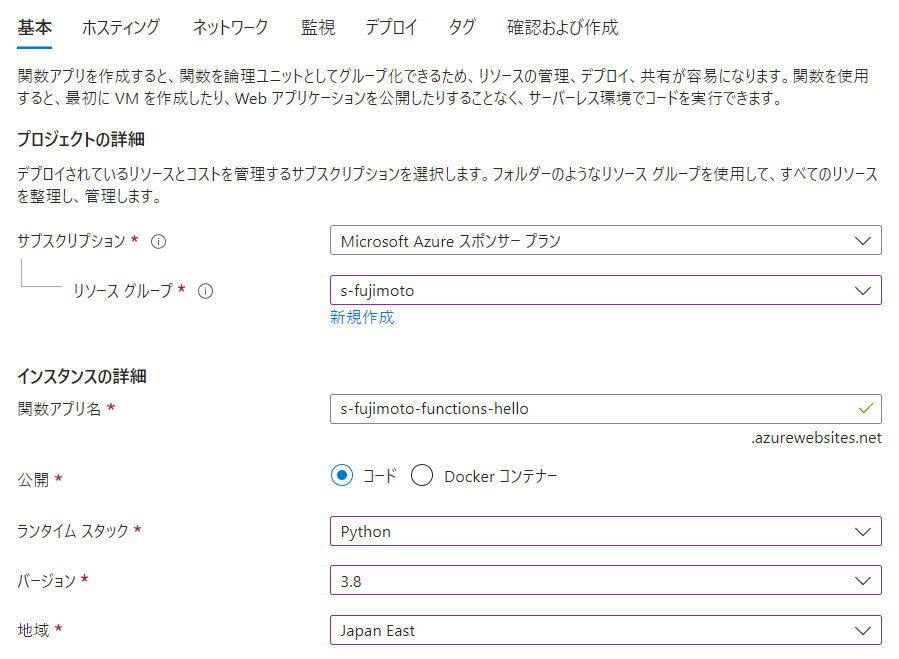
Azure Functionsで関数を作っていきます
開発環境
- Windows 10 PC
- Azure
- Python 3.8
最初に作成するAPI(HTTPTrigger1)
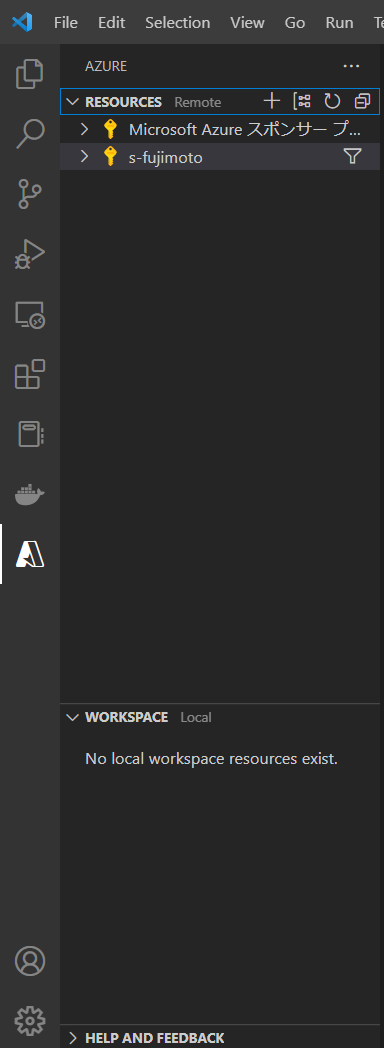
2.VSCodeにAzure Functionsの拡張機能をインストール

3.VSCodeにMicrosoftアカウントでログインする

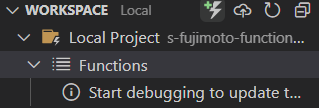
5.AzureタブのWORKSPACEからFunctionを作成
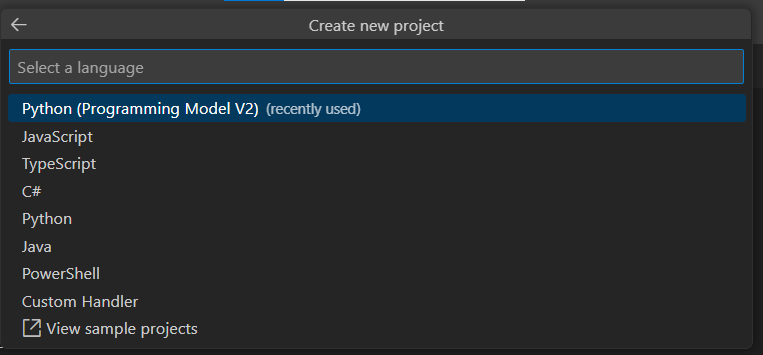
7.Python(Programming Model V2)を選択
例
C:\Users\admin\anaconda3\envs\py38\python
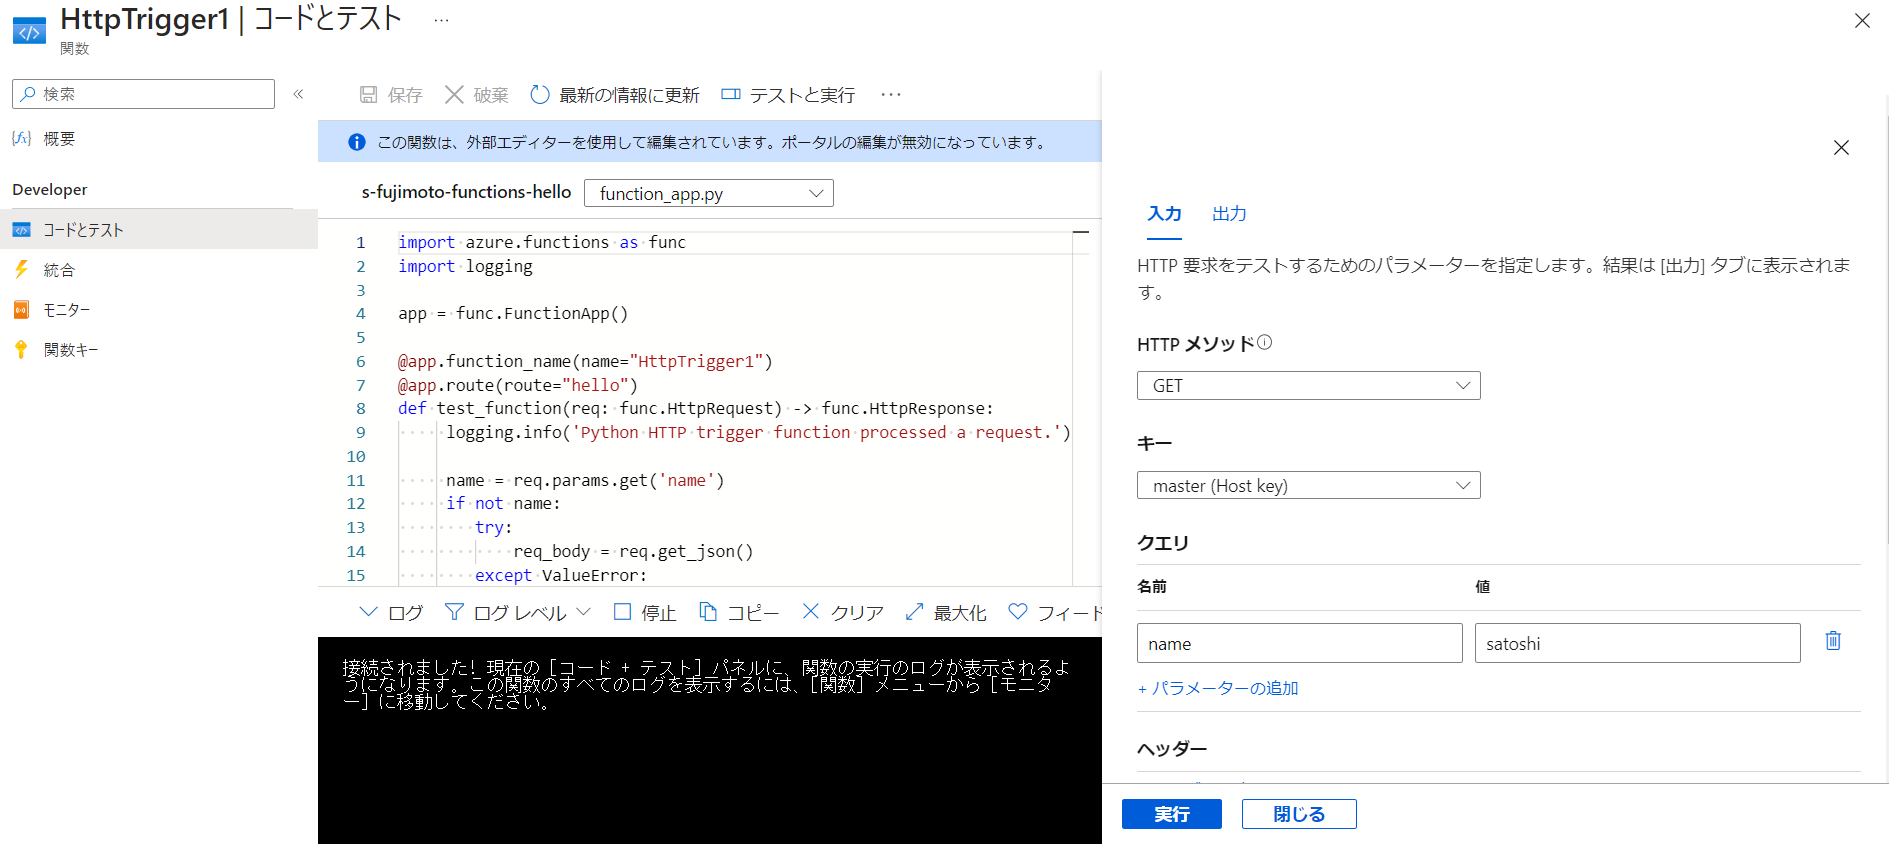
9.function_app.pyにHTTPトリガーの関数(HttpTrigger1)を追加
import azure.functions as func
import logging

app = func.FunctionApp()

@app.function_name(name="HttpTrigger1")
@app.route(route="hello")
def test_function(req: func.HttpRequest) -> func.HttpResponse:
     logging.info('Python HTTP trigger function processed a request.')

     name = req.params.get('name')
     if not name:
        try:
            req_body = req.get_json()
        except ValueError:
            pass
        else:
            name = req_body.get('name')

     if name:
        return func.HttpResponse(f"Hello, {name}. This HTTP triggered function executed successfully.")
     else:
        return func.HttpResponse(
             "This HTTP triggered function executed successfully. Pass a name in the query string or in the request body for a personalized response.",
             status_code=200
        )
10.AzureタブのWORKSPACEからデプロイ
11.作成した関数アプリを選びデプロイ
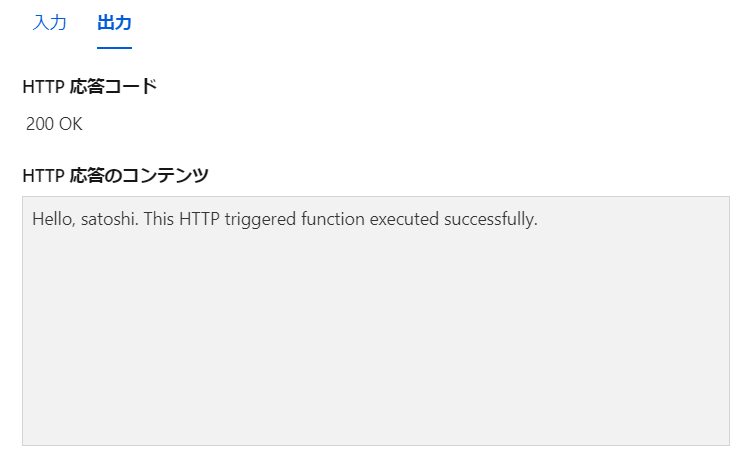
14.関数URLの取得からブラウザで実行
https://s-fujimoto-functions-hello.azurewebsites.net/api/hello?code=xxxx&name=satoshi
Azure Storage Blobのコンテナの中のファイル一覧を取得するAPI
1.requirements.txtにazure-storage-blobを追加
azure-functions
azure-storage-blob
2.function_app.pyにblobs関数の追加、connect_strにストレージアカウントの接続文字列を入れる
import azure.functions as func
import logging
import os
from azure.storage.blob import BlobServiceClient

app = func.FunctionApp()


# @app.function_name(name="HttpTrigger1")
# @app.route(route="hello")
# def test_function(req: func.HttpRequest) -> func.HttpResponse:
# ...

@app.function_name(name="blobs")
@app.route(route="blobs")
def test_function(req: func.HttpRequest) -> func.HttpResponse:
    # connect_str = os.getenv('AZURE_STORAGE_CONNECTION_STRING')
    connect_str = "DefaultEndpointsProtocol=xxxx"
    blob_service_client = BlobServiceClient.from_connection_string(connect_str)

    # List the blobs in the container
    container_client = blob_service_client.get_container_client("test")
    blob_list = container_client.list_blobs()
    blob_names = [blob.name for blob in blob_list]

    return func.HttpResponse(
        str(blob_names),
        status_code=200
    )
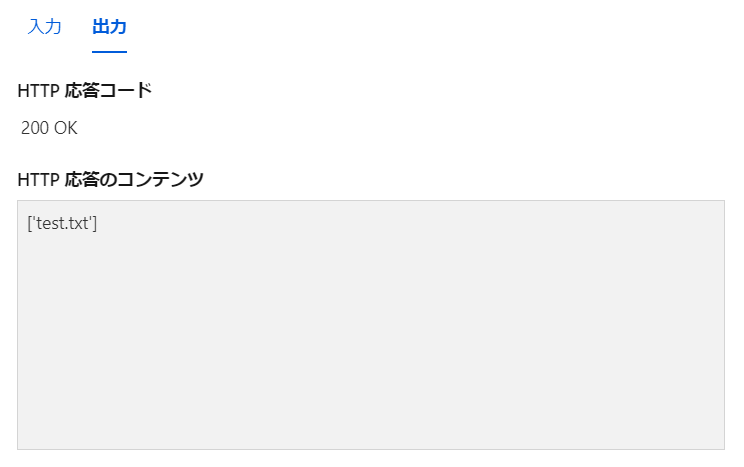
3.Blobのtestコンテナーにはtest.txtをアップロードしておく

コンテナ内のファイルのSAS URLを発行するAPI
1.function_app.pyにdownload関数の追加
import azure.functions as func
import logging
import os
from azure.storage.blob import BlobServiceClient, BlobSasPermissions, generate_blob_sas
import datetime

app = func.FunctionApp()

# @app.function_name(name="HttpTrigger1")
# @app.route(route="hello")
# def test_function(req: func.HttpRequest) -> func.HttpResponse:
# ...

# @app.function_name(name="blobs")
# @app.route(route="blobs")
# def test_function(req: func.HttpRequest) -> func.HttpResponse:
# ...

@app.function_name(name="download")
@app.route(route="download")
def test_function(req: func.HttpRequest) -> func.HttpResponse:
    # connect_str = os.getenv('AZURE_STORAGE_CONNECTION_STRING')
    connect_str = "DefaultEndpointsProtocol=xxxx"
    blob_service_client = BlobServiceClient.from_connection_string(connect_str)

    # List the blobs in the container
    container_name = "test"
    blob_name = "test.txt"

    sas_token = generate_blob_sas(
        blob_service_client.account_name,
        account_key="xxxx",
        container_name=container_name,
        blob_name=blob_name,
        permission=BlobSasPermissions(read=True),
        expiry=datetime.datetime.utcnow() + datetime.timedelta(hours=1)
    )

    account_url = "https://sfujimoto6937825278.blob.core.windows.net"
    sas_url=f"{account_url}/{container_name}/{blob_name}?{sas_token}"

    return func.HttpResponse(
        sas_url,
        status_code=200
    )
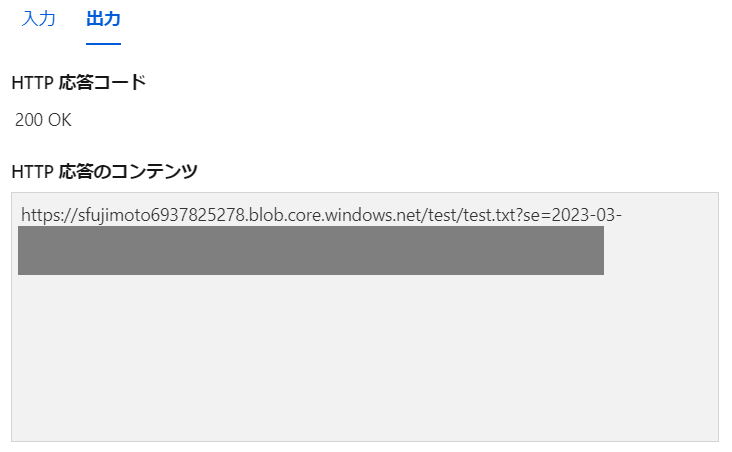
2.デプロイして実行
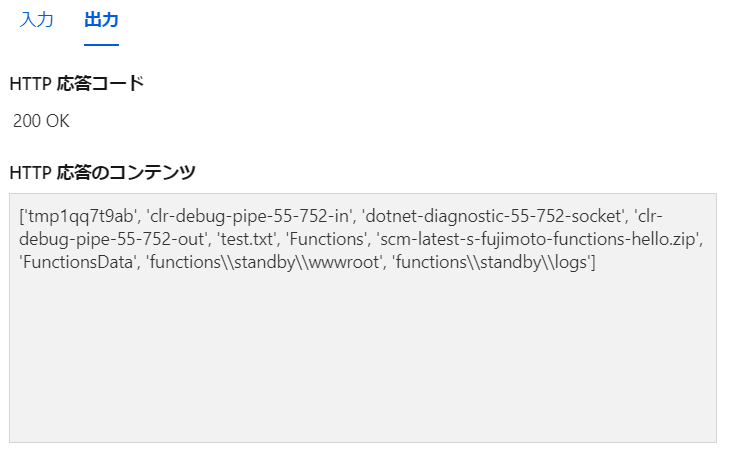
tmpフォルダにファイルを書き込むAPI
1.function_app.pyにtmp関数を追加
@app.function_name(name="tmp")
@app.route(route="tmp")
def test_function(req: func.HttpRequest) -> func.HttpResponse:
    logging.info(os.listdir("/"))

    with open("/tmp/test.txt", "w") as f:
        f.write("test")

    logging.info(os.listdir("/tmp/"))

    return func.HttpResponse(
        str(os.listdir("/tmp/")),
        status_code=200
    )
コンテナにファイルをアップロードするためのSAS URLを発行するAPI
1.requirements.txtにulid-pyを追加
azure-functions
azure-storage-blob
ulid-py
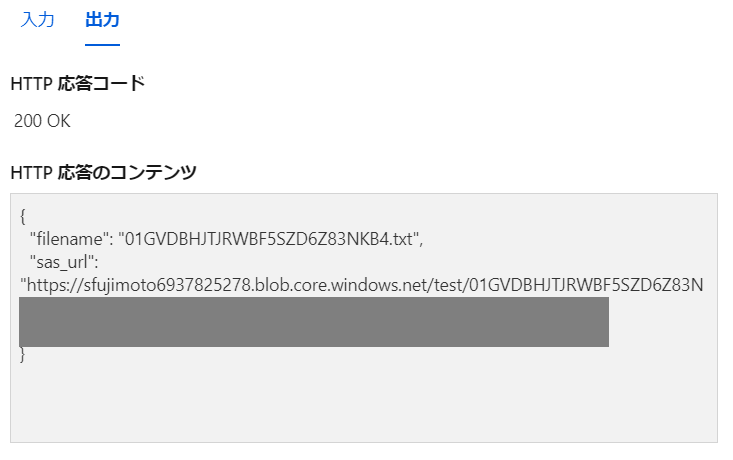
2.function_app.pyにupload関数を追加、ULIDを生成しファイル名とする
@app.function_name(name="upload")
@app.route(route="upload")
def test_function(req: func.HttpRequest) -> func.HttpResponse:
    # connect_str = os.getenv('AZURE_STORAGE_CONNECTION_STRING')
    connect_str = "DefaultEndpointsProtocol=xxxx"
    blob_service_client = BlobServiceClient.from_connection_string(connect_str)

    # List the blobs in the container
    container_name = "test"
    id = ulid.new()
    blob_name = f"{id.str}.txt"

    sas_token = generate_blob_sas(
        blob_service_client.account_name,
        account_key="xxxx",
        container_name=container_name,
        blob_name=blob_name,
        permission=BlobSasPermissions(write=True),
        expiry=datetime.datetime.utcnow() + datetime.timedelta(hours=1)
    )

    account_url = "https://sfujimoto6937825278.blob.core.windows.net"
    sas_url=f"{account_url}/{container_name}/{blob_name}?{sas_token}"

    return func.HttpResponse(
        json.dumps({"filename":f"{id.str}.txt", "sas_url":sas_url}),
        status_code=200
    )
4.SAS URLを用いて、ローカルからBlobへファイルをアップロード
import requests

sas_url = "https://sfujimoto6937825278.blob.core.windows.net/test/01GVDBHJTJRWBF5SZD6Z83NKB4.txt?se=2023-03-13T12%3A26%3A29Z&sp=w&sv=2021-12-02&sr=b&sig=xxxx"

headers = {
    "x-ms-blob-type": "BlockBlob"
}

response = requests.put(url=sas_url, headers=headers, data=open("test.txt", "rb").read())
print(response.text)
