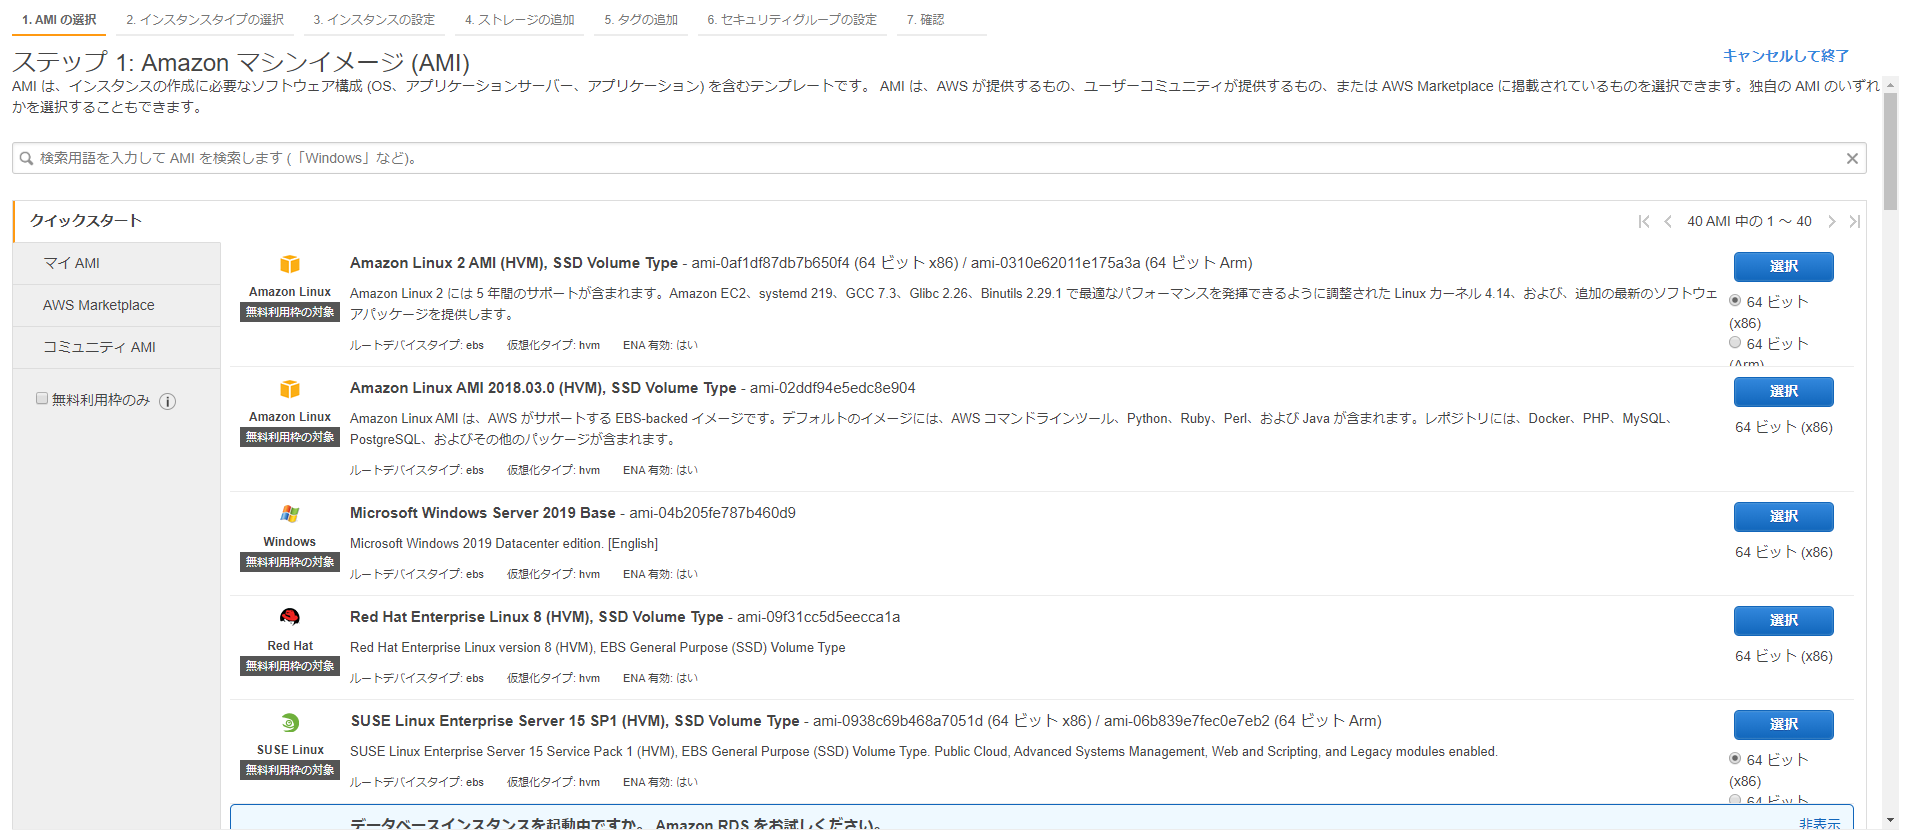
AWS Consoleにログインし、EC2からAmazon Linux 2を立てます。
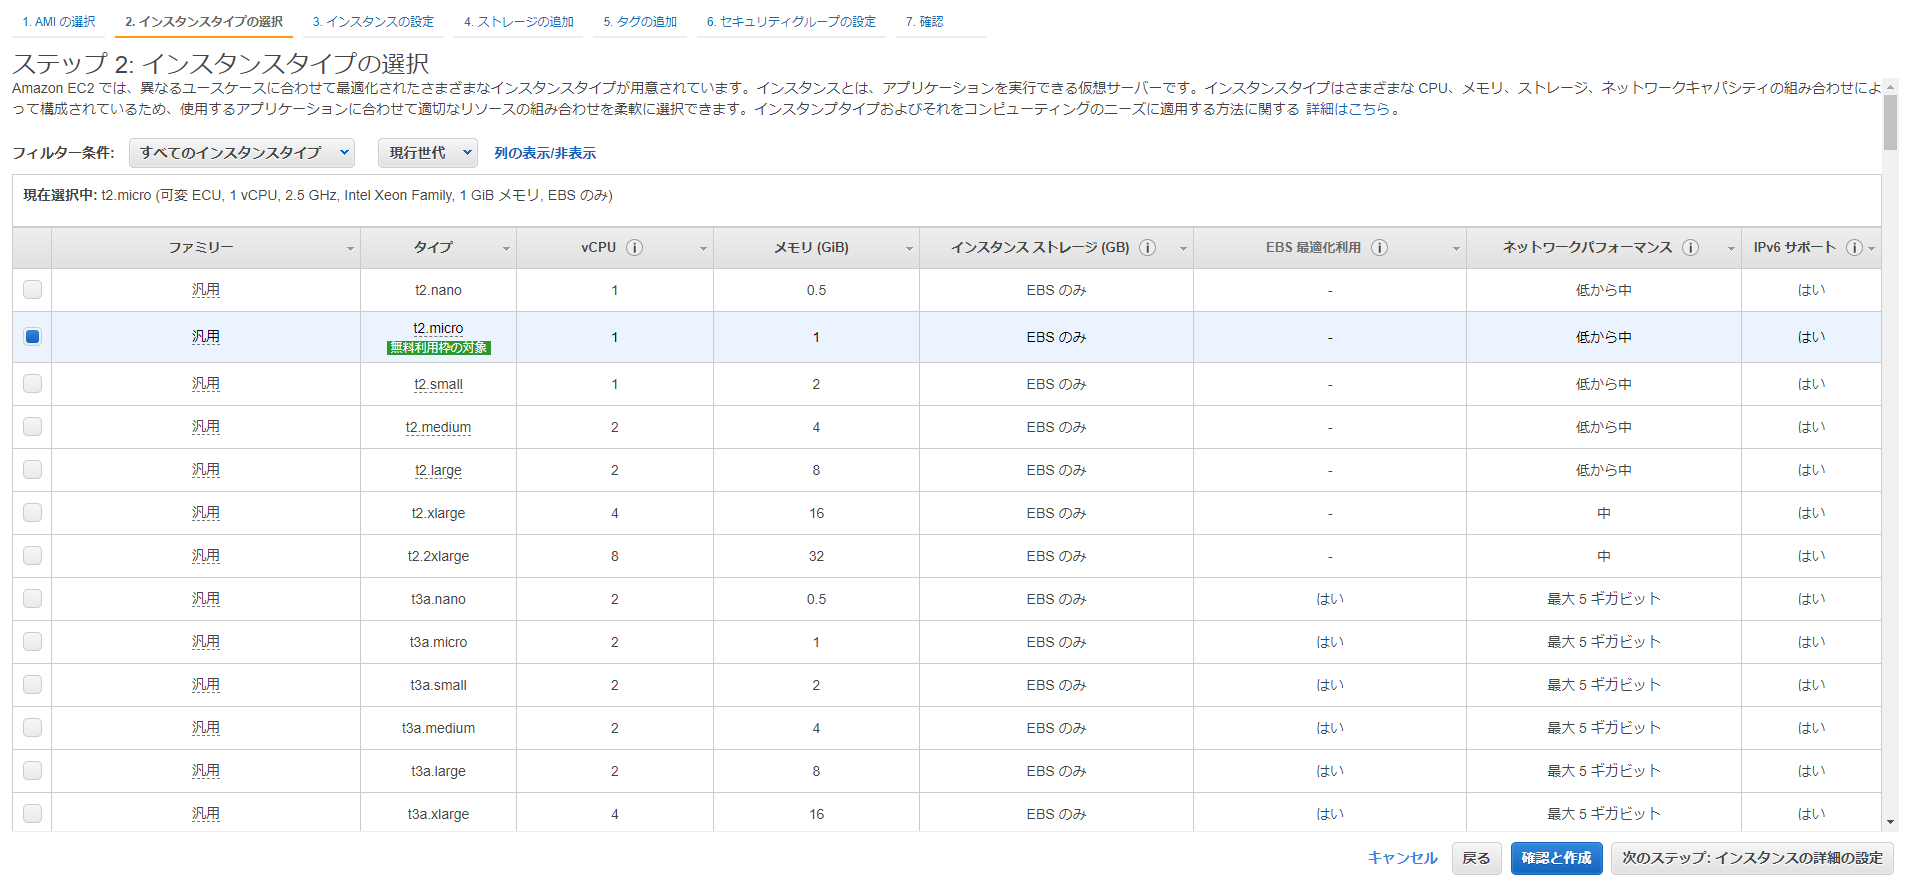
インスタンスタイプはt2.microで、確認と作成ボタンをクリックします。※後述しますが、t2.mediumにしてください。
セキュリティーグループは各自で設定してください。SSH接続用に22番ポートを開けておきます。

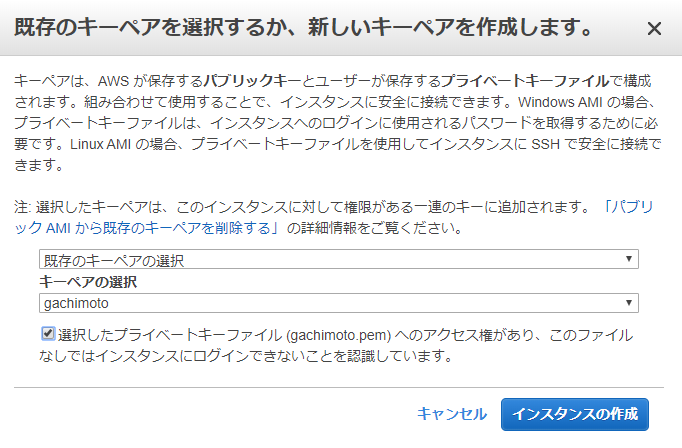
既存のキーペアを選択、なければ新規作成してください。SSH接続する際に必要です。
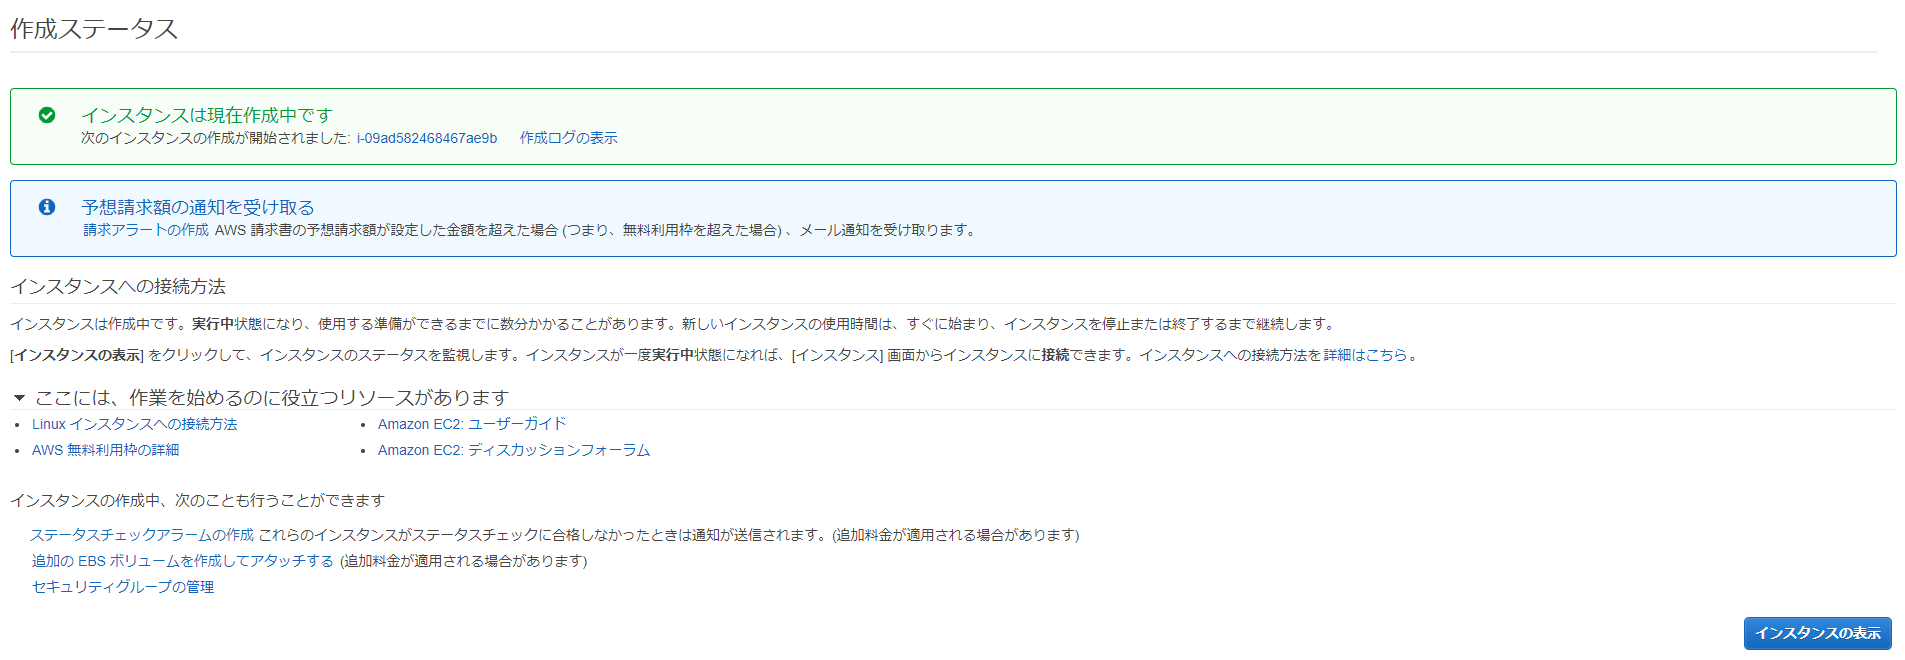
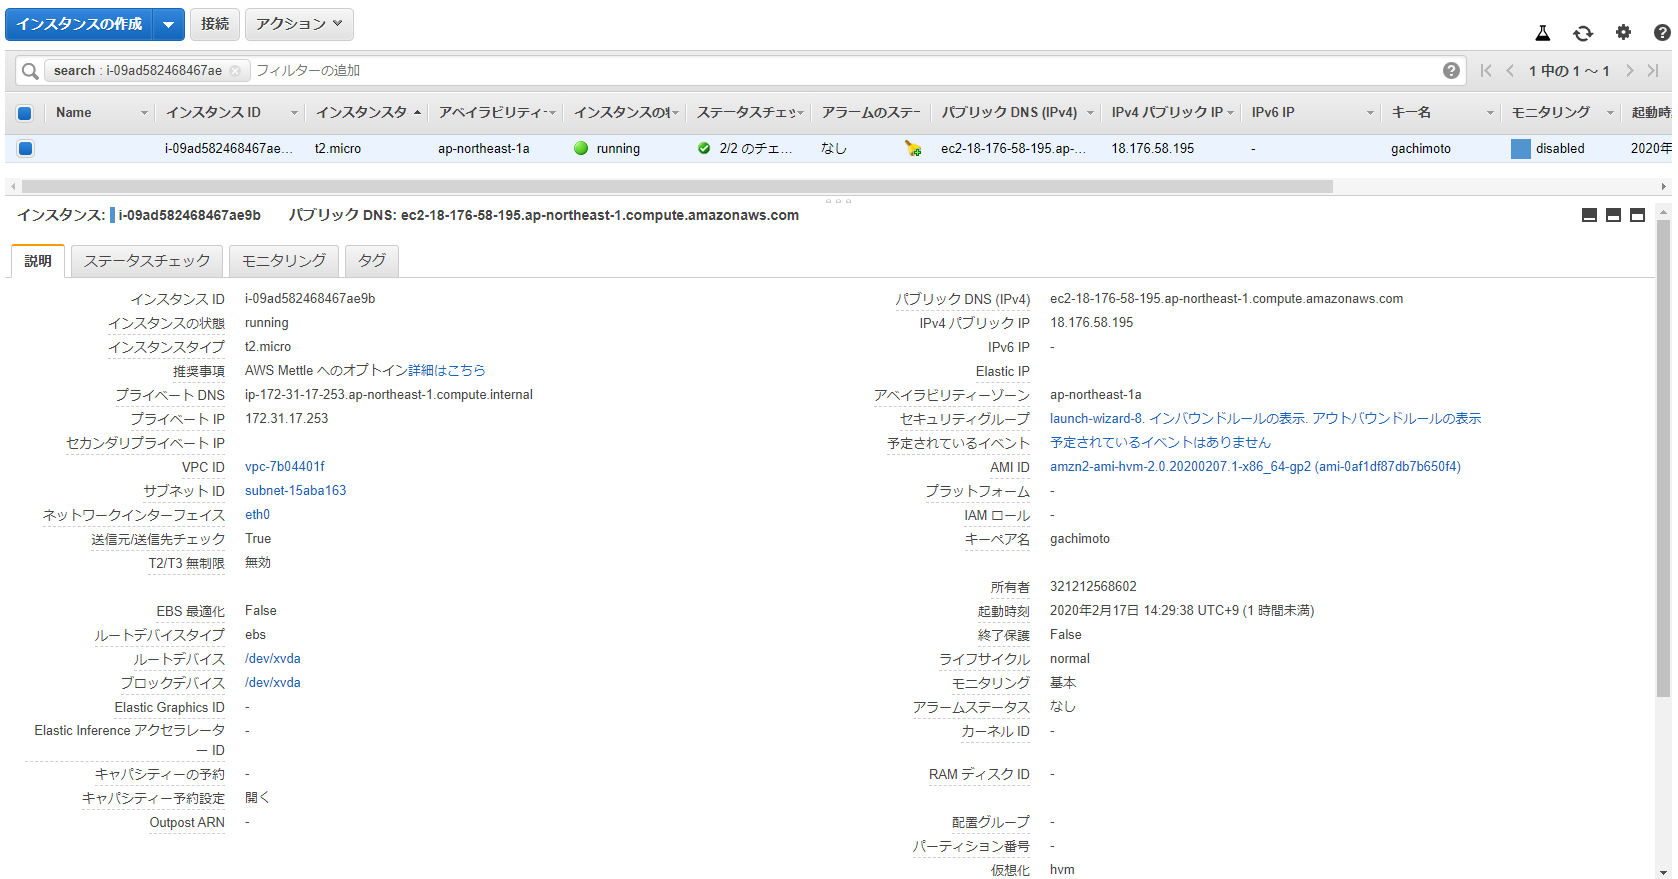
インスタンスの作成中です。インスタンスの表示をクリックします。
インスタンスの状態がrunning、ステータスチェックが2/2のチェックになったら完了です。

インスタンスの作成が完了したら、IPv4パブリックIPをコピーして、PuTTYからSSH接続します。
PuTTYを開いて、Host NameのところにIPアドレスを入力してください。

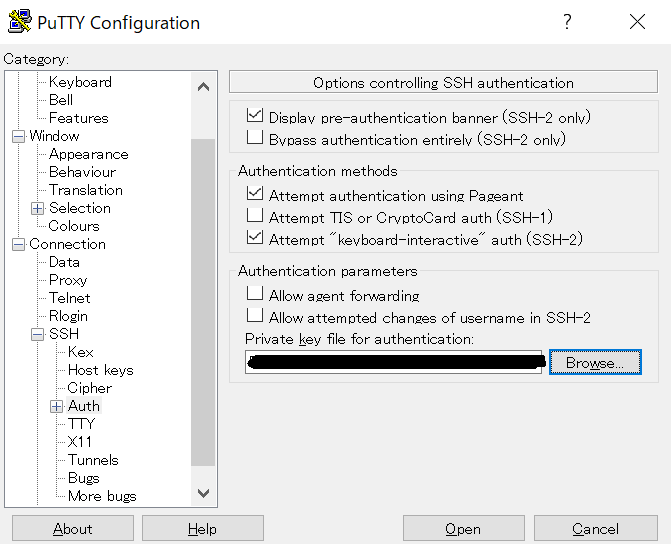
Connection->SSH->Authからキーペアを選択します。PuTTYgenを用いて、.pemから.ppkに変換したものを使用します。
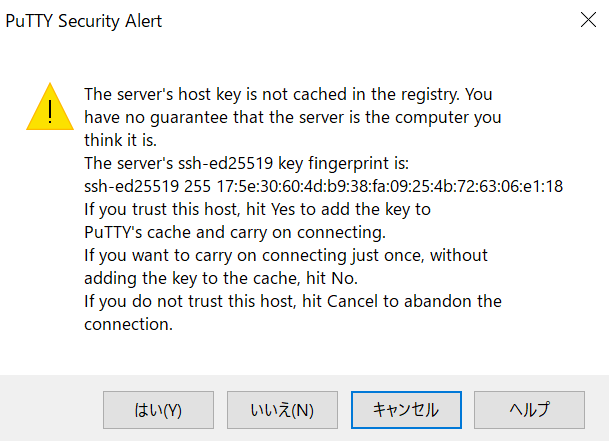
はいをクリックします。
ec2-userでログインできます。
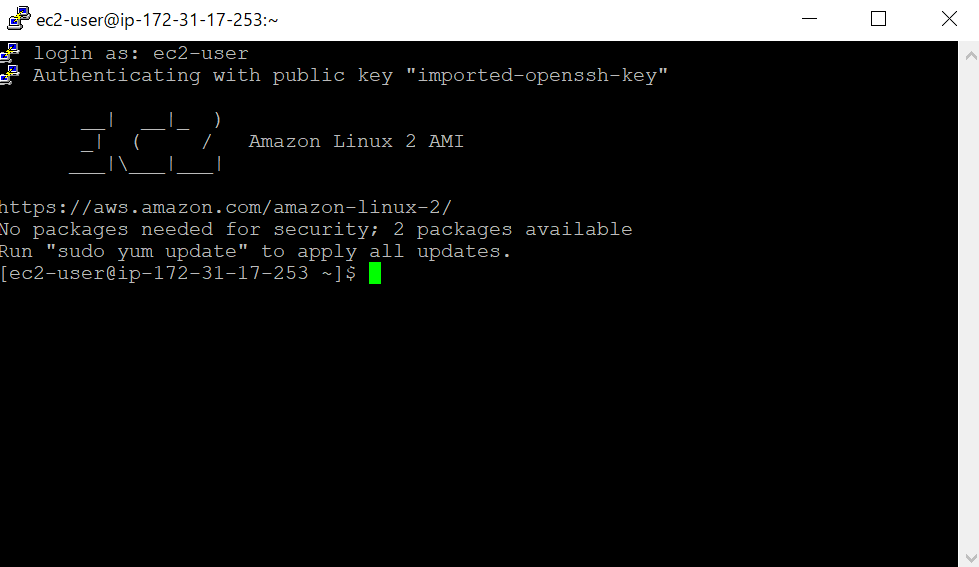
ログインしたら、Pythonのバージョンを確認します。いまだにPython2系がデフォルトになっているようです。
$ python
Python 2.7.16 (default, Dec 12 2019, 23:58:22)
[GCC 7.3.1 20180712 (Red Hat 7.3.1-6)] on linux2
Type "help", "copyright", "credits" or "license" for more information.
>>> exit()
Anacondaをインストールします。AnacondaのサイトからダウンロードURLをコピーします。
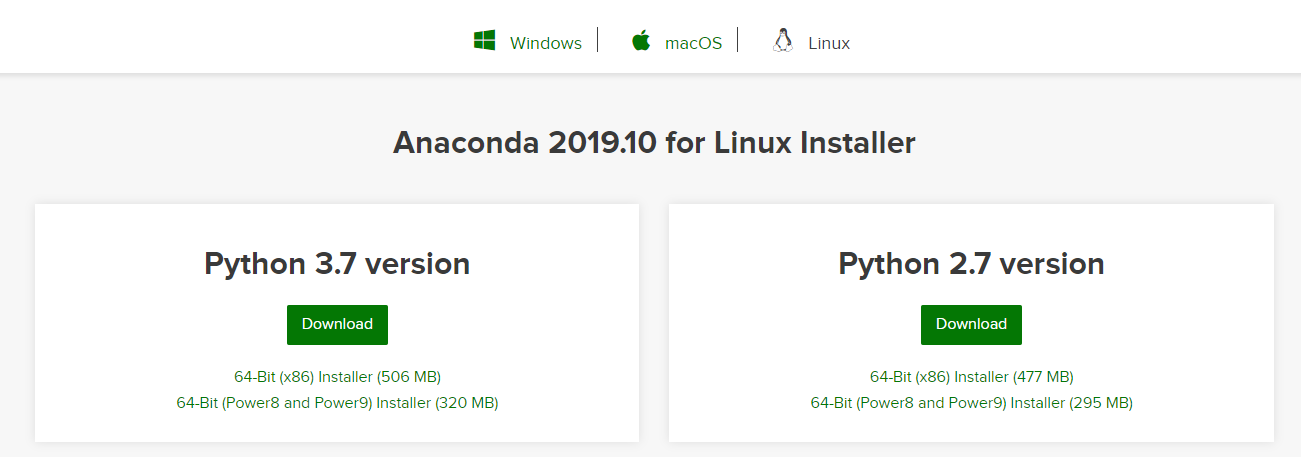
ダウンロードURLに対してwgetし、bashでインストールします。
$ wget https://repo.anaconda.com/archive/Anaconda3-2019.10-Linux-x86_64.sh
$ bash Anaconda3-2019.10-Linux-x86_64.sh
Enterで規約を読み、yesを入力。Enterでインストール開始。
Please answer 'yes' or 'no':'
>>> yes

Anaconda3 will now be installed into this location:
/home/ec2-user/anaconda3

  - Press ENTER to confirm the location
  - Press CTRL-C to abort the installation
  - Or specify a different location below
Unpacking payload ...
  0%|   | 0/291 [00:00<?, ?it/s]
で止まったままになってしまった。
t2.mediumでできるらしいので、インスタンスの停止、インスタンスタイプの変更を行います。
current latest miniconda sh installer for linux hangs on Unpacking payload step #9345
Anacondaのインストールができたら、Python3.6環境を作成します。
$ /home/ec2-user/anaconda3/bin/conda create -n py36 python=3.6
$ /home/ec2-user/anaconda3/bin/conda init
インスタンスを再起動し、py36環境でpythonフォルダにライブラリをインストールします。
$ conda activate py36
$ mkdir python
$ pip install -t ./python requests
$ pip install -t ./python ulid-py
$ pip install -t ./python pillow
$ pip install -t ./python numpy
$ pip install -t ./python opencv-python
$ pip install -t ./python opencv-contrib-python
$ pip install -t ./python pandas
$ pip install -t ./python matplotlib
$ pip install -t ./python folium
pythonフォルダをzip化します。
$ zip -r GachiLayers.zip python
zipファイルをS3へアップロードするために、awscliの設定とboto3をインストールします。
$ pip install awscli
$ pip install boto3
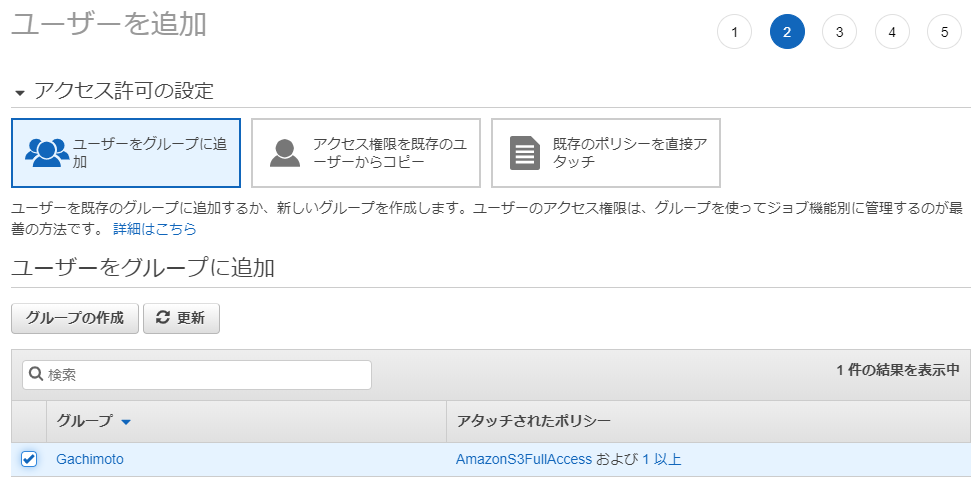
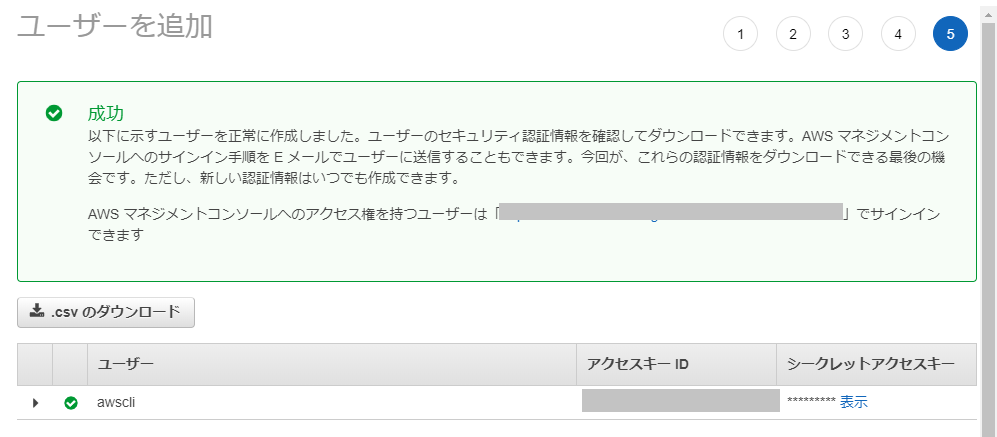
AWS Console の IAM からユーザーを作成し、AWS Access Key と Secret Access Key を取得します。

AmazonS3FullAccessのアクセス権限を与えておきます。
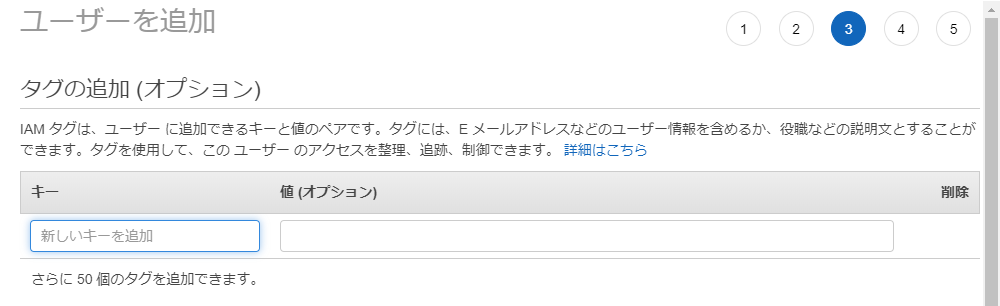
タグは特になし。
確認します。
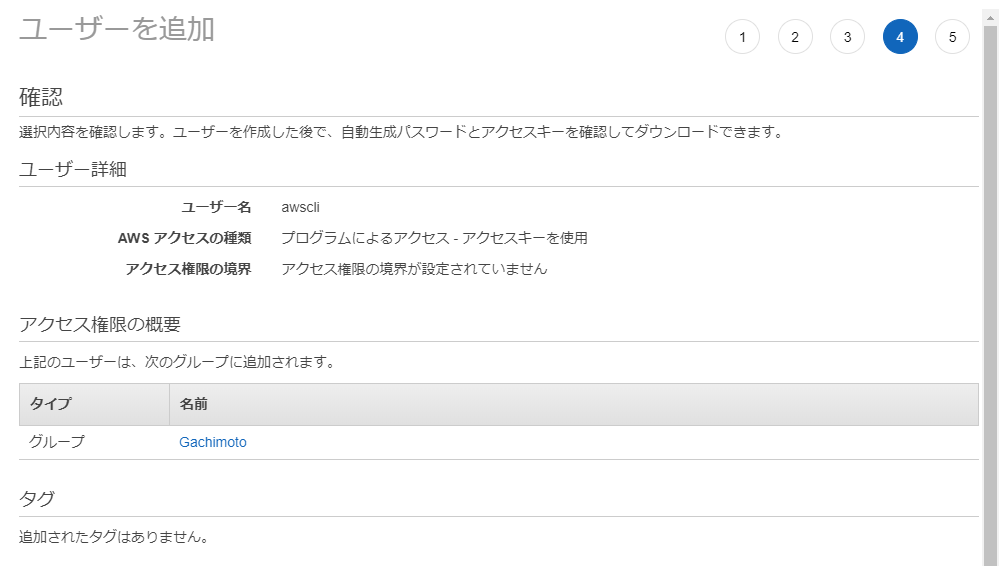
作成に成功したら、aws configure に必要なAWS Access Key と Secret Access Key を取得できるので、大事に保管しておきます。
AWS Configureの設定、AWS Access Key と Secret Access Key を入力します。
$ aws configure
AWS Access Key ID [None]: xxxxxxxxxxxxxxxxxxxx
AWS Secret Access Key [None]: xxxxxxxxxxxxxxxxxxxxxxxxxxxxxxxxxxxxxxxx
Default region name [None]: ap-northeast-1
Default output format [None]: json
ZipファイルをS3へアップロードするためのPythonプログラムを作成します。S3バケットを新規作成しておくこと。
$ vi upload.py
import boto3

filename = 'GachiLayers.zip'
s3 = boto3.resource('s3')
obj = s3.Object(<INSERT YOUR BUCKET NAME>, filename)
response = obj.put(Body = open(filename, 'rb'))
実行します。
$ python upload.py
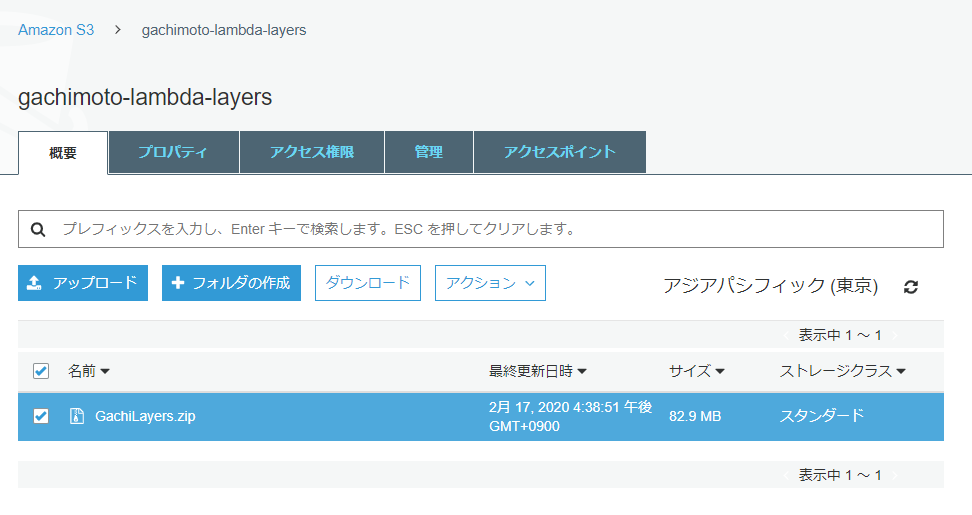
S3にアップロードされていることを確認します。
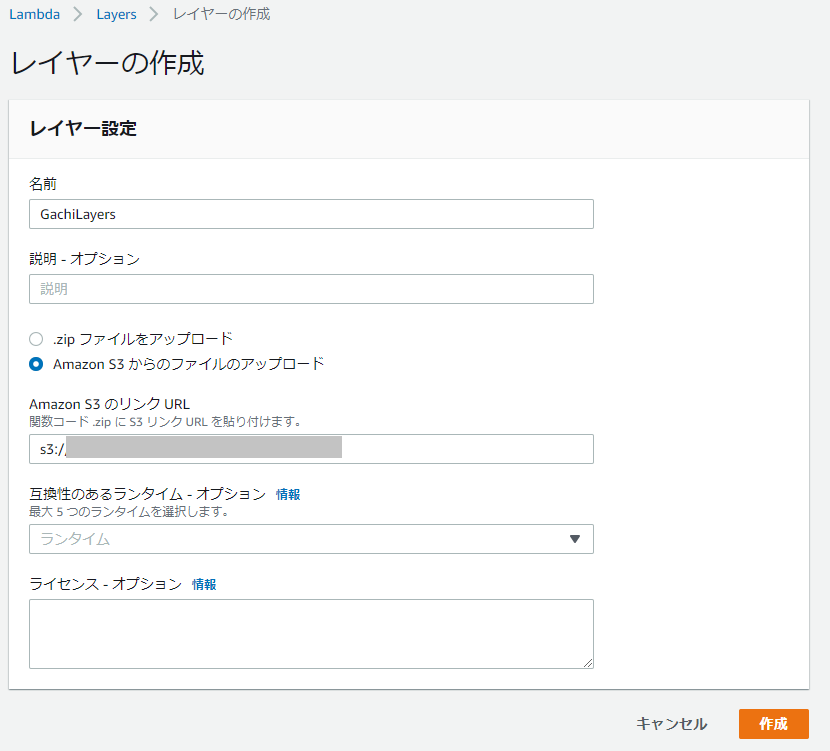
AWS Console から Lambda を開き、Layersからレイヤーを作成します。
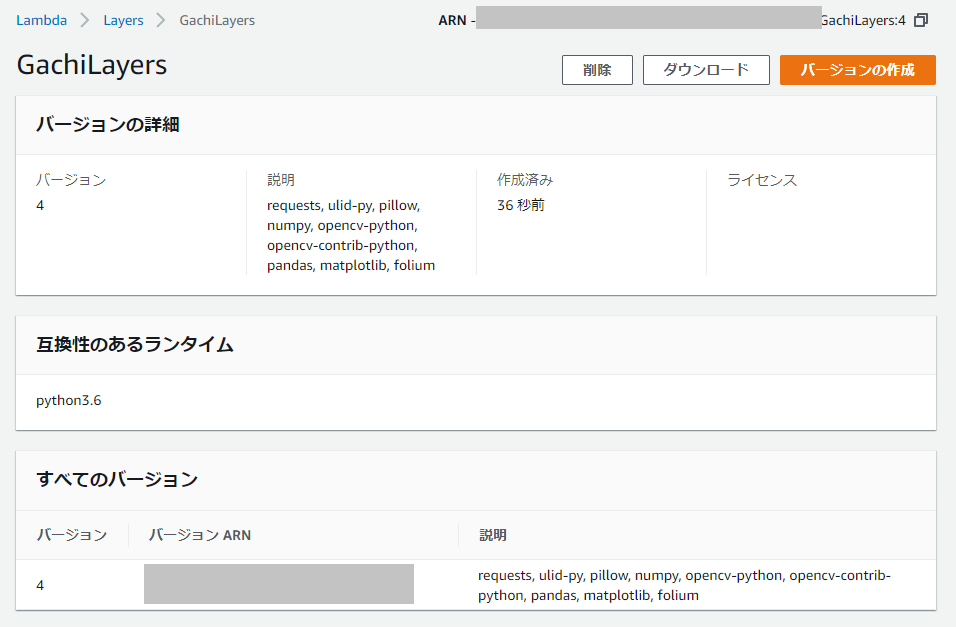
作成できました。
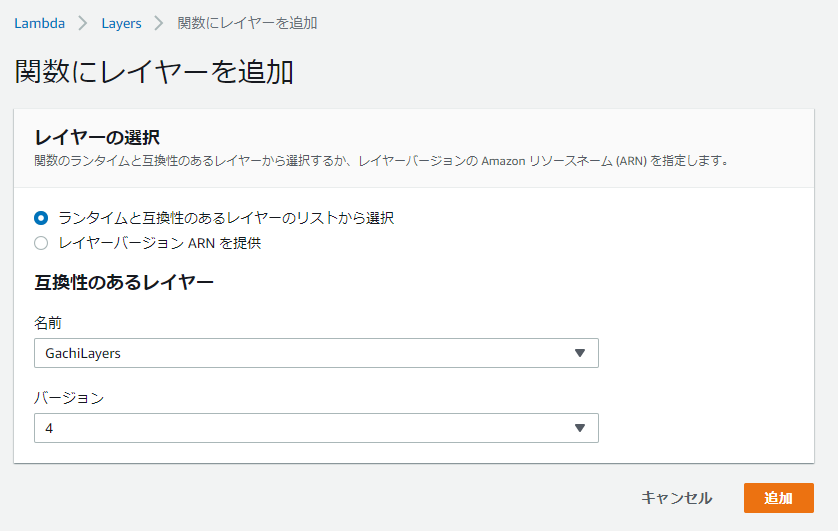
Lambda関数を作成(ランタイムはPython3.6)し、Layerを追加します。
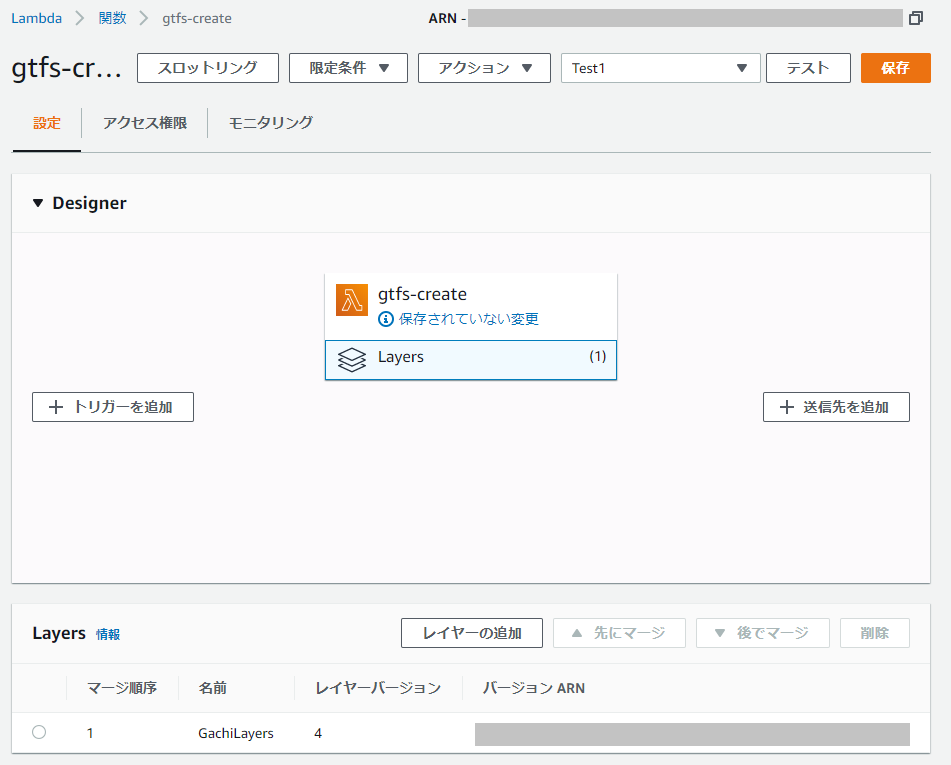
作成したレイヤーを選択。
Lamda関数を編集して、ライブラリが読み込まれていることを確認しましょう。
import json
import requests
import ulid
from PIL import Image
import numpy as np
import cv2
import pandas as pd
import matplotlib.pyplot as plt
import folium
from folium import plugins

def lambda_handler(event, context):
    # TODO implement
    return {
        'statusCode': 200,
        'body': json.dumps('Hello from Lambda!')
    }
テストイベントを作成します。
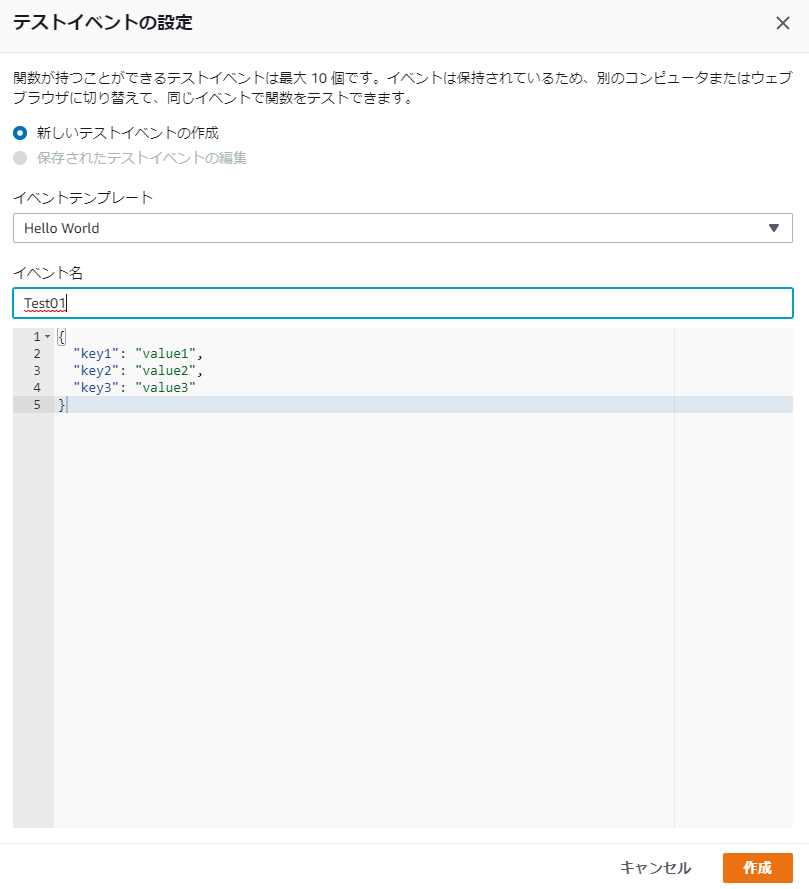
実行できれば、ライブラリが読み込まれているはずです。
Response:
{
  "statusCode": 200,
  "body": "\"Hello from Lambda!\""
}
お疲れ様でした。終わったらインスタンス消してもいいです。