HoloLensアドベントカレンダー2019の4日目の記事です!
皆さん、リアルアバターに自分の声で喋らせたいですよね?
AzureのCustomVoiceというカスタム音声合成サービスを用いれば、それが可能になります。今日はCustomVoiceで音声合成までをやってみましょう。
リソースの作成
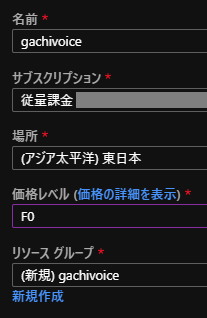
Azureサービスのリソースの作成から「Speech」と検索して、音声(Speech)サービスを作成します。
名前、サブスクリプション、場所、価格レベル、リソースグループを入力し、作成をクリックしてください。
CustomVoiceポータル
プロジェクトの作成
ここのGetStartedからCustomVoiceポータルに入ります。
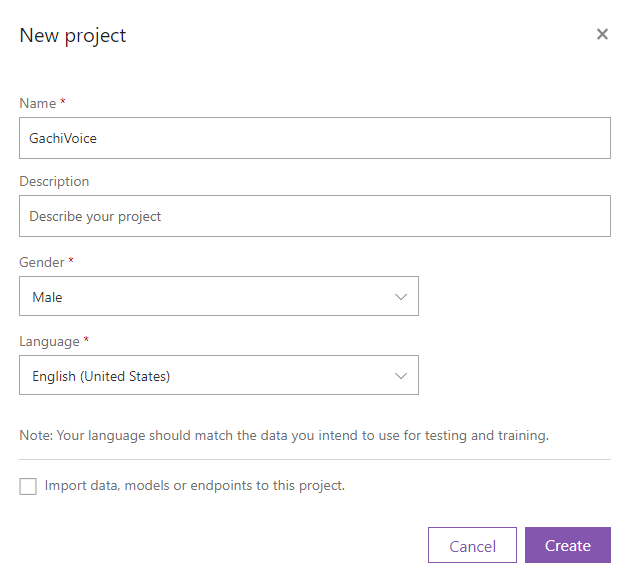
New Projectから新しいプロジェクトを作成してください。

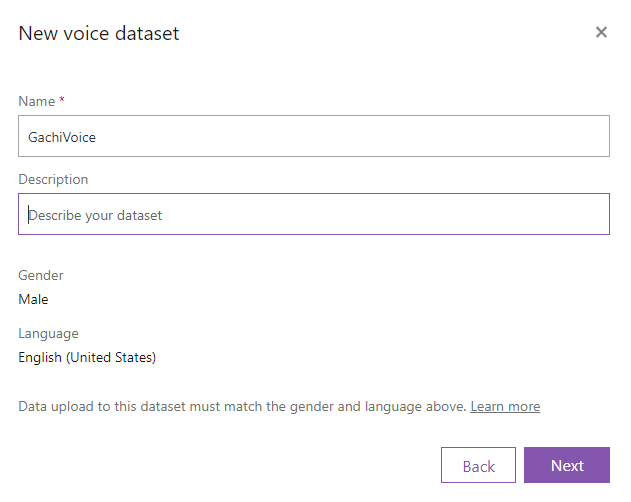
名前、性別、言語を選んでCreateをクリックしてください。
学習させる音声の言語は下記に対応しています。(日本語対応はよー)
- Chinese(Mandarin, simplified)
- Chinese(Mandarin, simplified), English bilingual
- English(India)
- English(United Kingdom)
- English(United States)
- French(France)
- German(Germany)
- Italian(Italy)
- Portuguese(Brazil)
- Spanish(Mexico)
データを準備
自分の音声で喋らすには、テキストとそれに対応する録音した音声が必要です。
カスタム音声を作成するためのデータを準備する
台本として、CMU Arctic コーパスを用います。CMU Arctic コーパスは、著作権切れの作品から抜粋された1132個の文章があります。ここからダウンロードしてください。
カスタム音声を作成するための音声サンプルを録音する
下記のフォーマット(ファイル名\t文章)に編集しテキストファイル(.txt)として保存します。
0000000000 Author of the danger trail, Philip Steels, etc.
0000000001 Not at this particular case, Tom, apologized Whittemore.
・・・
各文章を読み上げ、録音し、.wavファイルで保存してください。各wavファイルをzipファイルに圧縮します。
個々の発話 + 一致するトランスクリプト
| プロパティ | 値 |
|---|---|
| ファイル形式 | .zip ファイルにグループ化された RIFF (.wav) |
| サンプリング レート | 16,000 Hz 以上 |
| サンプル形式 | PCM、16 ビット |
| ファイル名 | 数値、拡張子は .wav。 重複するファイル名は許可されません。 |
| オーディオの長さ | 15 秒未満 |
| アーカイブ形式 | .zip |
| 最大アーカイブ サイズ | 2,048 MB |
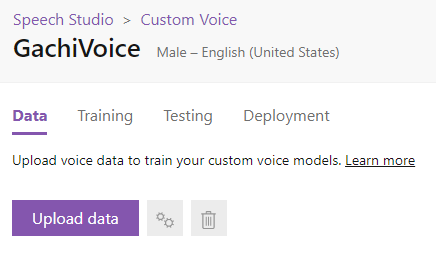
テキストファイル(.txt)と音声ファイル(.zip)がそろったら、Upload dataをクリックします。
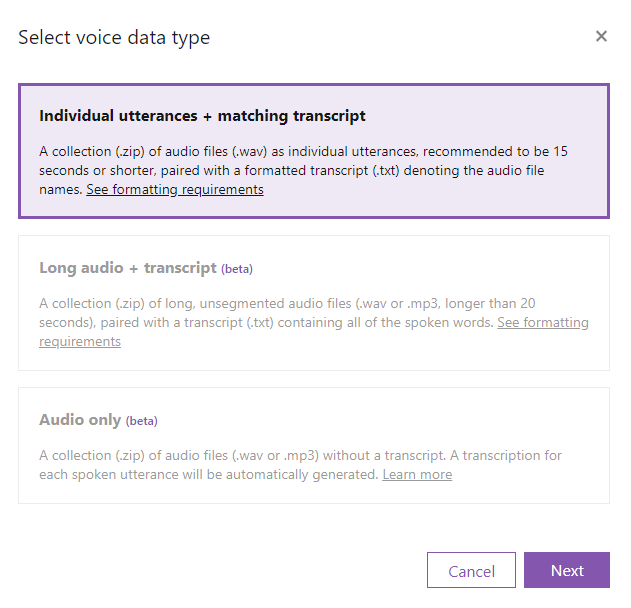
Individual utterances + matching transcriptを選択し、Nextをクリックします。
テキストファイルと録音した音声ファイルのzipファイルを選択し、 My data is correctly formatted for processing. にチェックを入れ、Uploadをクリックします。
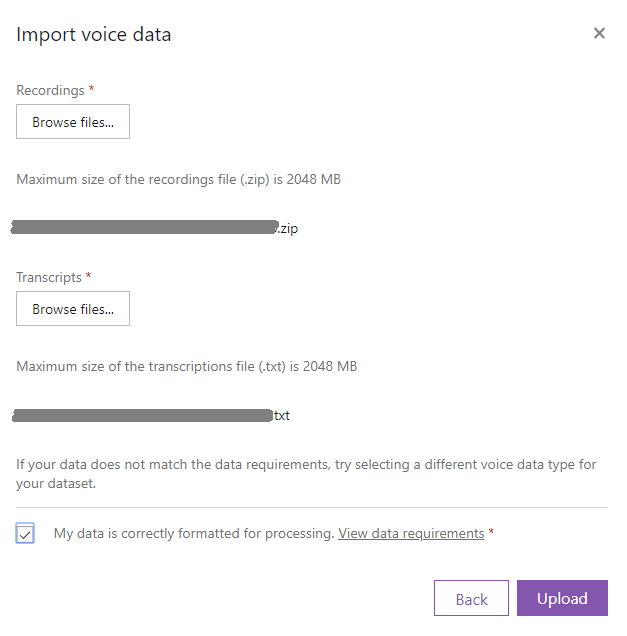
データセットを作成するので、そのままにして閉じたり更新しないでください。5分ほどかかりました。
Dataタブに作成したデータセットが表示され、StatusがProcessingからSucceededになっていれば準備完了です。10分ほどかかりました。
データの学習
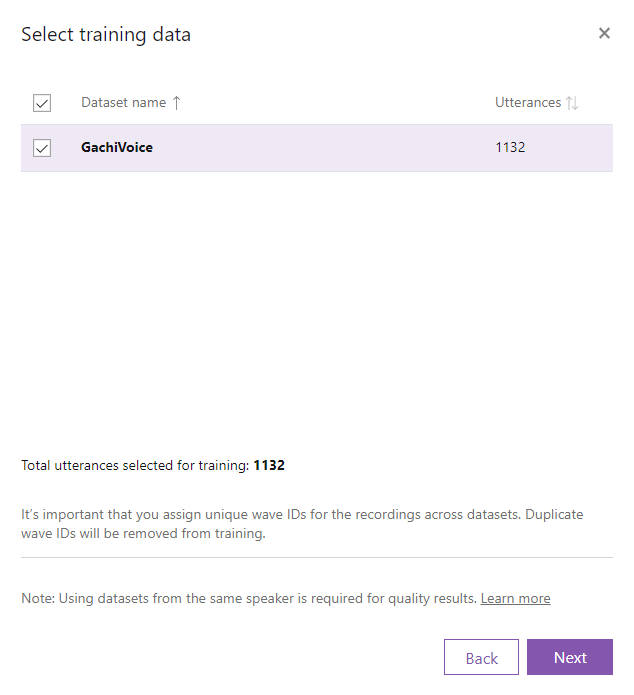
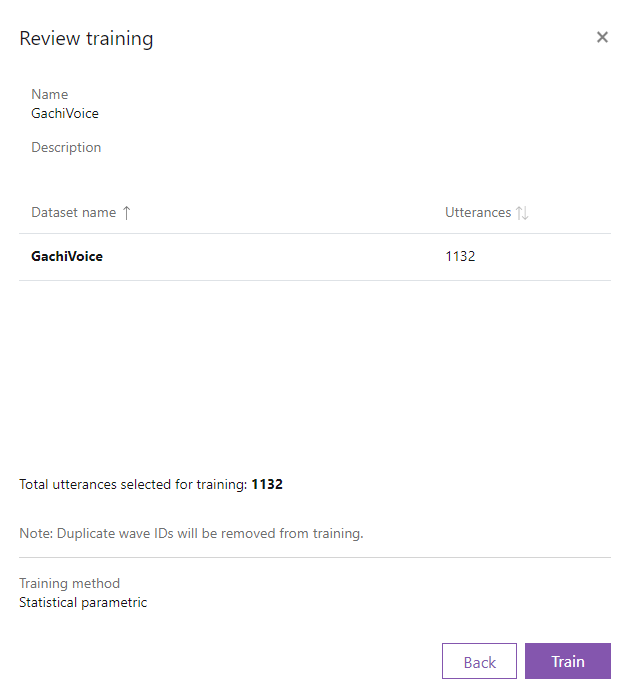
データセットができたら、Dataタブの対象のデータセットの右側にある歯車のマーク(Train)をクリックします。(Trainingのタブを選択し、Train modelからも選べる)

Statistical parametricを選択し、Nextをクリックします。
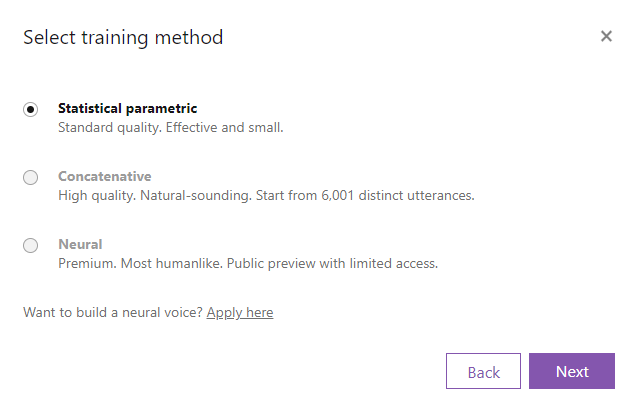
半日以上かかった気がします。
テスト
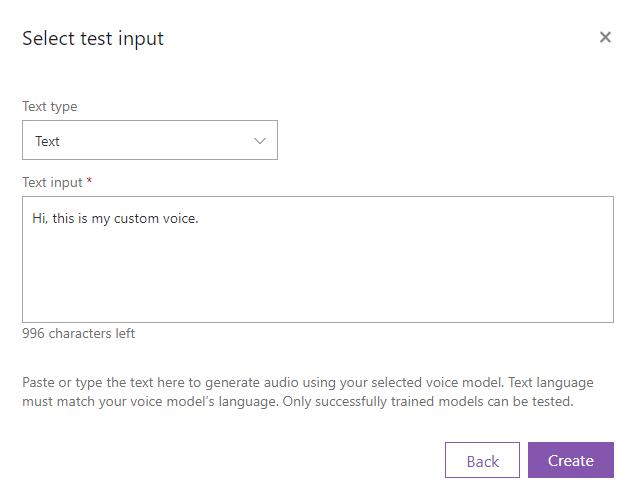
Testタブから作成したモデルを選択し、Nextをクリックします。
数分経つと音声ファイルが生成されます。再生ボタンをクリックして、聞いてみましょう。
デプロイ
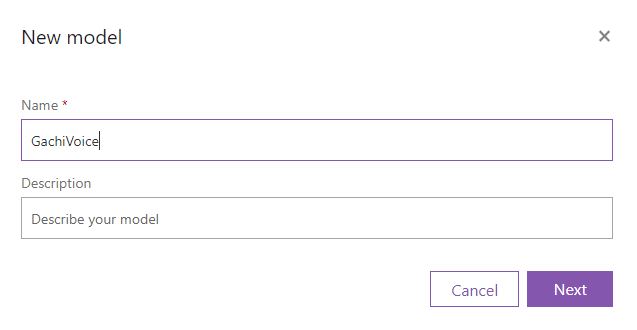
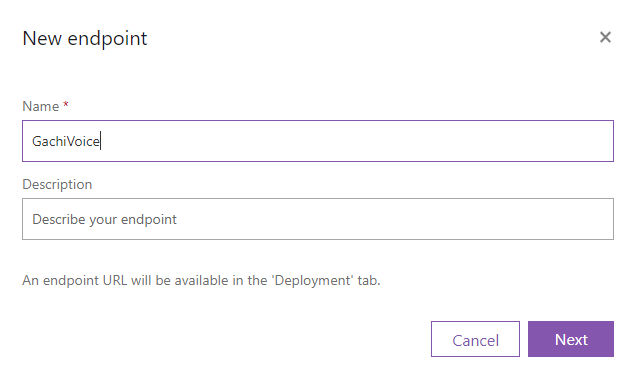
作成するエンドポイントのモデルを選択し、Addをクリックします。
数分経ってデプロイが完了すると、エンドポイントが発行されます。あとはAPIたたいてください。
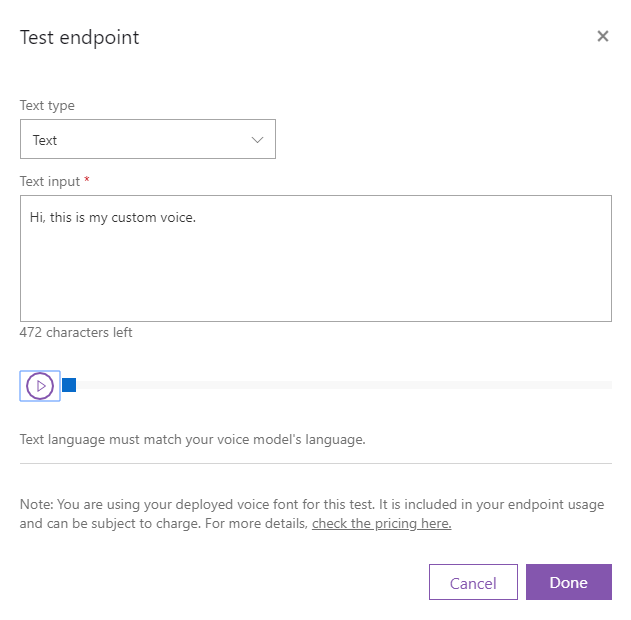
Check endpointをクリックして確認することもできます。
| Model / Voice name | GachiVoice |
| Endpoint key | |
| Endpoint URL | https://westus.voice.speech.microsoft.com/cognitiveservices/v1?deploymentId=33795f3f-7e82-4ca2-b256-4c099ba5a68f |
C#、JAVA(割愛)、Pythonのサンプルがあります。
Your access token hereとYOUR_RESOURCE_NAMEのところを自分のに置き換えてください。
//
// For more samples please visit https://github.com/Azure-Samples/Cognitive-Speech-TTS/tree/master/Samples-Http
//

string host = "https://westus.voice.speech.microsoft.com/cognitiveservices/v1?deploymentId=33795f3f-7e82-4ca2-b256-4c099ba5a68f";

string accessToken = "Your access token here";

// A sample SSML
string body = "<speak version=\"1.0\" xmlns=\"http://www.w3.org/2001/10/synthesis\" xmlns:mstts=\"http://www.w3.org/2001/mstts\" xml:lang=\"en-US\"><voice name=\"GachiVoice\">Hi, this is my custom voice.</voice></speak>";

// Get audio from endpoint
using (HttpClient client = new HttpClient())
{
    using (HttpRequestMessage request = new HttpRequestMessage())
    {
        request.Method = HttpMethod.Post;
        request.RequestUri = new Uri(host);
        request.Content = new StringContent(body, Encoding.UTF8, "application/ssml+xml");
        request.Headers.Add("Authorization", "Bearer " + accessToken);
        request.Headers.Add("Connection", "Keep-Alive");
        request.Headers.Add("User-Agent", "YOUR_RESOURCE_NAME");
        request.Headers.Add("X-Microsoft-OutputFormat", "riff-24khz-16bit-mono-pcm");

        using (HttpResponseMessage response = await client.SendAsync(request).ConfigureAwait(false))
        {
            response.EnsureSuccessStatusCode();
            using (Stream dataStream = await response.Content.ReadAsStreamAsync().ConfigureAwait(false))
            {
                using (FileStream fileStream = new FileStream(@"sample.wav", FileMode.Create, FileAccess.Write, FileShare.Write))
                {
                    await dataStream.CopyToAsync(fileStream).ConfigureAwait(false);
                    fileStream.Close();
                }
            }
        }
    }
}
'''
For more samples please visit https://github.com/Azure-Samples/Cognitive-Speech-TTS/tree/master/Samples-Http
'''

access_token = "Your access token here"

constructed_url = "https://westus.voice.speech.microsoft.com/cognitiveservices/v1?deploymentId=33795f3f-7e82-4ca2-b256-4c099ba5a68f"
headers = {
    'Authorization': 'Bearer ' + access_token,
    'Content-Type': 'application/ssml+xml',
    'X-Microsoft-OutputFormat': 'riff-24khz-16bit-mono-pcm',
    'User-Agent': 'YOUR_RESOURCE_NAME'
}

body = "<speak version=\"1.0\" xmlns=\"http://www.w3.org/2001/10/synthesis\" xmlns:mstts=\"http://www.w3.org/2001/mstts\" xml:lang=\"en-US\"><voice name=\"GachiVoice\">Hi, this is my custom voice.</voice></speak>"

response = requests.post(constructed_url, headers=headers, data=body)
if response.status_code == 200:
    with open('sample.wav', 'wb') as audio:
        audio.write(response.content)
        print("\nStatus code: " + str(response.status_code) + "\nYour TTS is ready for playback.\n")
else:
    print("\nStatus code: " + str(response.status_code) + "\nSomething went wrong. Check your subscription key and headers.\n")
まとめ
今日は、CustomVoiceで音声合成するまでを紹介しました。データの準備が一番大変ですね。
リアルアバターに喋らすまで続きます。お楽しみに!
