はじめに
3D Scanner AppでスキャンしたデータをUnityで見てみましょう
開発環境
- Windows 10 PC
- Unity 2019.4.1f1
プライムデーで安かったので、予備PC
— 藤本賢志(ガチ本)@pixivFANBOXはじめました (@sotongshi) October 18, 2020
【基本スペック】
OS:Windows 10 Home 64bit、CPU:インテル Core i7-9750H、GPU:NVIDIA GeForce GTX 1650 Ti Max-Q デザイン 4GB GDDR5、メモリ:16GB(8GB ×2)、SSD:512GB、液晶パネル:15.6インチ、フルHD(1,920×1,080)、リフレッシュレート120Hz pic.twitter.com/S8RIsayFPY
- iPad Pro もしくは iPhone 12 Pro
- 3D Scanner App (スキャンアプリ)
スキャンしたデータをUnityで見る
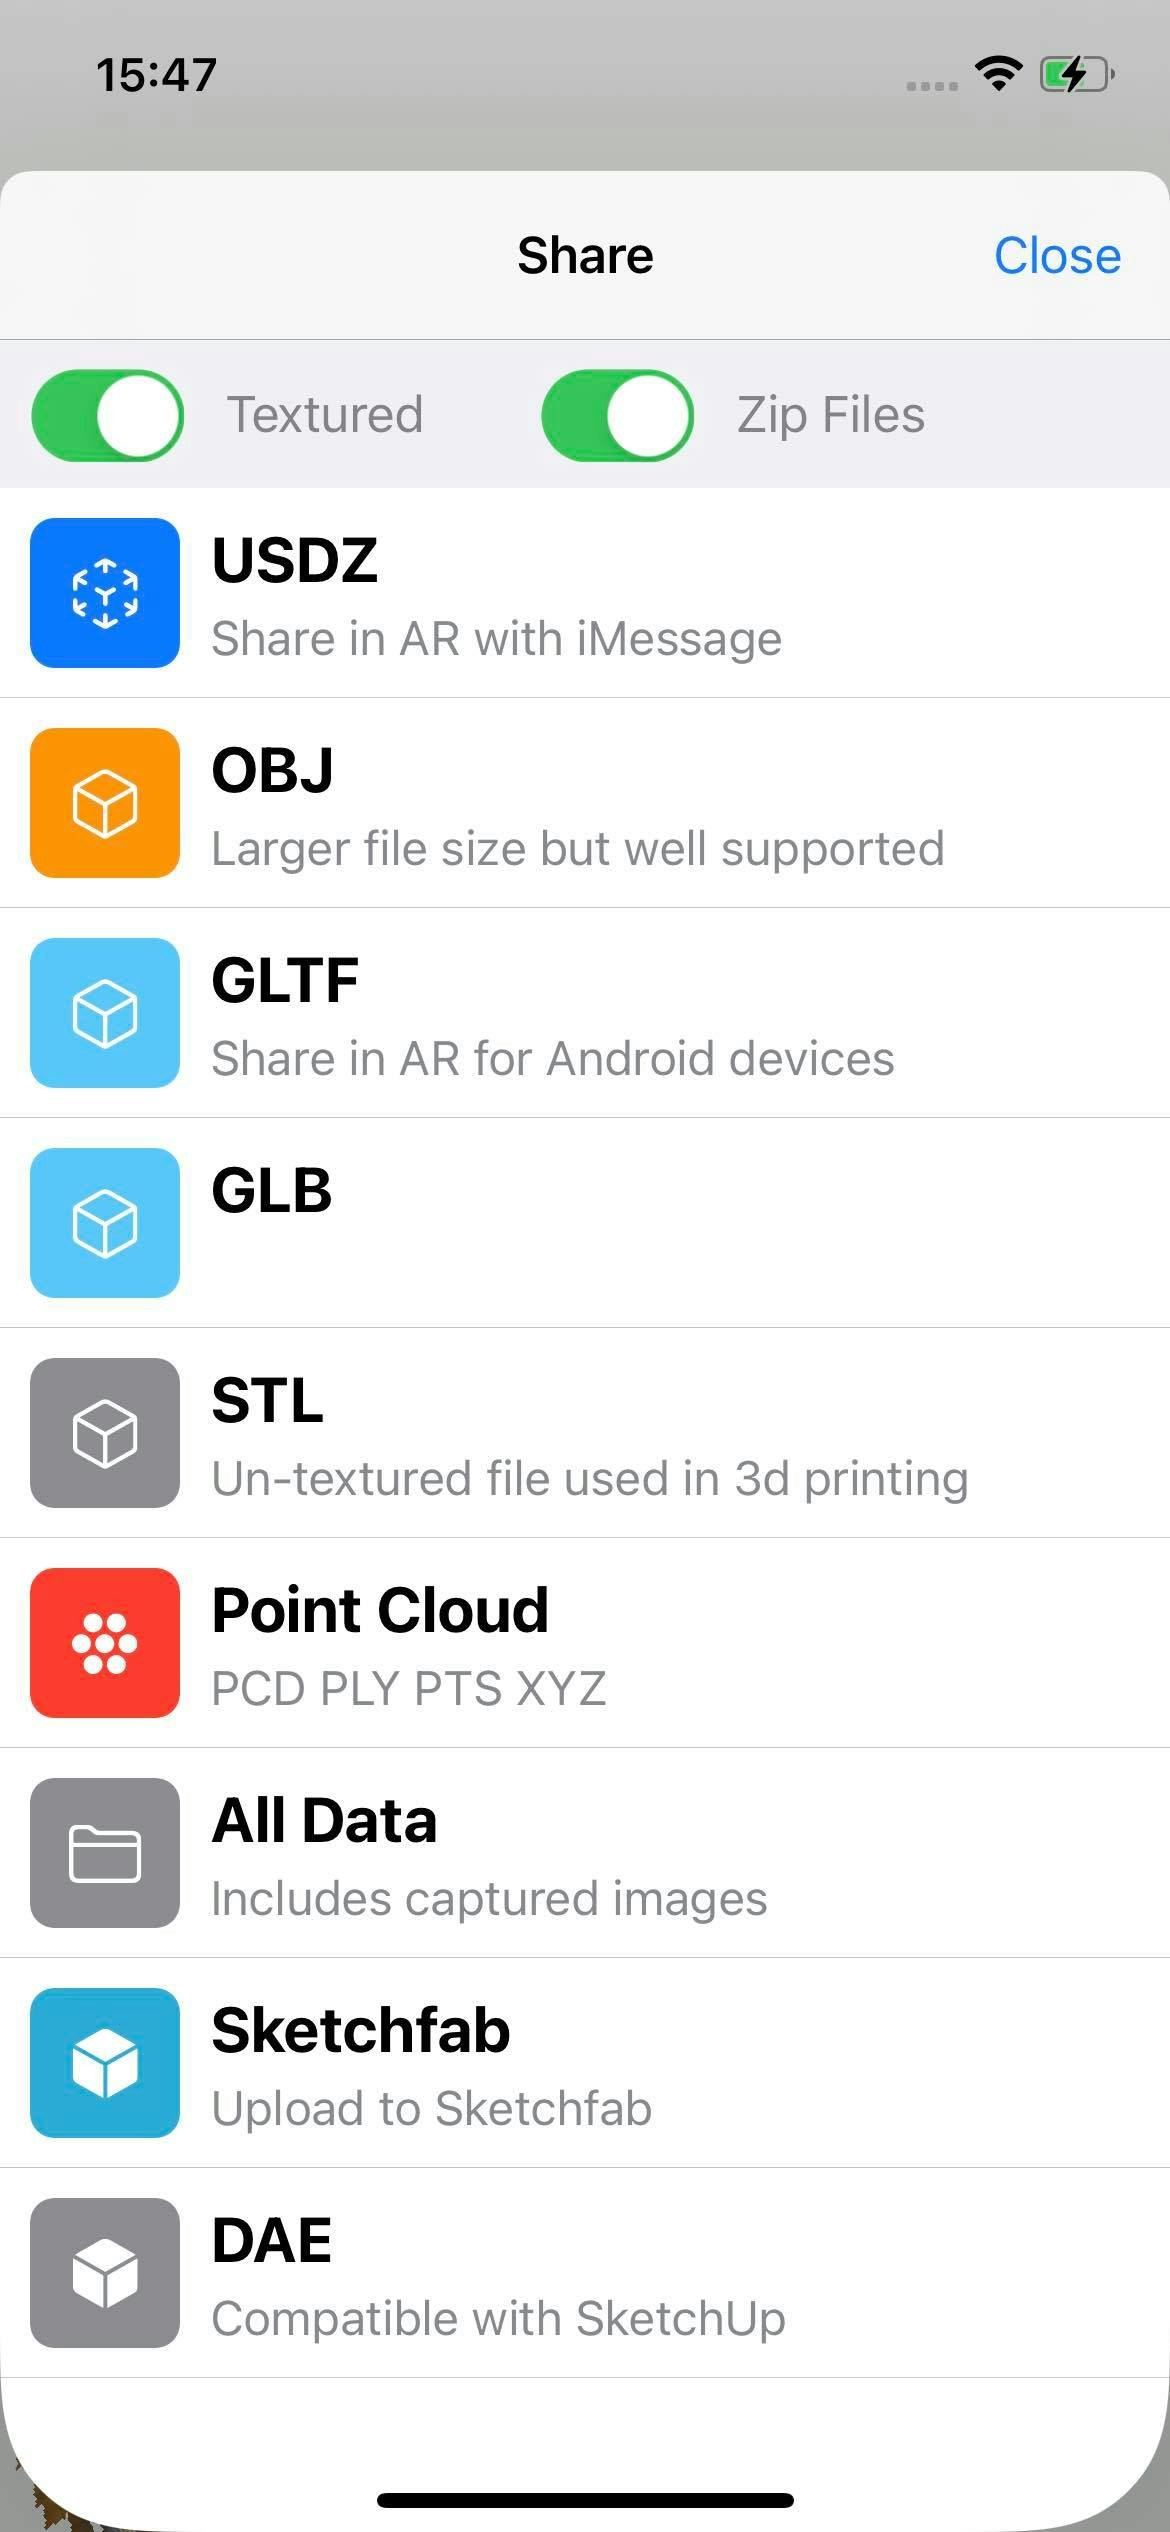
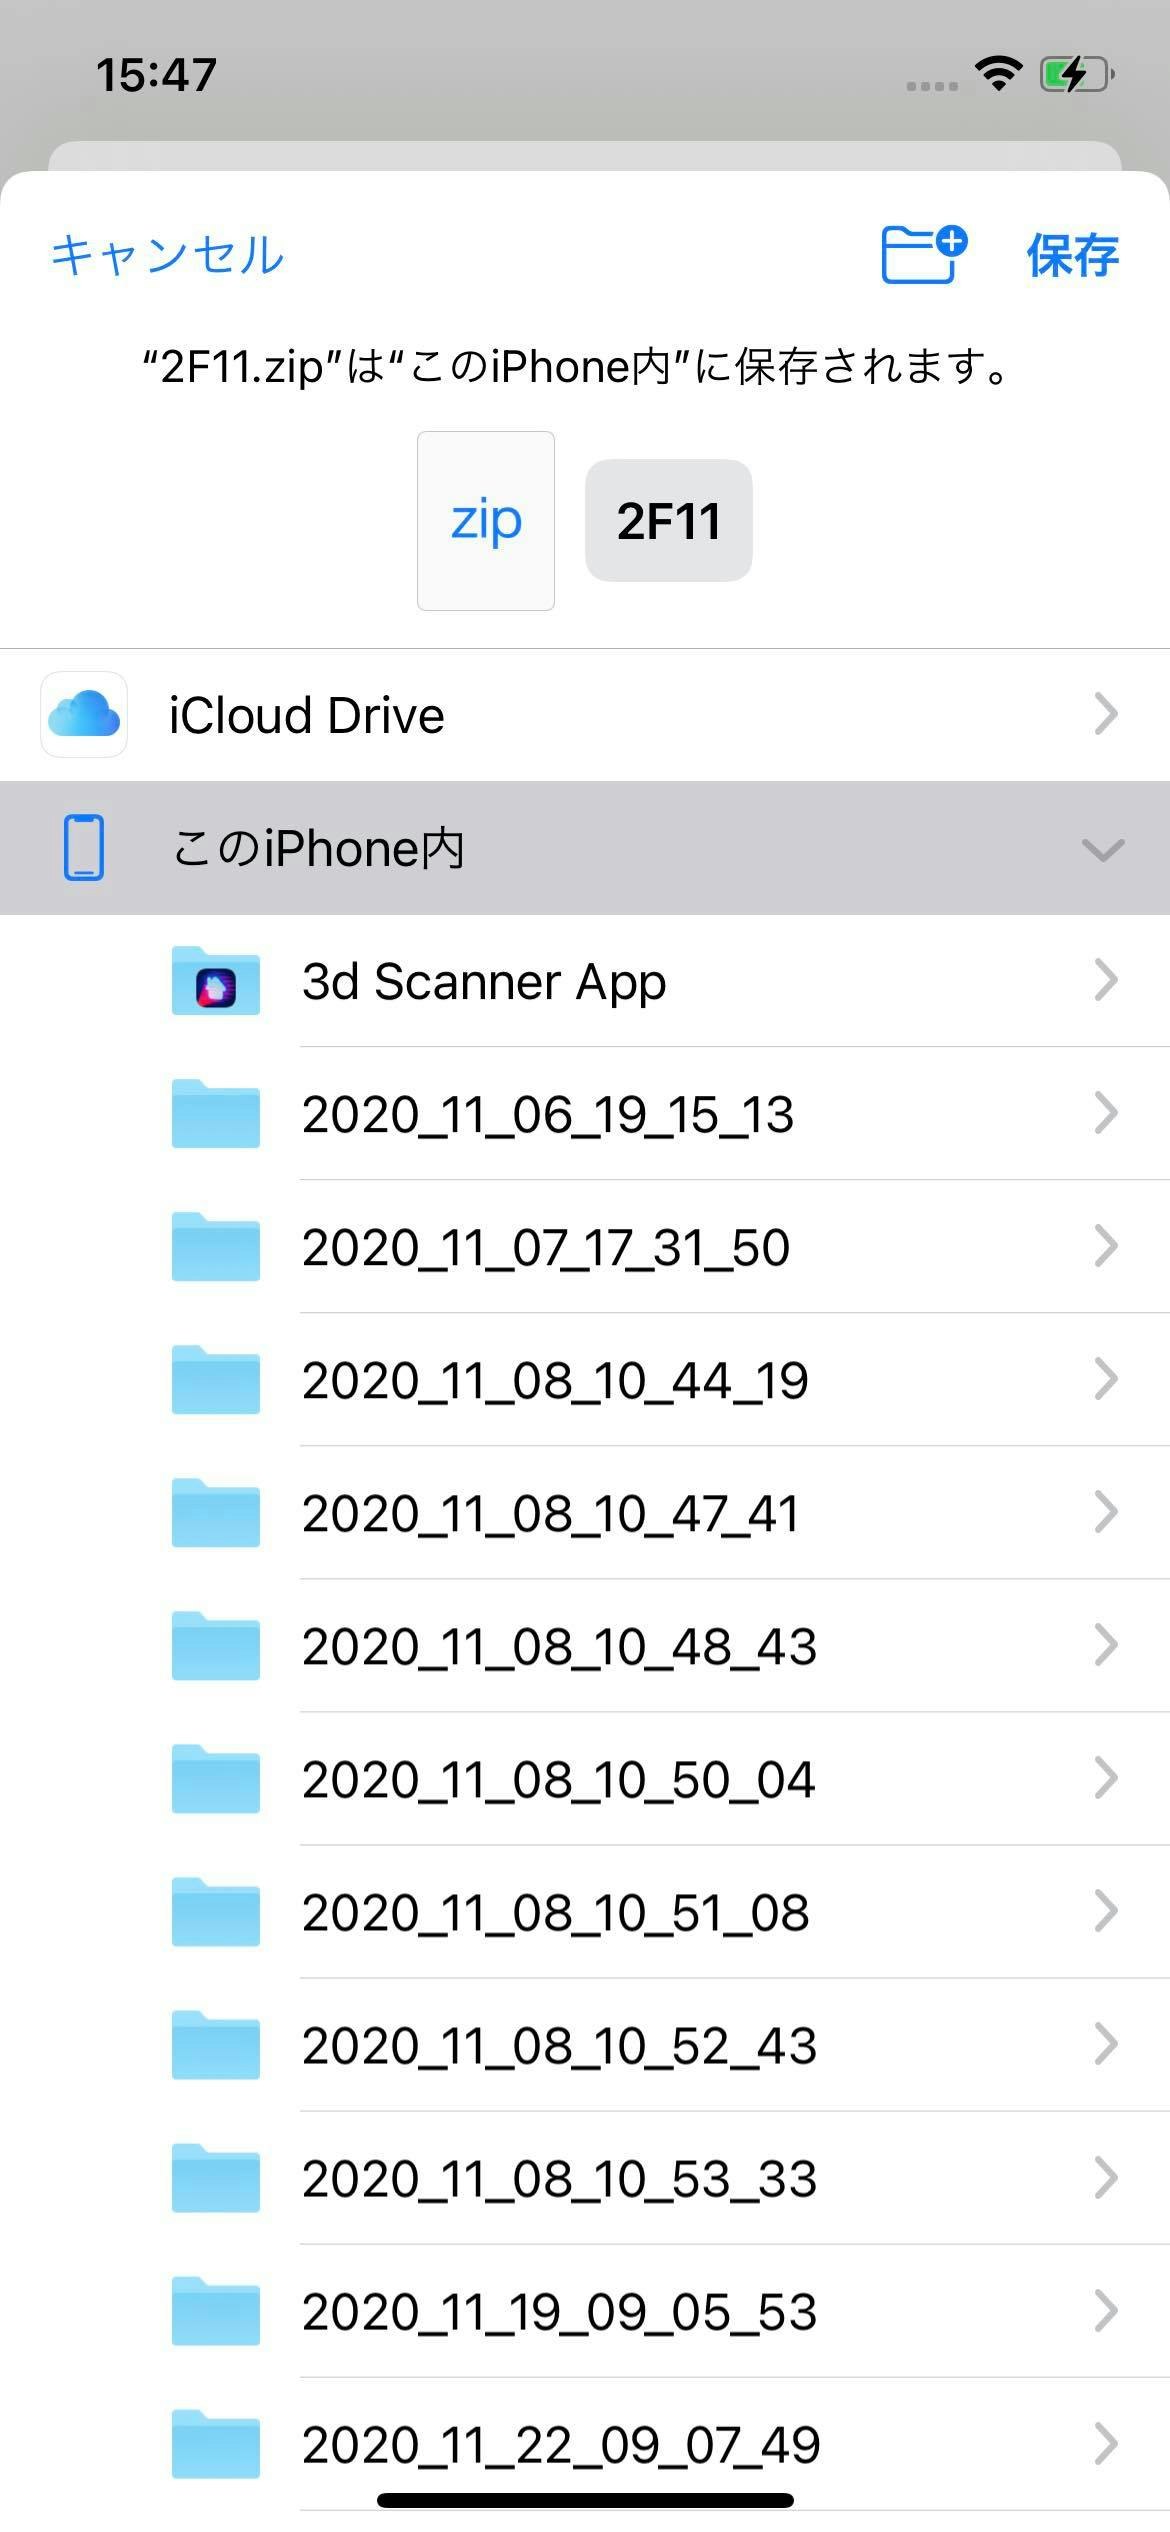
1.LOW RESでスキャンし、All Dataでエクスポートする
| 1 LOW RES | 2 All Data | 3 このiPhone内 | 4 Save to Files |
|---|---|---|---|
 |
 |
 |
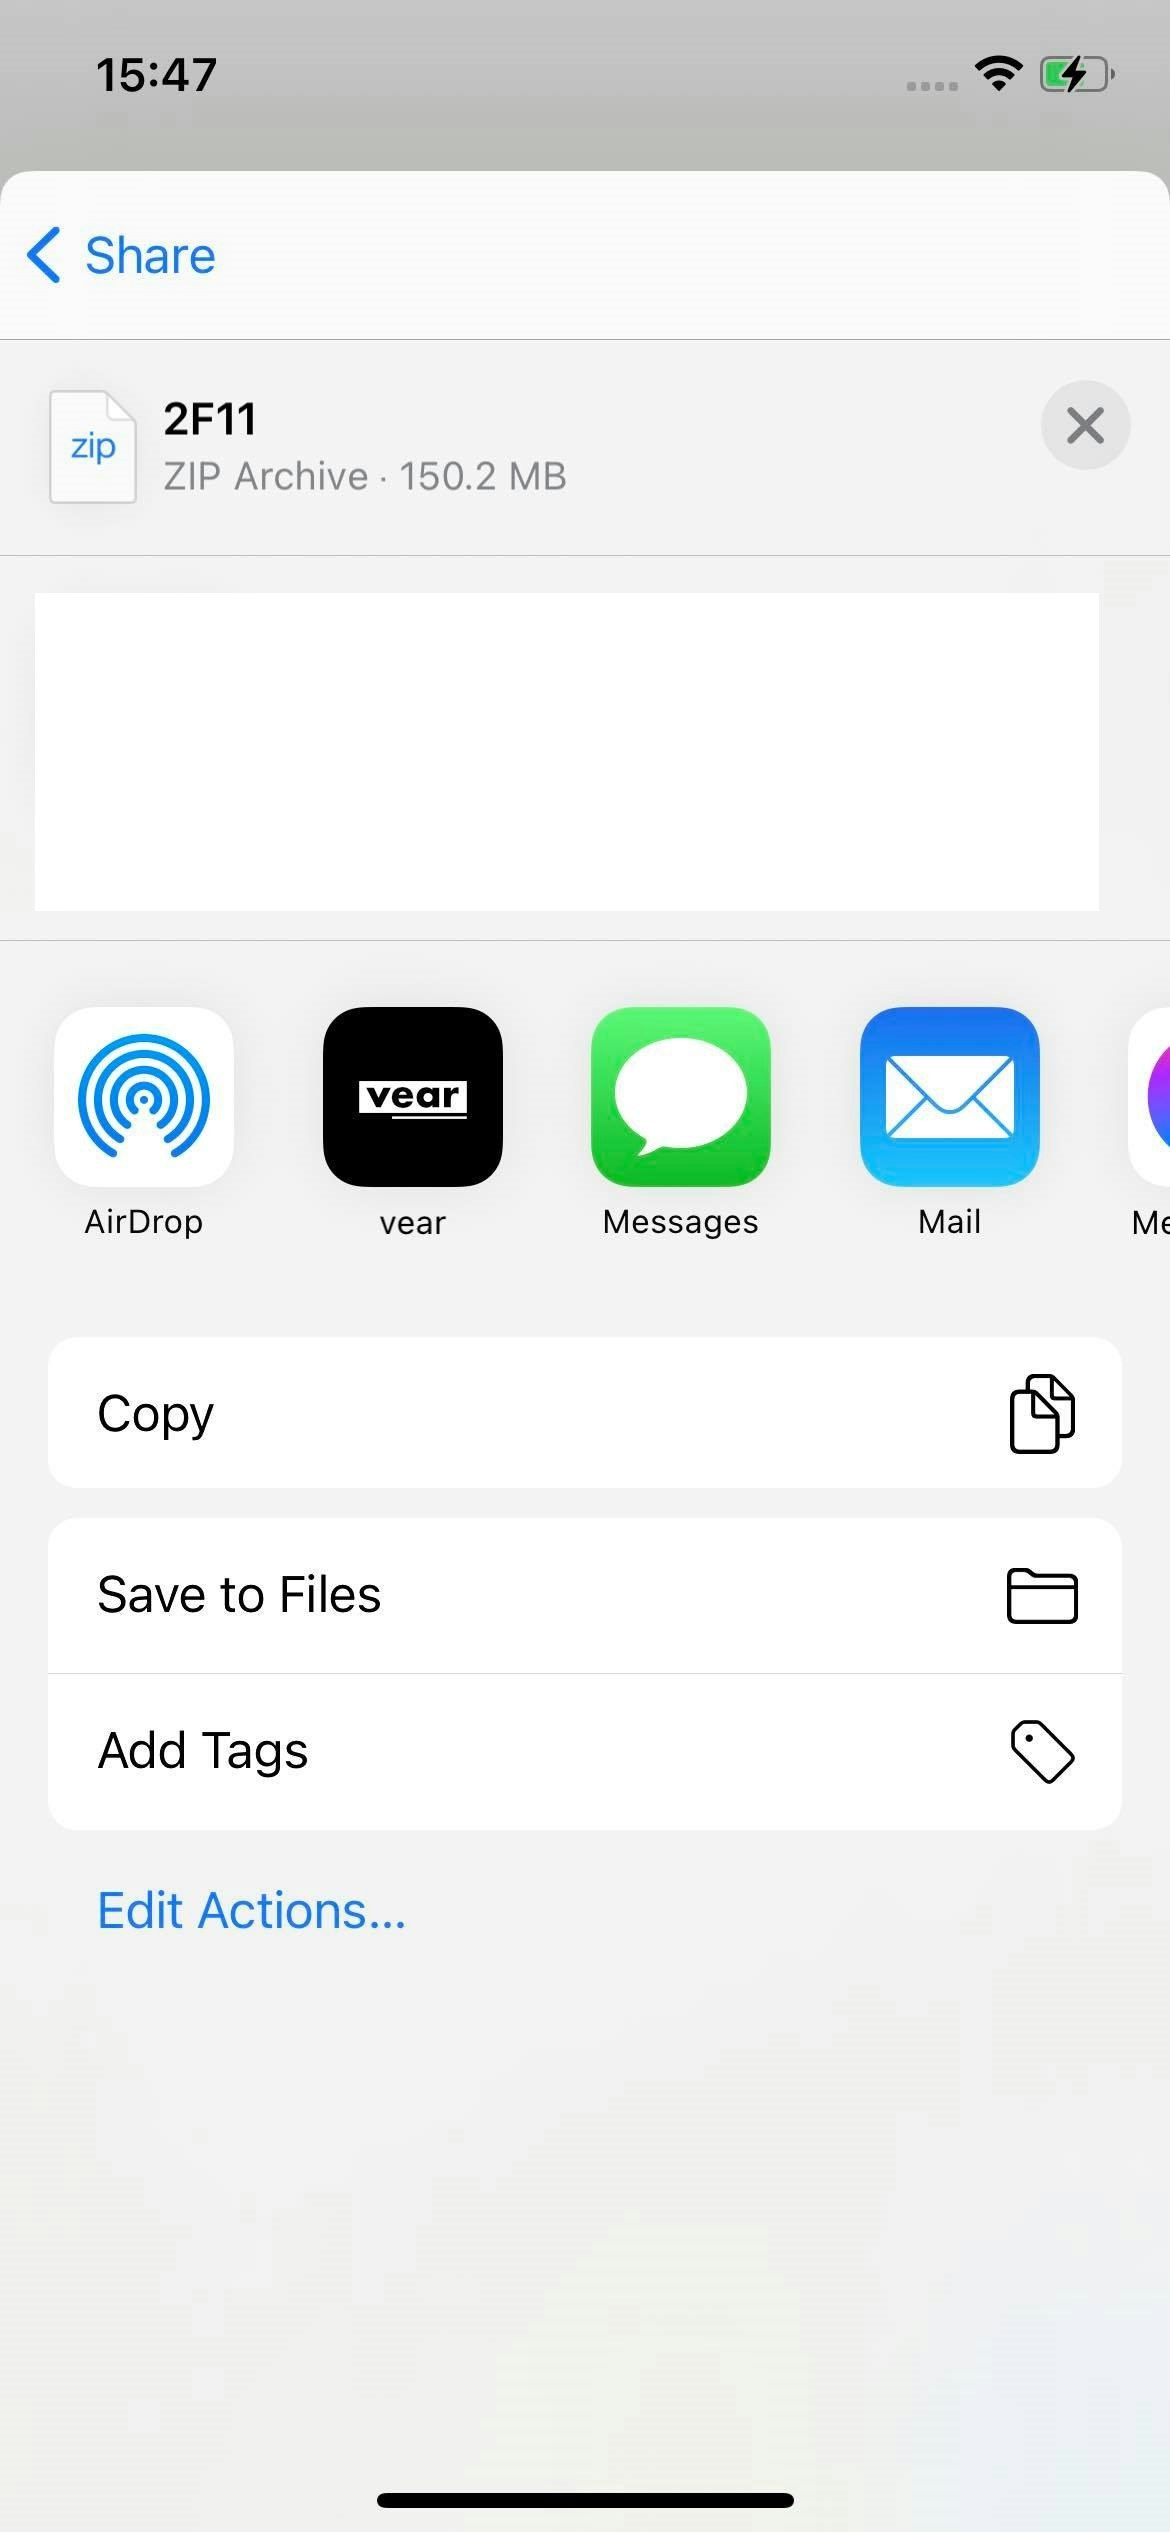 |
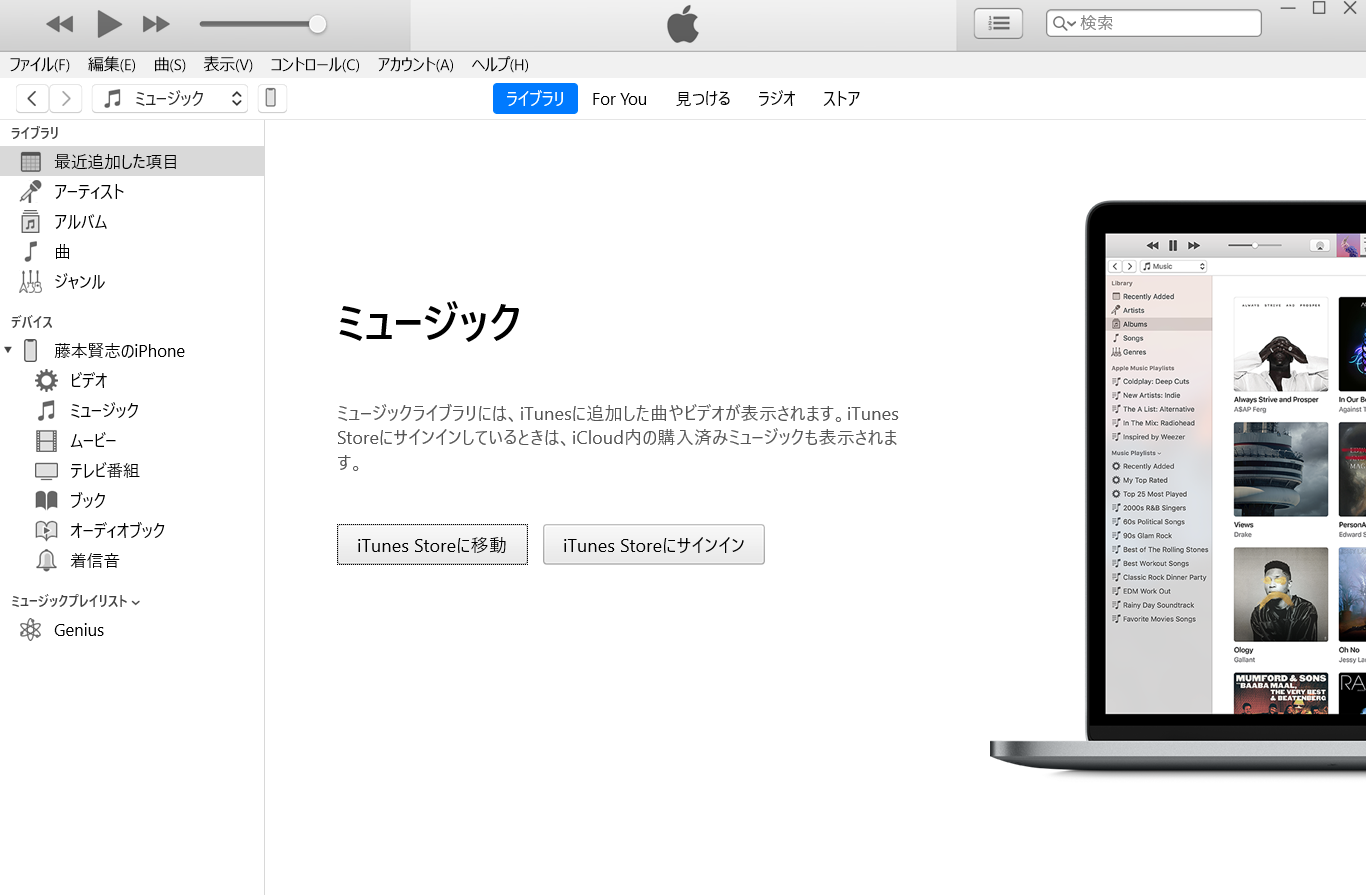
2.エクスポートしたモデルはUSBで接続してPCへ取り込む
3D Scanner Appから対象のデータをクリックし、保存する
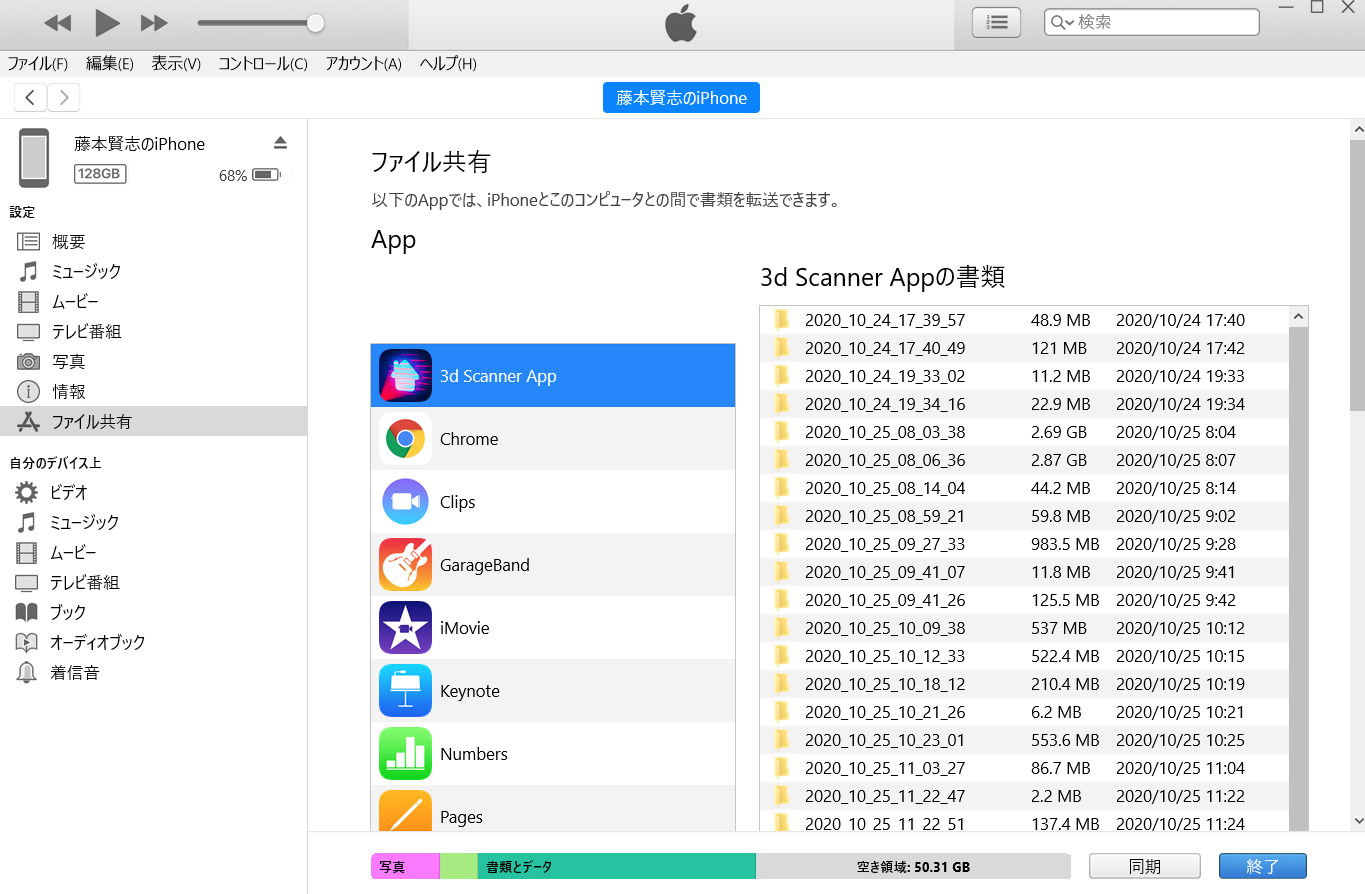
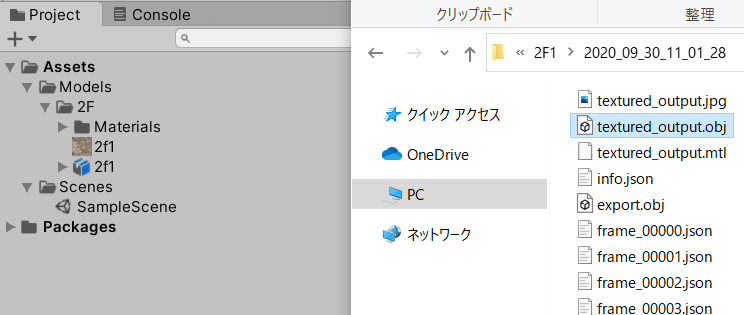
3.エクスポートしたデータのファイル構成は下記
| textured_output.jpg | 3Dモデルのテクスチャ |
| textured_output.obj | テクスチャ付き3Dモデル |
| textured_output.mtl | 3Dモデルのマテリアル |
| info.json | バージョンや頂点数など |
| export.obj | テクスチャなし3Dモデル |
| frame_xxxxx.json | カメラ情報など |
| frame_xxxxx.jpg | カラー画像 |
| depth_xxxxx.png | 深度画像 |
| thumb_00000.jpg | サムネイル画像 |
4.Unityでプロジェクトを作成する
5.textured_output.objおよびtextured_output.jpgをProjectビューのAssets以下にD&Dする(名前を2f1とした)
6.Assets->2f1(3Dモデル)をHierarchyビューにD&Dする。2f1->defaultのInspectorビューを開き、Assets->2f1(テクスチャ)をAdd Componentの付近にD&Dすると色が付く。
