はじめに
私のお気に入りのガジェットraytrekのノートPCでMiDaS v3.1やっていきまーす
開発環境
- Windows 11 PC(i7-12700H、RAM 16GB、RTX3060 Laptop 6GB)
- Python 3.10.11
- PyTorch 1.13.0
- CUDA Toolkit 11.7
導入
1.クローンします
2.CUDA Toolkit 11.7のインストール
https://developer.nvidia.com/cuda-11-7-0-download-archive?target_os=Windows&target_arch=x86_64&target_version=11&target_type=exe_network
3.PyTorchのインストール
pip install torch==1.13.0+cu117 torchvision==0.14.0+cu117 torchaudio==0.13.0 --extra-index-url https://download.pytorch.org/whl/cu117
4.requirements.txtを作成しインストール
requirements.txt
numpy==1.23.4
opencv-python==4.6.0.66
imutils==0.5.4
timm==0.6.12
einops==0.6.0
pip install -r requirements.txt
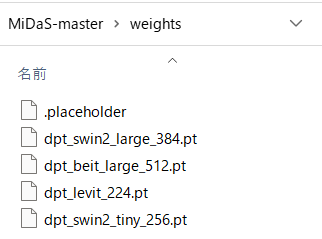
5.MiDaS-master\weightsにdpt_beit_large_512.ptを置きます
6.実行しましょう!
ファイルから
python run.py --model_type dpt_beit_large_512 --input_path input --output_path output
| input | output |
|---|---|
 |
 |
ウェブカメラから
python run.py --model_type dpt_beit_large_512 --side
ESCで終了します。
2FPSくらい。
お疲れ様でした。
