はじめに
AzureKinect持ってないけど、ビルドします。
開発環境
- Windows 10(RTX2080 Max-Q、i7-8750H、RAM16GB)
- Azure Kinect SDK 1.4.0
- Azure Kinect Body Tracking SDK 1.0.1
- OpenCV 4.3.0
- CMake 3.18.0
- Visual Studio 2019
Azure Kinect SDKのインストール
Windows のダウンロード リンクのMicrosoft インストーラからAzure Kinect SDKをダウンロード、Azure Kinect SDK 1.4.0.exeを実行し、インストールします。
スタートメニューからAzure Kinect Viewerが起動できればOKです。

Azure Kinect Body Tracking SDKのインストール
Download Azure Kinect Body Tracking SDKからversion 1.0.1のmsiを選びダウンロード、Azure Kinect Body Tracking SDK 1.0.1.msiを実行し、インストールします。
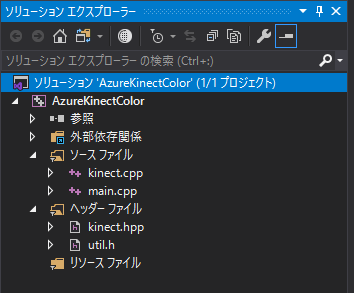
AzureKinectSampleやーる
UnaさんのAzureKinectSampleをクローンします。
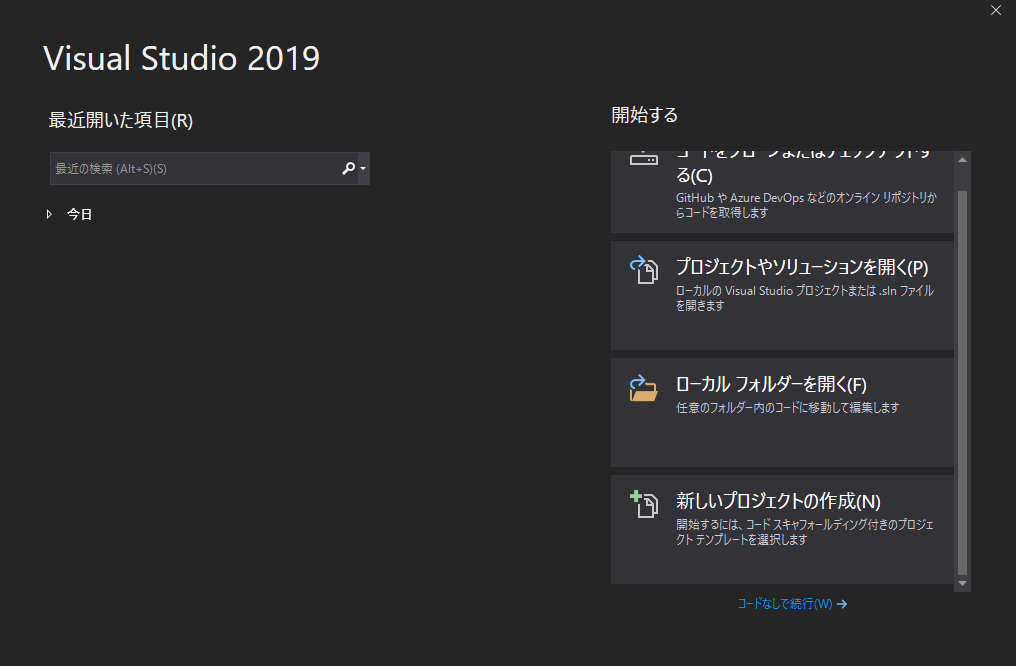
Visual Studio 2019で新規プロジェクト作成
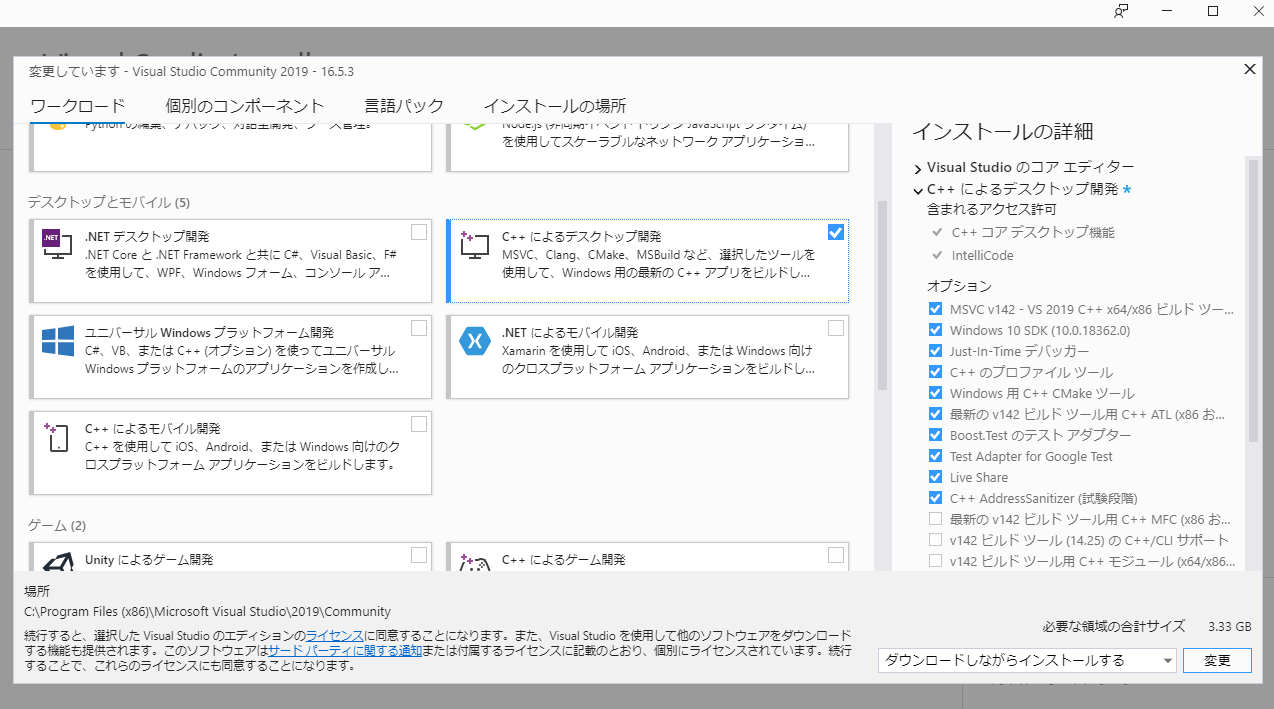
Visual Studio Installerを開き、C++によるデスクトップ開発にチェックを入れ、C++の開発環境を構築しておきましょう。
Visual Studio 2019を開き、C++のプロジェクトを作成し、AzureKinectSampleのsamples->cpp->colorのプログラムをコピペして動かしてみます。
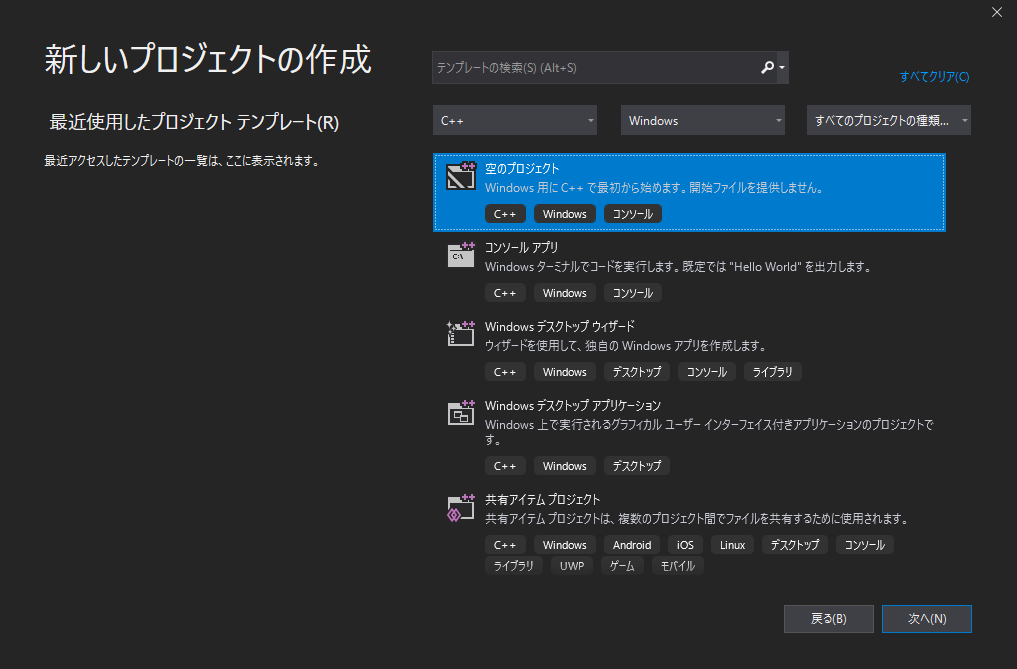
新しいプロジェクトの作成をクリックします。
空のプロジェクトを作成します。
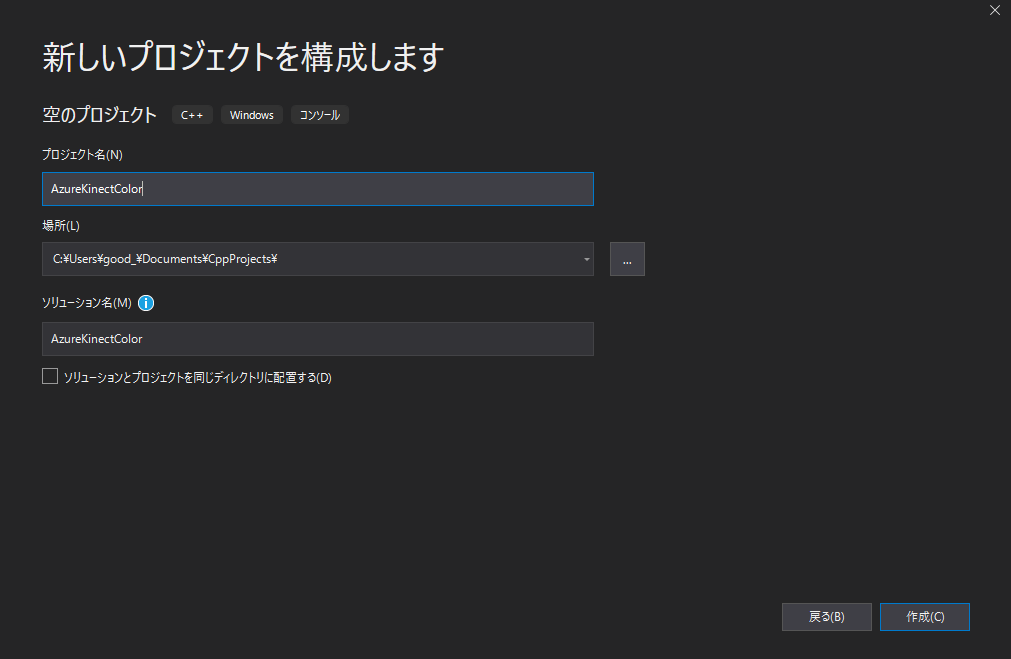
プロジェクト名を入力します。
既存の項目からファイルを追加します。
ビルドするとライブラリが見えないエラーが出ると思います。k4aとopencvのライブラリを読み込む必要があります。
OpenCV 4.3.0のインストール
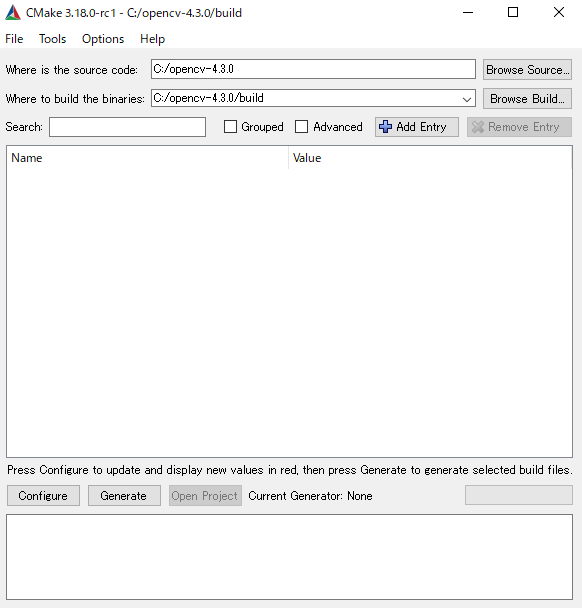
OpenCV – 4.3.0のSourcesをダウンロードします。
Cドライブの直下に置きます。
CMakeをインストールします。
CMakeからcmake-3.18.0-rc1-win64-x64.msiをダウンロードし、実行してインストールします。
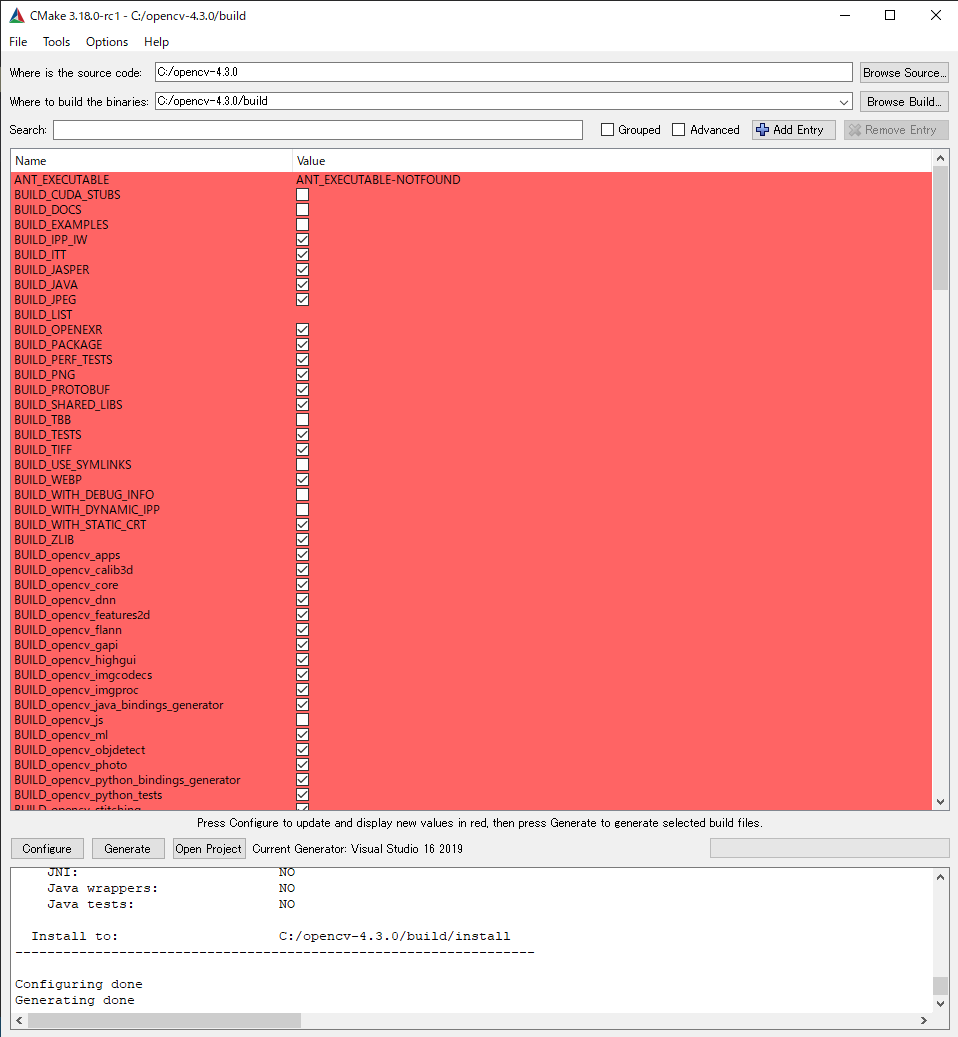
CMakeを開き、OpenCVをビルドします。Configureをクリックします。
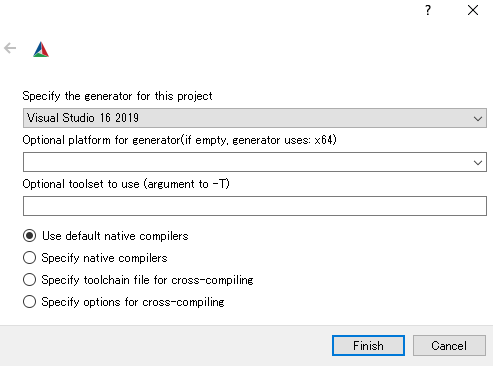
Visual Studio 2019を指定します。
Generateをクリックします。
生成されたOpenCV.slnを開きます。

Release、x64でCtrl+Shift+Bでビルドします。
プロジェクトに戻ります
インクルードを準備します。
C:\opencv-4.3.0\include\opencv.hppをC:\opencv-4.3.0\build\include\opencv2へコピペ
C:\opencv-4.3.0\build\opencv2\opencv_modules.hppをC:\opencv-4.3.0\build\include\opencv2へコピペ
プロジェクトのプロパティ->C/C++->全般->追加のインクルードディレクトリに以下を追記します。
C:\Program Files\Azure Kinect SDK v1.4.0\sdk\include
C:\opencv-4.3.0\build\include
リンカを準備します。
リンカ->全般->追加のライブラリディレクトリに以下を追記します。
C:\Program Files\Azure Kinect SDK v1.4.0\sdk\windows-desktop\amd64\release\lib
C:\opencv-4.3.0\build\lib\Release
リンカ->全般->入力に以下を追記します。
k4a.lib
k4arecord.lib
opencv_core430.lib
opencv_highgui430.lib
opencv_imgproc430.lib
opencv_imgcodecs430.lib
VC++ディレクトリ->実行可能ファイルディレクトリに以下のパスを追記します。
C:\Program Files\Azure Kinect SDK v1.4.0\sdk\windows-desktop\amd64\release\bin
C:\opencv-4.3.0\build\bin\Release
しかし、DLLファイルが見つからないと出てしまったため(なぜ!)、DLLファイルをプロジェクトフォルダ直下にコピペしました。

Ctrl+F5で実行してみるとFailed to found device!
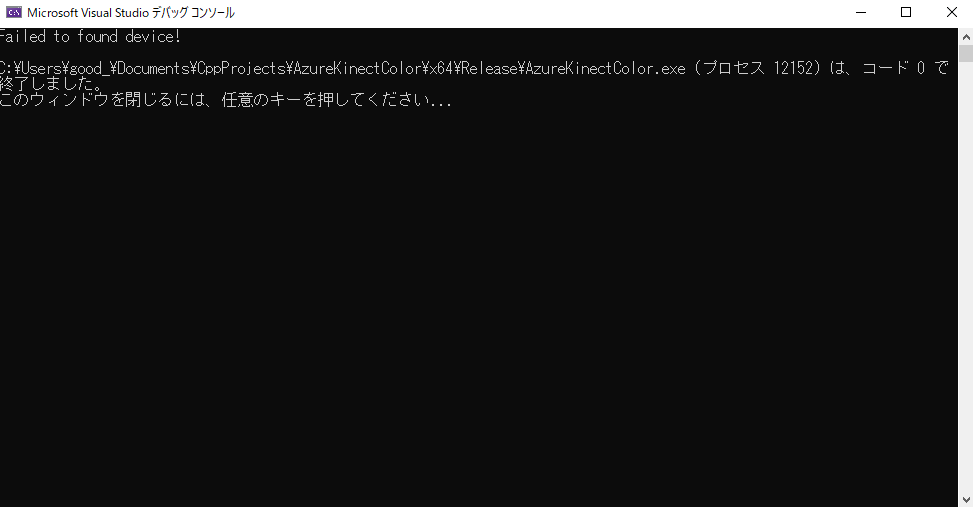
実機欲しい!!!
(C++は導入が面倒なのでPythonやりましょ~)
追記
実機を持っている方に試していただきました!ちゃんと動きました!