はじめに
Tauri + Vue.jsでローカルにある画像を表示させようとしたところ、
簡単にいかず、試行錯誤の末に解決できましたので一つの方法として解決方法を共有したいと思います。
最初に試したこと
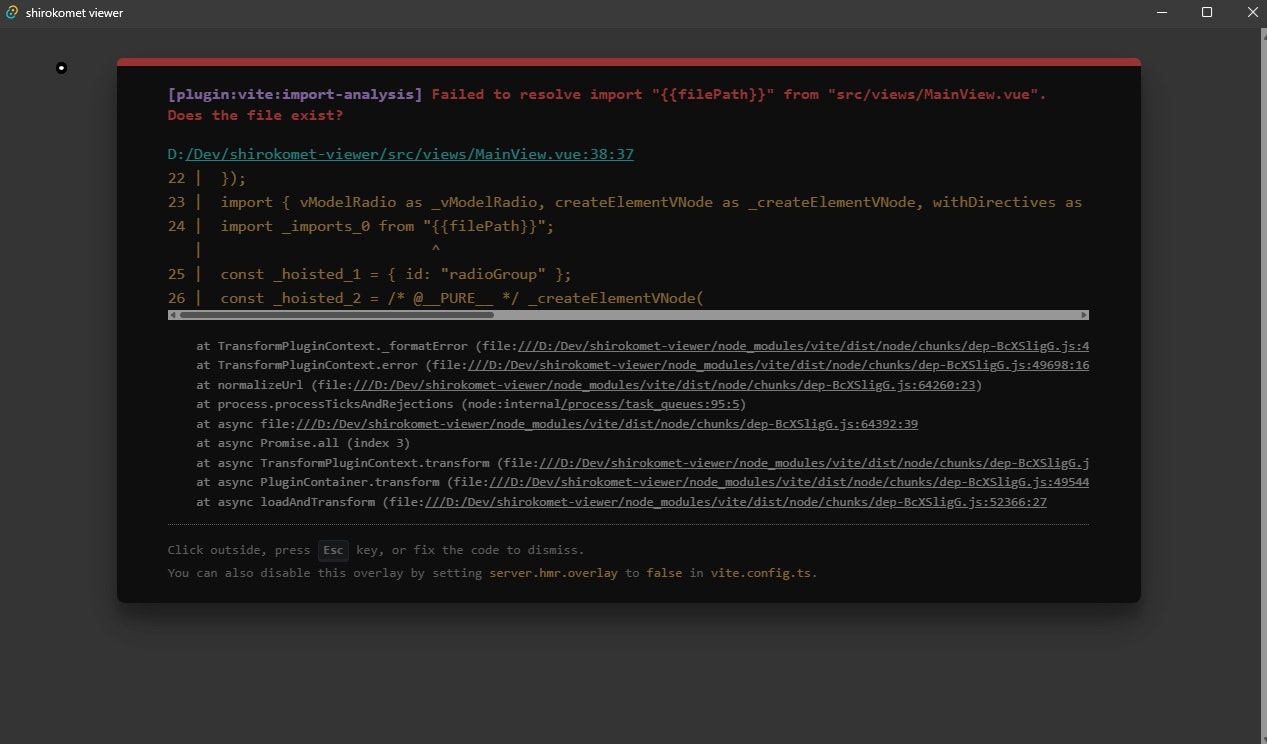
image要素のsrc属性の値を動的に変えればうまくいくだろうと思い、実装したのでしたが、エラーになってしまいました。
<script setup lang="ts">
import {ref} from "vue";

const selectType = ref(1);
const filePath = ref("");

function changeImage() {
  if (selectType.value == 1) {
    filePath.value = "D:\\illustration\\computer_internet_sns.png";
  } else if (selectType.value == 2) {
    filePath.value = "D:\\illustration\\computer_screen_programming.png";
  } else if (selectType.value == 3) {
    filePath.value = "D:\\illustration\\tablet_touch_panel.png";
  }
}
</script>

<template>
  <section id="radioGroup">
    <label>
      <input type="radio" name="imageType" value="1"
             v-model="selectType" @change="changeImage">
      画像1
    </label>
    <label>
      <input type="radio" name="imageType" value="2"
             v-model="selectType" @change="changeImage">
      画像2
    </label>
    <label>
      <input type="radio" name="imageType" value="3"
             v-model="selectType" @change="changeImage">
      画像3
    </label>
    <span>ファイルパス:{{filePath}}</span>
  </section>
  <hr/>
  <img id="image1" src="{{filePath}}" alt="image">
</template>
次に試したこと
ならば関数側でsrcにパスを設定すれば動作するだろうと思い実装しましたが、これもうまくいきませんでした。
特にエラーもなく、かといって何かが表示されるわけでもありませんでした。
<script setup lang="ts">
import {ref} from "vue";

const selectType = ref(1);
const filePath = ref("");

function changeImage() {
~~~省略~~~
  const imgElement = document.getElementById("image1") as HTMLImageElement;
  imgElement.src = filePath.value;
}
</script>

<template>
~~~省略~~~
  <hr/>
  <img id="image1" src="" alt="image">
</template>
image要素のsrc属性にはバイナリデータを設定できるらしい
どうしたものかと色々検索していると、src属性にはパス以外にもバイナリデータを設定して画像を生成表示させることが可能ということがわかりました。
バイナリデータをbase64エンコードするようです。
<img src="data:[<mediatype>][;base64],<data>">
<mediatype>にはMIMEタイプが入ります。
| 形式 | タイプ |
|---|---|
| PNG | image/png |
| JPEG | image/jpeg |
| GIF | image/gif |
| WebP | image/webp |
| SVG | image/svg+xml |
...など
例えば.pngファイルの場合、
<img src="data:image/png;base64,<バイナリデータ>">
のようになります。
画像のバイナリデータを取得したい
ではどのようにして画像のバイナリデータを取得すれば良いのでしょうか?
これも調べた結果、Tauriのapiで実現可能なことがわかりました。
readBinaryFile(filePath: string, options?: FsOptions): Promise<Uint8Array>を使用します。
filePathはそのままパスの文字列で、optionsは省略可能で、ベースとなるディレクトリを指定したりできます。
例えば
const contents = await readBinaryFile('target.png', { dir: BaseDirectory.Picture });
とコーディングするとWindowsでいうピクチャの中にあるtarget.pngファイルを読み込みにいきます。
省略するとパスにある通り読み込みます。
const contents = await readBinaryFile('c:\\image\\target.png');
これでバイナリデータを取得できましたが、取得したデータはUint8Array型なのでこれをbase64のデータにします。
  const contents = await readBinaryFile("c:\\image\\target.png");

  const len = contents.byteLength;
  let binaryData = "";
  for (let i = 0; i < len; i += 1) {
    binaryData += String.fromCharCode(contents[i]);
  }

  const img = document.getElementById("image1") as HTMLImageElement;
  img.src = "data:image/png;base64," + window.btoa(binaryData);
このように実装することでimg要素に画像を設定することができます。
しかしこれだけではまだ動かない!
上記を踏まえて実装したのが以下のコードです。
<script setup lang="ts">
import {ref} from "vue";
import {readBinaryFile} from "@tauri-apps/api/fs";

const selectType = ref(1);
const filePath = ref("");

async function changeImage() {
  if (selectType.value == 1) {
    filePath.value = "D:\\illustration\\computer_internet_sns.png";
  } else if (selectType.value == 2) {
    filePath.value = "D:\\illustration\\computer_screen_programming.png";
  } else if (selectType.value == 3) {
    filePath.value = "D:\\illustration\\tablet_touch_panel.png";
  }

  const contents = await readBinaryFile(filePath.value);

  const len = contents.byteLength;
  let binaryData = "";
  for (let i = 0; i < len; i += 1) {
    binaryData += String.fromCharCode(contents[i]);
  }

  const imgElement = document.getElementById("image1") as HTMLImageElement;
  imgElement.src = "data:image/png;base64," + window.btoa(binaryData);
}
</script>

<template>
  <section id="radioGroup">
    <label>
      <input type="radio" name="imageType" value="1"
             v-model="selectType" @change="changeImage">
      画像1
    </label>
    <label>
      <input type="radio" name="imageType" value="2"
             v-model="selectType" @change="changeImage">
      画像2
    </label>
    <label>
      <input type="radio" name="imageType" value="3"
             v-model="selectType" @change="changeImage">
      画像3
    </label>
    <span>ファイルパス:{{filePath}}</span>
  </section>
  <hr/>
  <img id="image1" src="" alt="image">
</template>
これで動作すると思いきや、ラジオボタンを切り替えても何も変わりません。
これは何故かというと、このapiを使うためにはtauri.conf.jsonを修正する必要がありました。
tauri.conf.jsonはsrc-tauri直下にあります。
このファイルのtauri.allowlistにfsを追加します。
{
~~~省略~~~
  "tauri": {
    "allowlist": {
      "all": false,
+      "fs": {
+        "readFile": true,
+        "scope": ["**"]
+      }
    },
    ~~~省略~~~
  }
}
そこにどの機能を有効にするか設定します。
今回はバイナリデータの読み込みだけですので、"readFile"をtrueにしましたが、他にも全体を有効にする"all"や、ファイル書き込みを有効にする"writeFile"などあります。
ここら辺のオプションは公式サイトをご確認ください。
https://tauri.app/v1/api/js/fs
更にアクセス可能なパスを設定する必要があります。
それが"scope"です。
ここでは全てのパスにアクセスできる設定として["**"]を設定しています。
ここの制限方法の詳細も上記公式サイトをご確認ください。
全ての準備が整ったので動かしてみる
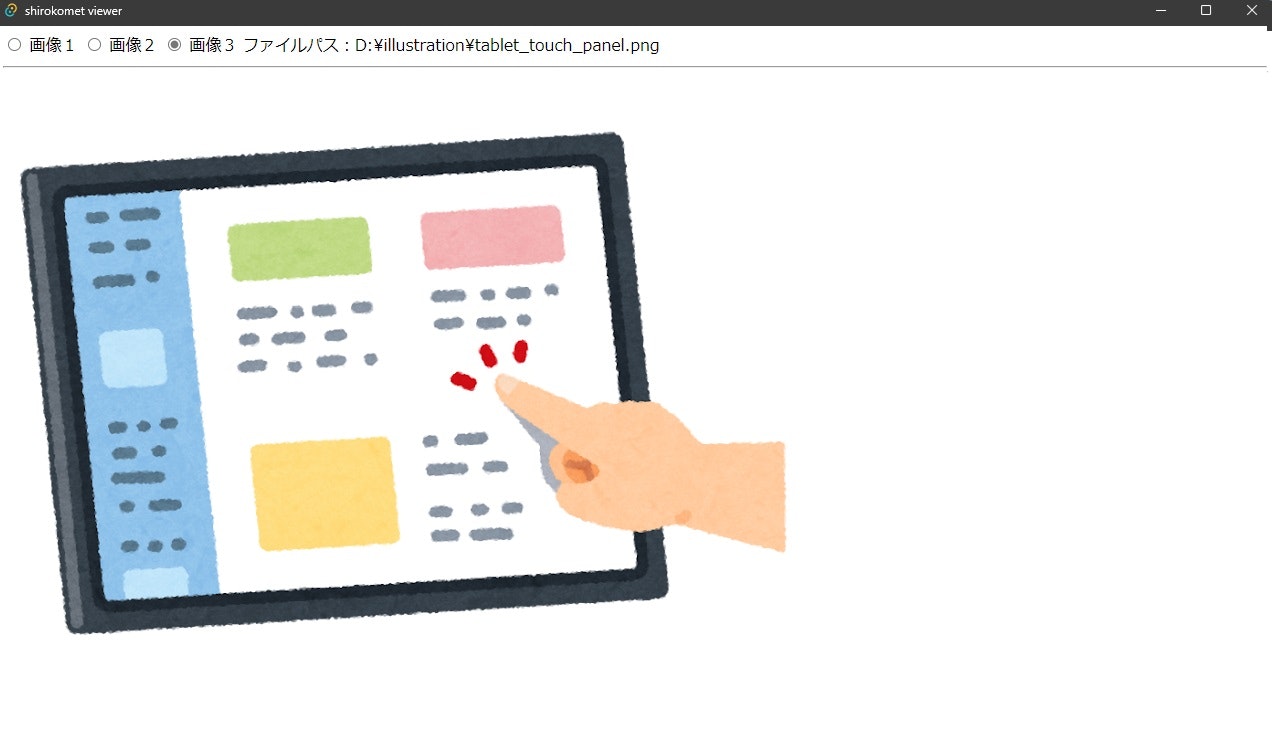
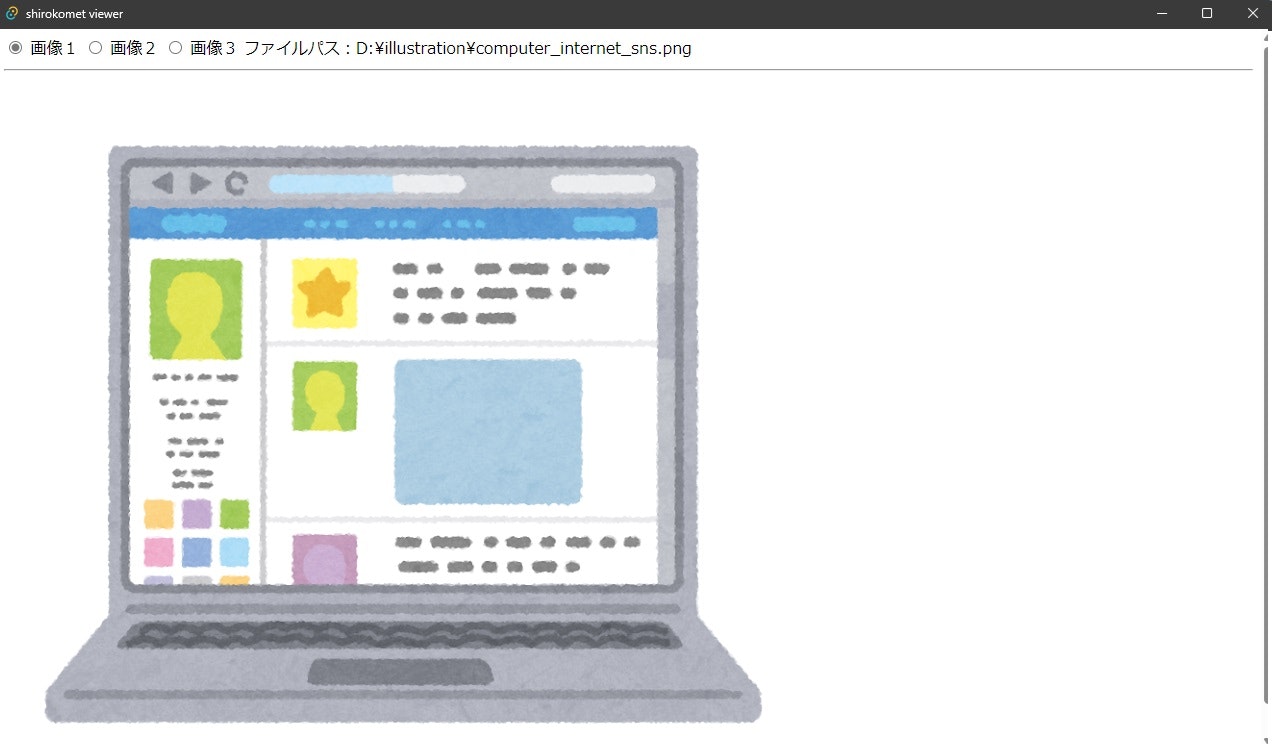
ここまで実装した内容で起動するとラジオボタンを切り替える度に表示される画像も切り替わるようになります。
おわりに
以上、私がたどり着いた一つの方法でした。
検索すれば別な方法もあるかもしれませんが、これも一つの方法として参考にして頂ければと思います。
実はTauriもVue.jsも始めたばかりなので色々手さぐりな部分がありますが、
実装していて楽しいのでこれからも色々と試してみたいですね。
何かしら残しておきたいことができたらまた投稿しようと思います。


