CloudflareにはwranglerというCLIがあるのだけれど、慣れたAWSCLIで扱いたいこともあるかな、ということで。
Cloudflare R2のcredentialsを取得する。
左側のカラムからR2(ベータ版)を選択する。
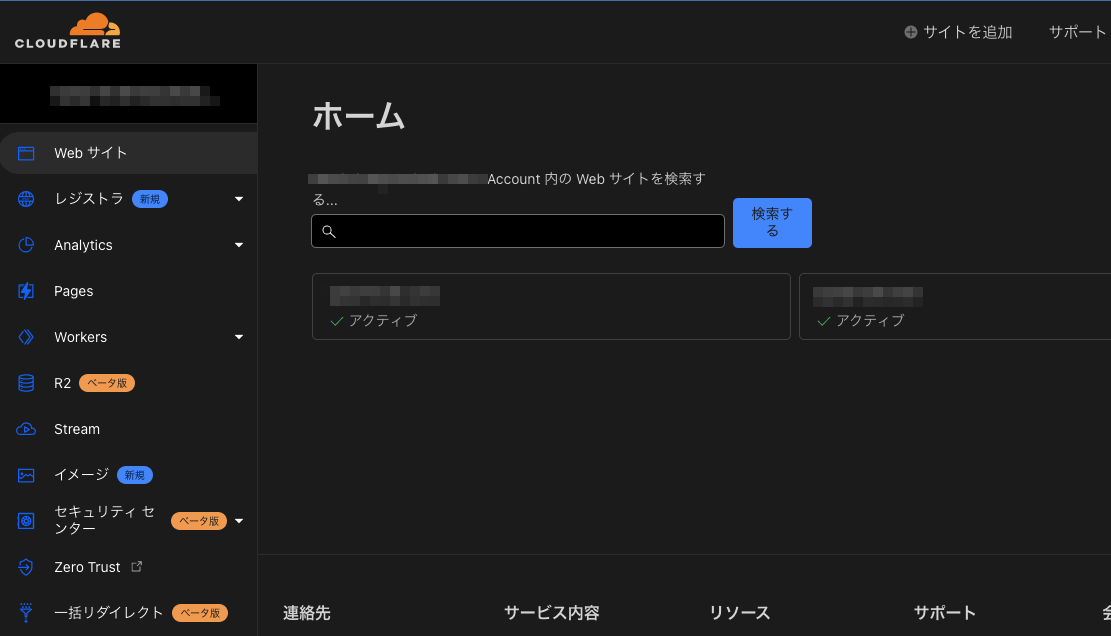
画面右に表示れている「アカウントID」を控えておく。
これは後ほど、APIのエンドポイントの設定で必要になる。
控えたら、次はその上にある「R2 API トークンの管理」を選択する。

他と区別できるような適当なトークン名を記入、アクセス許可はEditを選択して「APIトークンを作成する」
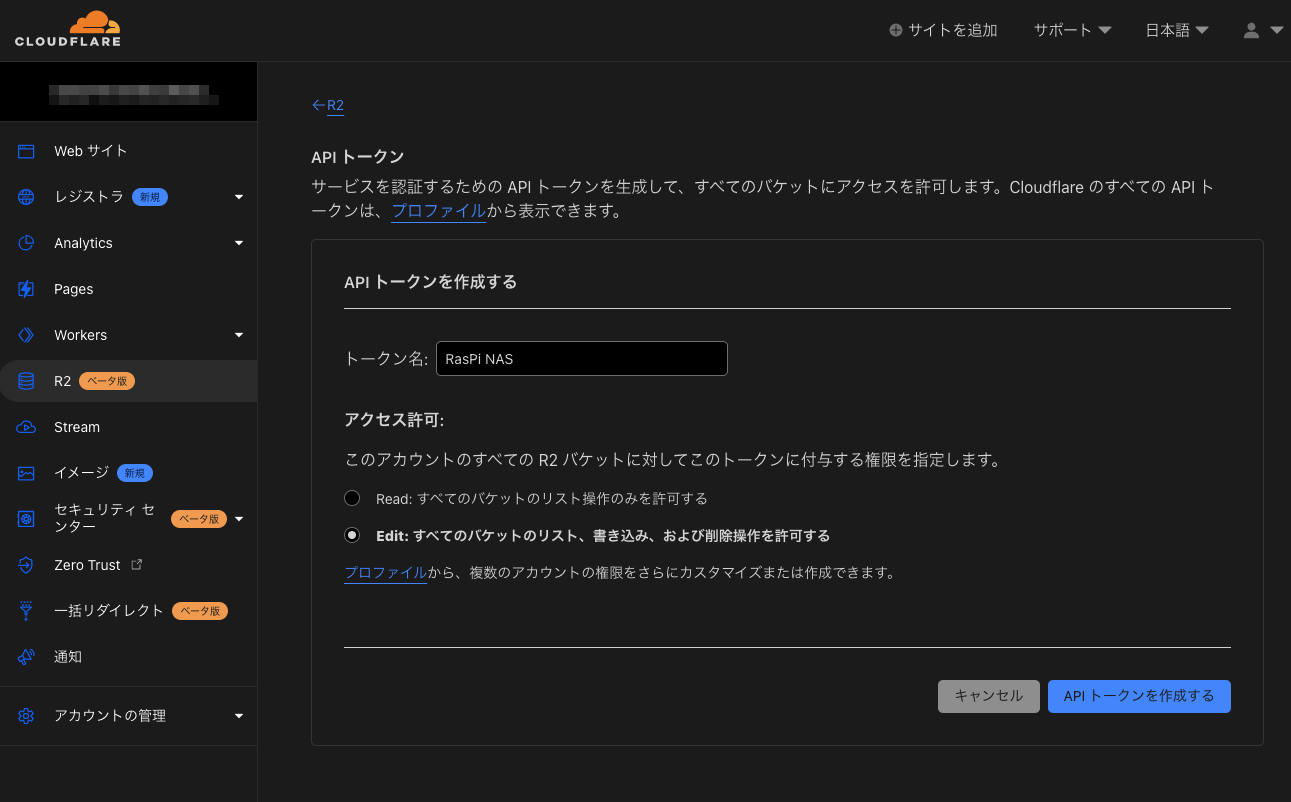
「トークンが正常に作成されました」が確認できたら、下記の2つの値を控えておく。
(重要。警告も表示されるが、これらは後で確認することはできない)
- アクセスキーID
- シークレットアクセスキー

AWS CLIの設定
~/.aws/cliに先程のアクセスキーIDとシークレットアクセスキーを記述する。
(aws configureで設定してもOK)
[r2]
aws_access_key_id     = <アクセスキーID>
aws_secret_access_key = <シークレットアクセスキー>
あとはprofileでこれを指定して、endpointにCloudflareのURLを指定してやればOK。
aws s3 ls --profile r2 --endpoint-url https://<CloudflareのアカウントID>.r2.cloudflarestorage.com
.bashrcにfunctionの定義(任意)
毎度毎度endpointを記述するのは面倒なので、エイリアス的なものを用意しておくと便利。
↓のような関数を.bashrcに記述しておいた。
function r2() {
 /usr/local/bin/aws s3 "${@}" --profile r2 --endpoint-url https://<CloudflareのアカウントID>.r2.cloudflarestorage.com
}
その他
API Keyを発行した直後は401が返ることがあるかも?
その時はコーヒーでも飲んでくれば使えるようになってるはず(ぐらいの時間感)