はじめに
今回は R でアドホックなデータ分析を行うための環境を仮想環境上に構築する。
開発・分析環境に RStudio Server を利用する。
インストール先のマシンとして、今回は VirtualBox + Vagrant を利用した仮想環境を利用する。
作業環境
今回は以下の環境で行った。
MacBookPro Retina 13 (Late 2013)
OSX Yosemite
CPU: Core i5 2.6GHz
メモリ: 16GB
仮想環境のOSとして、Debian 7.6.0 (64bit)を選択した。
インストール
VirtualBox と Vagrant のインストールまでは
Python (IPython notebook + Pandas) によるデータ分析環境構築と同様の手順でOK。
仮想マシンにログインできたところからスタートする。
下記コマンドを実行していく。
$ sudo apt-get -y install r-base
$ sudo apt-get -y install gdebi-core
$ wget http://ftp.us.debian.org/debian/pool/main/o/openssl/libssl0.9.8_0.9.8o-4squeeze14_amd64.deb
$ sudo dpkg -i libssl0.9.8_0.9.8o-4squeeze14_amd64.deb
$ wget http://download2.rstudio.org/rstudio-server-0.98.1103-amd64.deb
$ sudo gdebi rstudio-server-0.98.1103-amd64.deb
Reading package lists... Done
Building dependency tree
Reading state information... Done
Building data structures... Done
Building data structures... Done


RStudio Server
 RStudio is a set of integrated tools designed to help you be more productive with R. It includes a console, syntax-highlighting editor that supports direct code execution, as well as tools for plotting, history, and workspace management.
Do you want to install the software package? [y/N]:y
...
これで必要なパッケージのインストールは完了。
※ libssl0.9.8 は 1.0.0 がインストール済みでも依存関係が出たため、別途このバージョンをインストールした。
設定作業
まず、 RStudio Server で作業するためのユーザーを作成する。下記コマンドを実行する。
パスワード以外は空欄のまま Enter で OK 。
$ sudo adduser rstudio
Adding user `rstudio' ...
Adding new group `rstudio' (1001) ...
Adding new user `rstudio' (1001) with group `rstudio' ...
Creating home directory `/home/rstudio' ...
Copying files from `/etc/skel' ...
Enter new UNIX password:
Retype new UNIX password:
passwd: password updated successfully
Changing the user information for rstudio
Enter the new value, or press ENTER for the default
	Full Name []:
	Room Number []:
	Work Phone []:
	Home Phone []:
	Other []:
Is the information correct? [Y/n]
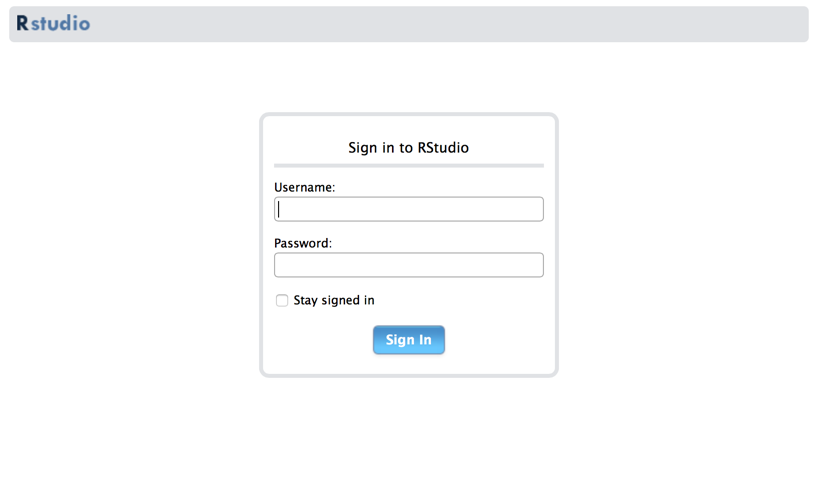
ローカルマシンのブラウザから http://192.168.20.10:8787 にアクセスすると、次の画面が見える。
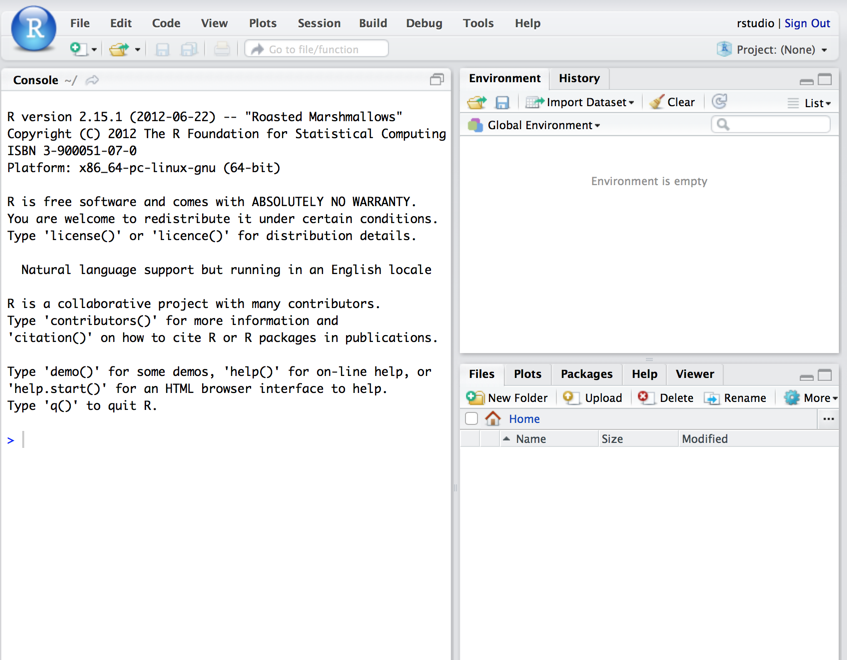
ここで先ほど登録した rstudio ユーザー(と設定したパス)でログインする。
これで、RStudio Server による分析環境が構築できた。

