お手軽で十分きれいなデザインの開発環境を調べたらp5.jsを見つけた。
往々にして日本語情報が少ないので調査ログを残していく。
開発環境
p5.js Web Editor
https://editor.p5js.org/
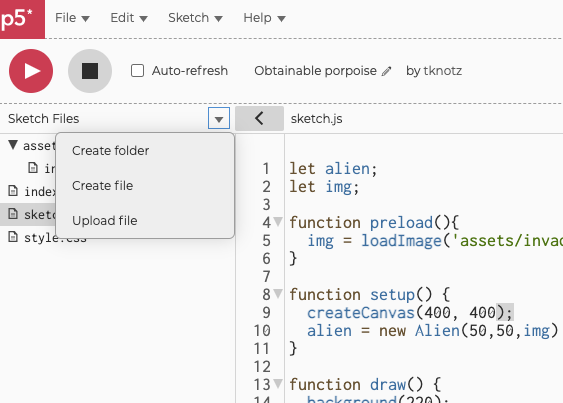
画像をアップロードする
- エディタの中段上部 sketch.js 1の右側の<をクリックしてファイルツリーを表示する
- Sketch Filesを右クリックしてCreateFolderから画像保存先フォルダを作成する。※フォルダは無くても問題ない。
- Sketch Filesを右クリックしてUploadFileから画像をアップロードする。

画像をpreloadしてから描画する
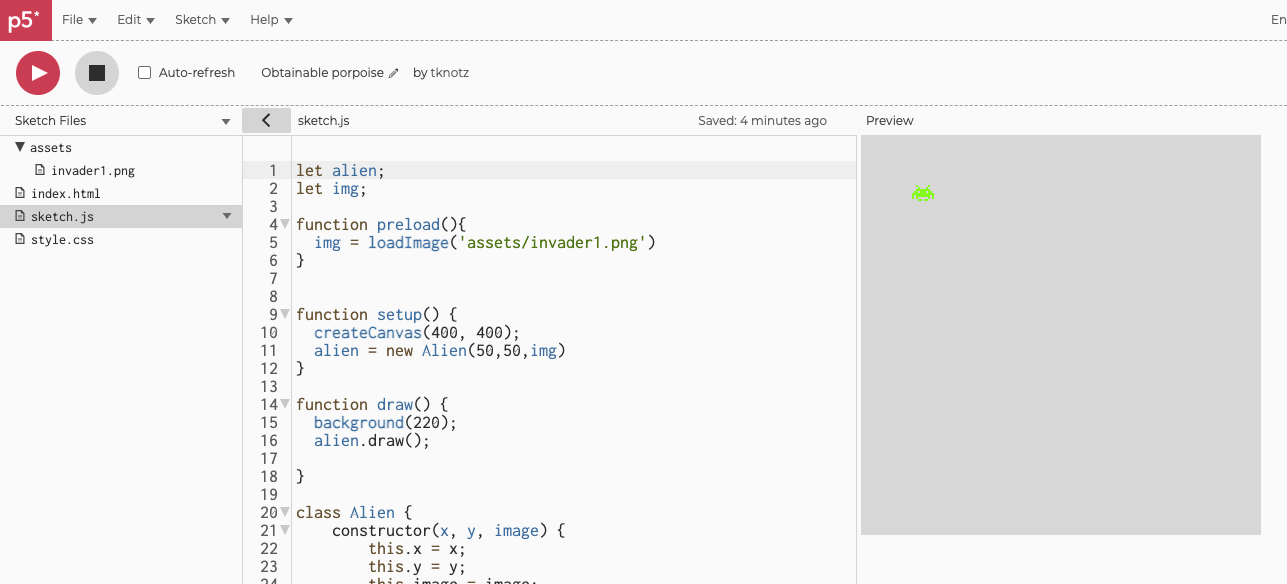
let alien;
let img;

// 画像はキャンバスのsetupより前にpreloadする
function preload(){
  img = loadImage('assets/invader1.png')
}

function setup() {
  createCanvas(400, 400);
  // 下記でAlienクラスのフィールドに画像をセットする
  alien = new Alien(50,50,img)
}

function draw() {
  background(220);
  //ロードした画像の描画、draw()メソッドはimage()を呼び出している。
  alien.draw();
}

class Alien {
    constructor(x, y, image) {
        this.x = x;
        this.y = y;
        this.image = image;
    }

    draw() {
        image(this.image, this.x, this.y, this.image.width/30, this.image.height/30);
    }
}
実行結果
まとめ
詳細は腹括って公式リファレンスを読もう。
https://p5js.org/reference/#/p5/loadImage
