こんなボタンを自力で作ってみました
上のボタンを作りました。下のボタンはgoogle mapsで提供されているやつです。比較のために置きました。
A. 画像を自分で作ったver
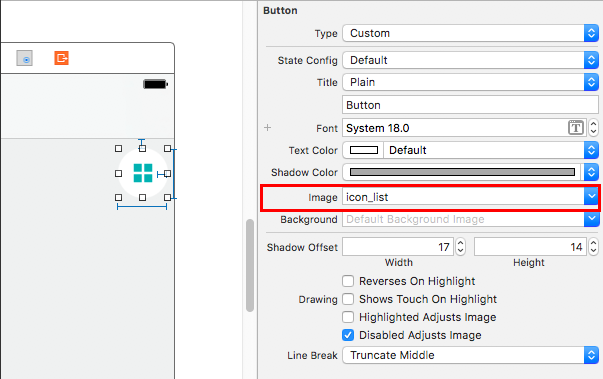
1. 影なしで丸白ボタンを作って、UIButtonのimageに配置しました
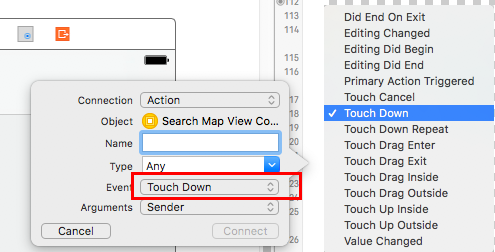
2. @IBActionを作る
クリックではなく、ボタンをホールドしているときは、
actionに touch downを選んでください。
ボタンを離すときのアクションはtouch up insideです。
3.影をアニメーションで動かす
最初の影設定をviewDidLoadで設定しておきます。
.swift
listButton.layer.shadowColor = UIColor.black.cgColor
listButton.layer.shadowOffset = CGSize(width: 2, height: 2)
listButton.layer.shadowRadius = 2
listButton.layer.shadowOpacity = 0.3
あとはアニメーションさせて影を調整しました。
.swift
// Touch Down
    @IBAction func listBtnPressed(_ sender: Any) {

        UIView.animate(withDuration: 0.4, delay: 0, options: [],animations: {

            self.listButton.layer.shadowOffset = CGSize(width: 5, height: 5)
            self.listButton.layer.shadowRadius = 4
        },completion: nil)

    }

  // Touch up Inside
    @IBAction func listBtnRelease(_ sender: Any) {

        UIView.animate(withDuration: 0.4, delay: 0, options: [],animations: {
            self.listButton.layer.shadowOffset = CGSize(width: 2, height: 2)
            self.listButton.layer.shadowRadius = 2
        },completion: nil)
B. ボタンの中のアイコンだけ画像にする場合
storyboardでボタンを作ってconstraintを作ったら、以下をviewDidLoadに追加すれば良い
.swift
button.layer.cornerRadius = 0.5 * button.bounds.size.width
button.clipsToBounds = true
button.setImage(UIImage(named:"addList.png"), for: .normal)
画像を貼り付けているのと、角丸を作っています。