前提
・自分メモになってしまうので、不備がある場合にはご了承下さい。
・サーバサイドの設定は別途記載するので、RaspbeeyPiのセッティングが主。
・設定時に進捗ログが画面で出るのですが、記事が長くなるのでログは一部省略します。
pipの設定
まずpipがあるのか確認。
pipが入っているか確認
pi@raspberrypi:~ $ pip --version
Traceback (most recent call last):
  File "/usr/bin/pip", line 9, in <module>
    from pip import main
ImportError: cannot import name main
pi@raspberrypi:~ $
pipが入ってないね
DownLoad&Install
pi@raspberrypi:~ $ cd ~/
pi@raspberrypi:~ $ pwd
/home/pi
pi@raspberrypi:~ $ curl -O https://bootstrap.pypa.io/get-pip.py
  % Total    % Received % Xferd  Average Speed   Time    Time     Time  Current
                                 Dload  Upload   Total   Spent    Left  Speed
100 1603k  100 1603k    0     0  2330k      0 --:--:-- --:--:-- --:--:-- 2331k
pi@raspberrypi:~ $ ls -l get-pip.py
-rw-r--r-- 1 pi pi 1642329  7月  8 08:56 get-pip.py
pi@raspberrypi:~ $
pi@raspberrypi:~ $
pi@raspberrypi:~ $
pi@raspberrypi:~ $ python get-pip.py --user
Looking in indexes: https://pypi.org/simple, https://www.piwheels.org/simple
Collecting pip
  Using cached https://files.pythonhosted.org/packages/0f/74/ecd13431bcc456ed390b44c8a6e917c1820365cbebcb6a8974d1cd045ab4/pip-10.0.1-py2.py3-none-any.whl
Installing collected packages: pip
  Found existing installation: pip 10.0.1
    Uninstalling pip-10.0.1:
      Successfully uninstalled pip-10.0.1
Successfully installed pip-10.0.1
pi@raspberrypi:~ $
次にPATHを通す。
Profileに登録
pi@raspberrypi:~ $ cd ~/
pi@raspberrypi:~ $ pwd
/home/pi
pi@raspberrypi:~ $ ls -la .profile*
-rw-r--r-- 1 pi pi 675  4月 18 09:16 .profile
pi@raspberrypi:~ $ cp -p .profile .profile_org
pi@raspberrypi:~ $ ls -la .profile*
-rw-r--r-- 1 pi pi 675  4月 18 09:16 .profile
-rw-r--r-- 1 pi pi 675  4月 18 09:16 .profile_org
pi@raspberrypi:~ $ echo 'export PATH=~/.local/bin:$PATH' >> .profile
pi@raspberrypi:~ $ source .profile
pi@raspberrypi:~ $ pip --version
pip 10.0.1 from /home/pi/.local/lib/python2.7/site-packages/pip (python 2.7)
AWS CLIの設定
ShellでAWSのコマンドを叩けるツールをインストールするよ。
pipでAWSのCLIをインストール
pi@raspberrypi:~ $ pip install awscli --upgrade --user
/ log省略 /
pi@raspberrypi:~ $ aws --version
aws-cli/1.15.53 Python/2.7.13 Linux/4.14.34-v7+ botocore/1.10.52
pi@raspberrypi:~ $
Python AWS CLIの設定
Python上でAWSのCLIを使えるようにする。
botoを入れる(sudo)
pi@raspberrypi:~ $ sudo -H pip install boto
/ log省略 /
pi@raspberrypi:~ $
ついでにboto3も入れる
boto3も入れる(sudo)
pi@raspberrypi:~ $ sudo -H pip install boto3
/ log省略 /
pi@raspberrypi:~ $
AWSの認証情報を設定して下さい。
ここのKEYについてはAWS管理者にヒアリング。
作り方は後日。。。
aws_configure
pi@raspberrypi:~ $ aws configure
AWS Access Key ID [None]: <自分のKEY ID> ← AWS管理者にヒアリング
AWS Secret Access Key [None]: <自分のAccess Key> ← AWS管理者にヒアリング
Default region name [None]: ap-northeast-1
Default output format [None]: json
pi@raspberrypi:~ $
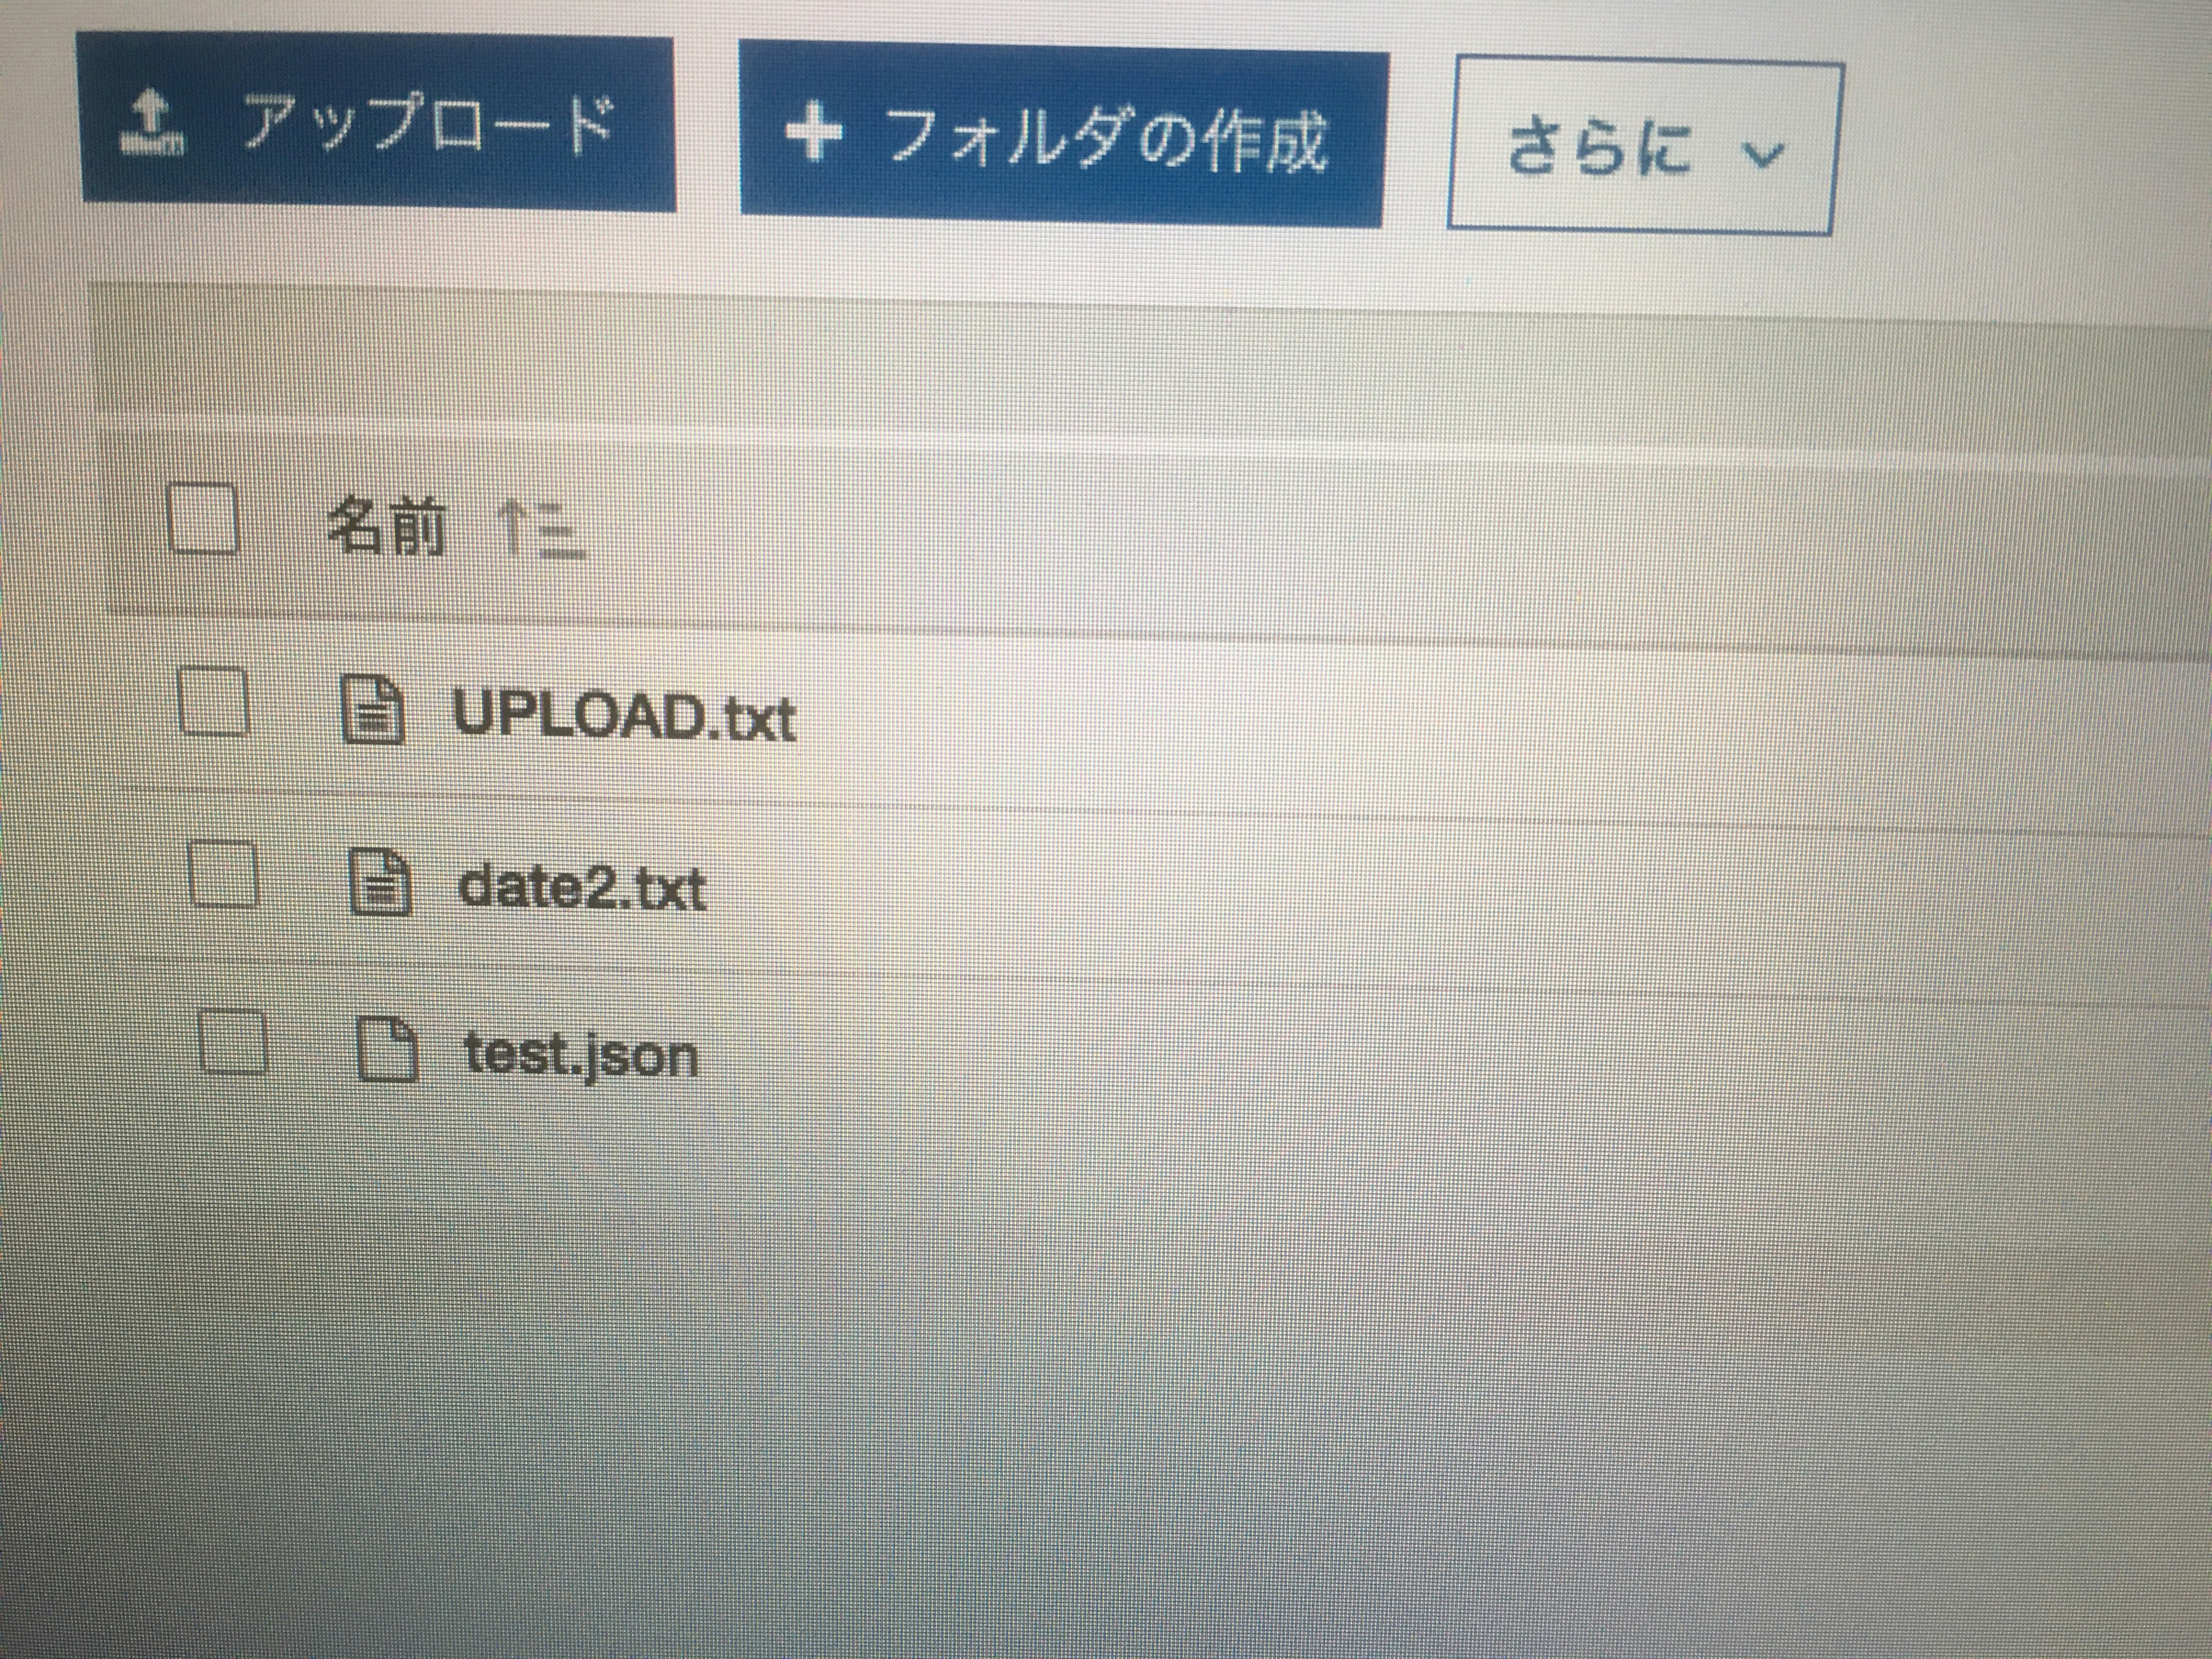
さてファイルをUploadしてみよう。
S3_Upload
pi@raspberrypi:~ $ python
Python 2.7.13 (default, Nov 24 2017, 17:33:09)
[GCC 6.3.0 20170516] on linux2
Type "help", "copyright", "credits" or "license" for more information.
>>> import boto3
>>> bucket_name = "XXXX" ←S3の箱の名前
>>> s3 = boto3.resource('s3')
>>> s3.Bucket(bucket_name).upload_file('/home/pi/UPLOAD.txt', 'UPLOAD.txt') ←ファイルは適当。
>>>
