概要
ASP.NET Web APIにHTTPSを適用して、下記を実行する。
・ IIS Express上で動作確認する。
・ IIS上に配置する。
・ IIS上のWeb APIをクライアントアプリでコールする。
動作環境
IDE
Visual Studio Community 2017 15.9.36
・ ASP.NET and Web Tools 2017 15.9.04012.0
・ ASP.NET Core Razor Language Services 15.8.31590
・ ASP.NET Web Frameworks and Tools 5.2.61435.0
Application
サーバアプリケーション(.NET Framework 4.6.2)
・ C#/ASP.NET Web API
クライアントアプリケーション(.NET Framework 4.6.2)
・ C#/Consoleアプリ
ブラウザ
Google Chrome 91.0.4472.164
サーバーアプリケーションを作成する(HTTPS適用)
- 評価用APIを作成する。
- AuthorizationFilterAttributeを継承したカスタムフィルタクラスを定義する。
- カスタムフィルタをAPIConfigに登録する。
- Visual Studioの開発サーバのHTTPSサーポートの有効化する 。
1. 評価用APIを作成する
データモデルクラスを定義する
namespace WebServer.Models
{
    /// <summary>
    /// 製品
    /// </summary>
    public class Product
    {
        /// <summary>
        /// ID
        /// </summary>
        public int Id { get; set; }
        /// <summary>
        /// 名前
        /// </summary>
        public string Name { get; set; }
        /// <summary>
        /// 価格
        /// </summary>
        public decimal Price { get; set; }
        /// <summary>
        /// カテゴリー
        /// </summary>
        public string Category { get; set; }
    }
}
コントローラを定義する
using System;
using System.Linq;
using System.Web.Http;
using WebServer.Models;

namespace WebServer.Controllers
{
    /// <summary>
    /// 製品のイベントハンドラ
    /// </summary>
    public class ProductsController : ApiController
    {
        /// <summary>
        /// 製品情報
        /// </summary>
        private static Product[] _products = new Product[]
        {
            new Product {Id = 1, Name = "Tomato Soup", Category = "Groceries", Price = 1},
            new Product {Id = 2, Name = "Yo-yo", Category = "Toys", Price = 3.75M},
            new Product {Id = 3, Name = "Hammer", Category = "Hardware", Price = 16.99M}
        };

        /// <summary>
        /// 製品情報をすべて取得する
        /// </summary>
        /// <returns></returns>
        public IHttpActionResult  GetAllProducts()
        {
            return Ok(_products);
        }

        /// <summary>
        /// 指定IDの製品情報を取得する
        /// </summary>
        /// <param name="id">識別子</param>
        /// <returns></returns>
        public IHttpActionResult GetProduct(int id)
        {
            var product = _products.FirstOrDefault(p => p.Id == id);
            if (product == null)
            {
                return NotFound();
            }
            return Ok(product);
        }

        /// <summary>
        /// 製品情報の更新
        /// </summary>
        /// <param name="product">更新する製品の情報</param>
        /// <returns>HTTP応答</returns>
        public IHttpActionResult PutProduct(Product product)
        {
            if (product == null)
            {
                return InternalServerError();
            }
            var resultProduct = _products.FirstOrDefault(p => p.Id == product.Id);
            if (resultProduct == null)
            {
                Array.Resize(ref _products, _products.Length + 1);
                _products[_products.Length - 1] = product;

                return Ok();
            }
            resultProduct.Id = product.Id;
            resultProduct.Name = product.Name;
            resultProduct.Category = product.Category;
            resultProduct.Price = product.Price;
            return Ok();
        }
    }
}
2. AuthorizationFilterAttributeを継承したカスタムフィルタクラスを定義する
using System;
using System.Net;
using System.Net.Http;
using System.Web.Http.Controllers;
using System.Web.Http.Filters;

namespace WebServer
{
    /// <summary>
    /// HTTPSの認証フィルタ(カスタムクラス)
    /// </summary>
    public class RequireHttpsAttribute : AuthorizationFilterAttribute
    {
        /// <summary>
        /// 認証時に呼び出されるコールバック関数
        /// </summary>
        /// <param name="actionContext"></param>
        public override void OnAuthorization( HttpActionContext actionContext )
        {
            if (actionContext.Request.RequestUri.Scheme != Uri.UriSchemeHttps)
            {
                actionContext.Response = new HttpResponseMessage(HttpStatusCode.Forbidden)
                {
                    ReasonPhrase = "HTTPS Required"
                };
            }
            else
            {
                base.OnAuthorization(actionContext);
            }
        }
    }
}
3. カスタムフィルタをApiConfigに登録する
グローバルな設定として、HTTPSフィルタを適用する。すべてのWeb APIがHTTPS適用となる。
config.Filters.Add(new RequireHttpsAttribute());
using System.Web.Http;
namespace WebServer
{
    public static class WebApiConfig
    {
        public static void Register(HttpConfiguration config)
        {
            // Web API の設定およびサービス

            // Web API ルート
            config.MapHttpAttributeRoutes();
            // HTTPSフィルターを登録する(すべてのWeb APIがHTTPS実行となる)
            config.Filters.Add(new RequireHttpsAttribute());

            config.Routes.MapHttpRoute(
                name: "DefaultApi",
                routeTemplate: "api/{controller}/{id}",
                defaults: new { id = RouteParameter.Optional }
            );
        }
    }
}
4. Visual Studioの開発サーバのHTTPSサーポートの有効化
(1)VisualStudioでWeb APIソリューションを開く。
(2)ソリューションエクスプローラで[Web APIプロジェクト]を選択する。
(3)「プロパティウィンドウ」を表示する。

(4)開発サーバのタブを展開して、[SSL有効化]を[True]にする。

SSL URLはHTTPS接続テストに使用するため、控えておく。
IIS ExpressでHTTPS接続を動作テストする
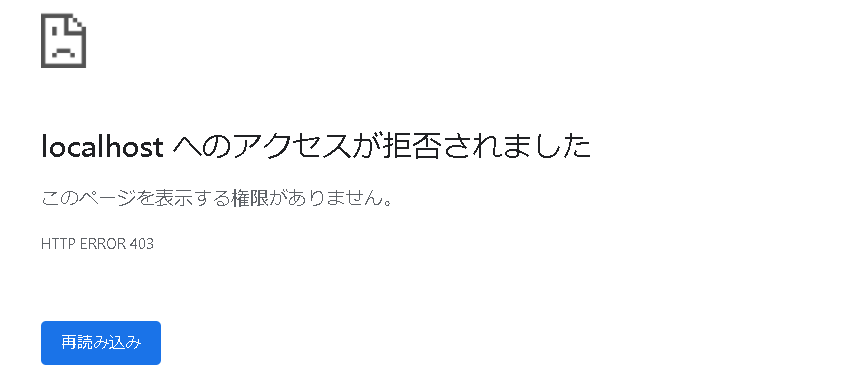
HttpでWeb APIのGetメソッドをコールする
URL
http://localhost:59320/api/products
実行結果:アクセスを拒否される
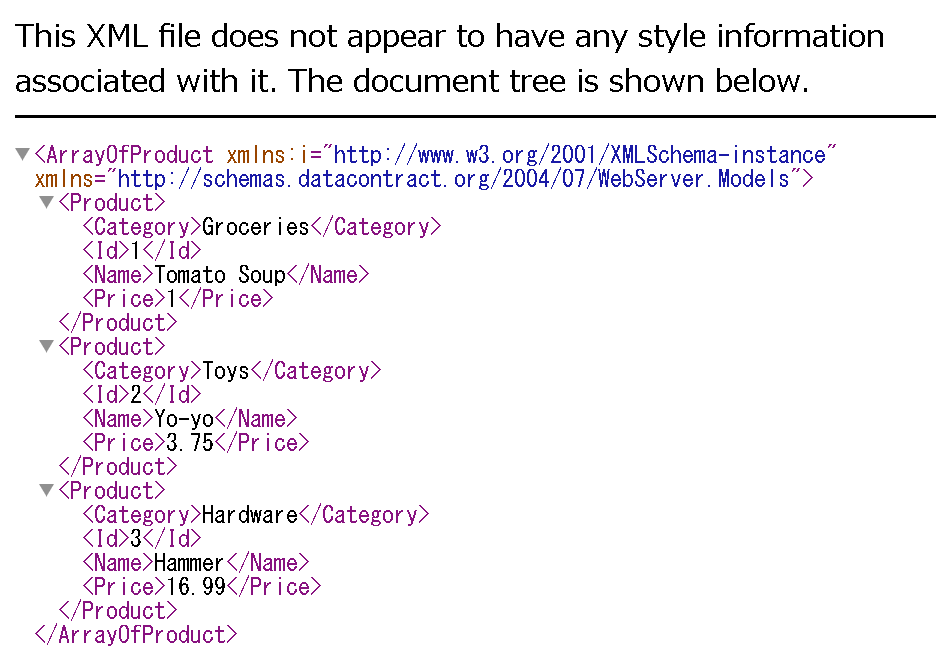
HttpSでWeb APIのGetメソッドをコールする
URL
https://localhost:44333/api/products
実行結果:Web APIのGetメソッドに成功する
IISにデプロイする
下記記事の手順を実行する。
https://qiita.com/SY81517/items/347e86582054f8e92742
IIS上のWeb APIをクライアントアプリでコールする
クライアントアプリを作成する
using System;
using System.Net.Http;
using System.Text;
using Newtonsoft.Json;

namespace WebClient
{
    class Program
    {
        static void Main( string[] args )
        {
            var client = new WebApiClient();
            Console.WriteLine("=== GetProduct id=1 ===");
            client.GetProduct(id:1);
            Console.WriteLine();
            Console.WriteLine("=== GetAllProduct ===");
            client.GetAllProducts();
            Console.WriteLine();
            Console.WriteLine("=== PutProduct ===");
            var product = new Product()
            {
                Id = 4,
                Name = "Tomato",
                Category = "Vegetable",
                Price = 1.01M
            };
            client.PutProduct(product);

            Console.WriteLine("=== GetAllProduct ===");
            client.GetAllProducts();
        }
    }

    public class WebApiClient
    {
        static readonly HttpClient Client = new HttpClient()
        {
            BaseAddress = new Uri("https://localhost:59320/api/")
        };

        /// <summary>
        /// 製品情報をすべて取得する
        /// </summary>
        public void GetAllProducts()
        {
            var response = Client.GetAsync("products").GetAwaiter().GetResult();
            response.EnsureSuccessStatusCode();
            var responseBody = response.Content.ReadAsStringAsync().GetAwaiter().GetResult();
            Console.WriteLine(responseBody);
        }

        /// <summary>
        /// 指定IDの製品情報を取得する
        /// </summary>
        /// <param name="id">識別子</param>
        public void GetProduct(int id)
        {
            var response = Client.GetAsync($"products/{id}").GetAwaiter().GetResult();
            response.EnsureSuccessStatusCode();
            var responseBody = response.Content.ReadAsStringAsync().GetAwaiter().GetResult();
            Console.WriteLine(responseBody);
        }

        /// <summary>
        /// 製品情報の更新
        /// </summary>
        /// <param name="product">更新する製品の情報</param>
        public void PutProduct(Product product)
        {
            var jsonString = JsonConvert.SerializeObject(product);
            var content = new StringContent(jsonString, Encoding.UTF8, "application/json");
            var response = Client.PutAsync("products",content).GetAwaiter().GetResult();
            response.EnsureSuccessStatusCode();
        }
    }

    /// <summary>
    /// 製品
    /// </summary>
    public class Product
    {
        /// <summary>
        /// ID
        /// </summary>
        public int Id { get; set; }
        /// <summary>
        /// 名前
        /// </summary>
        public string Name { get; set; }
        /// <summary>
        /// 価格
        /// </summary>
        public decimal Price { get; set; }
        /// <summary>
        /// カテゴリー
        /// </summary>
        public string Category { get; set; }
    }

}
クライアントアプリを実行した結果
(1)GetProduct()でid=1に対応した製品情報を取得する。
(2)GetAllProduct()ですべての製品情報を取得する。
(3)PutProduct()で新たな製品情報を登録する(id=4)。
(4)再び、GetAllProduct()ですべての製品情報を取得する。id=4が登録されていることを確認する。
=== GetProduct id=1 ===
{"Id":1,"Name":"Tomato Soup","Price":1.0,"Category":"Groceries"}

=== GetAllProduct ===
[{"Id":1,"Name":"Tomato Soup","Price":1.0,"Category":"Groceries"},{"Id":2,"Name":"Yo-yo","Price":3.75,"Category":"Toys"},{"Id":3,"Name":"Hammer","Price":16.99,"Category":"Hardware"}]

=== PutProduct ===
=== GetAllProduct ===
[{"Id":1,"Name":"Tomato Soup","Price":1.0,"Category":"Groceries"},{"Id":2,"Name":"Yo-yo","Price":3.75,"Category":"Toys"},{"Id":3,"Name":"Hammer","Price":16.99,"Category":"Hardware"},{"Id":4,"Name":"Tomato","Price":1.01,"Category":"Vegetable"}]
続行するには何かキーを押してください . . .
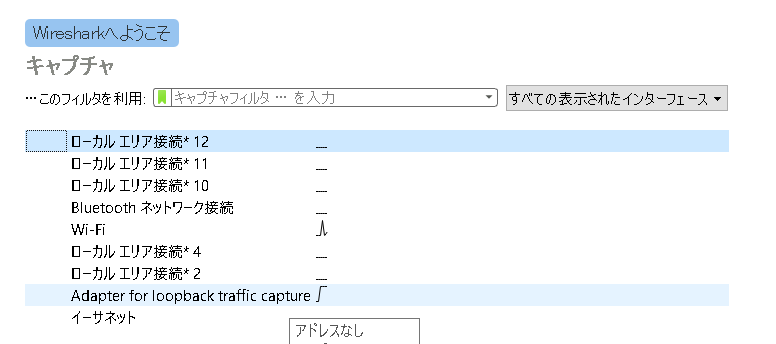
WireSharkでhttps通信を監視してみる
localhostを対象にする
「Adapter for loopback traffic capture」を選択する。
ポート番号で表示フィルターをかける
httpsのポート番号を指定すること
tcp.port == 59320

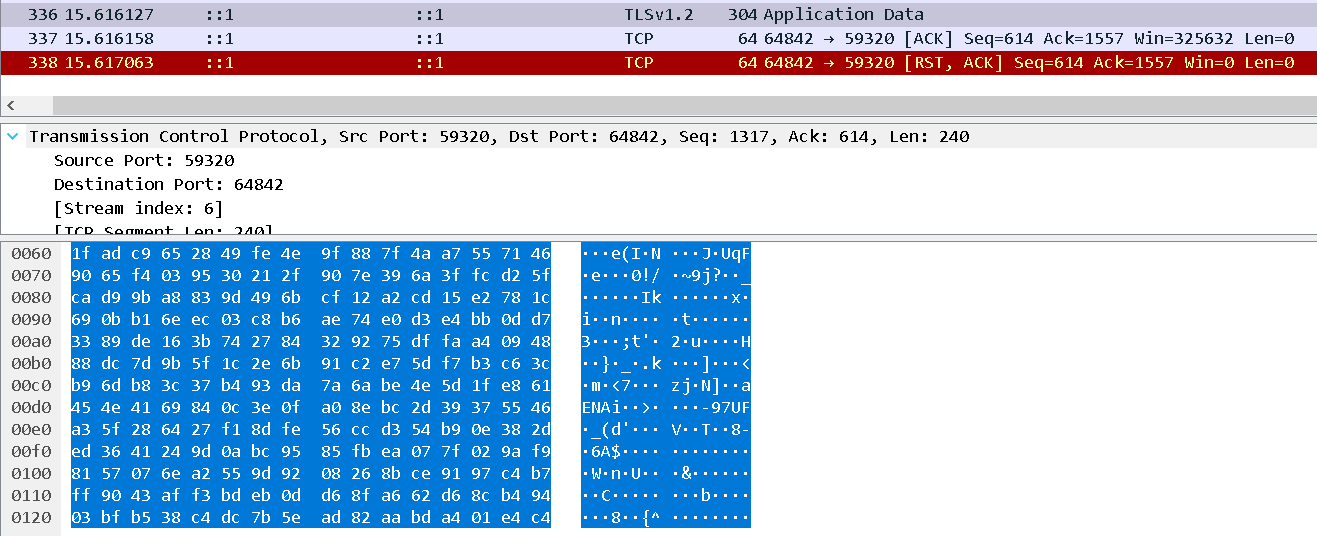
キャプチャーを取得する
(1)「キャプチャー」→「開始」を押す。
(2)クライアントを実行する。
(3)クライアントの処理が完了したら、「キャプチャー」→「停止」を押す。
キャプチャーの結果を確認する。
TCP/TLS 1.2が交互に繰り返される。

Application Dataを見ると、通信内容が読み取れなくなっている。
参考にしたサイト
| No | リンク | 概要 |
|---|---|---|
| 1 | httpsとは?htttpとの違いとSSL暗号化の仕組み | httpsの仕組みに関する解説が分かりやすい |
| 2 | C# Corner How To Enable HTTPS In ASP.NET Web API | ASP.NET Web APIにHTTPSを適用する手順の記事(英語) |
| 3 | MicrosoftDoc Web APIでのSSL操作 | 公式ドキュメントのSSL操作に関する記事 |