はじめに
MicrosoftのMinimal APIのチュートリアルをベースに、GET/PUT/POST/DELETEのWeb APIを定義して、動かしてみる。最後に、参考をまとめる。
Minimal APIとは
簡略的なASP.NET APIを作成できる機能。
.NET6からサポートされている。
利点
ほんの数行でAPIを実装できる。GET/POST/PUT/DELETEのAPIの一例。
var builder = WebApplication.CreateBuilder(args);
var app = builder.Build();

app.MapGet("/", () => "This is a GET");
app.MapPost("/", () => "This is a POST");
app.MapPut("/", () => "This is a PUT");
app.MapDelete("/", () => "This is a DELETE");

app.Run();
欠点
ASP.NET MVCコントローラの一部機能はサポートされていない。
開発環境
- Visual Studio 2022
- ASP.NET and Web development
- .NET6
手順
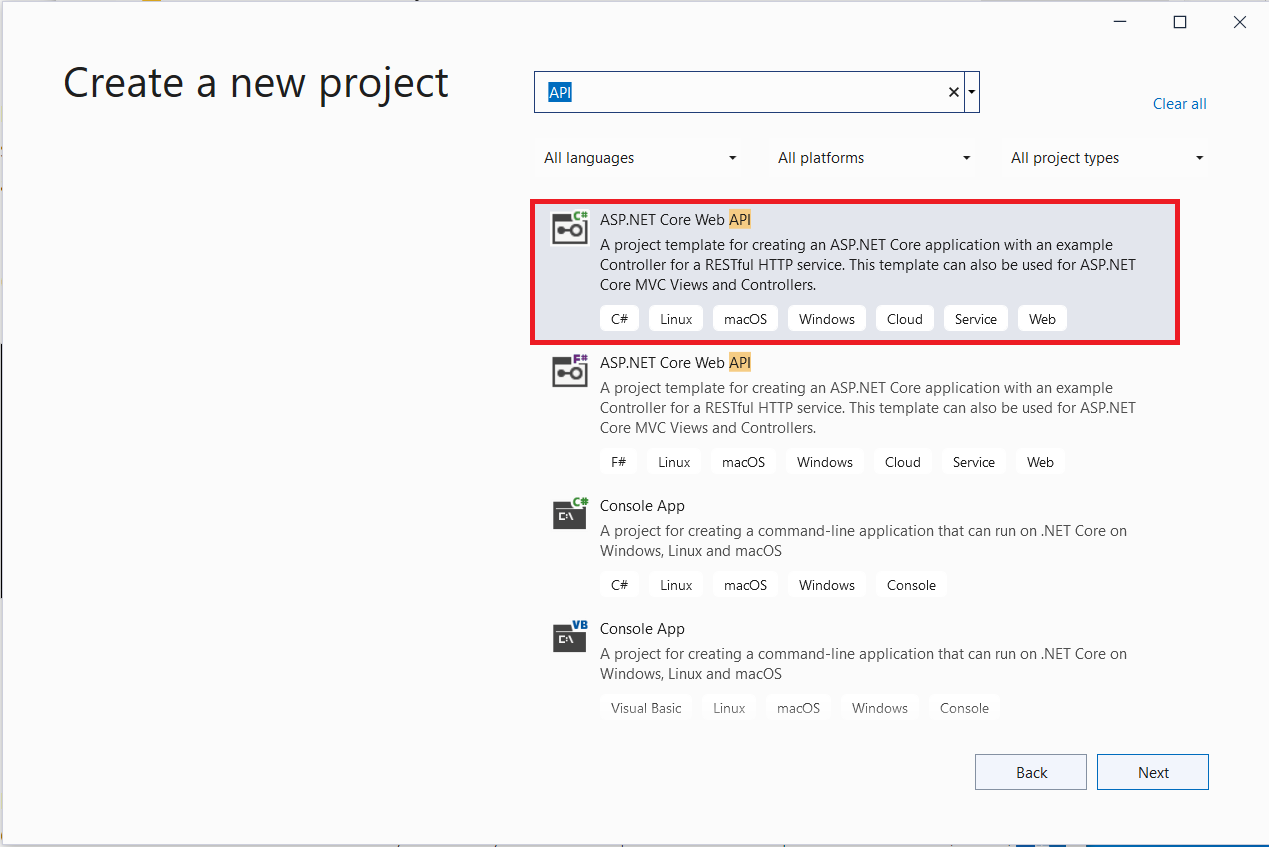
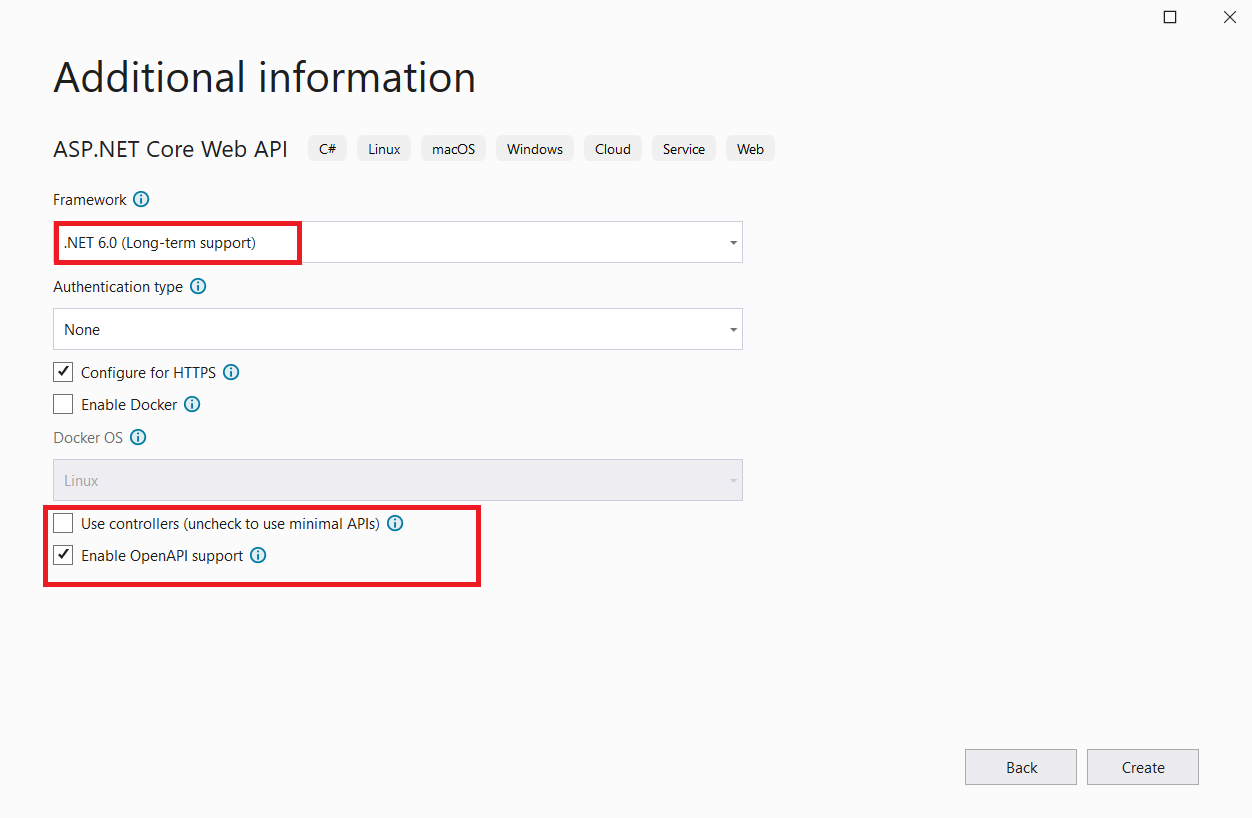
Web APIプロジェクトを作成する
本記事では、MinimalApiPracticeという名前のソリューションを使用しています。
下記2つの画像はMicrosoft のチュートリアルから引用。
自動生成コードを確認する
Program.csに下記コードが記載されていることを確認する。
WeatherForecastというWeb APIと、SwaggerのWeb APIドキュメントが発行される。
自動生成コード
var builder = WebApplication.CreateBuilder(args);

// Add services to the container.
// Learn more about configuring Swagger/OpenAPI at https://aka.ms/aspnetcore/swashbuckle
builder.Services.AddEndpointsApiExplorer();
builder.Services.AddSwaggerGen();

var app = builder.Build();

// Configure the HTTP request pipeline.
if (app.Environment.IsDevelopment())
{
    app.UseSwagger();
    app.UseSwaggerUI();
}

app.UseHttpsRedirection();

var summaries = new[]
{
    "Freezing", "Bracing", "Chilly", "Cool", "Mild", "Warm", "Balmy", "Hot", "Sweltering", "Scorching"
};

app.MapGet("/weatherforecast", () =>
{
    var forecast = Enumerable.Range(1, 5).Select(index =>
       new WeatherForecast
       (
           DateTime.Now.AddDays(index),
           Random.Shared.Next(-20, 55),
           summaries[Random.Shared.Next(summaries.Length)]
       ))
        .ToArray();
    return forecast;
})
.WithName("GetWeatherForecast");

app.Run();

internal record WeatherForecast(DateTime Date, int TemperatureC, string? Summary)
{
    public int TemperatureF => 32 + (int)(TemperatureC / 0.5556);
}
アプリを実行する
デバッカーなしで実行する(Ctrl + F5)
ASP.NET Core SSL証明書を承認する
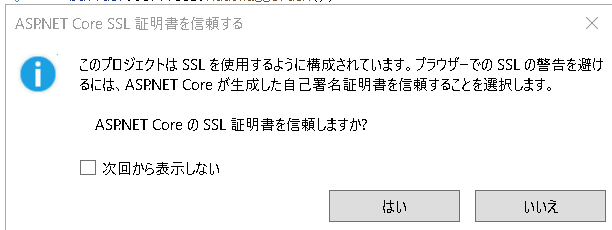
「はい」を選択する。
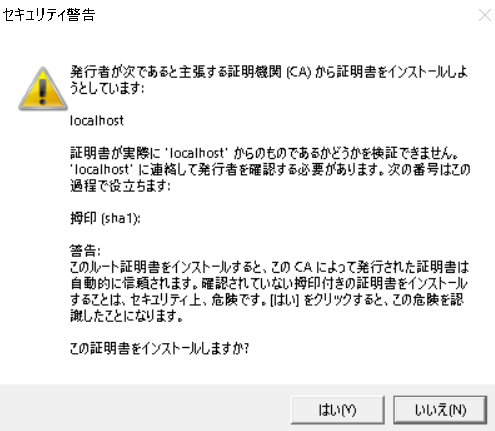
「はい」を選択する。
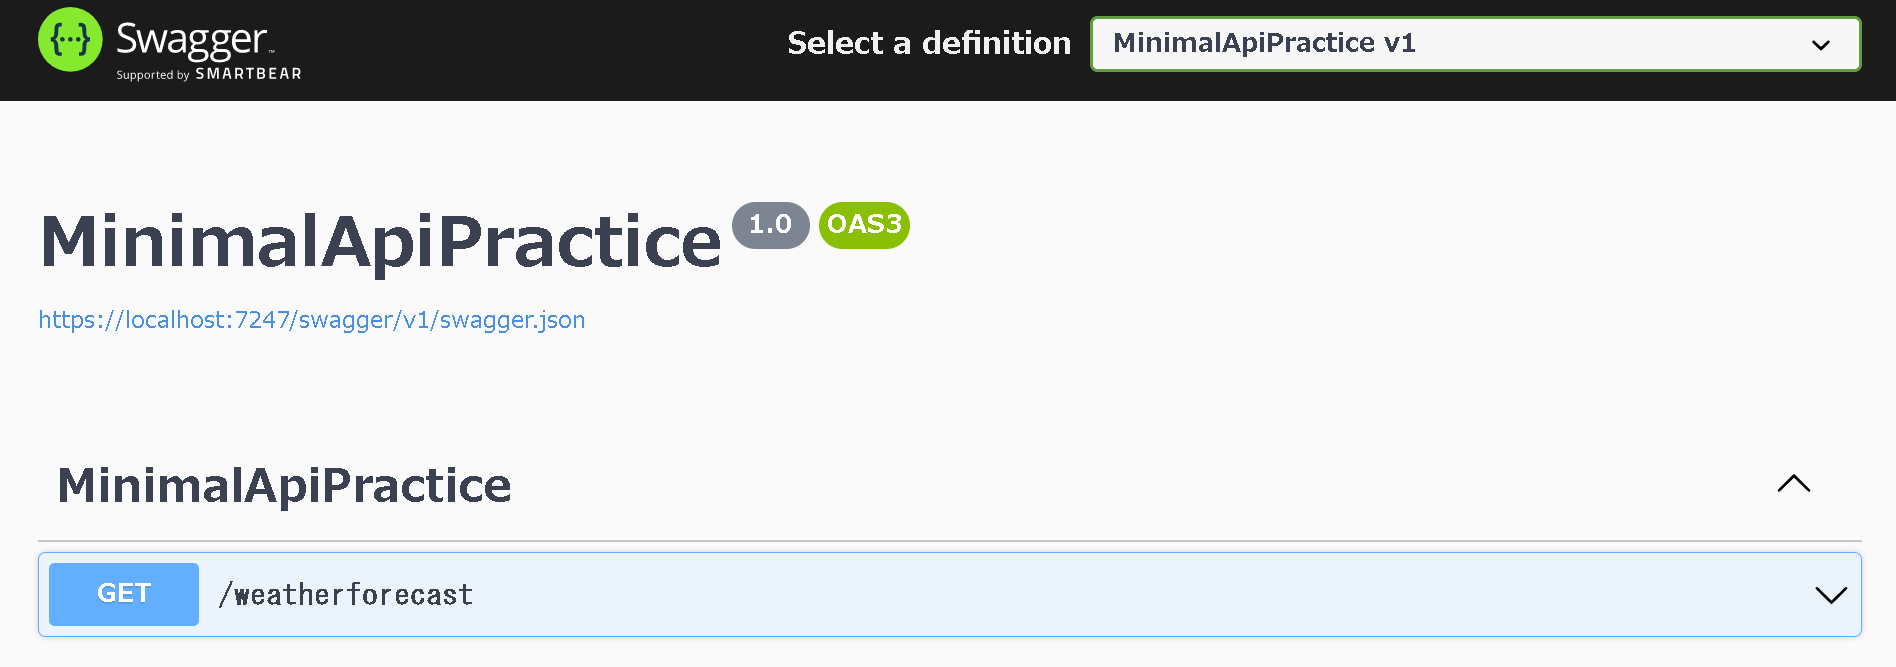
ブラウザ上でSwaggerの起動を確認する
GETのWeb APIを実行する
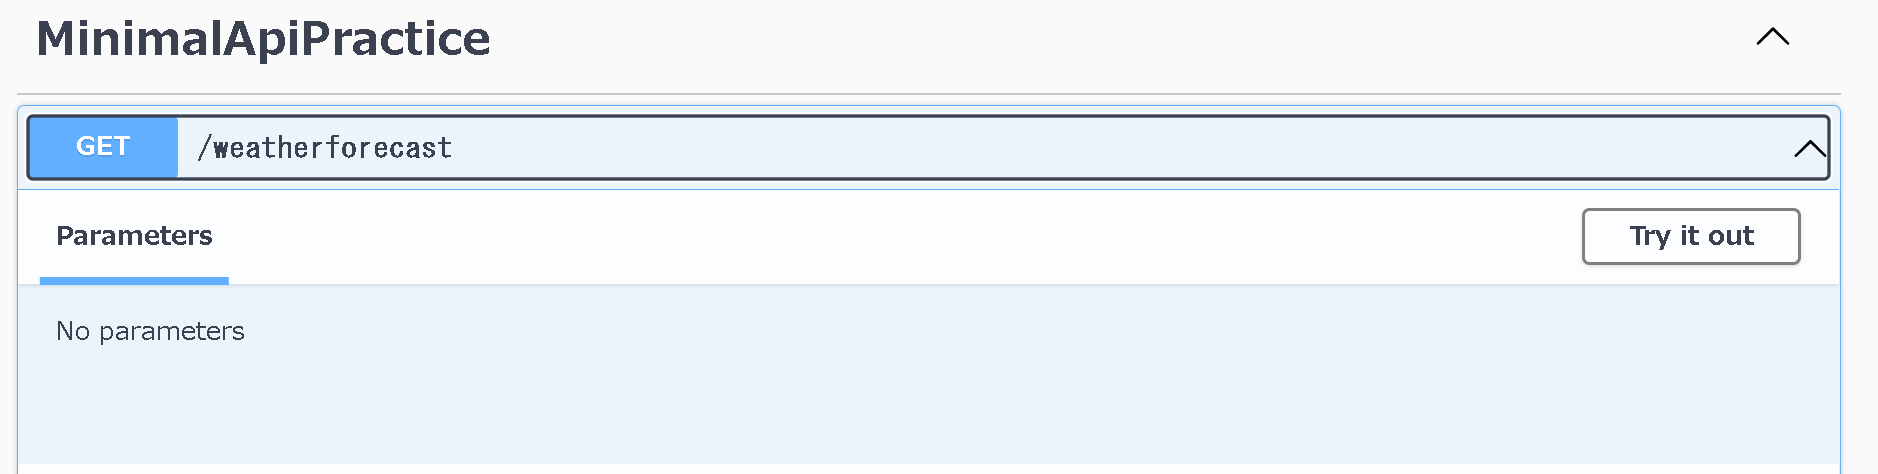
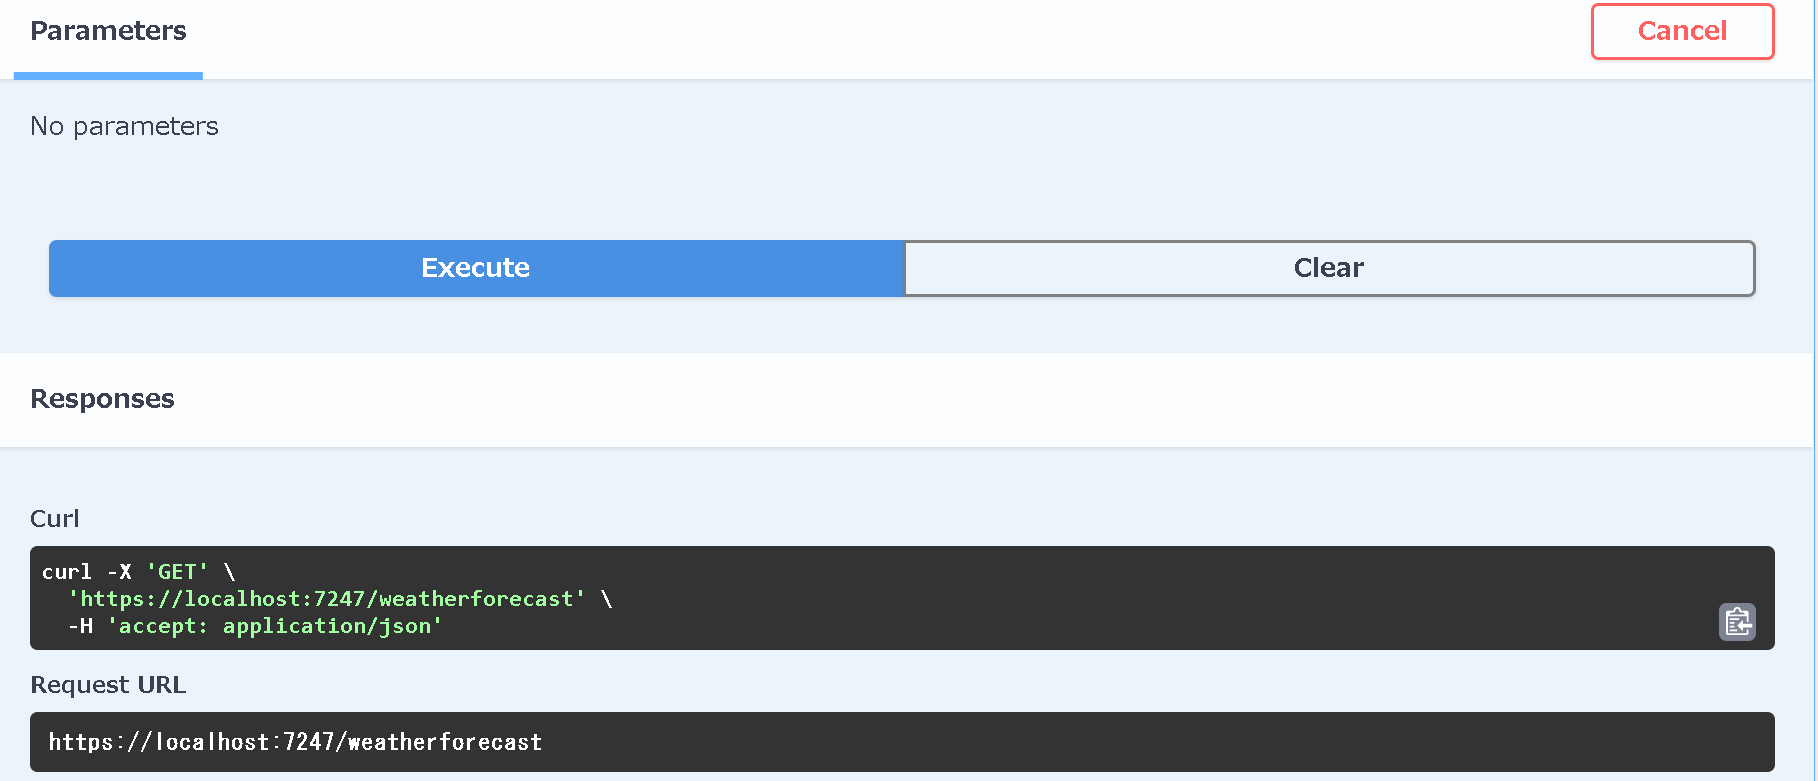
[Try it out]のあとに、[Execute] を実行する。Web APIの実行結果(Response)が表示される。
Web APIの実行結果を確認する
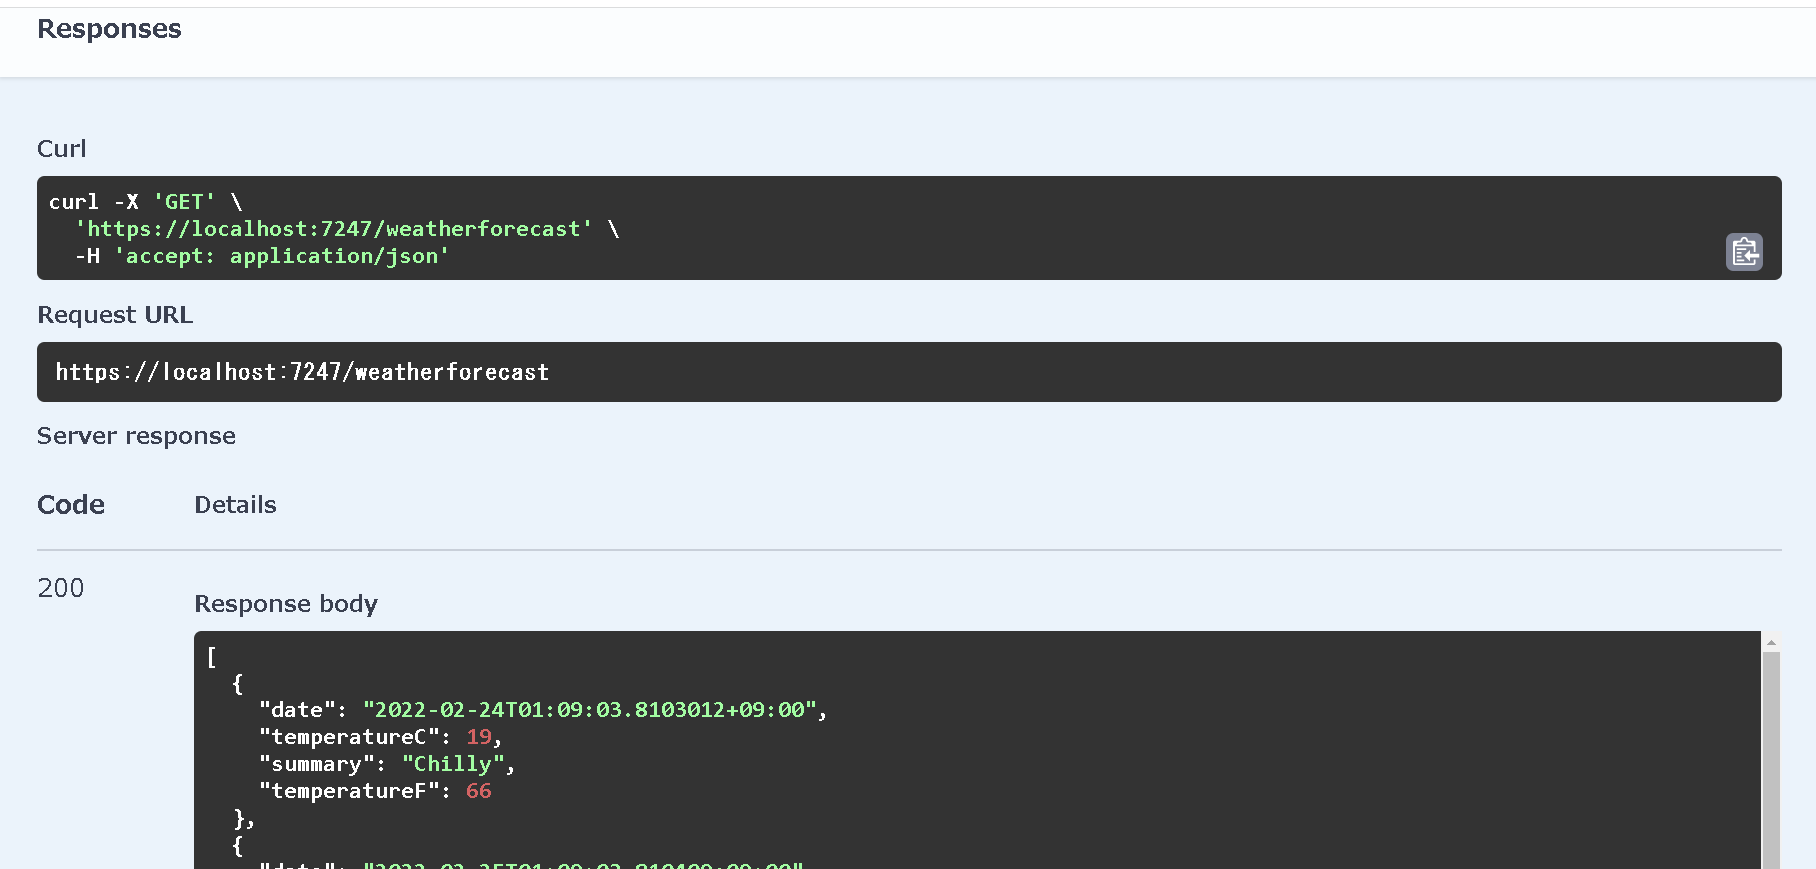
Web APIの実行結果
[
  {
    "date": "2022-02-24T01:09:03.8103012+09:00",
    "temperatureC": 19,
    "summary": "Chilly",
    "temperatureF": 66
  },
  {
    "date": "2022-02-25T01:09:03.810409+09:00",
    "temperatureC": 38,
    "summary": "Cool",
    "temperatureF": 100
  },
  {
    "date": "2022-02-26T01:09:03.8104115+09:00",
    "temperatureC": 37,
    "summary": "Balmy",
    "temperatureF": 98
  },
  {
    "date": "2022-02-27T01:09:03.8104117+09:00",
    "temperatureC": -14,
    "summary": "Cool",
    "temperatureF": 7
  },
  {
    "date": "2022-02-28T01:09:03.8104118+09:00",
    "temperatureC": -20,
    "summary": "Warm",
    "temperatureF": -3
  }
]
Hello WorldのAPIを作成する
自動生成コードを書き換える
下記コードに変更する。
var builder = WebApplication.CreateBuilder(args);
var app = builder.Build();

app.MapGet("/", () => "Hello World!");

app.Run();
起動時のURLからSwaggerを除く
やり方は2通り。
(1)lanchSetting.jsonを直接編集する方法
[Properties]->[launchSettings.json]を選択する。

"launchUrl": "swagger"が2つあるため、消す。
launchSettings.json
{
  "$schema": "https://json.schemastore.org/launchsettings.json",
  "iisSettings": {
    "windowsAuthentication": false,
    "anonymousAuthentication": true,
    "iisExpress": {
      "applicationUrl": "http://localhost:54276",
      "sslPort": 44381
    }
  },
  "profiles": {
    "MinimalApiPractice": {
      "commandName": "Project",
      "launchBrowser": true,
      "launchUrl": "swagger",
      "environmentVariables": {
        "ASPNETCORE_ENVIRONMENT": "Development"
      },
      "applicationUrl": "https://localhost:7247;http://localhost:5247",
      "dotnetRunMessages": true
    },
    "IIS Express": {
      "commandName": "IISExpress",
      "launchBrowser": true,
      "launchUrl": "swagger",
      "environmentVariables": {
        "ASPNETCORE_ENVIRONMENT": "Development"
      }
    }
  }
}
(2)デバックのプロパティからlanchSetting.jsonを編集する
[デバック]->[プロパティ]を開く。
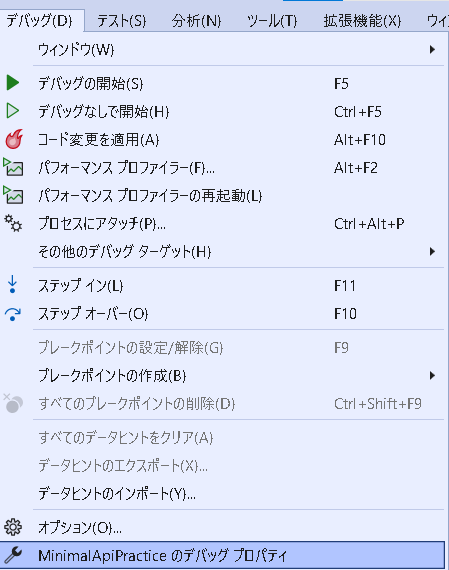
[プロファイルの起動]->[URLの欄]からswaggerを消す。

ソリューション名、IIS Expressのそれぞれから削除する。
アプリを実行する
成功時
ブラウザ画面に下記文字列が出力される。
Hello World!
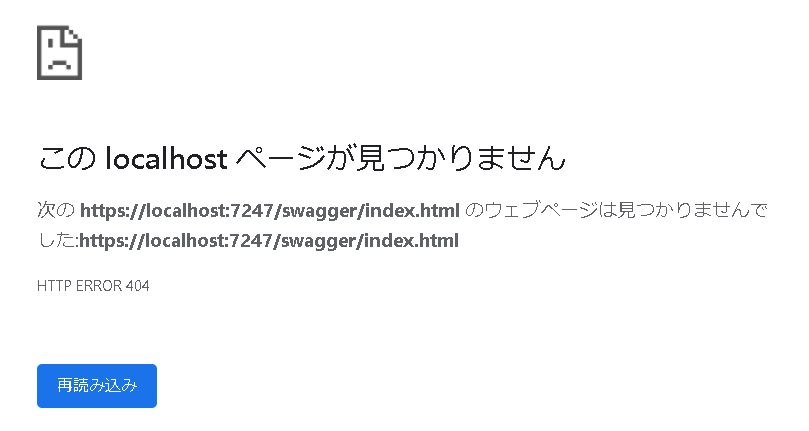
失敗時
例)
起動時のURLからSwaggerの設定を除外し忘れた場合、404になる。
Swaggerを設定する
SwaggerからAPIを実行するため、Swaggerの設定を戻す。
コメントの記載がある箇所が追加したコード。
var builder = WebApplication.CreateBuilder(args);

// Add services to the container.
builder.Services.AddEndpointsApiExplorer();
builder.Services.AddSwaggerGen();

var app = builder.Build();

// Configure the HTTP request pipeline.
if (app.Environment.IsDevelopment())
{
    app.UseSwagger();
    app.UseSwaggerUI();
}

app.MapGet("/", () => "Hello World!");
app.Run();
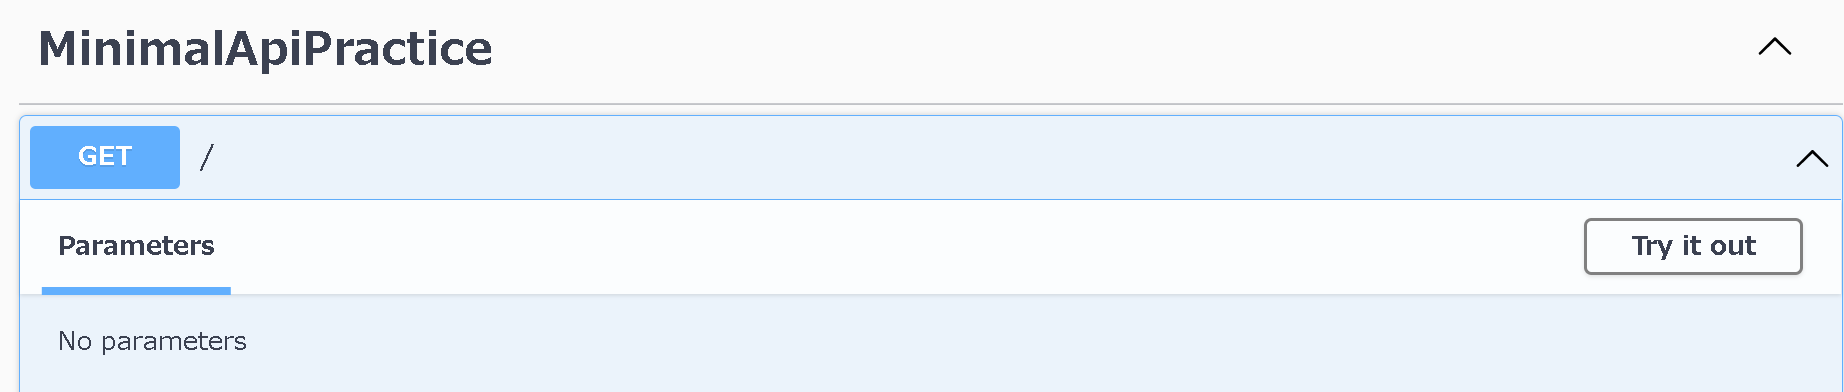
起動時のURLからSwaggerにSwaggerを追加する。
Swaggerの画面は下記の通り。
GET/PUT/POST/DELETEのAPIを定義する
使用したコードは下記の通り
var builder = WebApplication.CreateBuilder(args);
// Add services to the container.
// Learn more about configuring Swagger/OpenAPI at https://aka.ms/aspnetcore/swashbuckle
builder.Services.AddEndpointsApiExplorer();
builder.Services.AddSwaggerGen();
var app = builder.Build();
// Configure the HTTP request pipeline.
if (app.Environment.IsDevelopment())
{
app.UseSwagger();
app.UseSwaggerUI();
}
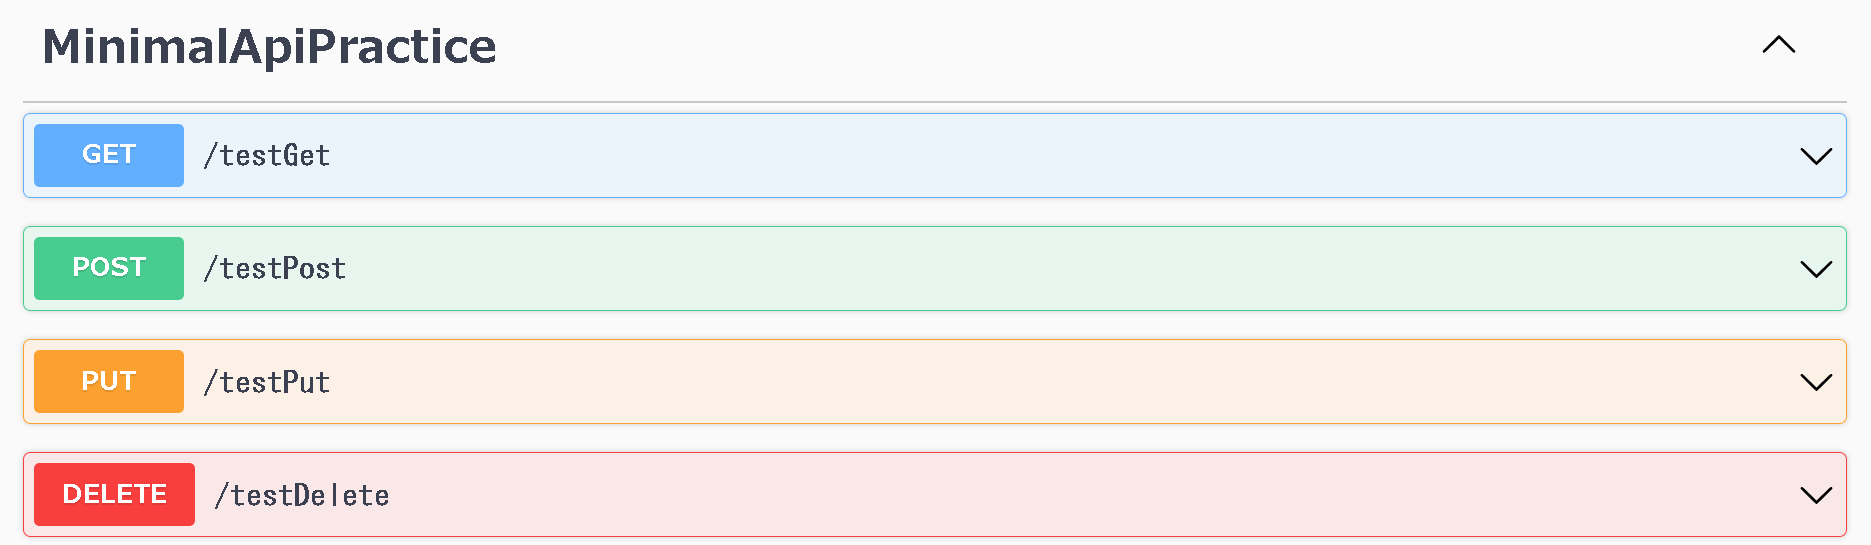
// Web API Definition
app.MapGet("/testGet", () => "This is a GET");
app.MapPost("/testPost", () => "This is a POST");
app.MapPut("/testPut", () => "This is a PUT");
app.MapDelete("/testDelete", () => "This is a DELETE");
app.Run();
Swaggerの画面は下記の通り。
それぞれのAPI 実行結果は下記の通り。
| No | Request URL | Response body |
|---|---|---|
| 1 | https://localhost:7247/testGet | This is a GET |
| 2 | https://localhost:7247/testPost | This is a POST |
| 3 | https://localhost:7247/testPut | This is a PUT |
| 4 | https://localhost:7247/testDelete | This is a DELETE |
参考
Minimal API の概要
チュートリアル: ASP.NET Core で Minimal Web API を作成する
ASP.NET Core、最小限の API、.NET 6 を使用して Web アプリとサービスを作成する