AstroとQiitaAPIを使って簡単なブログ?を作る
今回はAstroとqiitaのAPIを使用して自分の作成した記事一覧を表示してみたいと思います。
環境
Astro 4.0.0
tailwindcss 3.0.24
react 18.0.0
アクセストークン取得
QiitaのAPIを使用するためにはアクセストークンをヘッダーに含める必要があるので必ず準備しておきましょう。
設定→アプリケーション→新しくトークンを発行

.env
PUBLIC_QIITA_KEY=<取得したトークン>
取得できたら見えないようにenvファイルに書き込んでおきましょう
APIを叩いてみる
src/libs/qiita.ts
import axios from 'axios'

export const getQiita = async () => {
    try {
        const url = "https://qiita.com/api/v2/authenticated_user/items"
        const api_key = import.meta.env.PUBLIC_QIITA_KEY

        return await axios.get(url, {
            headers: {
                Authorization: `Bearer ${api_key}`
            }
        }).then(res => res.data)
    } catch (e) {
        console.log(e)
    }
}
これで自分が投稿した記事を全て取得することができます。
ヘッダーに最初に取得したトークンを入れましょう
Astroは環境変数を読み込む際はprocess.envではないので注意してください
index.astro
---
import { getQiita } from '../libs/qiita'
const response = await getQiita()
---
<Layout
meta={{
title: 'Hello MyPage',
}}
>
<main class="px-5 md:px-20 max-w-7xl md:mx-auto">
<section>
<ul class="sm:flex sm:flex-col sm:gap-5 md:grid md:grid-cols-3">
{response.map((item)=>(
<li>
<div class="max-w-xs rounded overflow-hidden shadow-lg hover:max-w-sm">
<a href={`/qiita/${item.id}`}>
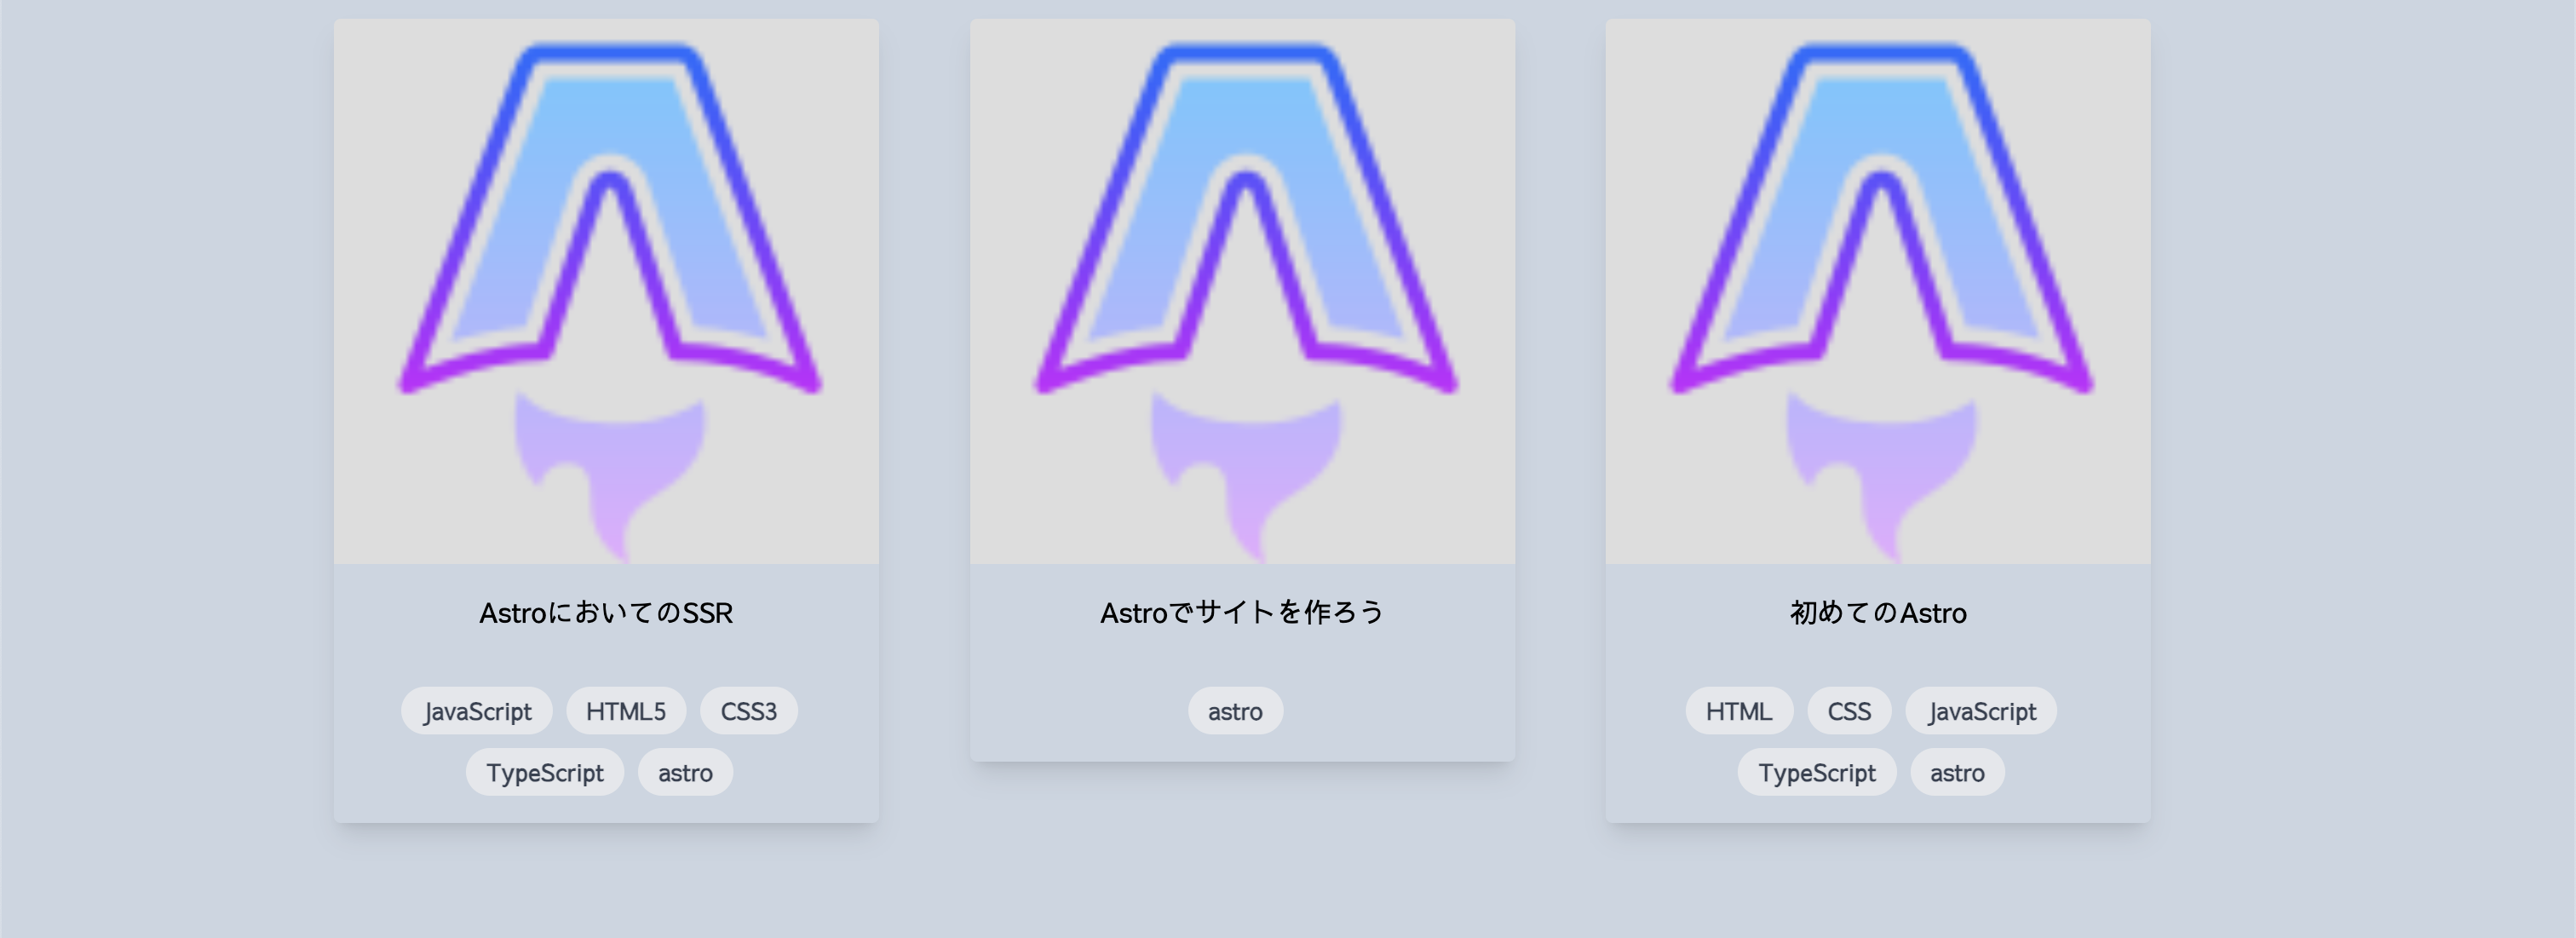
<img class="w-full" src="public/assets/icons8-astro-js-96.png">
<div class="px-6 py-4">
<h3>{item.title}</h3>
</div>
<div class="px-6 pt-4 pb-2">
{item.tags.map((tag)=>(
<span class="inline-block bg-gray-200 rounded-full px-3 py-1 text-sm font-semibold text-gray-700 mr-2 mb-2">
{tag.name}
</span>
))}
</div>
</a>
</div>
</li>
)) }
</ul>
</section>
</main>
</Layout>
詳細の内容を見る
src/libs/qiita.ts
export const getDetailQiita = async (id: string) => {
    try {
        const url = `https://qiita.com/api/v2/items/${id}`
        const api_key = import.meta.env.PUBLIC_QIITA_KEY
        return await axios.get(url, {
            headers: {
                Authorization: `Bearer ${api_key}`
            }
        }).then(res => res.data)
    } catch (e) {
        console.log(e)
    }
}
Qiitaの記事は記事についているIDを入力すれば取得することができます、そしてこれを.astro側で呼び出します。
[techId].astro
---
import { getQiita,getDetailQiita } from "../libs/qiita";

export async function getStaticPaths() {

    const response = await getQiita()

    return response.map((item:any)=>(
      {
        params:{
            techId:item.id,
        }
      }
    ))
}

const { techId } =  Astro.params

const tech = await getDetailQiita(techId)
console.log(tech)
---
パラメーターから個別の記事のIDを取得してそのデータを取得していきます。
getStaticPaths関数でパラメーターを返却→そのパラメーターをgetDetailQiita関数の引数に渡す→データ取得 という流れになります。
ここでターミナルを見てみると記事の詳細が取得できていることがわかります。
Astroはビルド次にデータを返却するのでchromeのターミナルでは表示されません。(React等CSRではない為)
問題点
現状QiitaのAPIを叩いて返ってくる記事の内容は文字列型ではくHTML形式とMarkdown形式なので個人のポートフォリオにデータを表示する方法を模索中です。
もしやり方がわかる方いらっしゃいましたら返信してくださると嬉しいです。