どうも、こんにちは。
ありきたりな、佐藤です。
そう、僕です。
最近急にARに興味を持ち出しました。
LIDARが触りたくて、でもLIDARが載ってる端末を所持していなくて。。
まずは、ARKitで、できることを学んでからだな!と思い、まずは勉強開始〜!
なぜ、モーションキャプチャからか、、、
動きある方が入り易いかな?って思うのでやってみる!
開発環境
- XCode12.1 (12A7403)
- Model: iPhone 11 Pro
- iOS 14.1 (18A8395)
ARKit
Appleの公式に説明があるので、こちらを確認してみてください^^
Apple ARKit4
ARKit 4は、まったく新しいDepth APIを導入し、iPhone 12 Pro、iPhone 12 Pro Max、およびiPadProでLiDARスキャナーによって収集された詳細な深度情報にアクセスするための新しい方法を作成します。 Location Anchorsは、Apple Mapsの高解像度データを活用して、iPhoneおよびiPadアプリの世界の特定の場所にARエクスペリエンスを配置します。 また、顔追跡のサポートは、Apple Neural Engineと前面カメラを備えたすべてのデバイスに拡張されているため、さらに多くのユーザーが写真やビデオでARの楽しさを体験できます。
プロジェクトを作ろう!
新規作成
まずは、いつもの通り、Xcodeで
「Welcome to Xcode」の
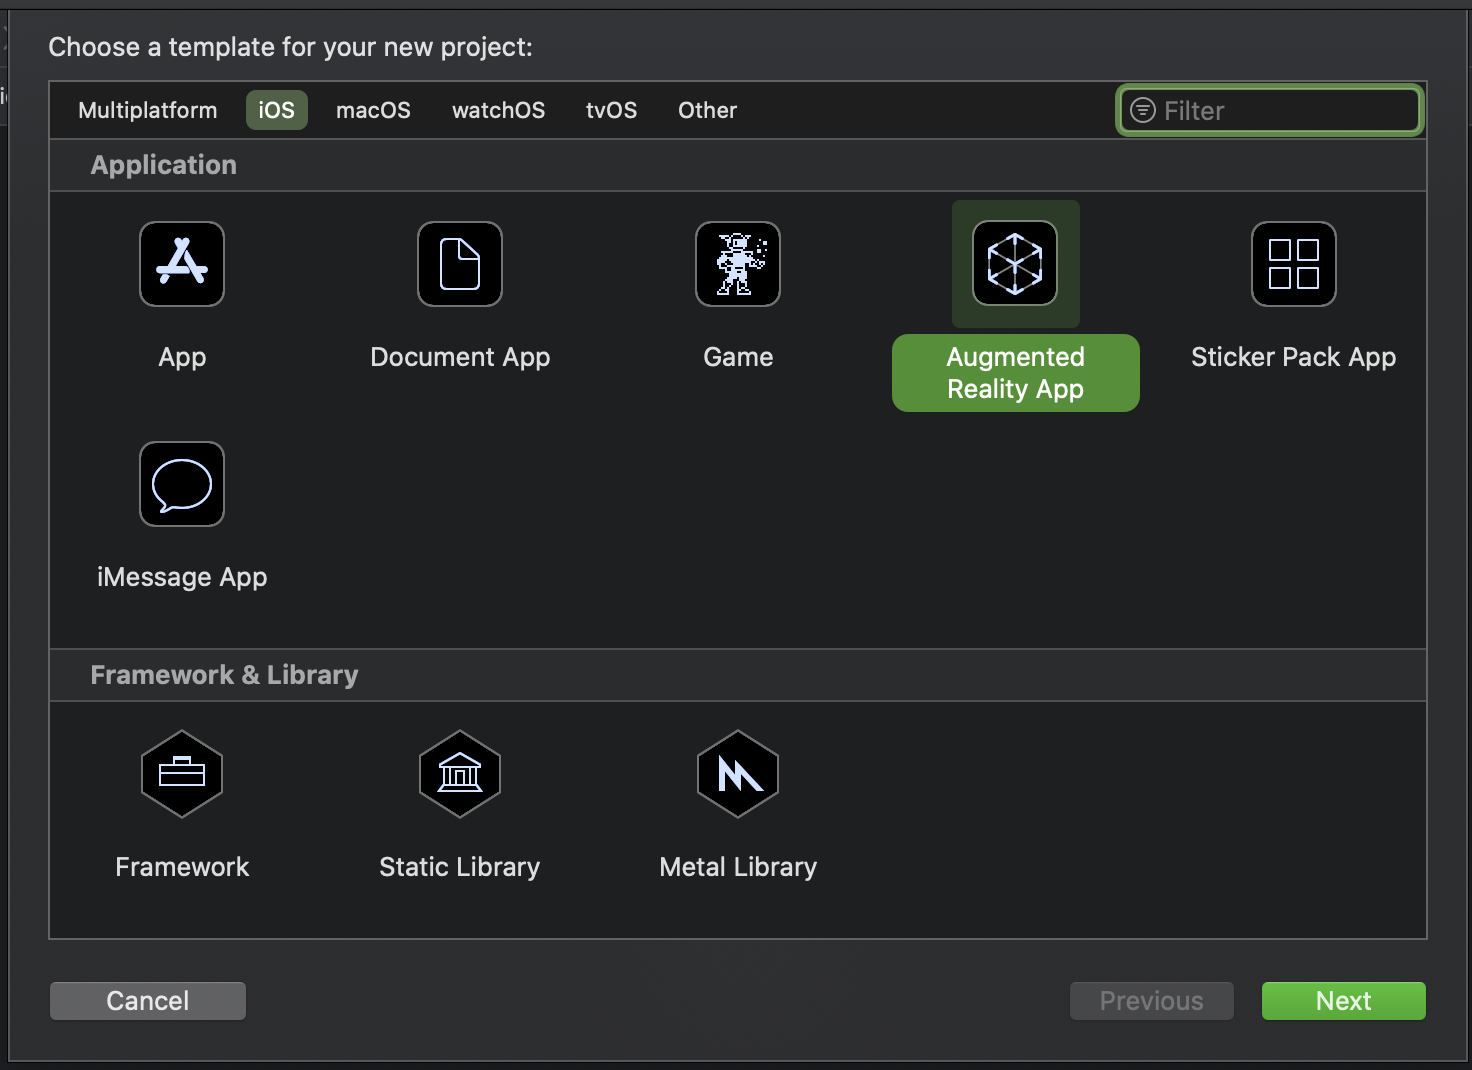
「Create a new Xcode project」を選択

テンプレート選択
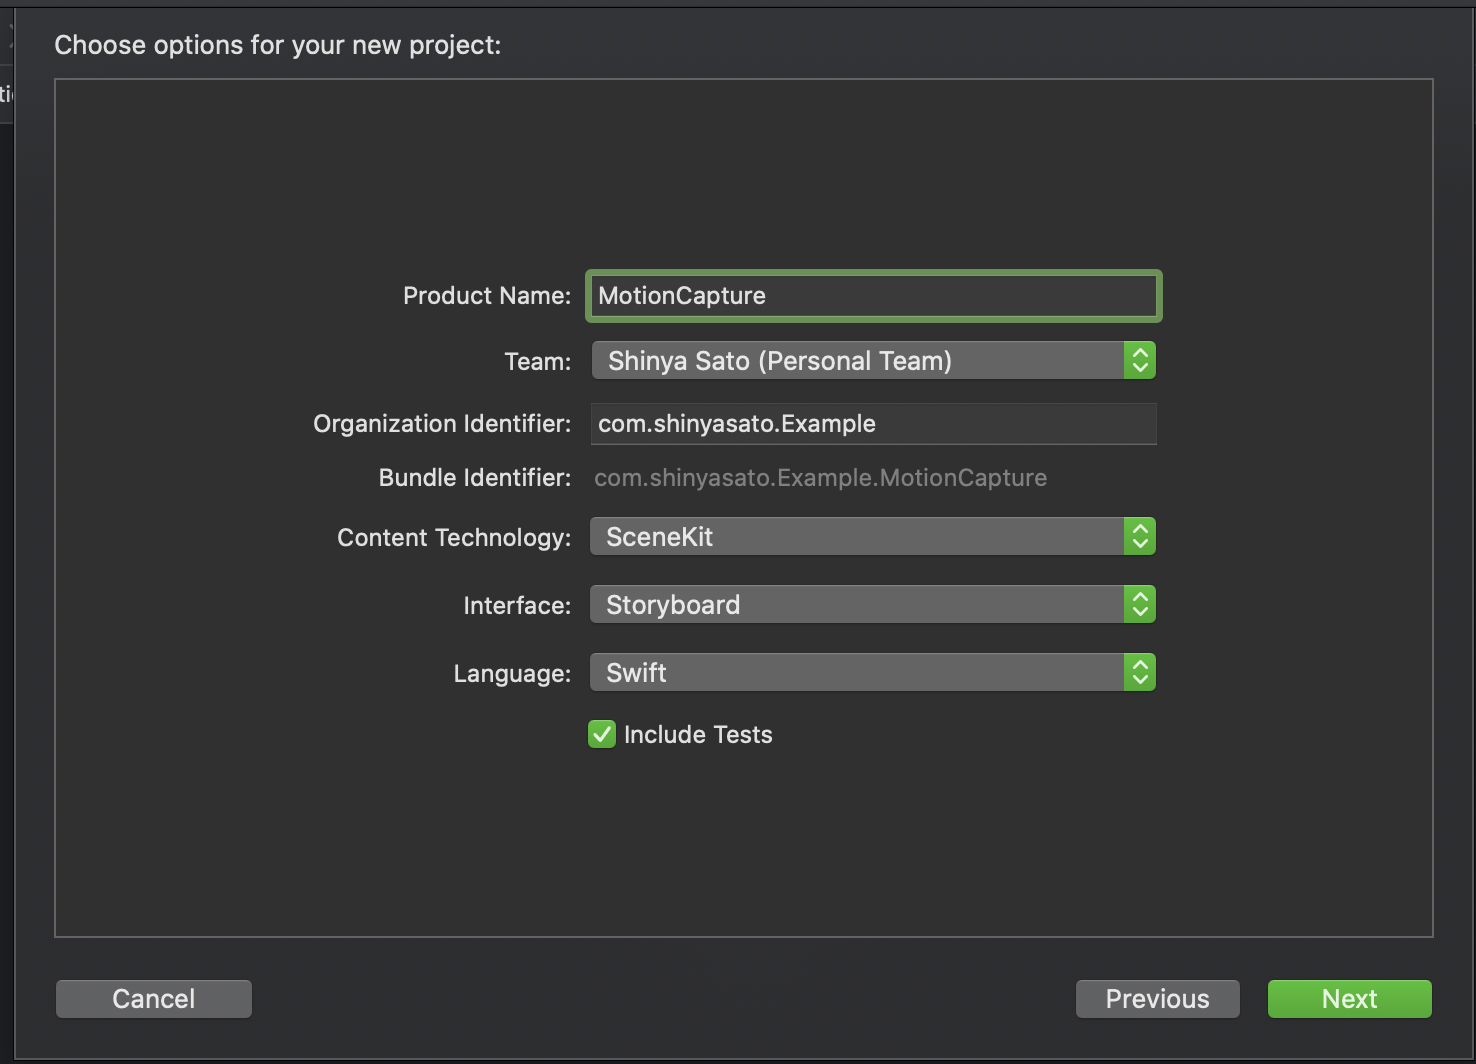
アプリケーション名を付ける
「MotionCapture」
今回はサンプルのモーションキャプチャのアプリなでこんな感じで作成して、「Next」を押し、
プロジェクトの保存先などは、任意の場所に。
*下記の3項目はデフォルトでこうなってると思います
- Content Technology:「SceneKit」
- Interface:「Storyboard」
- Language:「Swift」
プロジェクトテンプレート
Xcodeが起動され、テンプレートのアプリが作成されましたね。
iPhoneをMacと接続し、「Run」してみましょう。
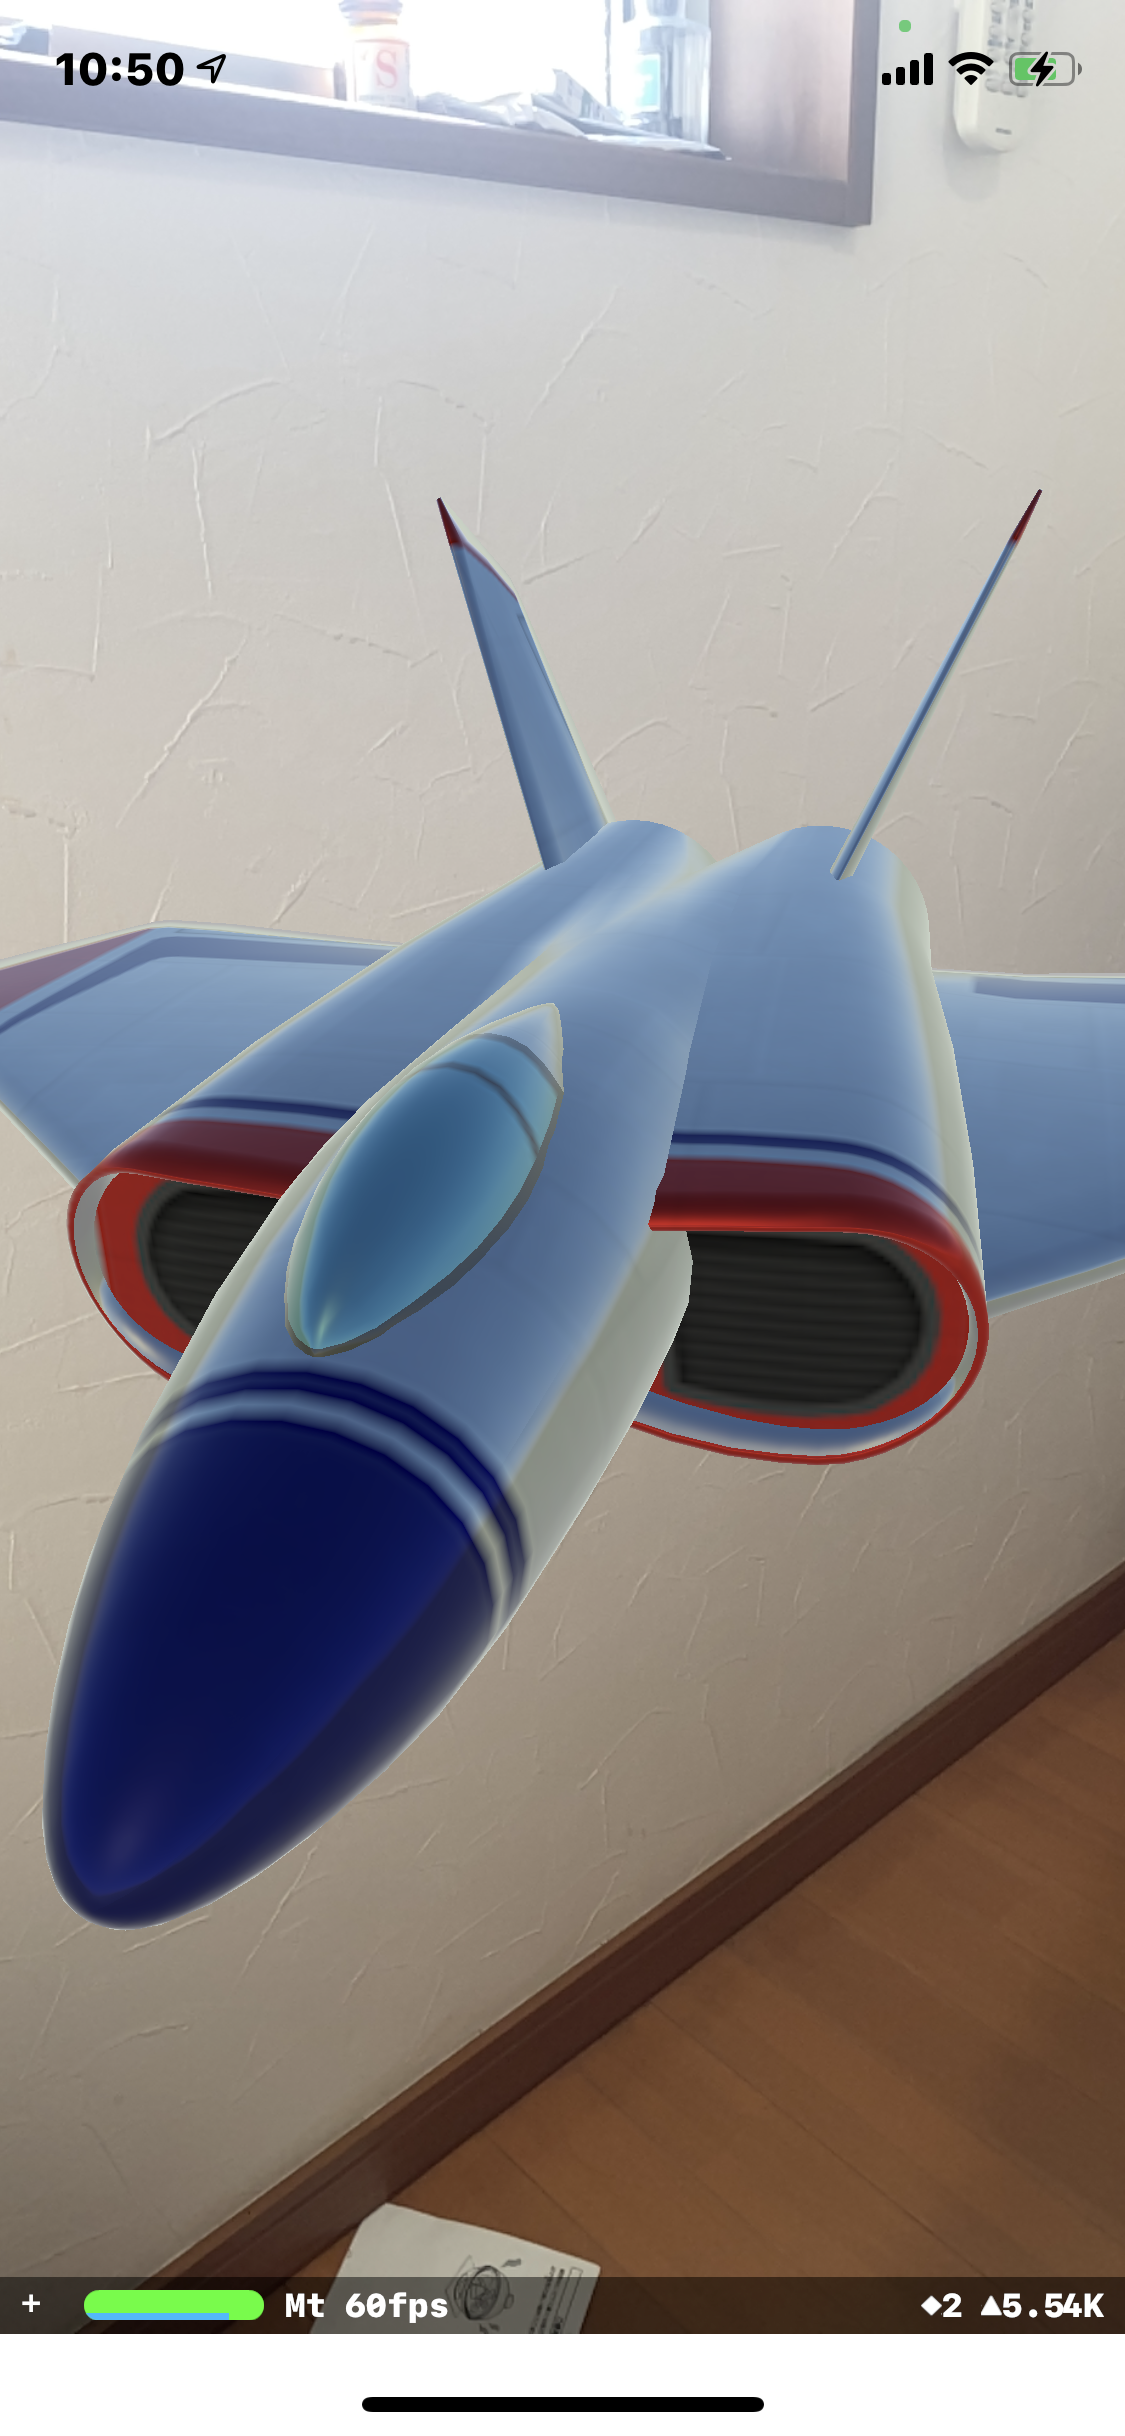
カメラへのアクセス許可を「OK」を選択し、iPhoneを動かし、ジェット機を探してみましょー!
発見したら、角度を変えるといろんな角度からジェット機が確認できますね。


長々と、説明をしましたね、、
念の為、必要な人がいるかもしれないので書いてみましたw
モーションキャプチャに突入
ARSCNViewDelegateもすでに入っている状態です。
ARSCVViewDelegateはARセッションにARAnchorが追加、更新、削除などの
イベントをハンドリングする為に用意されているものですが、
今回は動きをキャプチャしたいので、ARSessionDelegateを使用するので、
「ARSCNViewDelegate」を「ARSessionDelegate」に変更する。
class ViewController: UIViewController, ARSCNViewDelegate {
↓
class ViewController: UIViewController, ARSessionDelegate {
テンプレートにすでにsceneViewが定義されていますね。
StroryBoardにももちろん用意されています。
@IBOutlet var sceneView: ARSCNView!
sceneViewのdelegateを削除し、
sceneViewのsessitonのdelegateに、selfにセットし、ハンドリングできる様にする
    sceneView.delegate = self
    ↓
    sceneView.session.delegate = self
sceneViewのsceneに空のSCNSSceneをセットする
sceneView.scene = SCNScene()
こちらは今回不要なので削除でOK
        // Show statistics such as fps and timing information
        // デフォルトはfalseだが、ジェット機に出した時の画面の下部に出ていた情報の表示のon/offフラグ
        sceneView.showsStatistics = true

        // Create a new scene
        // ジェット機の3Dオブジェクトを読み込む
        let scene = SCNScene(named: "art.scnassets/ship.scn")!

        // Set the scene to the view
        // sceneViewにジェット機を表示させる
        sceneView.scene = scene
人の動きを追跡する設定に変更する
viewWillAppear内で、元々ある
「ARWorldTrackingConfiguration」を「ARBodyTrackingConfiguration」に変更して、
sceneViewにセットする。
*ARBodyTrackingConfigurationが使用できない端末の場合は、動作しない為isSupportedで判定し処理する
ARWorldTrackingConfiguration
ARBodyTrackingConfiguration
        guard ARBodyTrackingConfiguration.isSupported else {
            fatalError("This feature is only supported on devices with an A12 chip")
        }
        // Create a session configuration
        // let configuration = ARWorldTrackingConfiguration()
        // ↓
        let configuration = ARWorldTrackingConfiguration()

        // Run the view's session
        sceneView.session.run(configuration)
ARSessionDelegateのdelegateメソッドを実装する
今回使用するのはこの2つ
・ARAnchorが追加されたときに呼び出される、session(ARSession, didAdd: [ARAnchor])
・ARAnchorが更新されたときに呼び出される、session(ARSession, didUpdate: [ARAnchor])
func session(ARSession, didAdd: [ARAnchor])

func session(ARSession, didUpdate: [ARAnchor])
func session(ARSession, didAdd: [ARAnchor])を実装していく
anchorsのforループさせ、ARAnchorがARBodyAnchorか確認し、ARBodyAnchor以外は今回は処理しない為
returnする。
    func session(_ session: ARSession, didAdd anchors: [ARAnchor]) {
        for anchor in anchors {
            guard let bodyAnchor = anchor as? ARBodyAnchor else {
                return
            }
            // Next
        }
    }
func session(ARSession, didUpdate: [ARAnchor])も同じく、実装していく
didAddと同様にARAnchorを確認し対象だけ処理する様に実装する。
    func session(_ session: ARSession, didUpdate anchors: [ARAnchor]) {
        for anchor in anchors {
            guard let bAnchor = anchor as? ARBodyAnchor else {
                return
            }
            // Next
        }
    }
ARBodyAnchorから情報を取り出し描画する
両方のdelegateメソッドから取得されたARBodyAnchorを使用し、画面に表示させよう。
・ARBodyAnchorからskeletonを取り出す。
skeletonは3Dの身体情報です。
let skeleton = anchor.skeleton
skeletonの、ARSkeletonDefinitionのjointNamesをforループでjointNameを取得する。
ARBodyAnchorの座標は「hips_joint」の位置が中心となっている。取得した、jointNameを使用し、modelTransformで、中心からの移動量と回転量を取得します。
modelTransformは、存在しないjointNameをセットするとnilが取得される。
        for jointName in skeleton.definition.jointNames {
            let jointType = ARSkeleton.JointName(rawValue: jointName)
            if let transform = skeleton.modelTransform(for: jointType) {
備考:jointName
jointNameをデバッガで取得してみた。91パーツ。もっとあるのかな、、?
- 0 : "root" - 1 : "hips_joint" - 2 : "left_upLeg_joint" - 3 : "left_leg_joint" - 4 : "left_foot_joint" - 5 : "left_toes_joint" - 6 : "left_toesEnd_joint" - 7 : "right_upLeg_joint" - 8 : "right_leg_joint" - 9 : "right_foot_joint" - 10 : "right_toes_joint" - 11 : "right_toesEnd_joint" - 12 : "spine_1_joint" - 13 : "spine_2_joint" - 14 : "spine_3_joint" - 15 : "spine_4_joint" - 16 : "spine_5_joint" - 17 : "spine_6_joint" - 18 : "spine_7_joint" - 19 : "left_shoulder_1_joint" - 20 : "left_arm_joint" - 21 : "left_forearm_joint" - 22 : "left_hand_joint" - 23 : "left_handIndexStart_joint" - 24 : "left_handIndex_1_joint" - 25 : "left_handIndex_2_joint" - 26 : "left_handIndex_3_joint" - 27 : "left_handIndexEnd_joint" - 28 : "left_handMidStart_joint" - 29 : "left_handMid_1_joint" - 30 : "left_handMid_2_joint" - 31 : "left_handMid_3_joint" - 32 : "left_handMidEnd_joint" - 33 : "left_handPinkyStart_joint" - 34 : "left_handPinky_1_joint" - 35 : "left_handPinky_2_joint" - 36 : "left_handPinky_3_joint" - 37 : "left_handPinkyEnd_joint" - 38 : "left_handRingStart_joint" - 39 : "left_handRing_1_joint" - 40 : "left_handRing_2_joint" - 41 : "left_handRing_3_joint" - 42 : "left_handRingEnd_joint" - 43 : "left_handThumbStart_joint" - 44 : "left_handThumb_1_joint" - 45 : "left_handThumb_2_joint" - 46 : "left_handThumbEnd_joint" - 47 : "neck_1_joint" - 48 : "neck_2_joint" - 49 : "neck_3_joint" - 50 : "neck_4_joint" - 51 : "head_joint" - 52 : "jaw_joint" - 53 : "chin_joint" - 54 : "left_eye_joint" - 55 : "left_eyeLowerLid_joint" - 56 : "left_eyeUpperLid_joint" - 57 : "left_eyeball_joint" - 58 : "nose_joint" - 59 : "right_eye_joint" - 60 : "right_eyeLowerLid_joint" - 61 : "right_eyeUpperLid_joint" - 62 : "right_eyeball_joint" - 63 : "right_shoulder_1_joint" - 64 : "right_arm_joint" - 65 : "right_forearm_joint" - 66 : "right_hand_joint" - 67 : "right_handIndexStart_joint" - 68 : "right_handIndex_1_joint" - 69 : "right_handIndex_2_joint" - 70 : "right_handIndex_3_joint" - 71 : "right_handIndexEnd_joint" - 72 : "right_handMidStart_joint" - 73 : "right_handMid_1_joint" - 74 : "right_handMid_2_joint" - 75 : "right_handMid_3_joint" - 76 : "right_handMidEnd_joint" - 77 : "right_handPinkyStart_joint" - 78 : "right_handPinky_1_joint" - 79 : "right_handPinky_2_joint" - 80 : "right_handPinky_3_joint" - 81 : "right_handPinkyEnd_joint" - 82 : "right_handRingStart_joint" - 83 : "right_handRing_1_joint" - 84 : "right_handRing_2_joint" - 85 : "right_handRing_3_joint" - 86 : "right_handRingEnd_joint" - 87 : "right_handThumbStart_joint" - 88 : "right_handThumb_1_joint" - 89 : "right_handThumb_2_joint" - 90 : "right_handThumbEnd_joint"取得した、パーツの情報とARBodyAnchorの中心点を乗算し
3D空間上での、パーツの位置・回転を取得する。
        /// jointTypeの位置・回転をキャスト
        let partsPoint = SCNMatrix4(transform)
        /// 基準点 hipの位置・回転をキャスト
        let hipPoint = SCNMatrix4(anchor.transform)
        /// func SCNMatrix4Mult(_ a: SCNMatrix4, _ b: SCNMatrix4) -> SCNMatrix4で行列を合成するときは、左のaが後にやる方、右のbが先にやる方、という風に考えて合成します。
        let matrix = SCNMatrix4Mult(partsPoint, hipPoint)
        let position = SCNVector3(matrix.m41, matrix.m42, matrix.m43)
すでにSceaneViewに同じものがあるかチェックし、あれば更新、なければ追加する
sceneViewから、nodeの名前をKeyに検索し、
存在していたら、nodeのpositionをセットして更新する。
存在していない場合は、「SCNSphere(radius: 0.02)」で球体を作成し
SCNNodeを作成、position、検索用のnameをセットし
作成した、SCNNodeを、sceneView.scene.rootNodeにaddChildNodeをする。
        if let nodeToUpdate = sceneView.scene.rootNode.childNode(withName: jointName, recursively: false) {
            /// 既に追加されているので、位置の更新のみ行う
            nodeToUpdate.isHidden = false
            nodeToUpdate.position = position
        } else {
            // GeoSphere
            // Radius 球の半径で初期値は 1。
            let sphereGeometry = SCNSphere(radius: 0.02)
            // チェックすると三角ポリゴンを均等に面が構成される。 初期値はfalse
            sphereGeometry.isGeodesic = true
            // 球体Color
            sphereGeometry.firstMaterial?.diffuse.contents = UIColor.green
            // ノードに球体ジオメトリを設定
            let sphereNode = SCNNode(geometry: sphereGeometry)
            // 表示位置設定
            sphereNode.position = position
            // ノードにname設定
            sphereNode.name = jointName
            // ルートノードに追加する
            sceneView.scene.rootNode.addChildNode(sphereNode)
        }
さあ完成です。
実行してみましょう。
人がいない場合、youtubeなどの歩いている人の動画をiPhoneの画面越しにみて
見て下さい。
全てのソースはGithubにPushしていますのでお取りくださいー。
https://github.com/Satoiosdevelop/ExampleMotionCapture

