はじめに
@NamespaceとmatchedGeometryEffectを使って滑らかなアニメーションを実装することができるので拡大機能を実装してみました
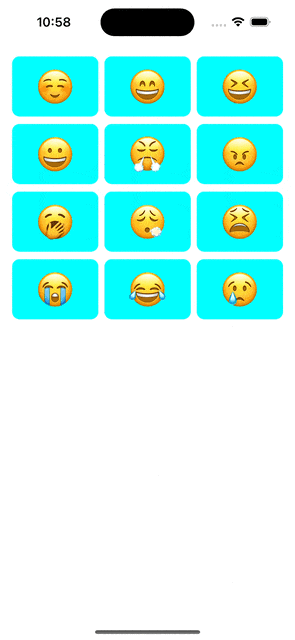
サンプルアプリ
実装
import SwiftUI
struct ContentView: View {
@State private var selectedEmoji: String?
@Namespace private var namespace
private let emojis = ["☺️", "😄", "😆", "😀", "😤", "😠", "🥱", "😮💨", "😫", "😭", "😂", "😢"]
private let columns: [GridItem] = Array(repeating: .init(.flexible()), count: 3)
var body: some View {
if let emoji = selectedEmoji {
Text(emoji)
.font(.system(size: 100))
.frame(maxWidth: .infinity, maxHeight: .infinity)
.background(Color(uiColor: .cyan))
.onTapGesture {
withAnimation {
selectedEmoji = nil
}
}
.matchedGeometryEffect(id: emoji, in: namespace)
} else {
ScrollView {
LazyVGrid(columns: columns, spacing: 10) {
ForEach(emojis, id: \.self) { emoji in
Text(emoji)
.font(.system(size: 50))
.frame(maxWidth: .infinity)
.frame(height: 80)
.background(Color(uiColor: .cyan), in: RoundedRectangle(cornerRadius: 10))
.onTapGesture {
withAnimation {
selectedEmoji = emoji
}
}
.matchedGeometryEffect(id: emoji, in: namespace)
}
}
.padding(16)
}
}
}
}
おわり
めっちゃいい感じになりました
これを応用したらかっこいいアプリが作れそうです!