はじめに
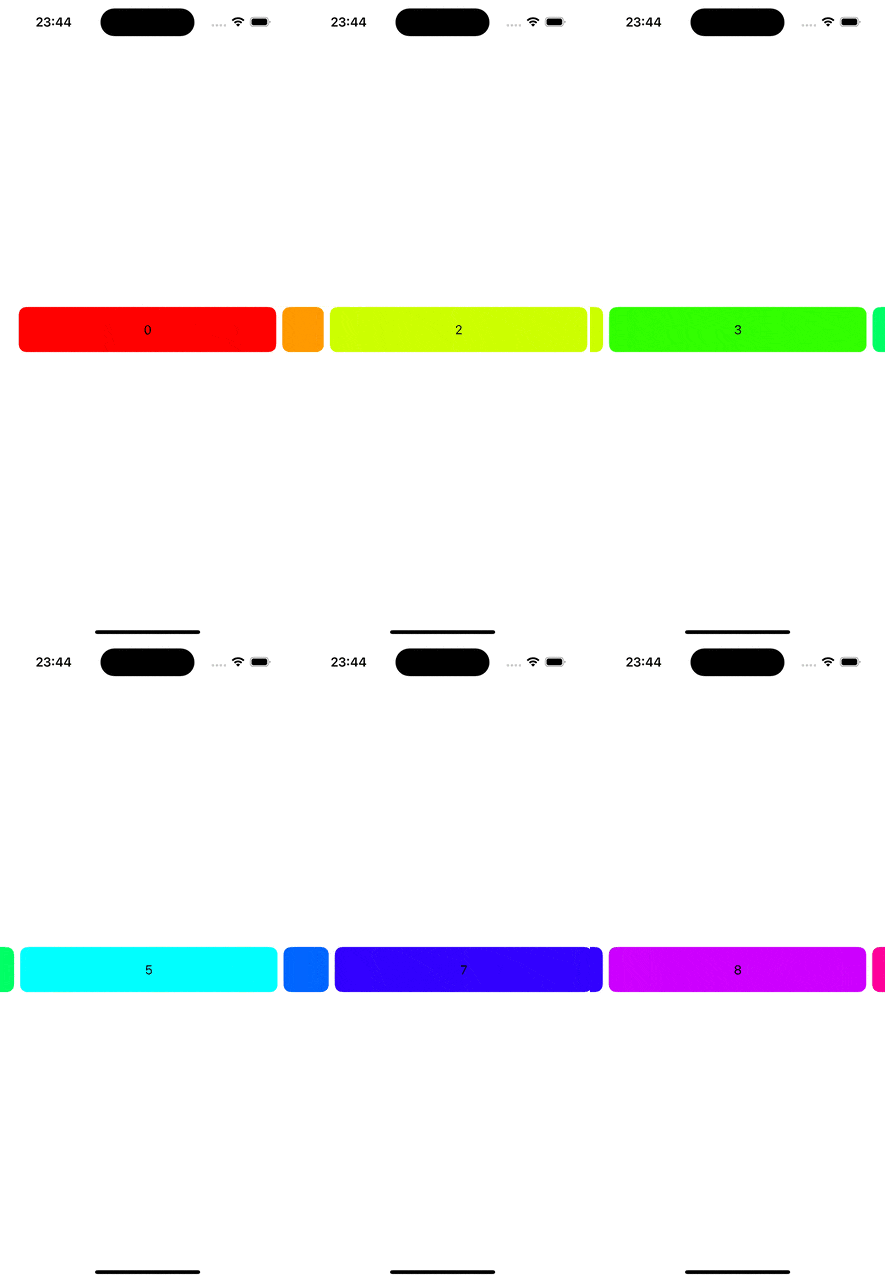
キャンペーンのバナーとかでよくみる、左右の要素がちょっと見えているカルーセルUIをSwiftUIで実装してみたいと思います。
サンプルアプリ
実装
import SwiftUI

struct ContentView: View {
    private let carouselRange = 0..<10

    var body: some View {
        ScrollView(.horizontal, showsIndicators: false) {
            HStack {
                ForEach(carouselRange) { index in
                    Text(index.description)
                        .containerRelativeFrame(.horizontal)
                        .frame(height: 60)
                        .background(
                            Color(hue: Double(index) / 10, saturation: 1, brightness: 1),
                            in: .rect(cornerRadius: 10)
                        )
                }
            }
            .scrollTargetLayout()
        }
        .scrollTargetBehavior(.viewAligned)
        .safeAreaPadding(.horizontal, 25)
    }
}
自動スクロール機能を追加実装してみる
import SwiftUI

struct ContentView: View {
    /// スクロール位置
    @State private var scrollPosition: Int? = 0

    private let carouselRange = 0..<10

    private let timer = Timer.publish(every: 3.0, on: .main, in: .default).autoconnect()

    var body: some View {
        ScrollView(.horizontal, showsIndicators: false) {
            LazyHStack {
                ForEach(carouselRange) { index in
                    Text(index.description)
                        .containerRelativeFrame(.horizontal)
                        .frame(height: 60)
                        .background(
                            Color(hue: Double(index) / 10, saturation: 1, brightness: 1),
                            in: .rect(cornerRadius: 10)
                        )
                        .id(index)
                }
            }
            .scrollTargetLayout()
            .onReceive(timer) { _ in
                guard let scrollPosition else { return }
                let carouselCount = carouselRange.upperBound
                let carouselMaxIndex = carouselCount - 1
                withAnimation {
                    if carouselMaxIndex <= scrollPosition {
                        self.scrollPosition = 0
                    } else {
                        self.scrollPosition = scrollPosition + 1
                    }
                }
            }
        }
        .scrollPosition(id: $scrollPosition)
        .scrollTargetBehavior(.viewAligned)
        .safeAreaPadding(.horizontal, 25)
    }
}
おわり
このUI割と見ますよね
iOS17で追加された機能をいっぱい使ってます。
scrollPosition初めて使ったのですが、Lazy◯Stackじゃないと動かない?気がする
この辺は別記事で調査してみます。
