Lottieとは
簡単にアニメーションを表示できるライブラリです
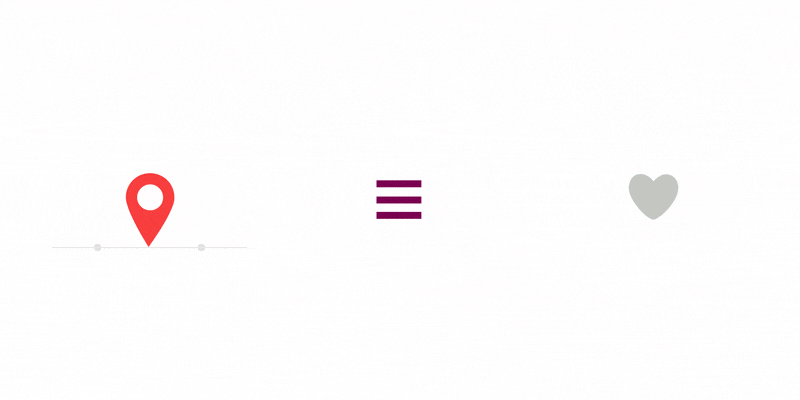
こちらで公開されているアニメーションがすぐ使えるようになります。
そしてとても軽いので使いやすいです。
インストール
- CocoaPods
- Carthage
- Swift Package Manager
上記3つがサポートされています。
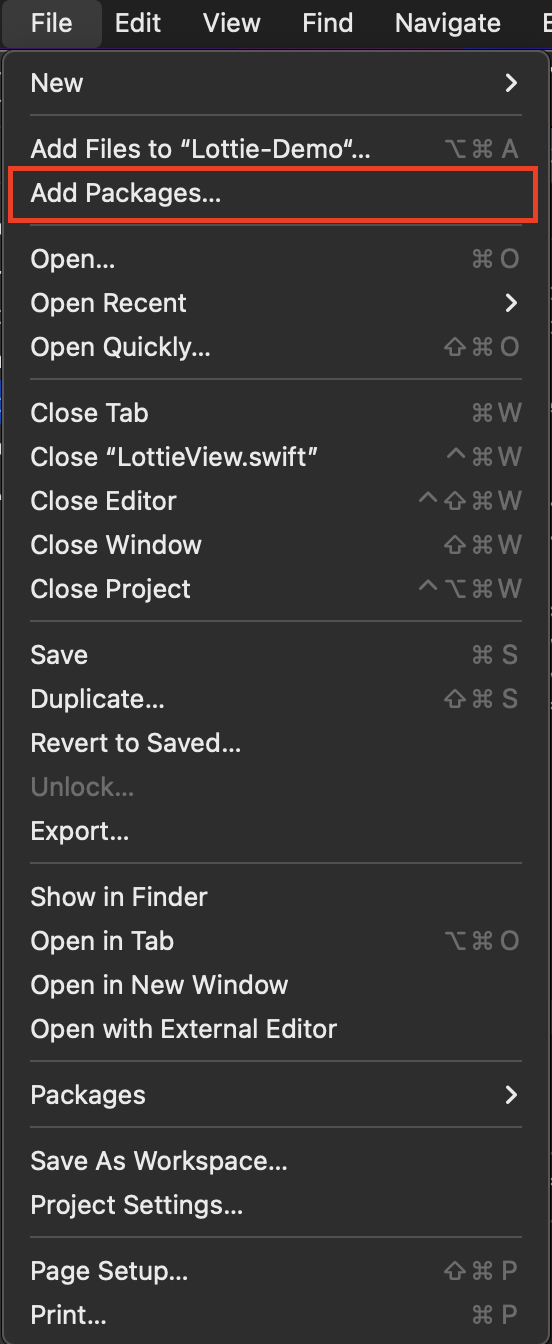
今回はSwift Package Managerでインストールしていきます。
①: lottie-iosのURLをコピー

②: Xcodeのメニューバーの「File」を選択

③: 「Add Packages...」を選択
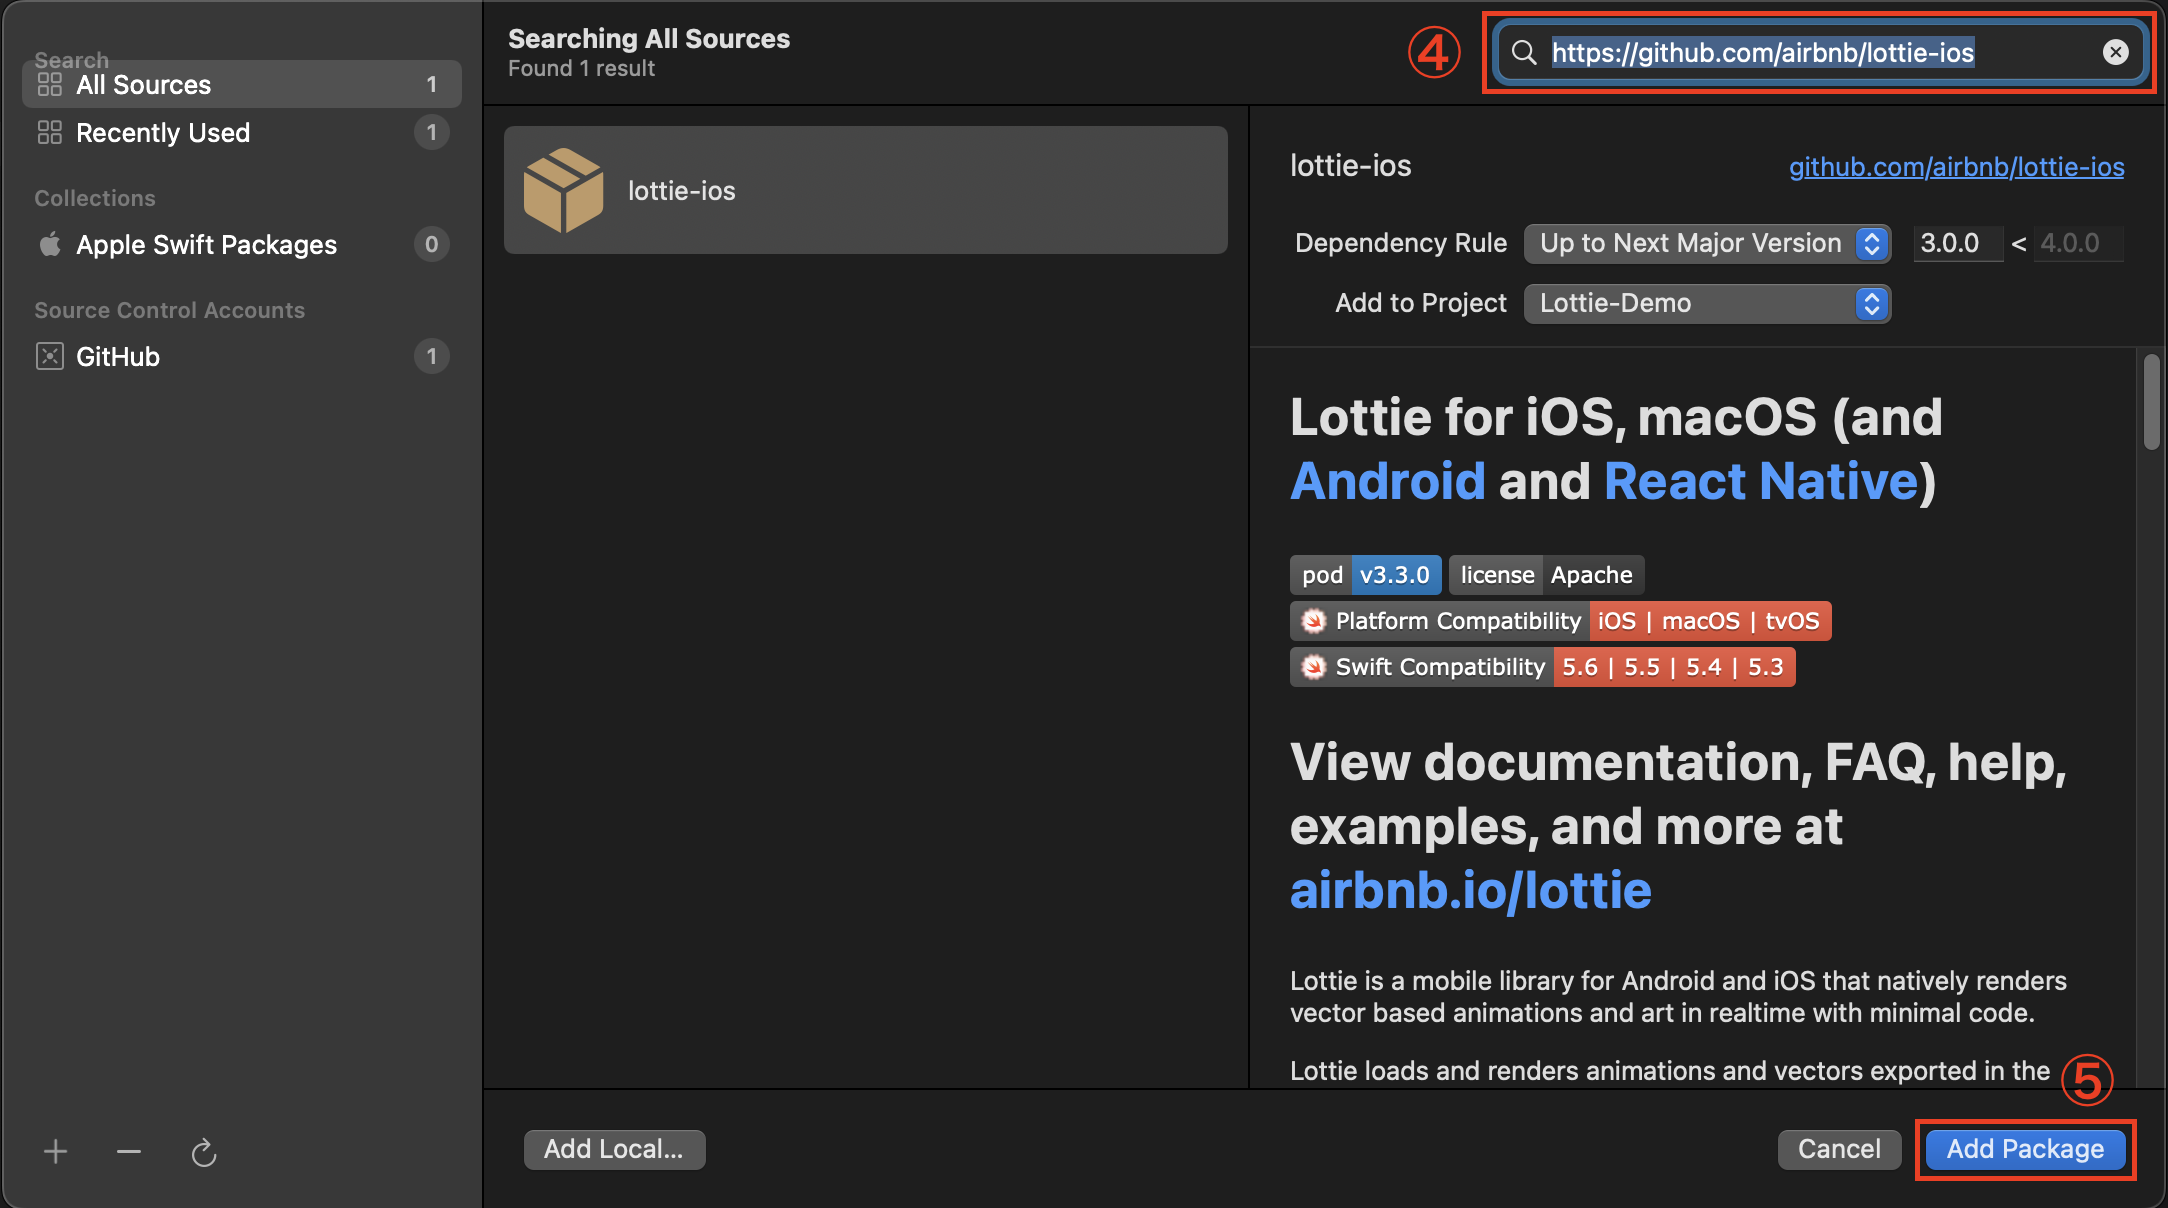
④: ①でコピーしたURLを貼り付ける
⑤: 「Add Package」を選択
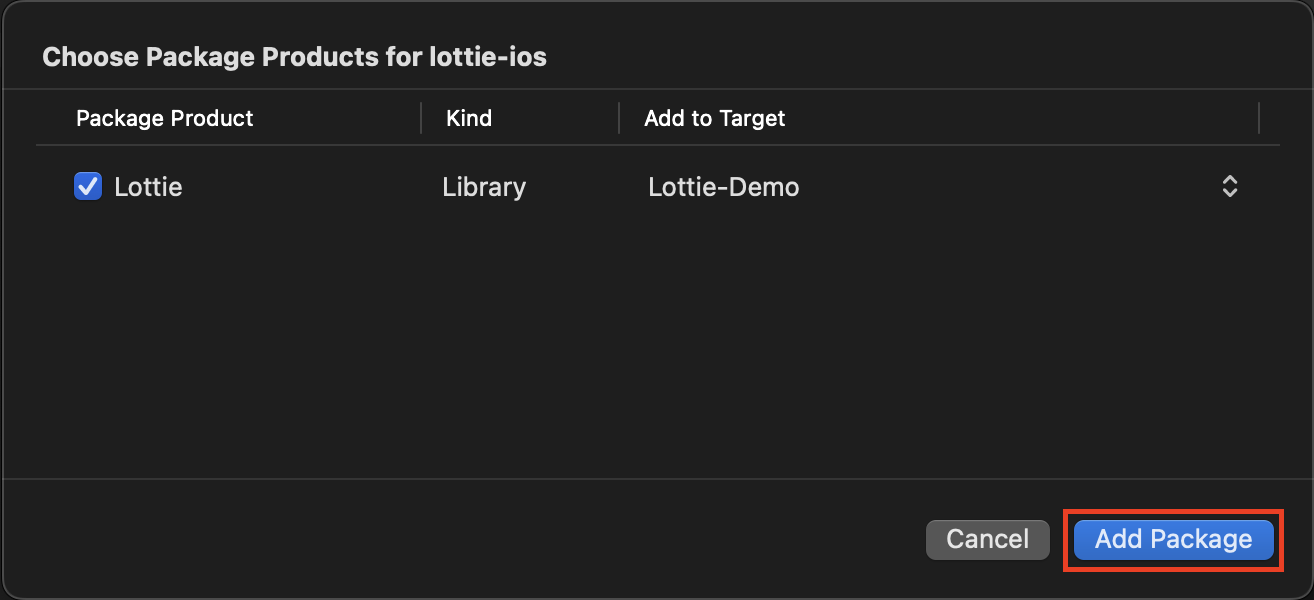
⑥: 「Add Package」を選択
使い方
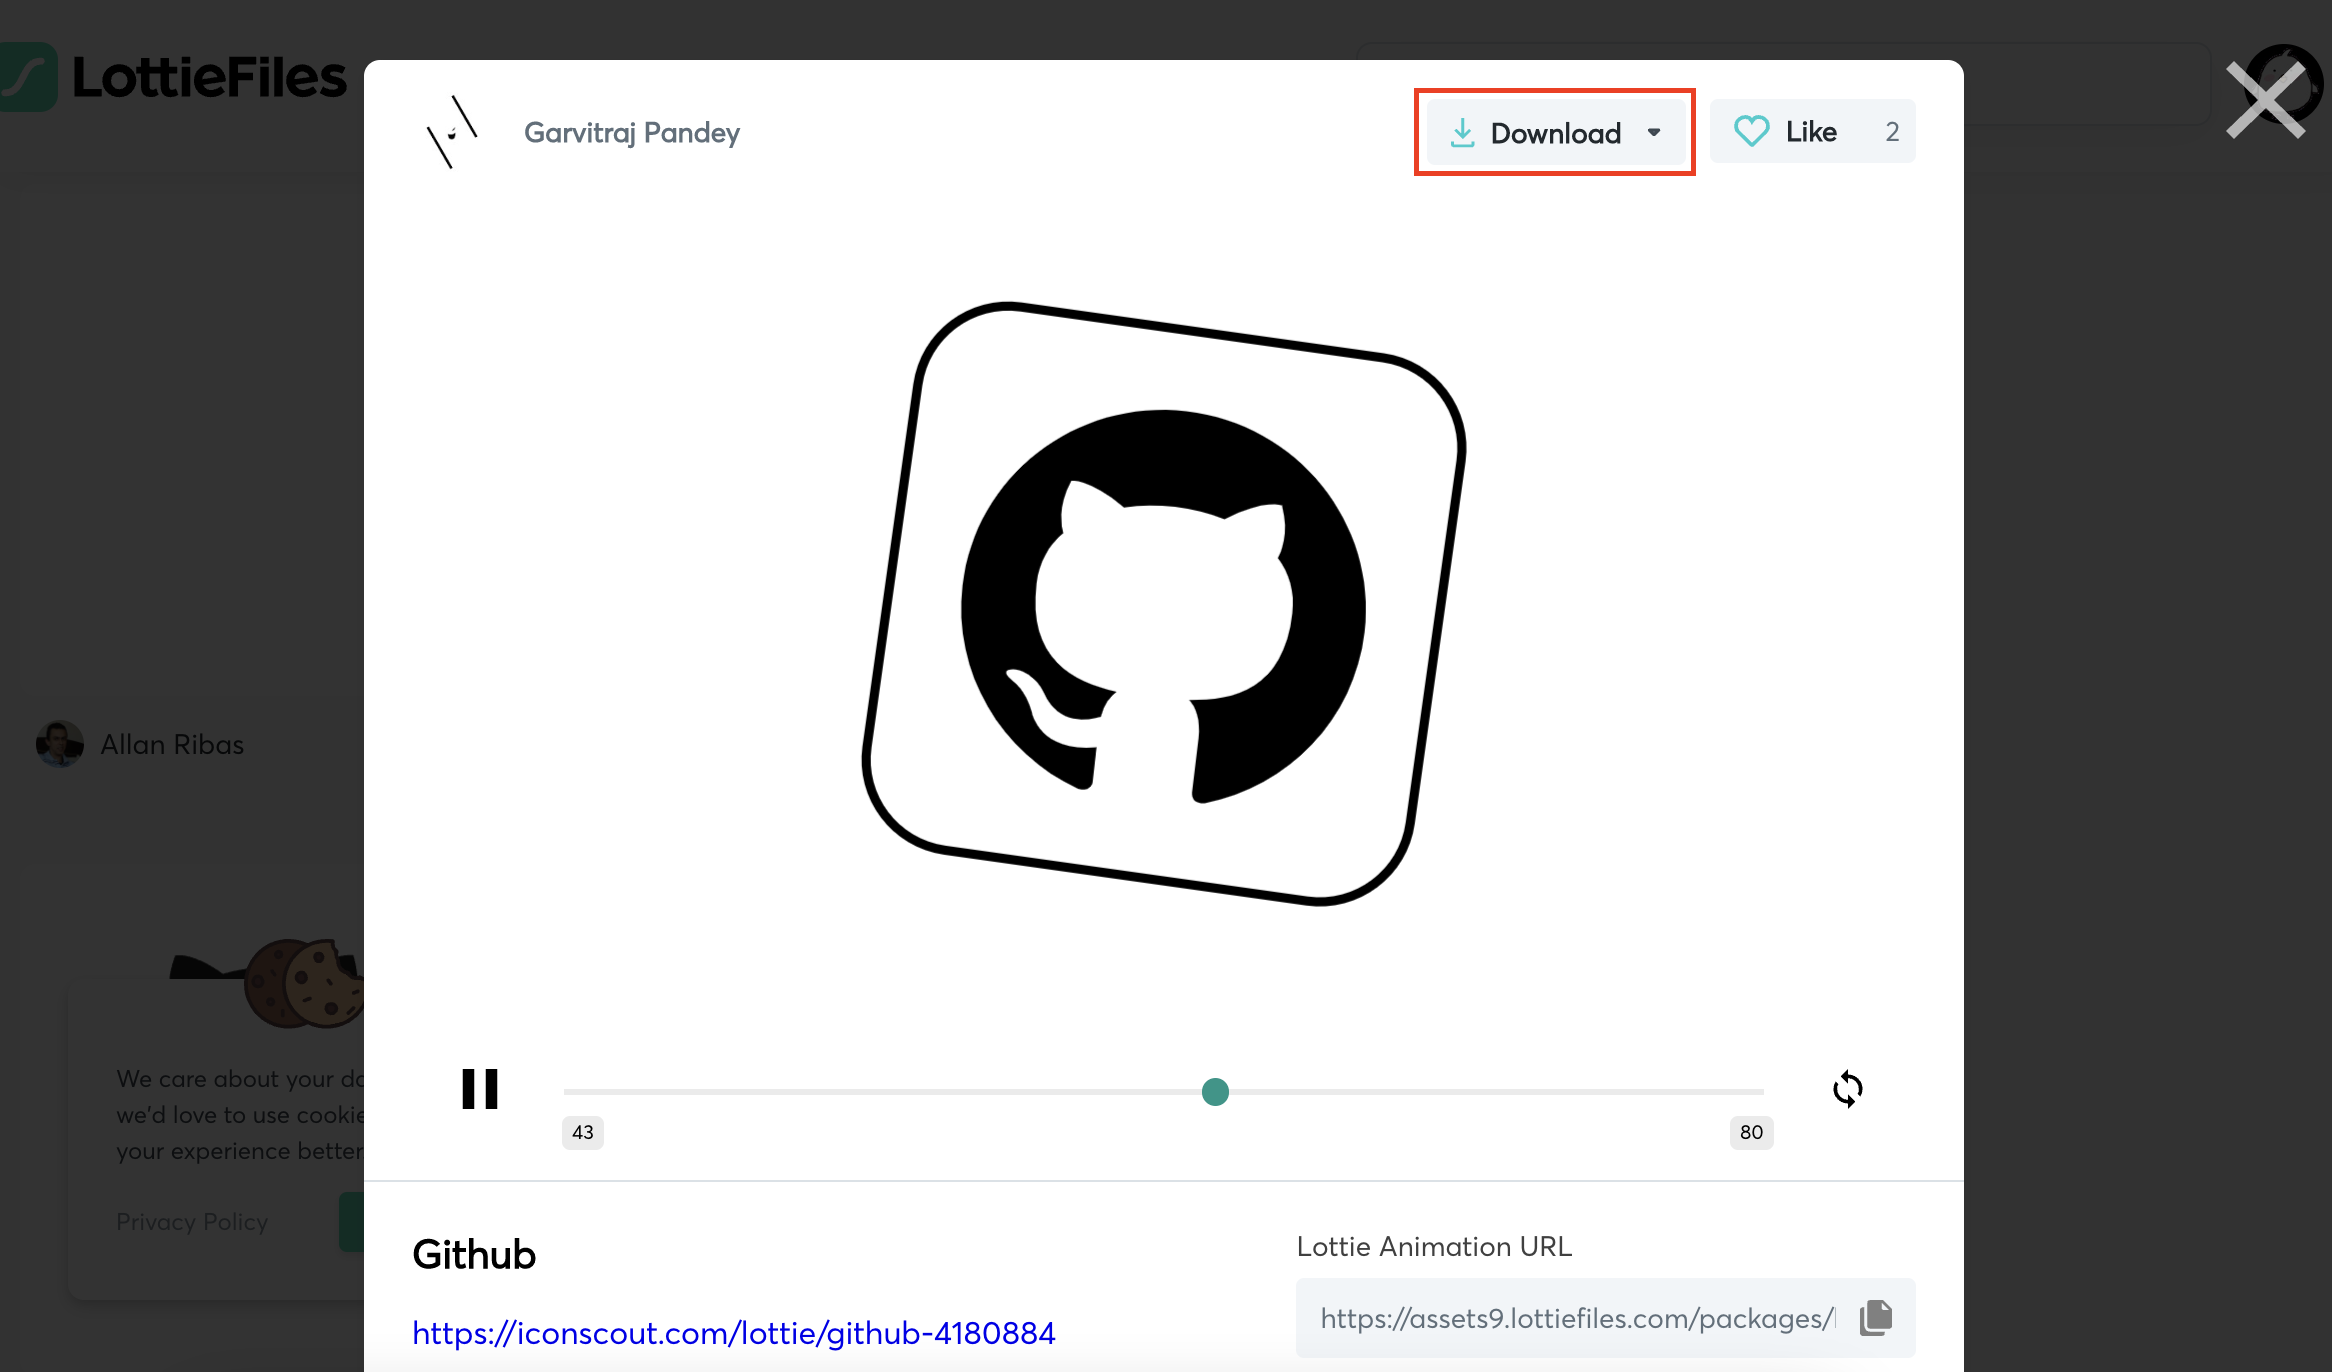
こちらのアニメーションをサンプルとして使用しますのでダウンロードしてください。
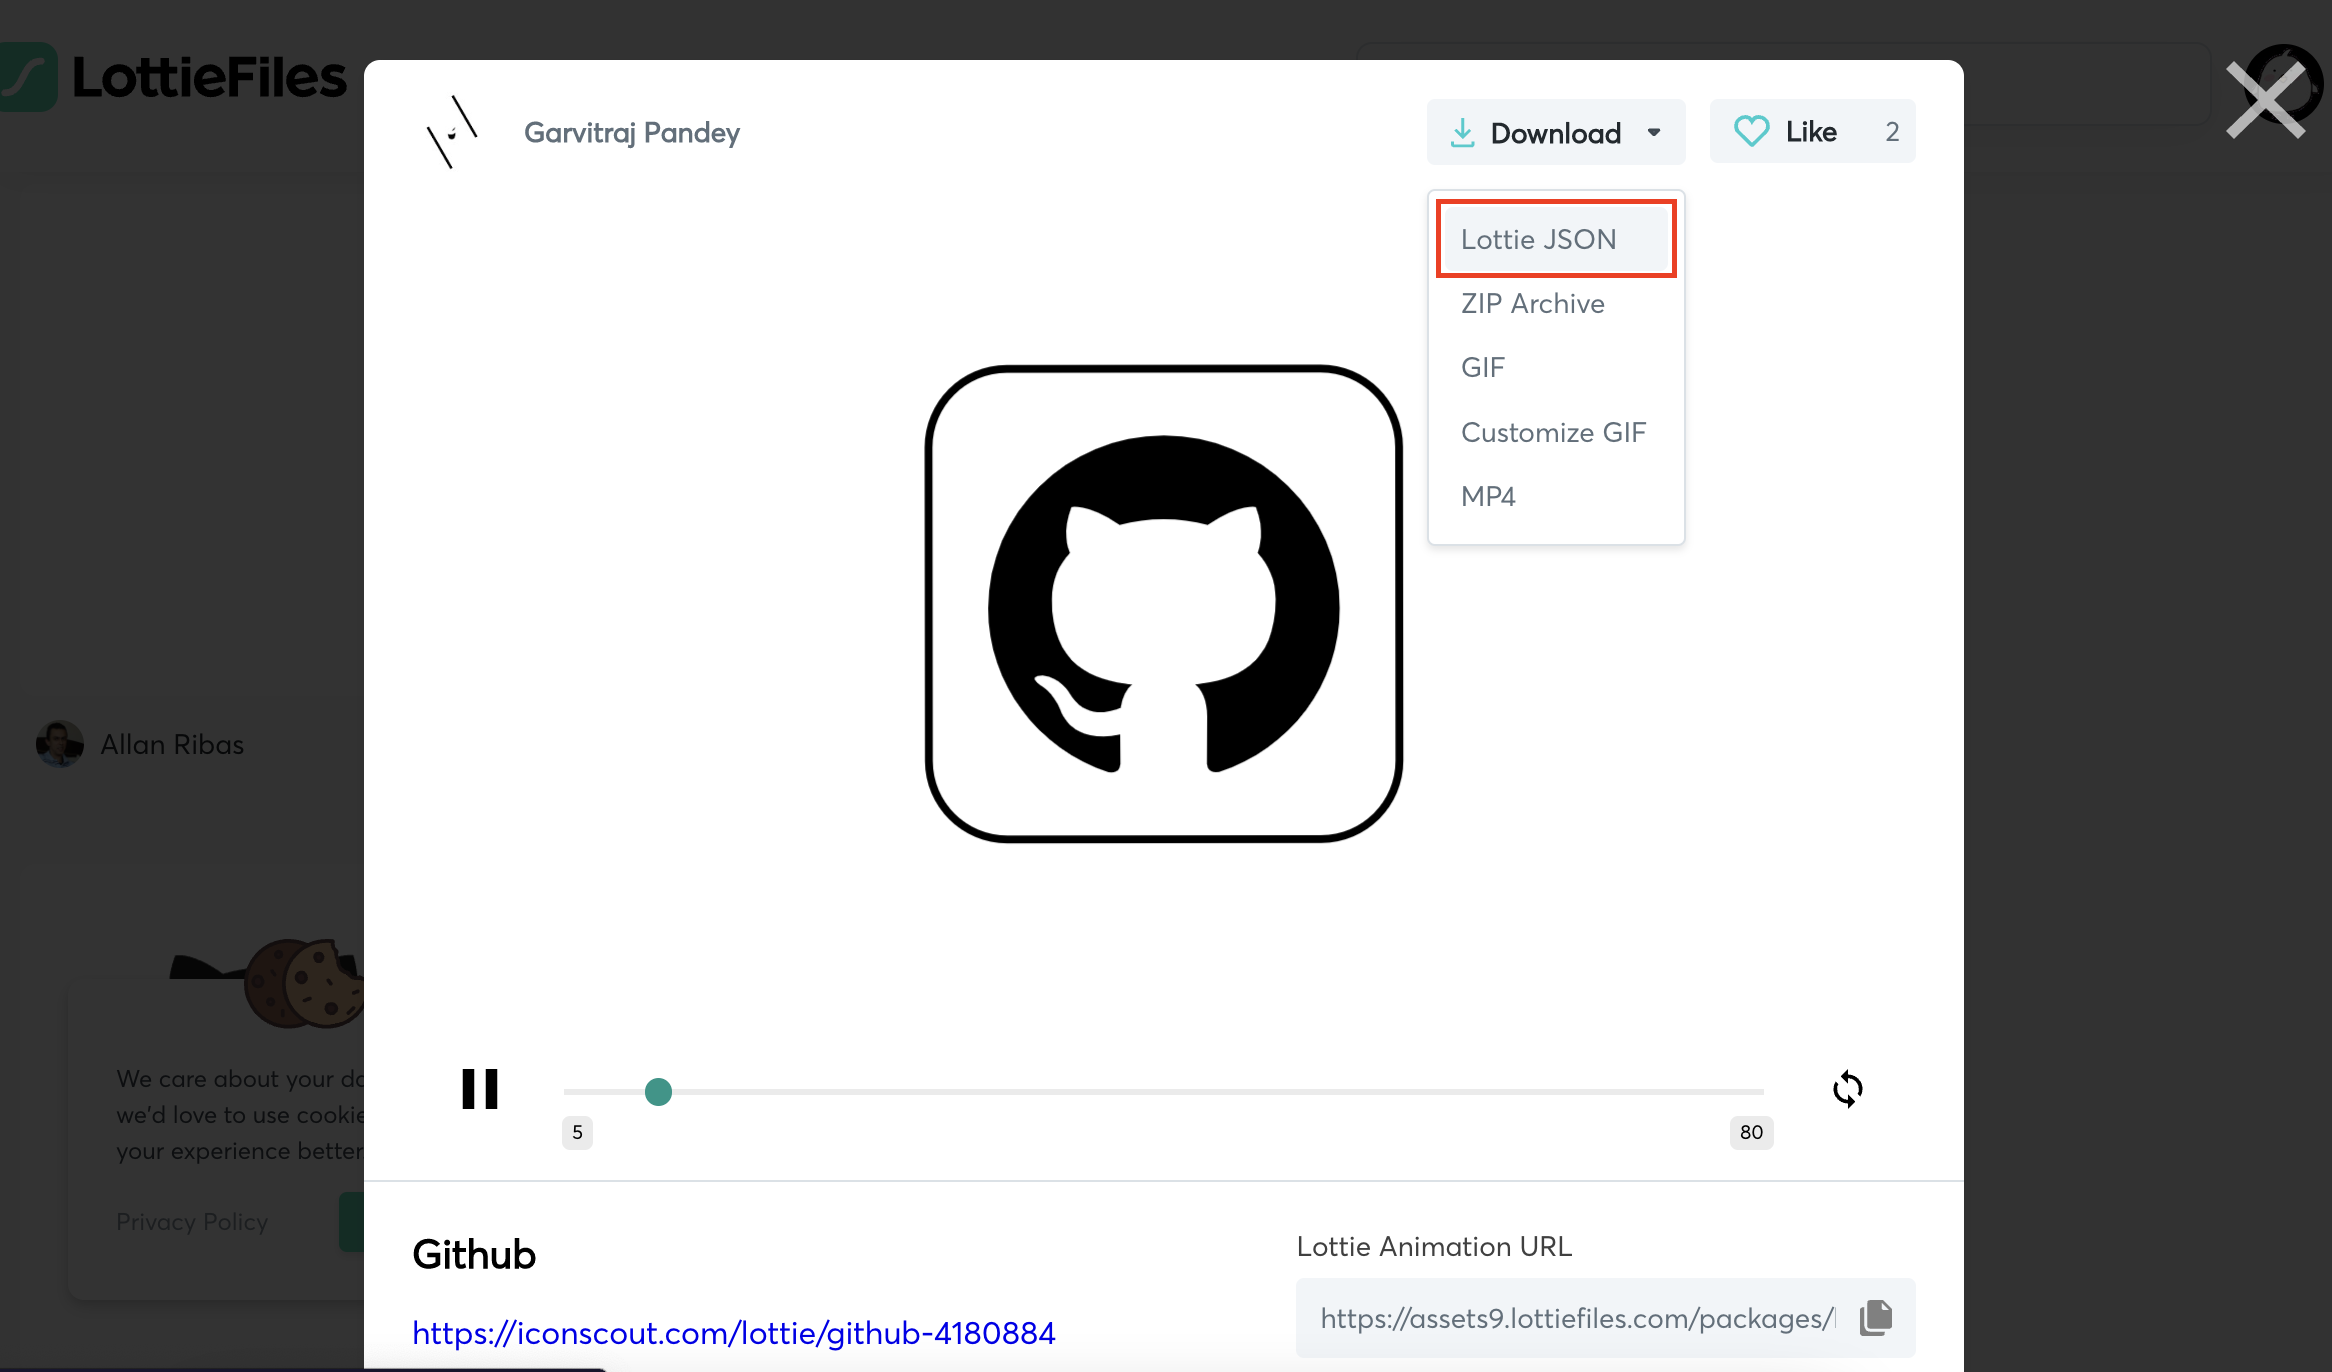
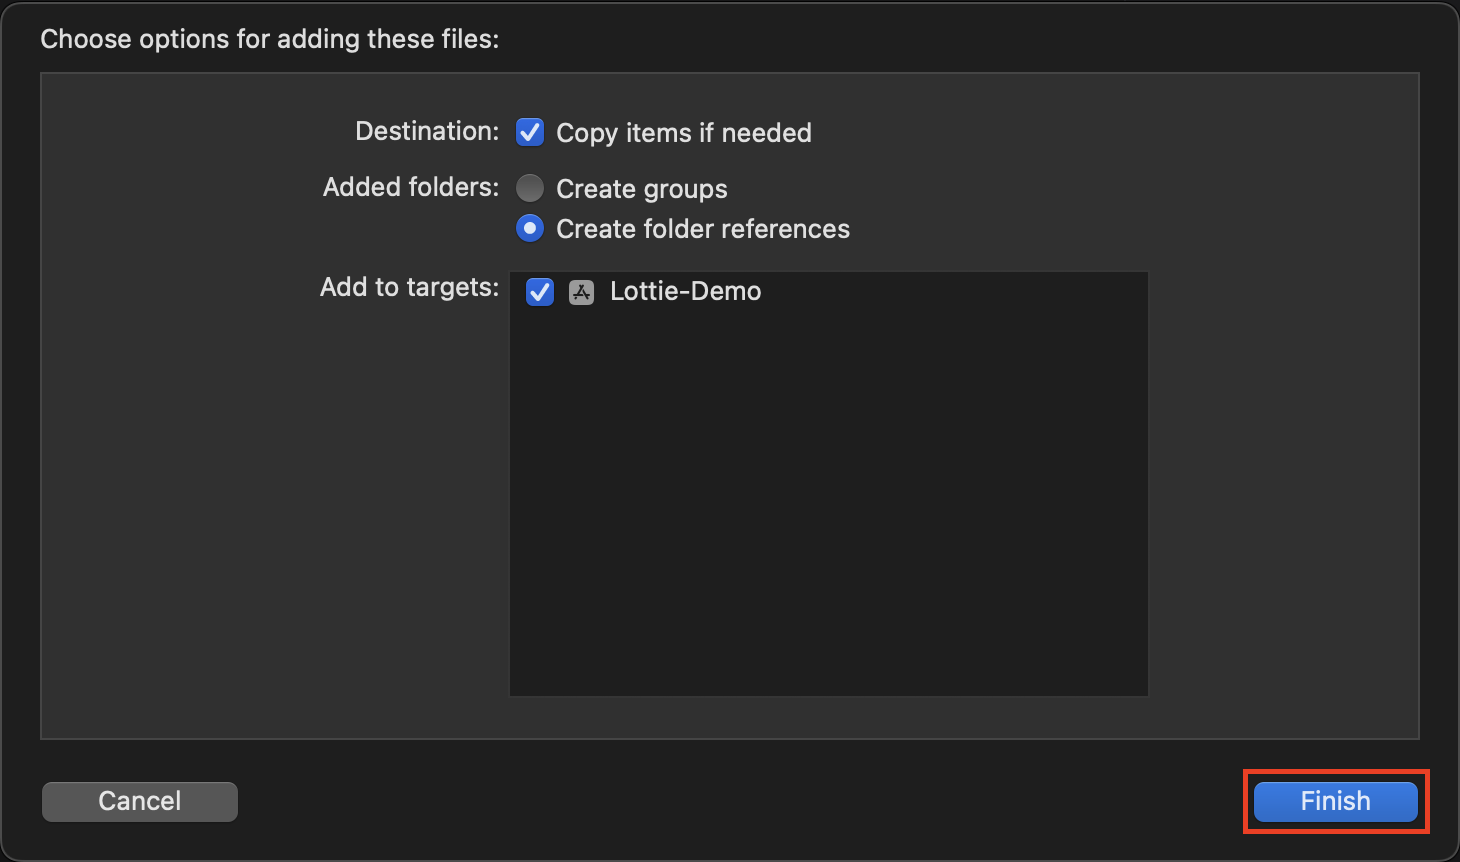
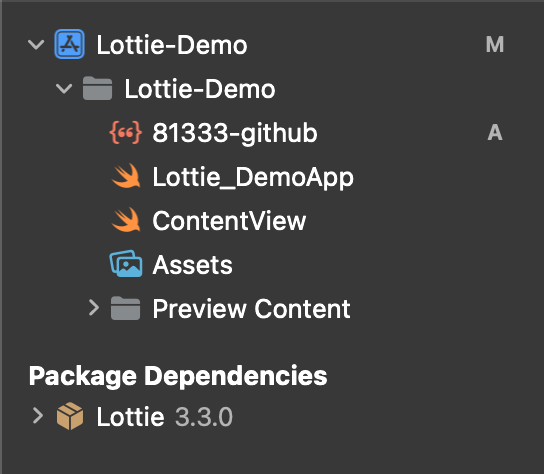
ダウンロードしたファイルをXcodeにドラッグします。
LottieView.swift
import SwiftUI
import Lottie

struct LottieView: UIViewRepresentable {
    var name: String
    var animationView = AnimationView()
    func makeUIView(context: UIViewRepresentableContext<LottieView>) -> UIView {
        let view = UIView(frame: .zero)
        // 表示したいアニメーションのファイル名
        animationView.animation = Animation.named(name)
        // 比率
        animationView.contentMode = .scaleAspectFit
        // ループモード
        animationView.loopMode = .loop
        animationView.play()
        animationView.translatesAutoresizingMaskIntoConstraints = false
        view.addSubview(animationView)
        NSLayoutConstraint.activate([
            animationView.heightAnchor.constraint(equalTo: view.heightAnchor),
            animationView.widthAnchor.constraint(equalTo: view.widthAnchor)
        ])
        return view
    }
    func updateUIView(_ uiView: UIView, context: UIViewRepresentableContext<LottieView>) {
    }
}
ContentView.swift
import SwiftUI

struct ContentView: View {
    var body: some View {
        LottieView(name: "81333-github")
    }
}

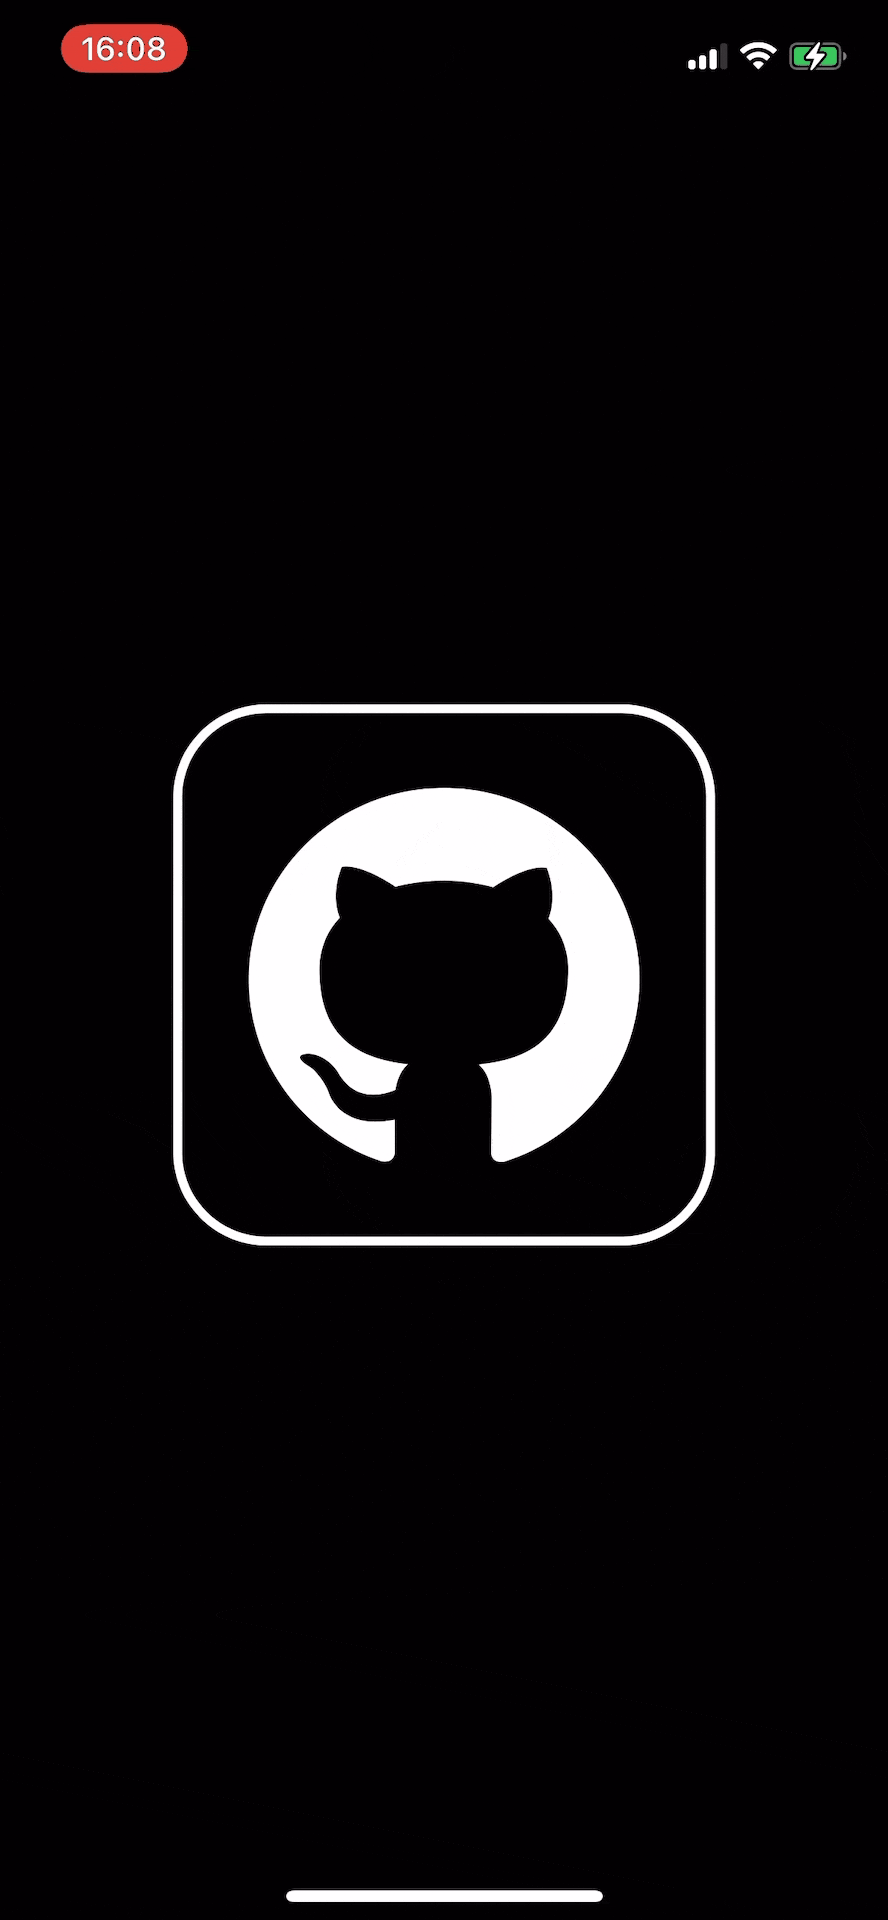
完成〜!!!と言いたいところですがダークモードにしてみてください
真っ黒になってしまってる。。。。
そうなんです。
このアニメーション自体が黒いのでダークモードにすると見えなくなってしまうのです。
ダークモードに対応する

色を変更しなければならない箇所が2箇所あります。
これを特定する作業に入ります。
LottieViewにこちらを追加していきます。
// アニメーションのlogを表示
animationView.logHierarchyKeypaths()
LottieView.Swift
import SwiftUI
import Lottie

struct LottieView: UIViewRepresentable {
    var name: String
    var animationView = AnimationView()
    func makeUIView(context: UIViewRepresentableContext<LottieView>) -> UIView {
        // 省略...
        animationView.loopMode = .loop

        // アニメーションのログを表示
        animationView.logHierarchyKeypaths()

        animationView.play()
        // 省略...
    }
    func updateUIView(_ uiView: UIView, context: UIViewRepresentableContext<LottieView>) {
    }
}
このようなログが表示されるはずです
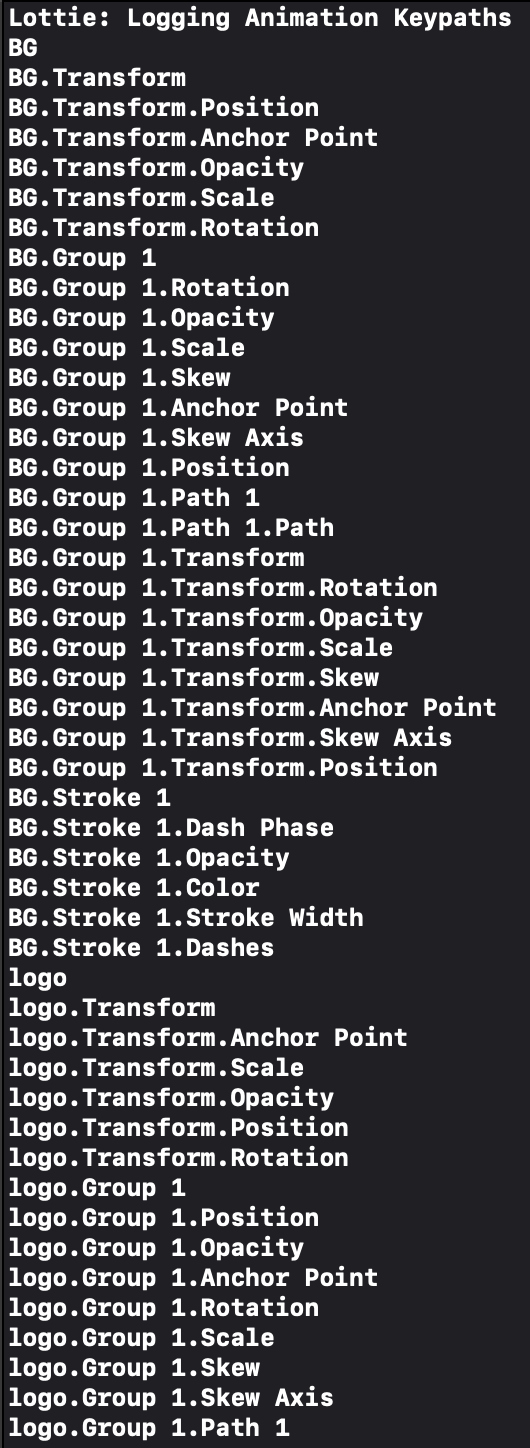
ここの中から先ほどの2箇所を特定します。
ログの中から「Color」という単語を探します。
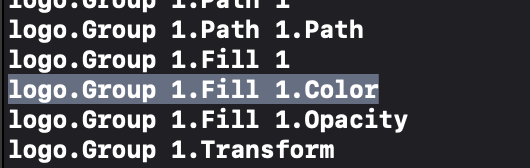
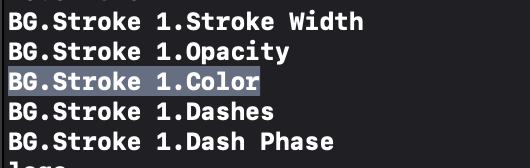
2箇所発見することができました。
おそらくこの2箇所であると推測できます。
変更してみる
こちらをLottieViewに追加します。
// ライトモード時のLittieの色
let lightmode = Color(r: 0, g: 0, b: 0, a: 1)
// ダークモード時のLittieの色
let darkmode = Color(r: 1, g: 1, b: 1, a: 1)
// 色をセットする
let ColorValueProvider = ColorValueProvider(colorScheme == .dark ? darkmode : lightmode)
// パスを取得
let strokePath = AnimationKeypath(keypath: "BG.Stroke 1.Color")
let logoPath = AnimationKeypath(keypath: "logo.Group 1.Fill 1.Color")
// 色を適用
animationView.setValueProvider(ColorValueProvider, keypath: strokePath)
animationView.setValueProvider(ColorValueProvider, keypath: logoPath)
LottieView.swift
import SwiftUI
import Lottie

struct LottieView: UIViewRepresentable {
    var name: String
    var animationView = AnimationView()
    // ダークモード検知
    @Environment(\.colorScheme) var colorScheme
    func makeUIView(context: UIViewRepresentableContext<LottieView>) -> UIView {
        let view = UIView(frame: .zero)
        animationView.animation = Animation.named(name)
        animationView.contentMode = .scaleAspectFit
        animationView.loopMode = .loop
        animationView.logHierarchyKeypaths()

        // ライトモード時のLittieの色
        let lightmode = Color(r: 0, g: 0, b: 0, a: 1)
        // ダークモード時のLittieの色
        let darkmode = Color(r: 1, g: 1, b: 1, a: 1)
        // 色をセットする
        let ColorValueProvider = ColorValueProvider(colorScheme == .dark ? darkmode : lightmode)
        // パスを取得
        let strokePath = AnimationKeypath(keypath: "BG.Stroke 1.Color")
        let logoPath = AnimationKeypath(keypath: "logo.Group 1.Fill 1.Color")
        // 色を適用
        animationView.setValueProvider(ColorValueProvider, keypath: strokePath)
        animationView.setValueProvider(ColorValueProvider, keypath: logoPath)

        animationView.play()
        animationView.translatesAutoresizingMaskIntoConstraints = false
        view.addSubview(animationView)
        NSLayoutConstraint.activate([
            animationView.heightAnchor.constraint(equalTo: view.heightAnchor),
            animationView.widthAnchor.constraint(equalTo: view.widthAnchor)
        ])
        return view
    }
    func updateUIView(_ uiView: UIView, context: UIViewRepresentableContext<LottieView>) {
    }
}
| ライトモード | ダークモード |
|---|---|
 |
 |
できた!
おわり
今回作成したプロジェクトを置いとくので参考にしてください!