StoryBoardで遷移
Controlを押しながらButtonをViewControllerにドラッグします。
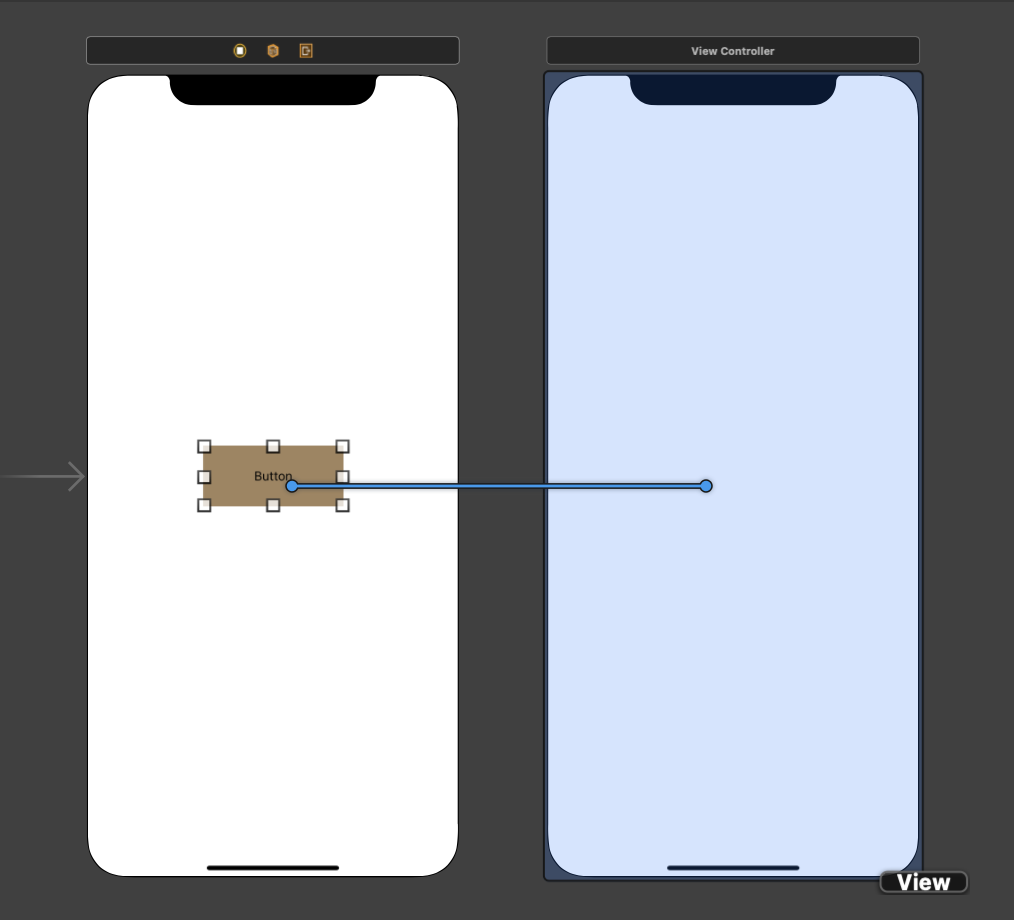
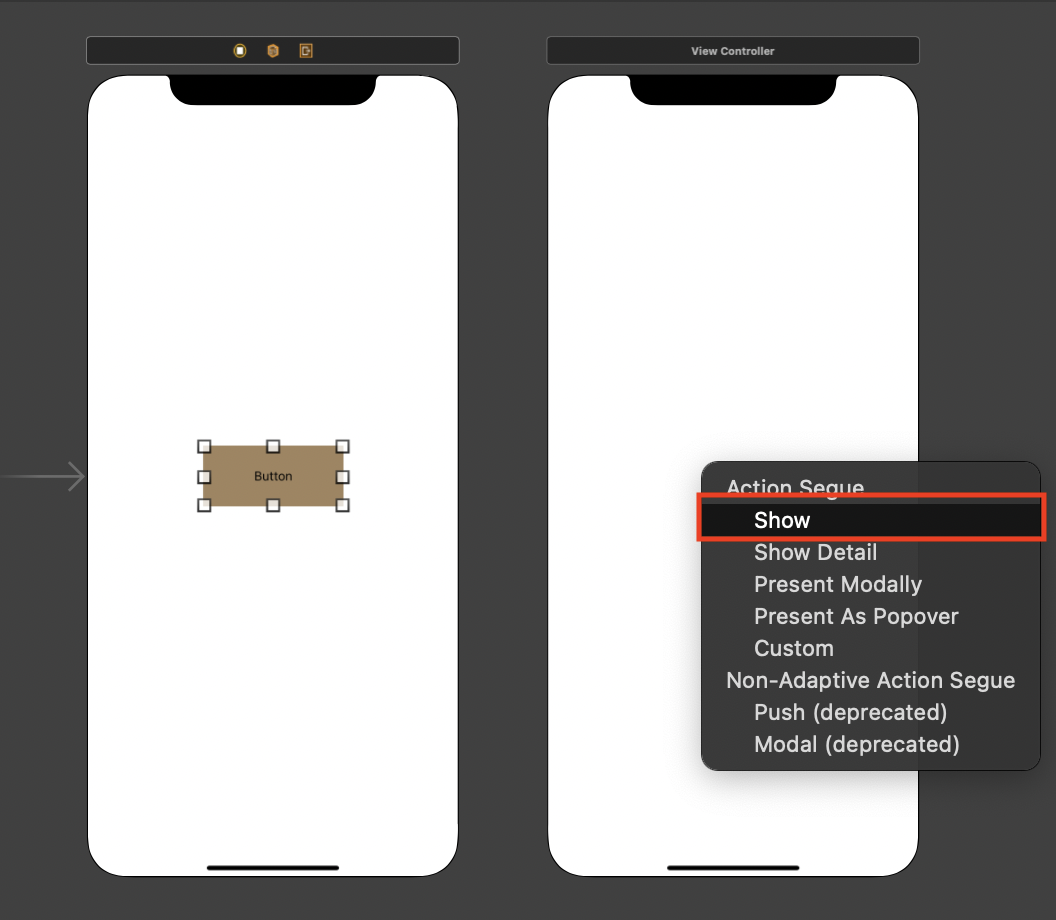
Action Segueの中から遷移方法を選択します
コードで遷移
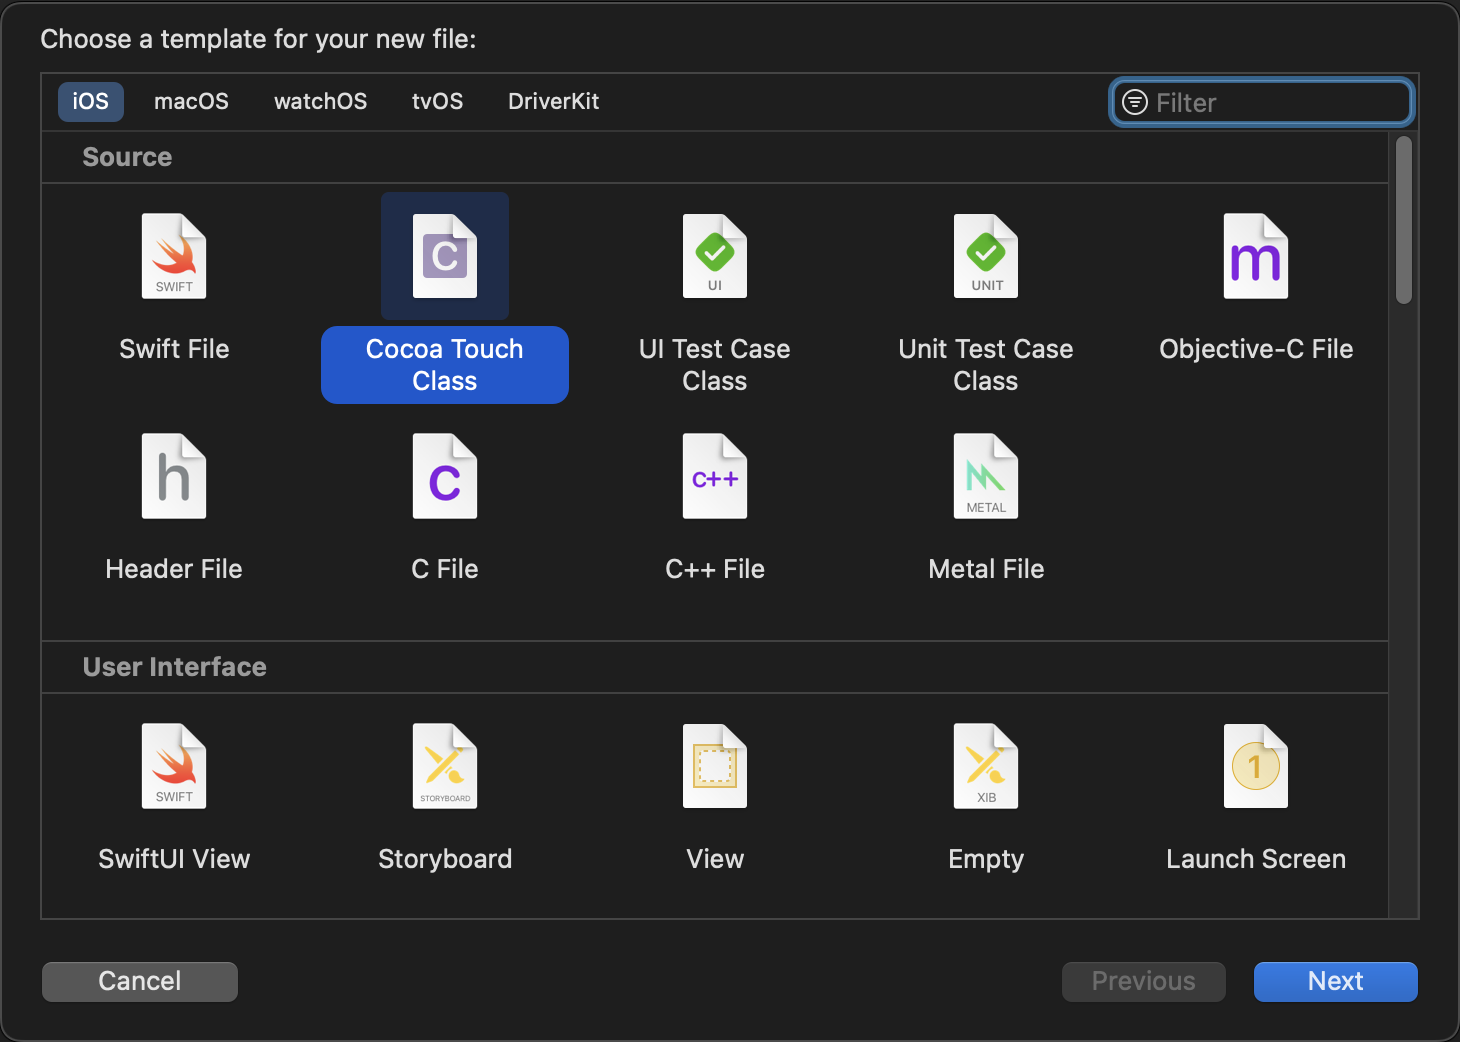
「Cocoa Touch Class」を選択して「Next」を押します。
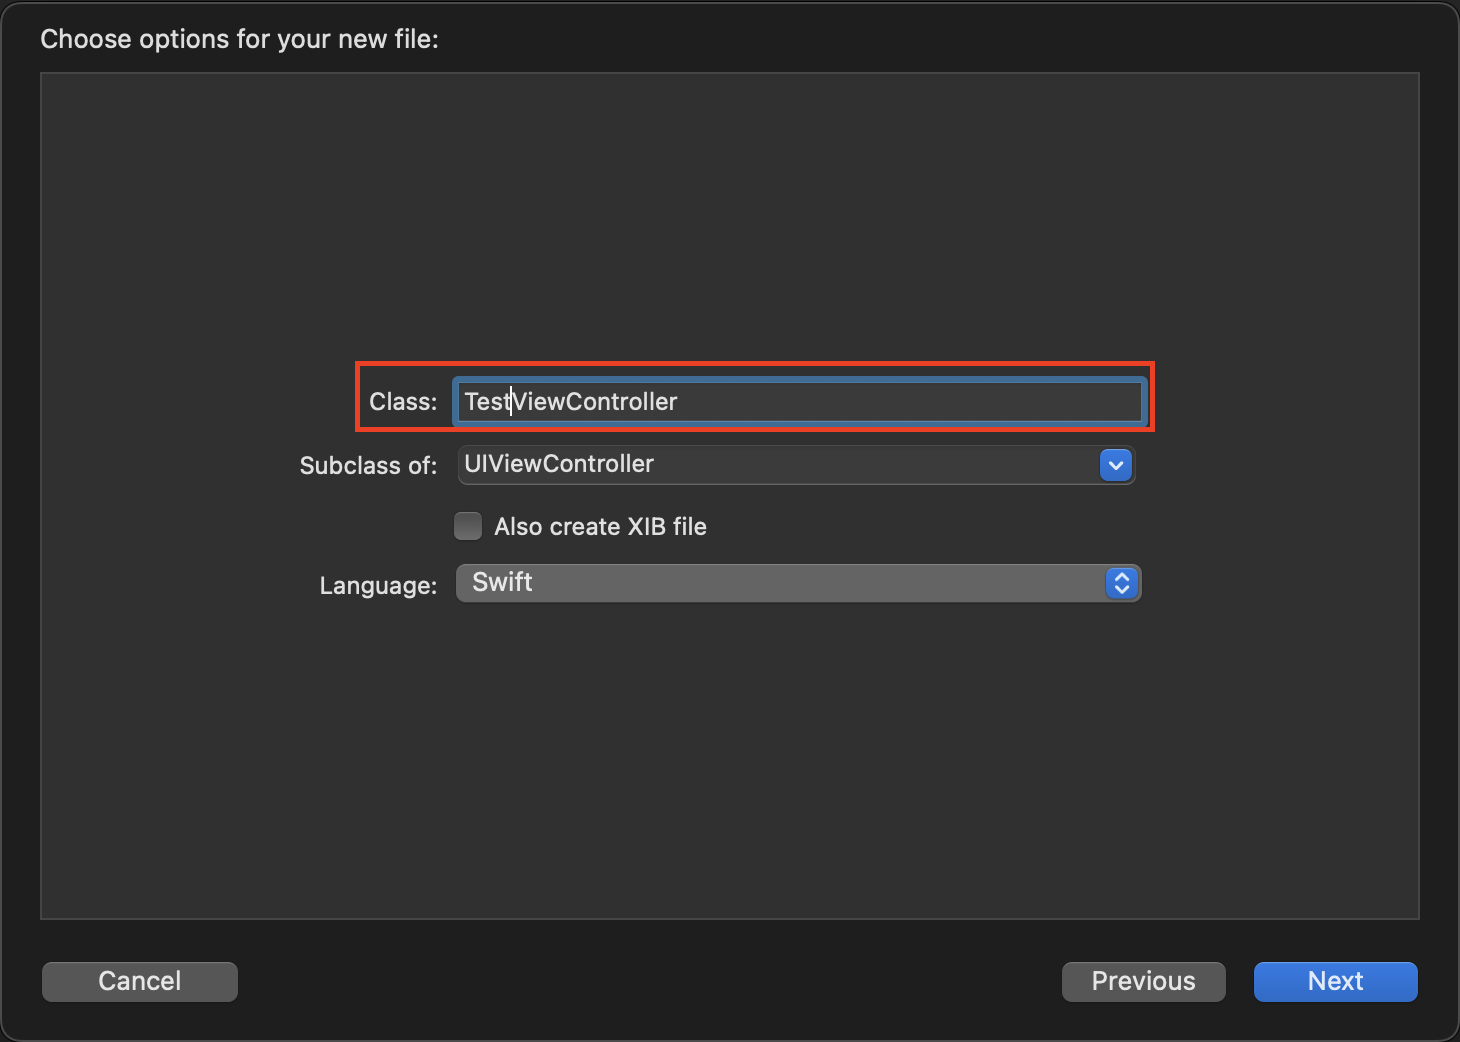
Class名を決めます。
今回は「TestViewController」としました。
入力が完了したら「Next」を押します。
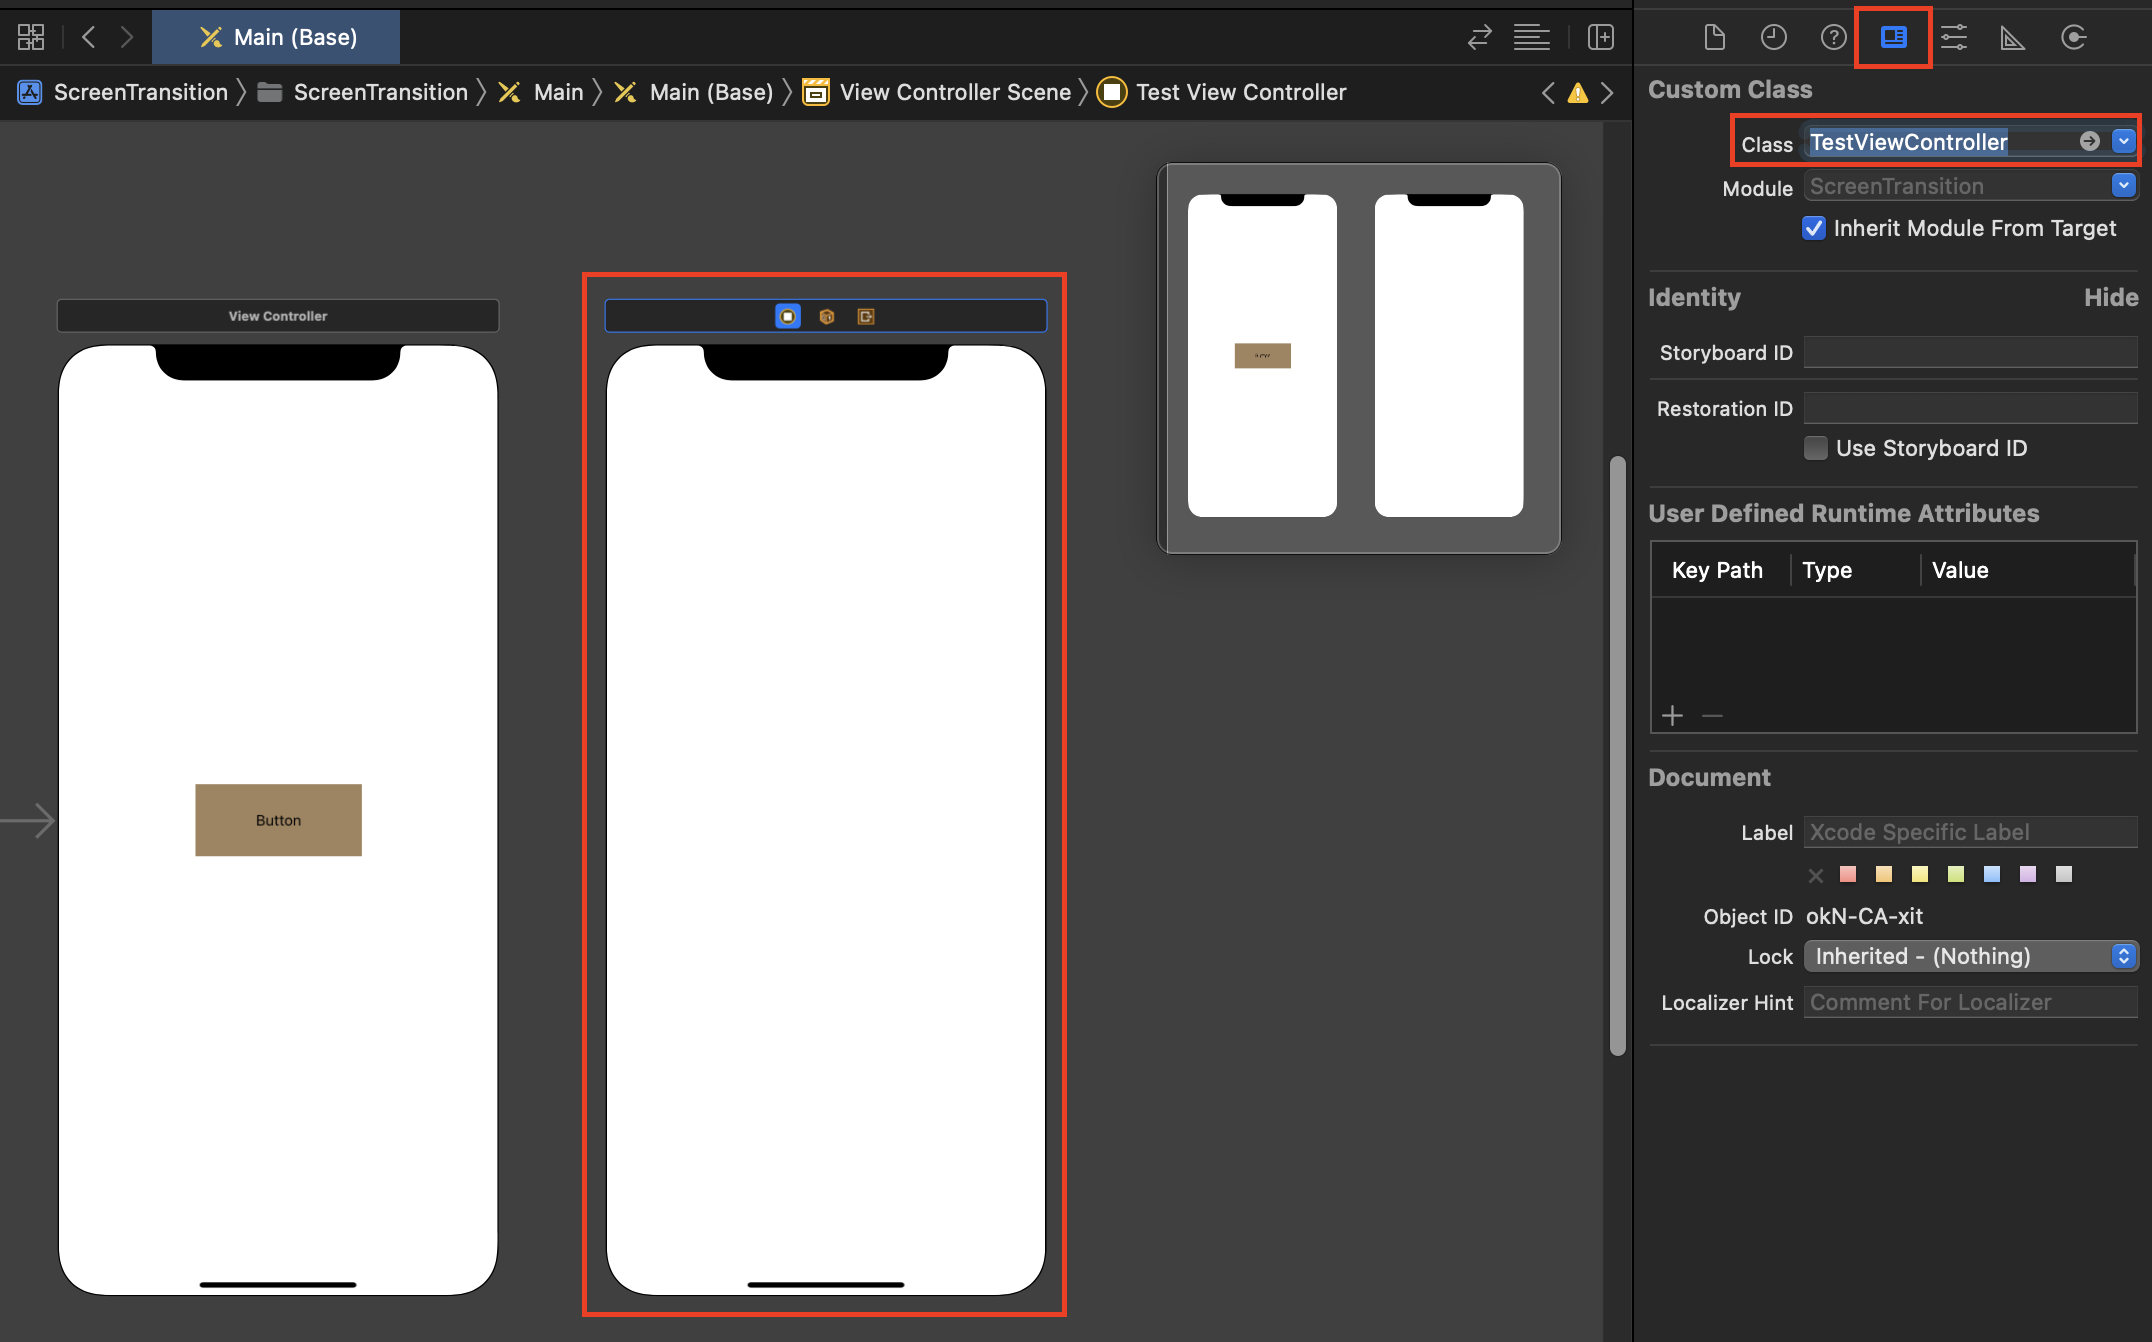
追加したViewControollerを「TestViewController」に紐付けます。
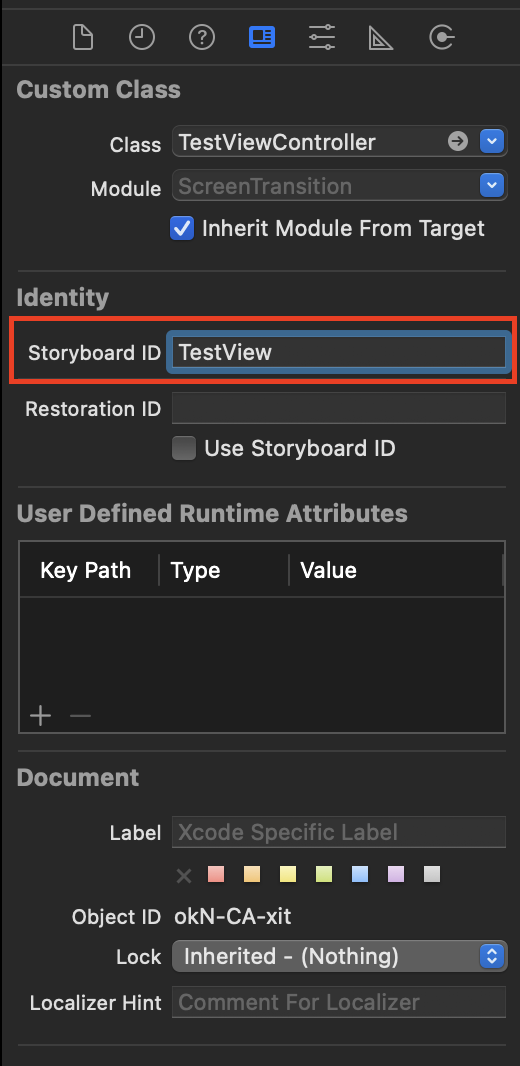
「TestViewController」を紐付けたViewControllerに「Stroyboard ID」を設定します。
今回は「TestView」としました。
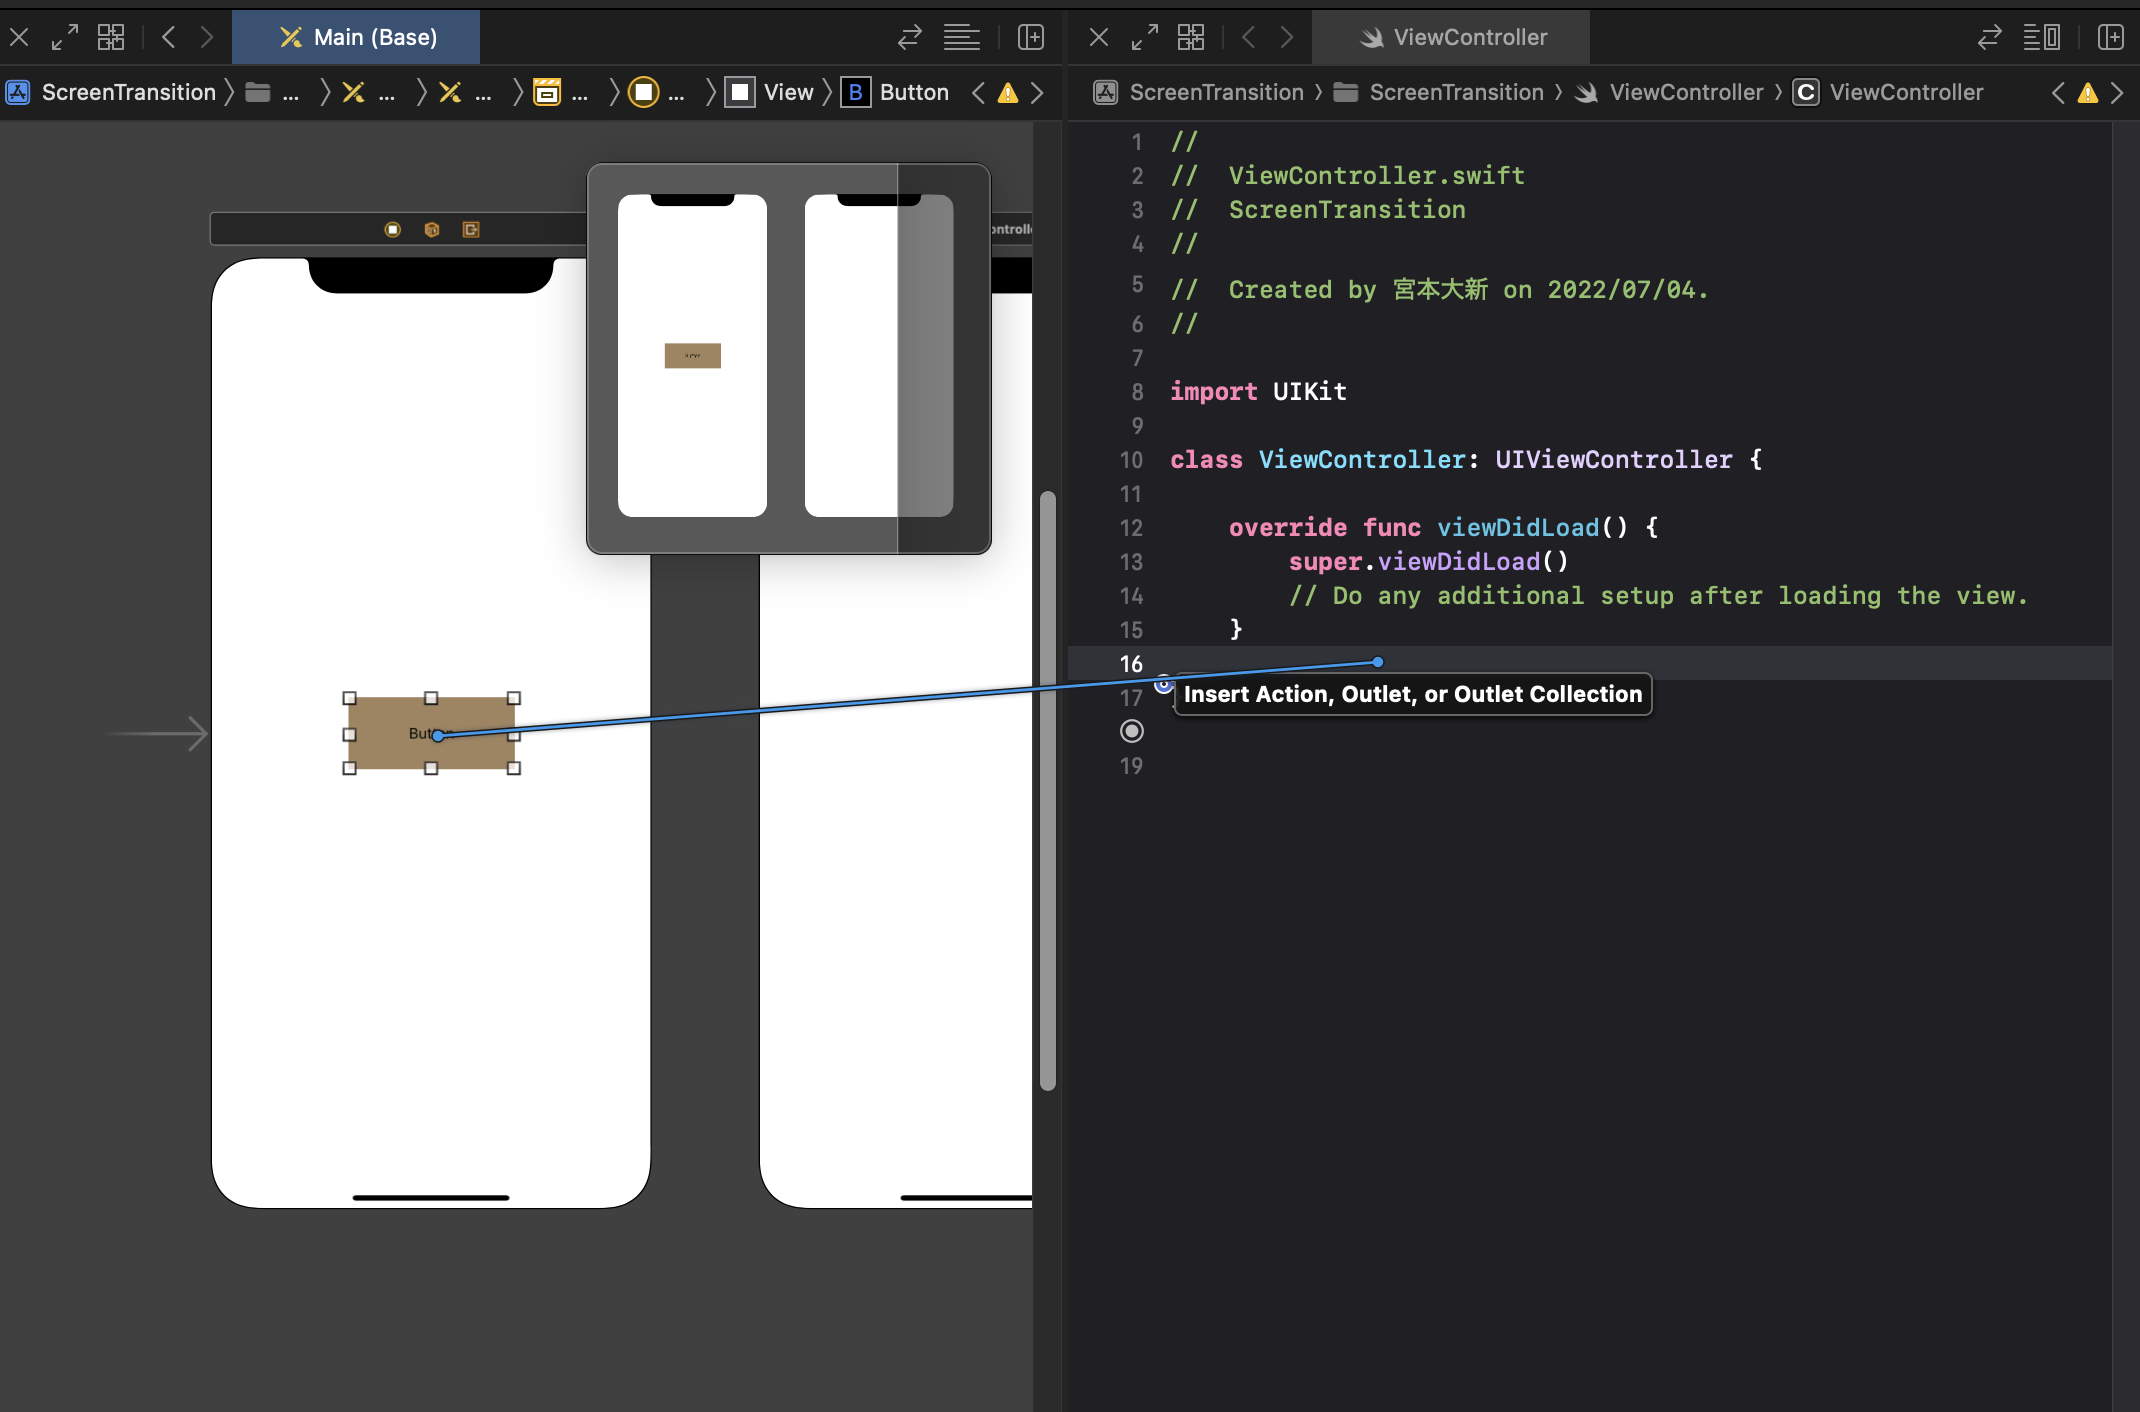
Optionを押しながら「ViewController」を選択すると画像のように2画面表示になります。
Controlを押しながらButtonをViewControllerにドラッグします。
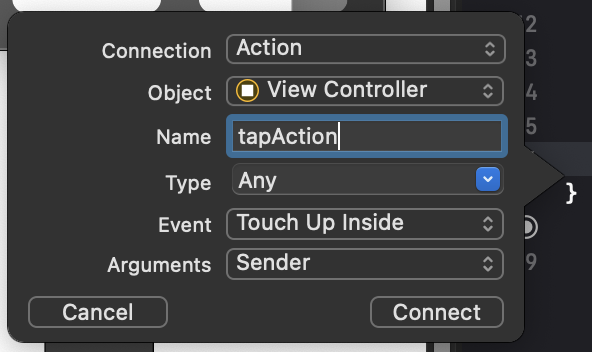
以下の画像のように設定を行います。
Nameは「tapAction」としました
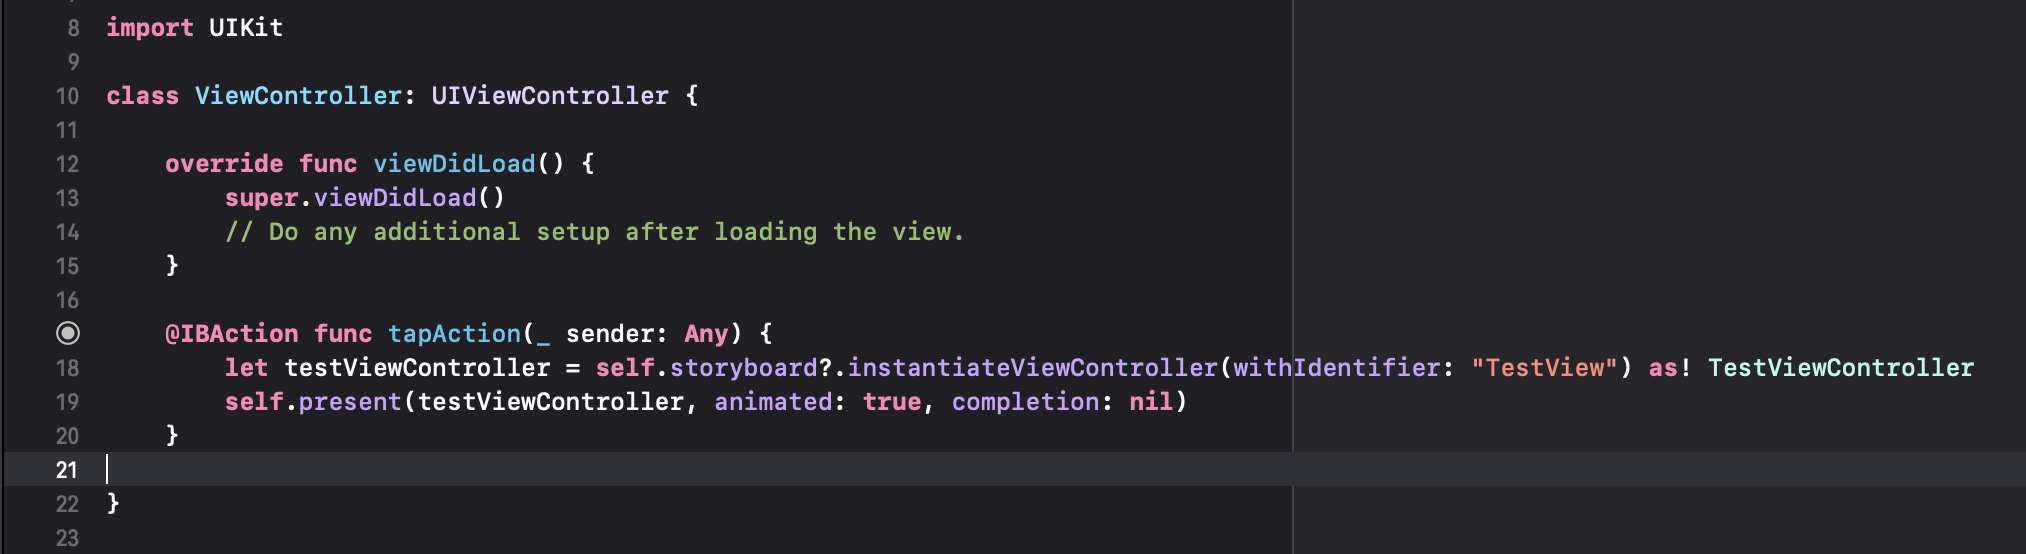
tapActionを以下のように変更します。
@IBAction func tapAction(_ sender: Any) {
    let testViewController = self.storyboard?.instantiateViewController(withIdentifier: "TestView") as! TestViewController
    self.present(testViewController, animated: true, completion: nil)
}
おわり
UIKitは慣れていないので何か間違っているところがあるかも知れません笑
間違っている箇所があれば編集リクエストかコメントで教えてください。