シリーズ一覧(全記事完成したら更新していきます)
モデルを作成する
DjangoにはORM(オブジェクト関係マッピング)があります。
ORMとは、プログラムのソースコードとデータベースのデータを相互に変換する機能を指します。
Djangoの場合はmodele.pyにPythnで記述します。
では、Post(投稿機能の)モデルを書いていきます。
from django.db import models
from django.contrib.auth.models import User
from django.utils import timezone


class Post(models.Model):
    # タイトル CHAR 最大100文字
    title = models.CharField(max_length=100)
    # 内容 テキスト
    content = models.TextField()
    # 著者 外部キー制約(1対多リレーション) ユーザ 親データと共に子データも削除
    author = models.ForeignKey(User, on_delete=models.CASCADE)
    # 投稿日 日付型 現在時刻
    date_posted = models.DateTimeField(default=timezone.now)

    # 管理画面の表示設定 タイトルを表示
    def __str__(self):
        return self.title
マイグレーション
(crud-_w5mSGH2) C:\django\crud>python manage.py makemigrations
Migrations for 'blog':
  blog\migrations\0001_initial.py
    - Create model Post

(crud-_w5mSGH2) C:\django\crud>
以下のファイルが自動で生成されます。
編集する必要はありませんよ。
# Generated by Django 3.1.1 on 2020-10-12 12:32

from django.conf import settings
from django.db import migrations, models
import django.db.models.deletion
import django.utils.timezone


class Migration(migrations.Migration):

    initial = True

    dependencies = [
        migrations.swappable_dependency(settings.AUTH_USER_MODEL),
    ]

    operations = [
        migrations.CreateModel(
            name='Post',
            fields=[
                ('id', models.AutoField(auto_created=True, primary_key=True, serialize=False, verbose_name='ID')),
                ('title', models.CharField(max_length=100)),
                ('content', models.TextField()),
                ('date_posted', models.DateTimeField(default=django.utils.timezone.now)),
                ('author', models.ForeignKey(on_delete=django.db.models.deletion.CASCADE, to=settings.AUTH_USER_MODEL)),
            ],
        ),
    ]
マイグレート
(crud-_w5mSGH2) C:\django\crud>python manage.py migrate
Operations to perform:
  Apply all migrations: admin, auth, blog, contenttypes, sessions
Running migrations:
  Applying contenttypes.0001_initial... OK
  Applying auth.0001_initial... OK
  Applying admin.0001_initial... OK
  Applying admin.0002_logentry_remove_auto_add... OK
  Applying admin.0003_logentry_add_action_flag_choices... OK
  Applying contenttypes.0002_remove_content_type_name... OK
  Applying auth.0002_alter_permission_name_max_length... OK
  Applying auth.0003_alter_user_email_max_length... OK
  Applying auth.0004_alter_user_username_opts... OK
  Applying auth.0005_alter_user_last_login_null... OK
  Applying auth.0006_require_contenttypes_0002... OK
  Applying auth.0007_alter_validators_add_error_messages... OK
  Applying auth.0008_alter_user_username_max_length... OK
  Applying auth.0009_alter_user_last_name_max_length... OK
  Applying auth.0010_alter_group_name_max_length... OK
  Applying auth.0011_update_proxy_permissions... OK
  Applying auth.0012_alter_user_first_name_max_length... OK
  Applying blog.0001_initial... OK
  Applying sessions.0001_initial... OK

(crud-_w5mSGH2) C:\django\crud>
データを登録する
本来のブログであれば投稿画面から記事を投稿するのですが、まだ実装していません。
Djngoには管理画面があり、そこからデータの登録ができます。
ですので一旦管理画面から記事データを登録しようと思います。
管理画面にPostを表示させる
管理画面に表示させる内容をDjangoに伝えなくてはいけません。以下ファイルを修正しましょう。
from django.contrib import admin
from .models import Post

admin.site.register(Post)
管理ユーザを作成する
管理画面にログインするための管理者ユーザを作成します。
ユーザ:admin
パスワード:pass
(crud-_w5mSGH2) C:\django\crud>python manage.py createsuperuser
ユーザー名 (leave blank to use 'wmgoz'): admin
メールアドレス: ***@***.com #←自分のメアドを使用してください
Password:
Password (again):
このパスワードは短すぎます。最低 8 文字以上必要です。
このパスワードは一般的すぎます。
Bypass password validation and create user anyway? [y/N]: y
Superuser created successfully.

(crud-_w5mSGH2) C:\django\crud>
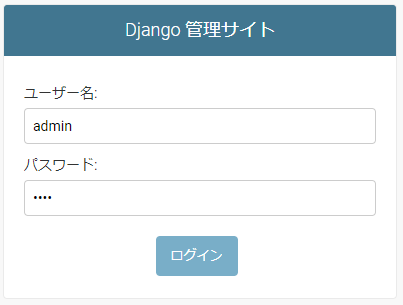
管理画面にログインする
開発サーバを起動させて管理画面にログインしましょう。
python manage.py runserver
次に管理画面「http://127.0.0.1:8000/admin/」にアクセスしましょう。

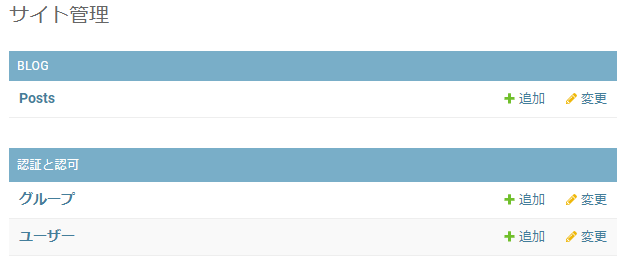
以下のような管理画面が表示されました。

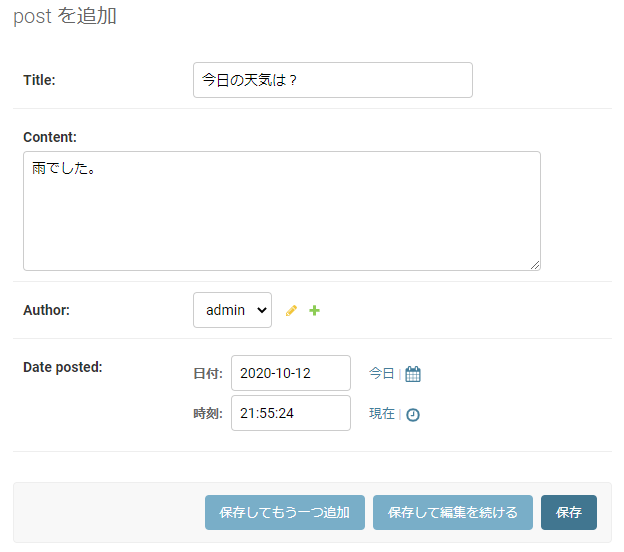
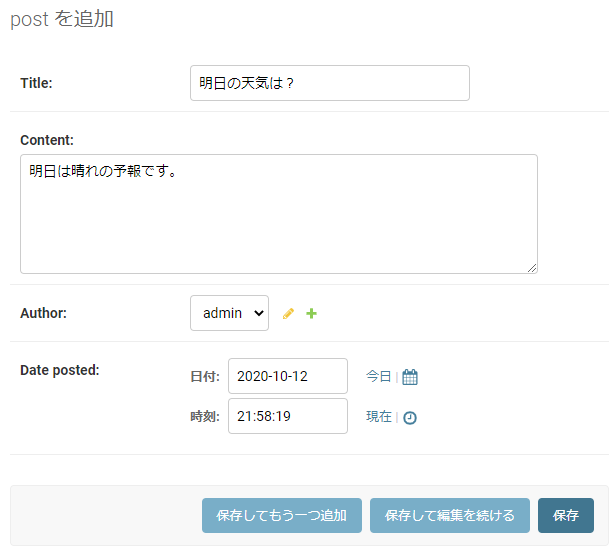
データを登録してみる!
管理画面の「Posts」横の「+追加」をクリックし、データ入力に進みます。
本日はここまでにします。ありがとうございました。


