はじめに
以前の記事で、 Elixir で YOLOv3 を実行しました
ただし、こちらは OpenCV のラッパーである evision を利用しています
今回は @piacerex さんの紹介してくださった AxonOnnx を使って、 YOLOv2 を動かしたいと思います
※ YOLOv3 はまだ AxonOnnx で読み込めないらしい
@piacerex さんの記事
実装したコード(Livebook)はこちら
セットアップ
必要なパッケージをインストールします
ここは @piacerex さんのものをコピーしただけです
Mix.install([
  {:exla, "~> 0.2"},
  {:axon_onnx, "~> 0.1"},
  {:stb_image, "~> 0.5"},
  {:download, "~> 0.0"},
  {:jason, "~> 1.3"},
  {:kino, "~> 0.6"},
])
EXLA を Nx バックエンドとして使うよう指定します
※こうしないとすごく遅いです
EXLA.set_as_nx_default([:tpu, :cuda, :rocm, :host])
ヘルパー
ファイルダウンロードと画像表示用のヘルパーです
defmodule Helper do
  def download!(url, save_as) do
    unless File.exists?(save_as) do
      Download.from(url, path: save_as)
    end

    save_as
  end

  def show_image(image_path) do
    image_path
    |> File.read!()
    |> Kino.Image.new(:jpeg)
  end
end
モデルのロード
今回使うモデルは COCO データセットを学習しているので、ラベルの一覧をダウンロードしてきて読み込みます
classes_path = "/data/coco.names"

classes =
  "https://raw.githubusercontent.com/pjreddie/darknet/master/data/coco.names"
  |> Helper.download!(classes_path)
  |> File.stream!()
  |> Enum.map(&String.trim/1)
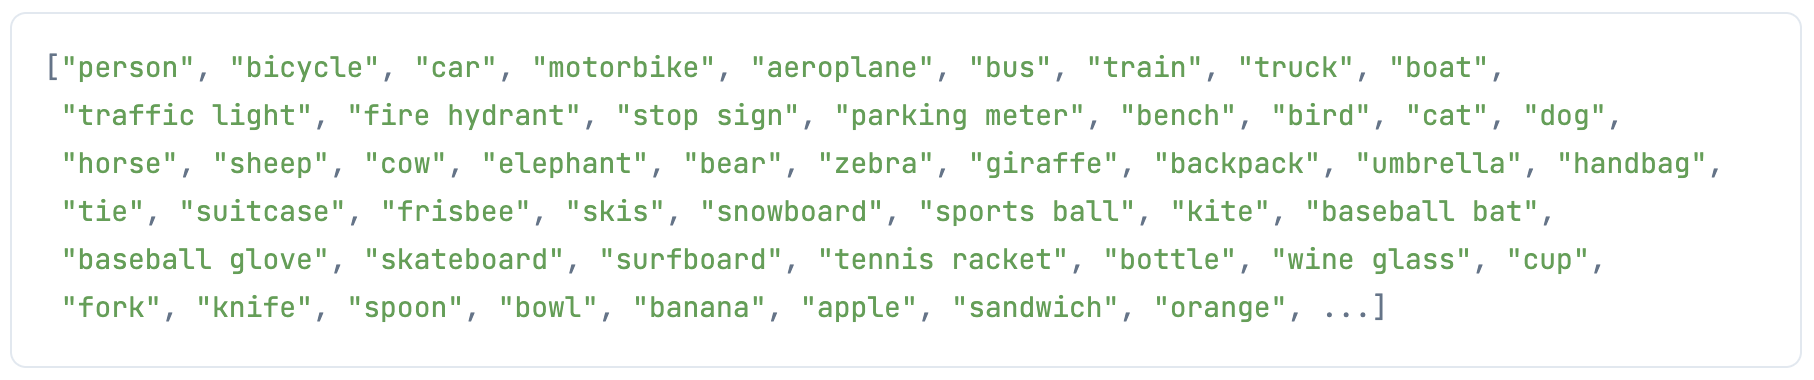
クラス数(分類できる物体の種類)を取得しておきます
COCO データセットの場合は 80 種類です
num_classes = Enum.count(classes)

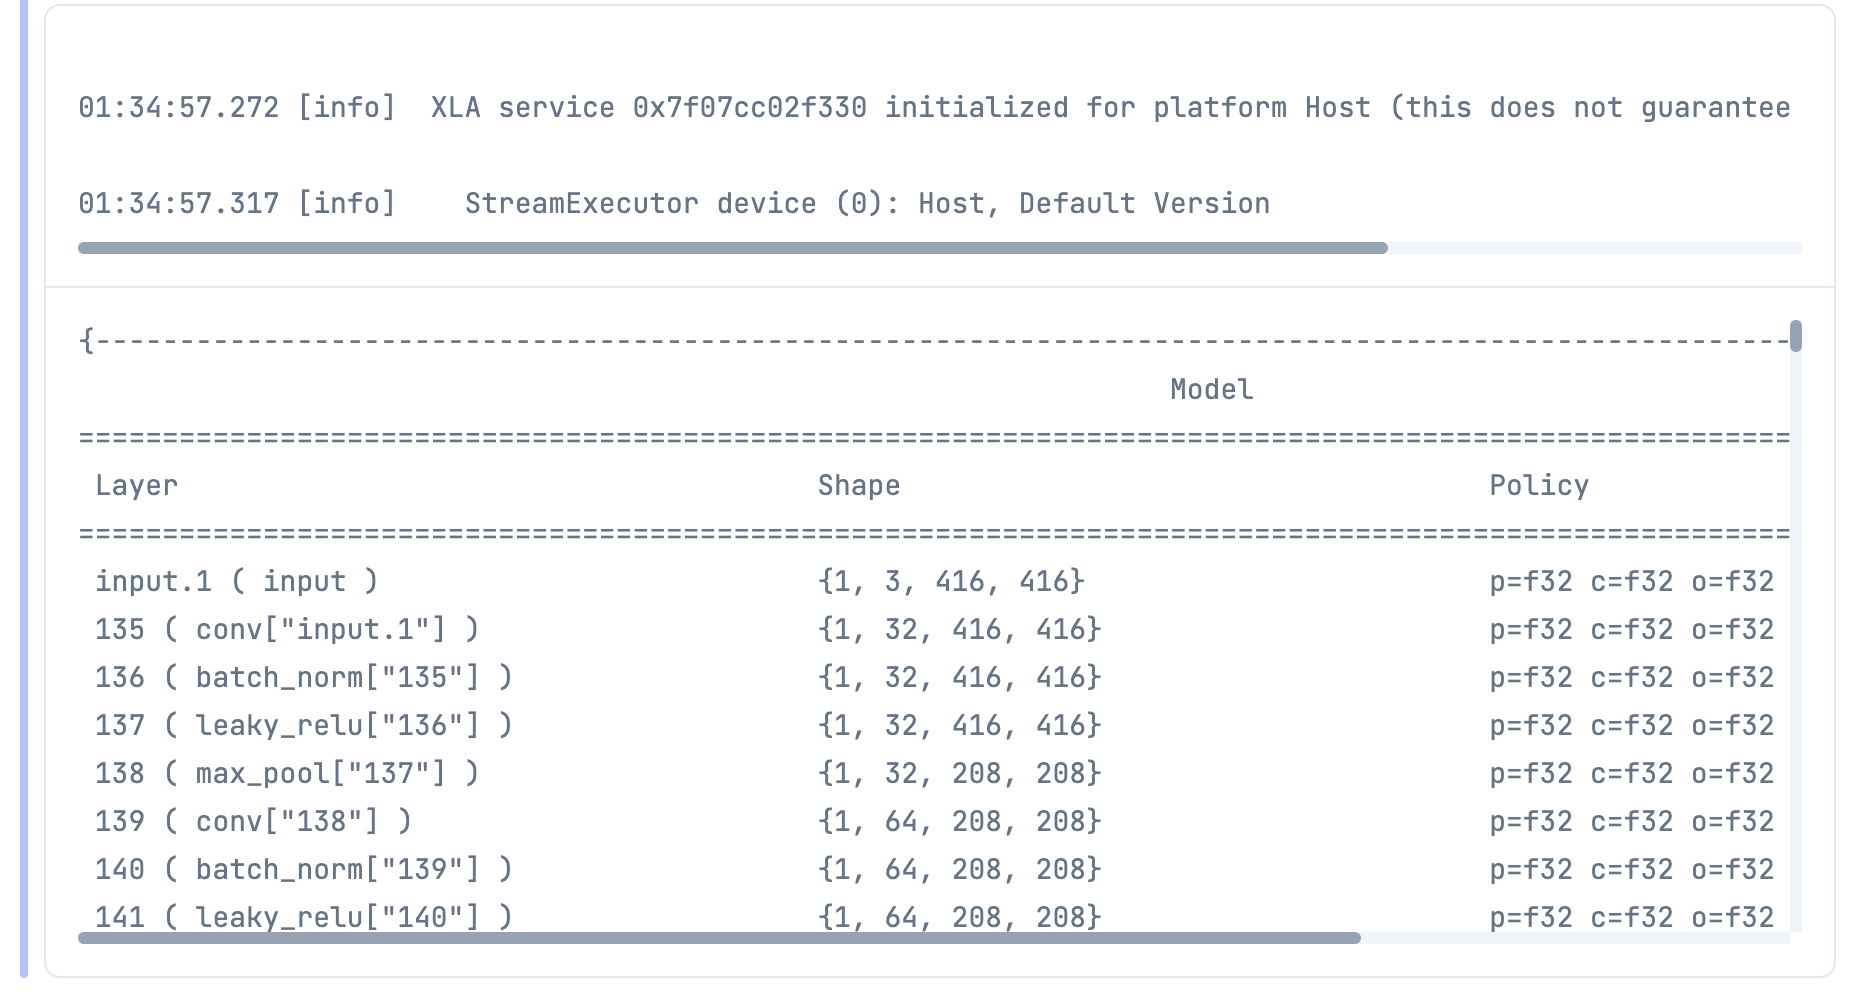
ONNX 形式のモデルをダウンロードして読み込みます
入力が 1 * 3 * 416 * 416 なことが分かりますね
model_path = "/data/yolov2.onnx"

{model, params} =
  "https://media.githubusercontent.com/media/onnx/models/main/vision/object_detection_segmentation/yolov2-coco/model/yolov2-coco-9.onnx"
  |> Helper.download!(model_path)
  |> AxonOnnx.import()
アンカーの指定
YOLO で使うアンカーボックスの値を指定しておきます
YOLOv2 の COCO データセットの場合、以下の値になります
anchors =
  Nx.tensor([
    [0.57273, 0.677385],
    [1.87446, 2.06253],
    [3.33843, 5.47434],
    [7.88282, 3.52778],
    [9.77052, 9.16828]
  ])
Darknet のこちらに定義している値ですね
anchors = 0.57273, 0.677385, 1.87446, 2.06253, 3.33843, 5.47434, 7.88282, 3.52778, 9.77052, 9.16828
アンカーボックスの数も必要になるので取得しておきます
見ての通り、アンカーボックスは 5 種類です
num_anchors =
  anchors
  |> Nx.shape()
  |> elem(0)

後々の計算のために、形を変えておきます
anchors_tensor = Nx.reshape(anchors, {1, 1, 1, num_anchors, 2})

画像の読み込み
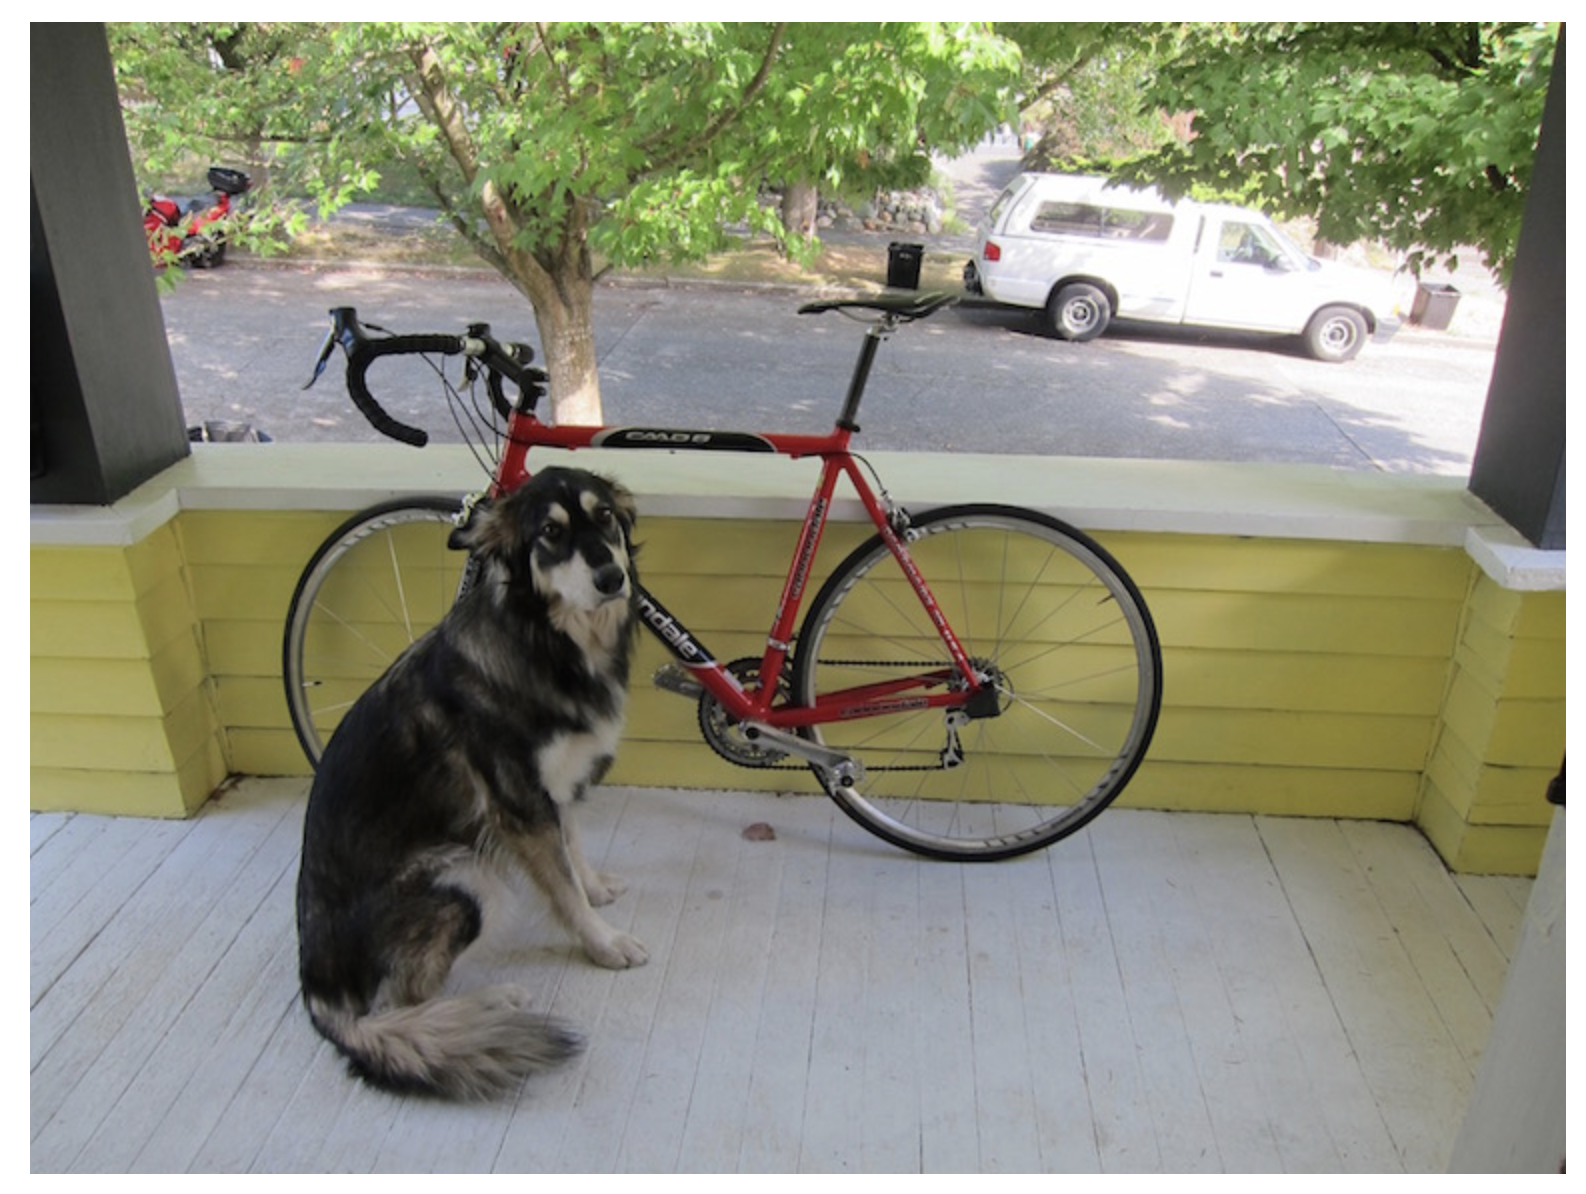
YOLOv3 のときにも使った犬の画像を読み込みます
入力層の形に合わせて 416 * 416 にリサイズしておきます
image_path = "/data/dog.jpg"

image_tensor =
  "https://raw.githubusercontent.com/pjreddie/darknet/master/data/dog.jpg"
  |> Helper.download!(image_path)
  |> File.read!()
  |> StbImage.read_binary!()
  |> StbImage.resize(416, 416)
  |> StbImage.to_nx()

Helper.show_image(image_path)
RGBA だったときの回避をしたあと、 255 で割ります
入力層の形に合わせるため、以下のように転置します
高さ、幅、色 -> 色、高さ、幅
nx_channels = Nx.axis_size(image_tensor, 2)

image_tensor =
  case nx_channels do
    3 -> image_tensor
    4 -> Nx.slice(image_tensor, [0, 0, 0], [416, 416, 3])
  end
  |> Nx.divide(255)
  |> Nx.transpose(axes: [2, 0, 1])
  |> Nx.new_axis(0)
推論実行
推論を実行します
出力は 1 * 425 * 13 * 13 で得られました
feats = Axon.predict(model, params, image_tensor)
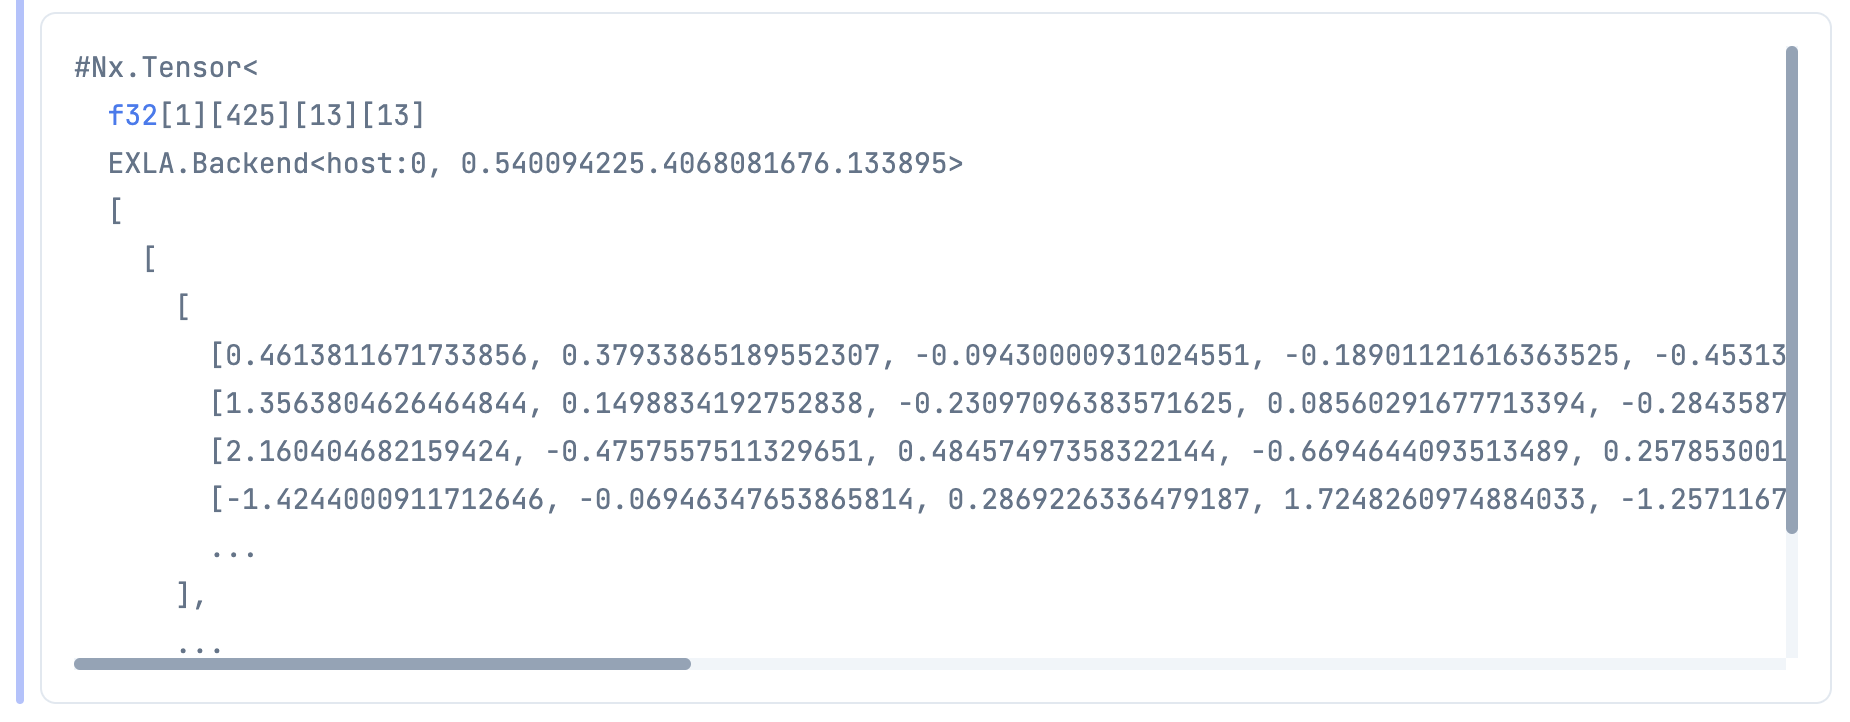
これがそのまま使える出力だったらいいのですが、
YOLOv2 の場合はここから色々しないと使える形にはなりません
13 はアンカーボックスの配置されている数です
縦横に 13 * 13 のアンカーボックスが配置されています
| x | 0 | 1 | 2 | 3 | 4 | 5 | 6 | 7 | 8 | 9 | 10 | 11 | 12 |
|---|---|---|---|---|---|---|---|---|---|---|---|---|---|
| 0 | □ | □ | □ | □ | □ | □ | □ | □ | □ | □ | □ | □ | □ |
| 1 | □ | □ | □ | □ | □ | □ | □ | □ | □ | □ | □ | □ | □ |
| 2 | □ | □ | □ | □ | □ | □ | □ | □ | □ | □ | □ | □ | □ |
| 3 | □ | □ | □ | □ | □ | □ | □ | □ | □ | □ | □ | □ | □ |
| 4 | □ | □ | □ | □ | □ | □ | □ | □ | □ | □ | □ | □ | □ |
| 5 | □ | □ | □ | □ | □ | □ | □ | □ | □ | □ | □ | □ | □ |
| 6 | □ | □ | □ | □ | □ | □ | □ | □ | □ | □ | □ | □ | □ |
| 7 | □ | □ | □ | □ | □ | □ | □ | □ | □ | □ | □ | □ | □ |
| 8 | □ | □ | □ | □ | □ | □ | □ | □ | □ | □ | □ | □ | □ |
| 9 | □ | □ | □ | □ | □ | □ | □ | □ | □ | □ | □ | □ | □ |
| 10 | □ | □ | □ | □ | □ | □ | □ | □ | □ | □ | □ | □ | □ |
| 11 | □ | □ | □ | □ | □ | □ | □ | □ | □ | □ | □ | □ | □ |
| 12 | □ | □ | □ | □ | □ | □ | □ | □ | □ | □ | □ | □ | □ |
425 というのは
アンカーの種類 5 * (Y座標・X座標・高さ・幅・検出スコアの5つ + クラス毎の分類スコア 80)
= 5 * 85 = 425
のことです
アンカーボックスの 13 * 13 がアンカーボックスの種類毎にあって、
それぞれに座標情報と分類結果の85項目を持っている、ということです(分かりにくい)
結果の整形
前述の推論結果をうまく変形していくと、どの物体がどこにあるかを示す情報になるのですが、
何の頼りもなしに実装できないので、 Python 実装から翻訳することにしました
このリポジトリーが5年以上も前のものだったので、
検証のためにこれを最近の TensorFlow で動くようにするのもちょっと苦労しました
(これは別途リポジトリーと記事を書きます)
整形の処理は yad2k/models/keras_yolo.py の中の yolo_head と yolo_eval に書かれています
翻訳元
    num_anchors = len(anchors)
...
    anchors_tensor = K.reshape(K.variable(anchors), [1, 1, 1, num_anchors, 2])
まずアンカーの種類数とアンカーテンソルを取得しています
これは既にやっていますね
次に、畳み込みのためにアンカーボックスの縦横の数を取得しています
翻訳元
conv_dims = K.shape(feats)[1:3] # assuming channels last
ここで注目するのが [1:3] です
Axon の出力は 1 * 425 * 13 * 13 だったので、これの [1:3] をとると 425, 13 になります
しかし、実際にとりたいのはアンカーボックスの縦横の数なので、 13, 13 です
実行してみればわかるのですが、
実はこのPython実装では、出力の形が 1 * 13 * 13 * 425 になっており、
Axon のときと軸が入れ替わっているのです
最初はそれに気づかず、おかしな結果になっていました ![]()
なので、 Elixir ではこうなります
翻訳後
{_, _, num_y_blocks, num_x_blocks} = Nx.shape(feats)
そして、後の実装を合わせるために転置しておきます
翻訳後
feats =
  feats
  |> Nx.transpose(axes: [0, 2, 3, 1])
次にアンカーボックスの座標情報を補正するためのテンソルを作ります
翻訳元
    # In YOLO the height index is the inner most iteration.
    conv_height_index = K.arange(0, stop=conv_dims[0])
    conv_width_index = K.arange(0, stop=conv_dims[1])
    conv_height_index = K.tile(conv_height_index, [conv_dims[1]])

    # TODO: Repeat_elements and tf.split doesn't support dynamic splits.
    # conv_width_index = K.repeat_elements(conv_width_index, conv_dims[1], axis=0)
    conv_width_index = K.tile(K.expand_dims(conv_width_index, 0), [conv_dims[0], 1])
    conv_width_index = K.flatten(K.transpose(conv_width_index))
    conv_index = K.transpose(K.stack([conv_height_index, conv_width_index]))
    conv_index = K.reshape(conv_index, [1, conv_dims[0], conv_dims[1], 1, 2])
    conv_index = K.cast(conv_index, K.dtype(feats))
翻訳後
conv_height_index =
  Nx.iota({num_y_blocks})
  |> Nx.tile([num_x_blocks])

conv_width_index =
  Nx.iota({num_x_blocks})
  |> Nx.reshape({1, num_x_blocks})
  |> Nx.tile([num_y_blocks, 1])
  |> Nx.transpose()
  |> Nx.flatten()

conv_index =
  Nx.stack([conv_height_index, conv_width_index])
  |> Nx.transpose()
  |> Nx.reshape({1, num_x_blocks, num_y_blocks, 1, 2})
  |> Nx.as_type({:f, 32})
実行すると、こんな感じのテンソルができます
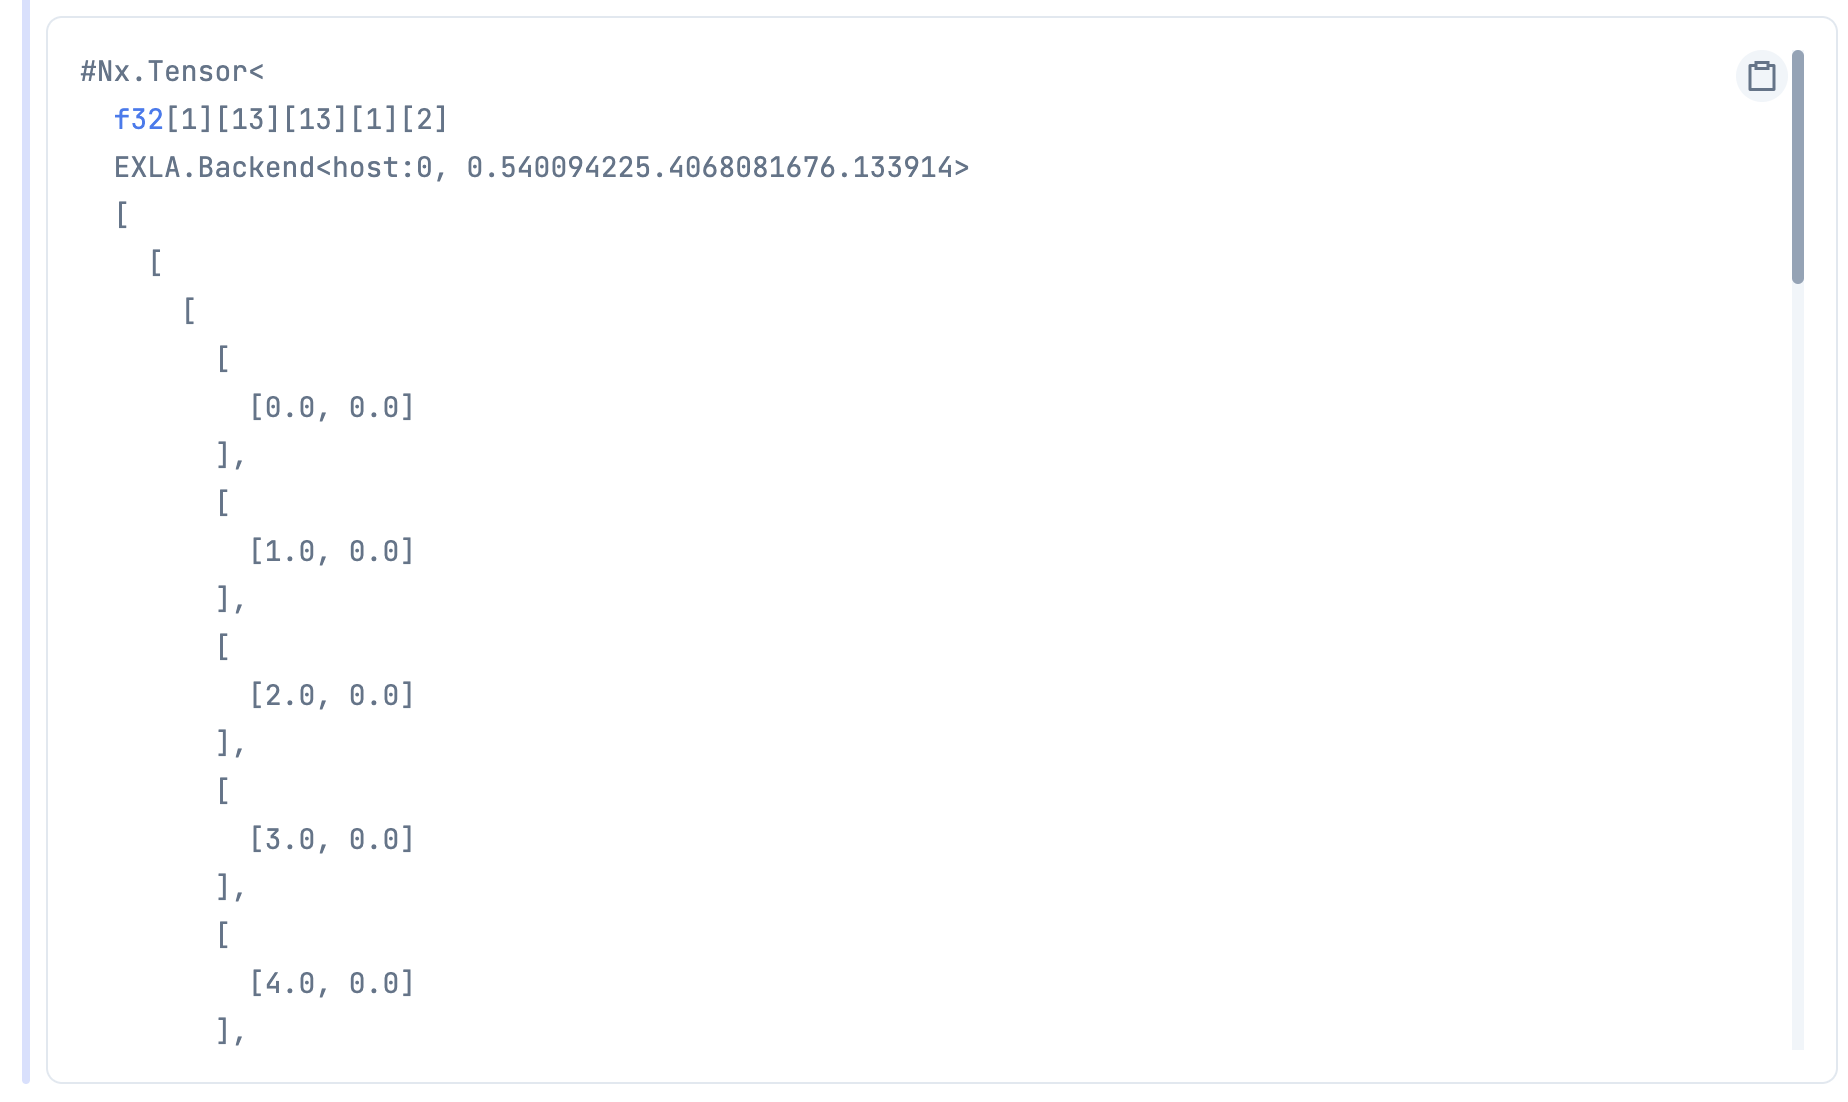
...
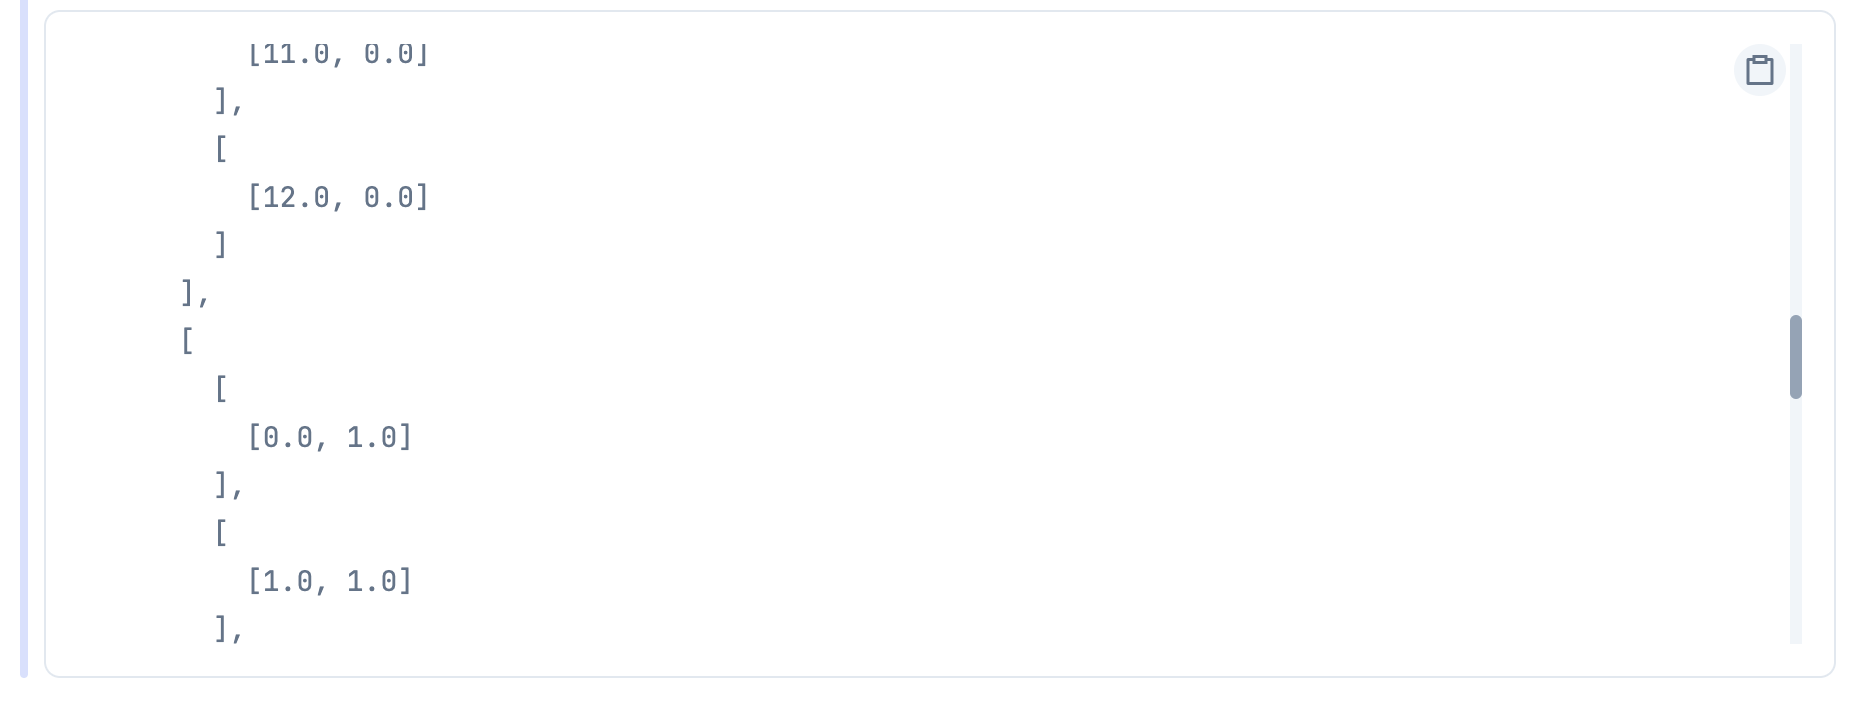
...
そして、推論結果の方も変形させます
翻訳元
feats = K.reshape(feats, [-1, conv_dims[0], conv_dims[1], num_anchors, num_classes + 5])
翻訳先
feats =
  feats
  |> Nx.reshape({1, num_y_blocks, num_x_blocks, num_anchors, num_classes + 5})
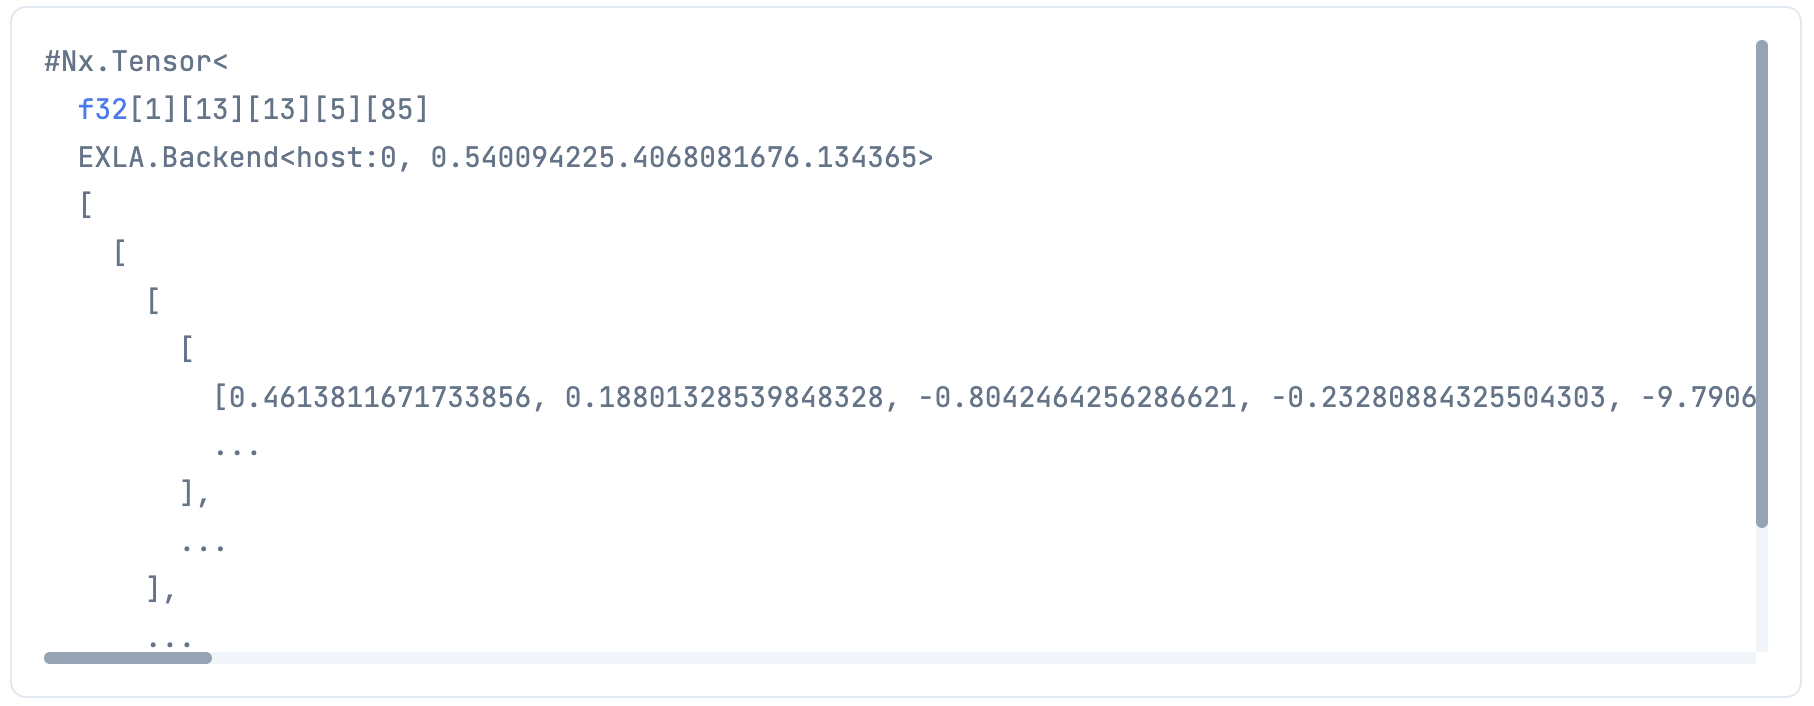
これで 1 * 13 * 13 * 5 * 85 の形になりました
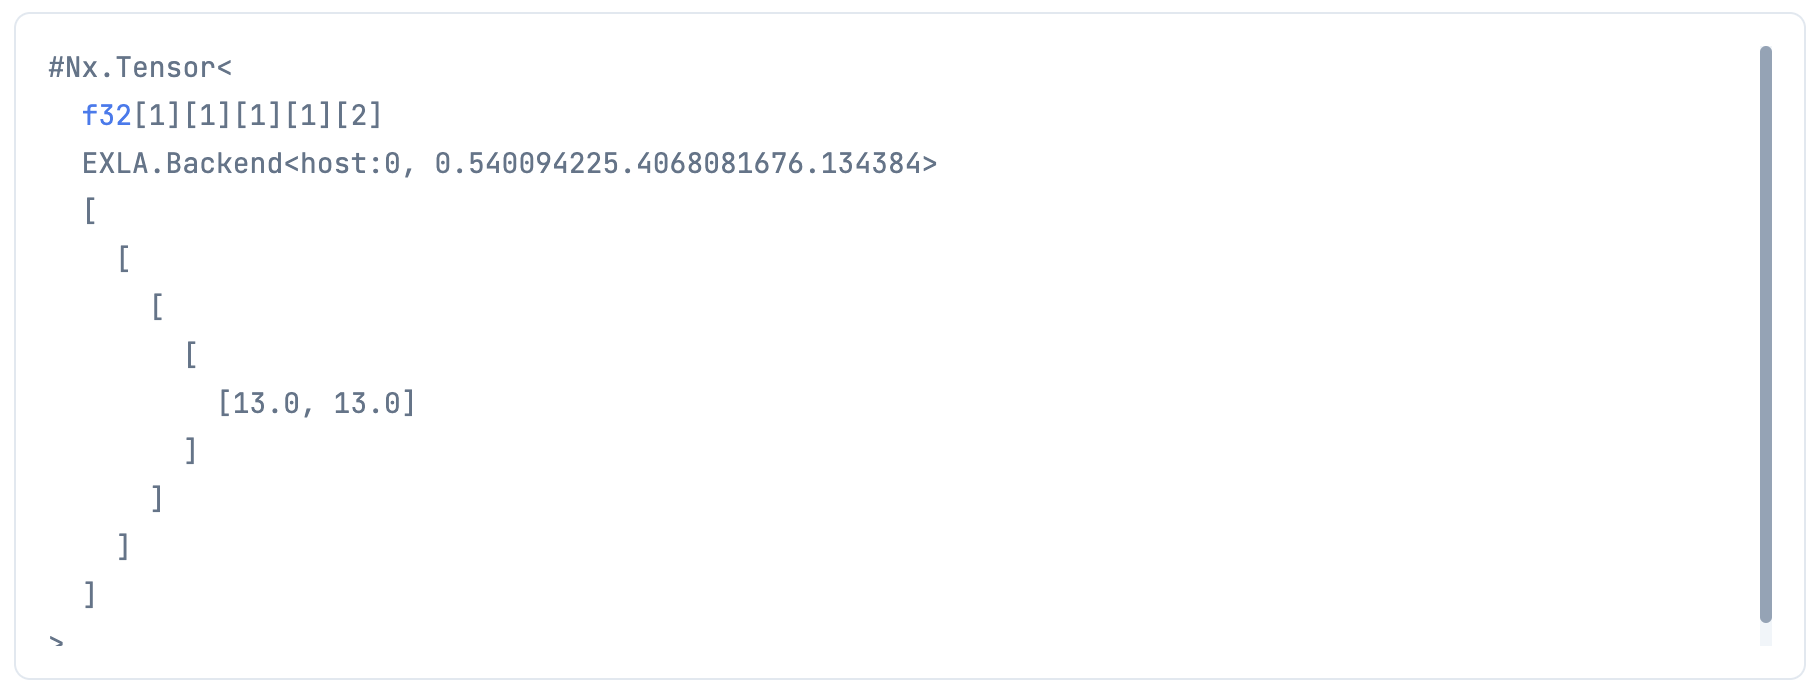
もう一つ、座標情報をブロック数で割るためのテンソルを作ります
翻訳元
conv_dims = K.cast(K.reshape(conv_dims, [1, 1, 1, 1, 2]), K.dtype(feats))
翻訳先
conv_tensor =
  Nx.tensor([num_y_blocks, num_x_blocks])
  |> Nx.reshape({1, 1, 1, 1, 2})
  |> Nx.as_type({:f, 32})
さあ、必要なものが揃ったので座標情報を補正しましょう
翻訳元
    box_xy = K.sigmoid(feats[..., :2])
    box_wh = K.exp(feats[..., 2:4])
    box_confidence = K.sigmoid(feats[..., 4:5])
    box_class_probs = K.softmax(feats[..., 5:])

    # Adjust preditions to each spatial grid point and anchor size.
    # Note: YOLO iterates over height index before width index.
    box_xy = (box_xy + conv_index) / conv_dims
    box_wh = box_wh * anchors_tensor / conv_dims
翻訳先
box_xy =
  feats[[0..0, 0..(num_y_blocks - 1), 0..(num_x_blocks - 1), 0..(num_anchors - 1), 0..1]]
  |> Nx.logistic()
  |> Nx.add(conv_index)
  |> Nx.divide(conv_tensor)

box_wh =
  feats[[0..0, 0..(num_y_blocks - 1), 0..(num_x_blocks - 1), 0..(num_anchors - 1), 2..3]]
  |> Nx.exp()
  |> Nx.multiply(anchors_tensor)
  |> Nx.divide(conv_tensor)

box_confidence =
  Nx.logistic(
    feats[[
      0..0,
      0..(num_y_blocks - 1),
      0..(num_x_blocks - 1),
      0..(num_anchors - 1),
      4..4
    ]]
  )

box_class_probs =
  feats[[
    0..0,
    0..(num_y_blocks - 1),
    0..(num_x_blocks - 1),
    0..(num_anchors - 1),
    5..(num_classes + 4)
  ]]

exp =
  box_class_probs
  |> Nx.exp()

exp_sum =
  box_class_probs
  |> Nx.exp()
  |> Nx.sum(axes: [4])
  |> Nx.reshape({1, num_y_blocks, num_x_blocks, num_anchors, 1})
  |> Nx.broadcast({1, num_y_blocks, num_x_blocks, num_anchors, num_classes})

box_class_probs = Nx.divide(exp, exp_sum)
途中、 Nx に softmax がなかったので exp と sum で計算しています
多分もっとスマートにできると思いますが、ちゃんと softmax になっているので良しとします
続いて、中心座標と高さ幅になっているのを、左上右下の座標に変換します
翻訳元
    """Convert YOLO box predictions to bounding box corners."""
    box_mins = box_xy - (box_wh / 2.)
    box_maxes = box_xy + (box_wh / 2.)

    return K.concatenate([
        box_mins[..., 1:2],  # y_min
        box_mins[..., 0:1],  # x_min
        box_maxes[..., 1:2],  # y_max
        box_maxes[..., 0:1]  # x_max
    ])
翻訳先
box_mins =
  box_xy
  |> Nx.subtract(Nx.divide(box_wh, 2.0))

box_maxes =
  box_xy
  |> Nx.add(Nx.divide(box_wh, 2))

box_list =
  Nx.concatenate([
    box_mins[[0..0, 0..(num_y_blocks - 1), 0..(num_x_blocks - 1), 0..(num_anchors - 1), 0..0]],
    box_mins[[0..0, 0..(num_y_blocks - 1), 0..(num_x_blocks - 1), 0..(num_anchors - 1), 1..1]],
    box_maxes[[0..0, 0..(num_y_blocks - 1), 0..(num_x_blocks - 1), 0..(num_anchors - 1), 0..0]],
    box_maxes[[0..0, 0..(num_y_blocks - 1), 0..(num_x_blocks - 1), 0..(num_anchors - 1), 1..1]]
  ])
  |> Nx.transpose(axes: [4, 1, 2, 3, 0])
分類結果のクラスを取得し、座標のスコア * 分類のスコアが閾値以上のデータだけを抽出します
翻訳元
    box_scores = box_confidence * box_class_probs
    box_classes = K.argmax(box_scores, axis=-1)
    box_class_scores = K.max(box_scores, axis=-1)
    prediction_mask = box_class_scores >= threshold

    # TODO: Expose tf.boolean_mask to Keras backend?
    boxes = tf.boolean_mask(boxes, prediction_mask)
    scores = tf.boolean_mask(box_class_scores, prediction_mask)
    classes = tf.boolean_mask(box_classes, prediction_mask)
翻訳先
box_scores = Nx.multiply(box_confidence, box_class_probs)

box_classes =
  box_scores
  |> Nx.argmax(axis: -1)
  |> Nx.reshape({1, num_y_blocks, num_x_blocks, num_anchors, 1})

box_class_scores =
  box_scores
  |> Nx.reduce_max(axes: [-1])
  |> Nx.reshape({1, num_y_blocks, num_x_blocks, num_anchors, 1})

score_threshold = 0.5

prediction_mask = Nx.greater(box_class_scores, score_threshold)

joined =
  Nx.concatenate(
    [
      prediction_mask,
      box_confidence,
      box_class_scores,
      box_classes,
      box_list
    ],
    axis: 4
  )
  |> Nx.reshape({num_y_blocks * num_x_blocks * num_anchors, 8})

masked_index_list =
  prediction_mask
  |> Nx.to_flat_list()
  |> Enum.with_index()
  |> Enum.filter(fn {value, _} -> value == 1 end)
  |> Enum.map(&elem(&1, 1))
  |> Nx.tensor()

selected_predictions = Nx.take(joined, masked_index_list)

formed_predictions =
  selected_predictions
  |> Nx.to_batched_list(1)
  |> Enum.map(fn t ->
    %{
      box: t[0][[4..7]] |> Nx.to_flat_list(),
      score: t[0][2] |> Nx.to_number(),
      class: t[0][3] |> Nx.to_number() |> trunc()
    }
  end)
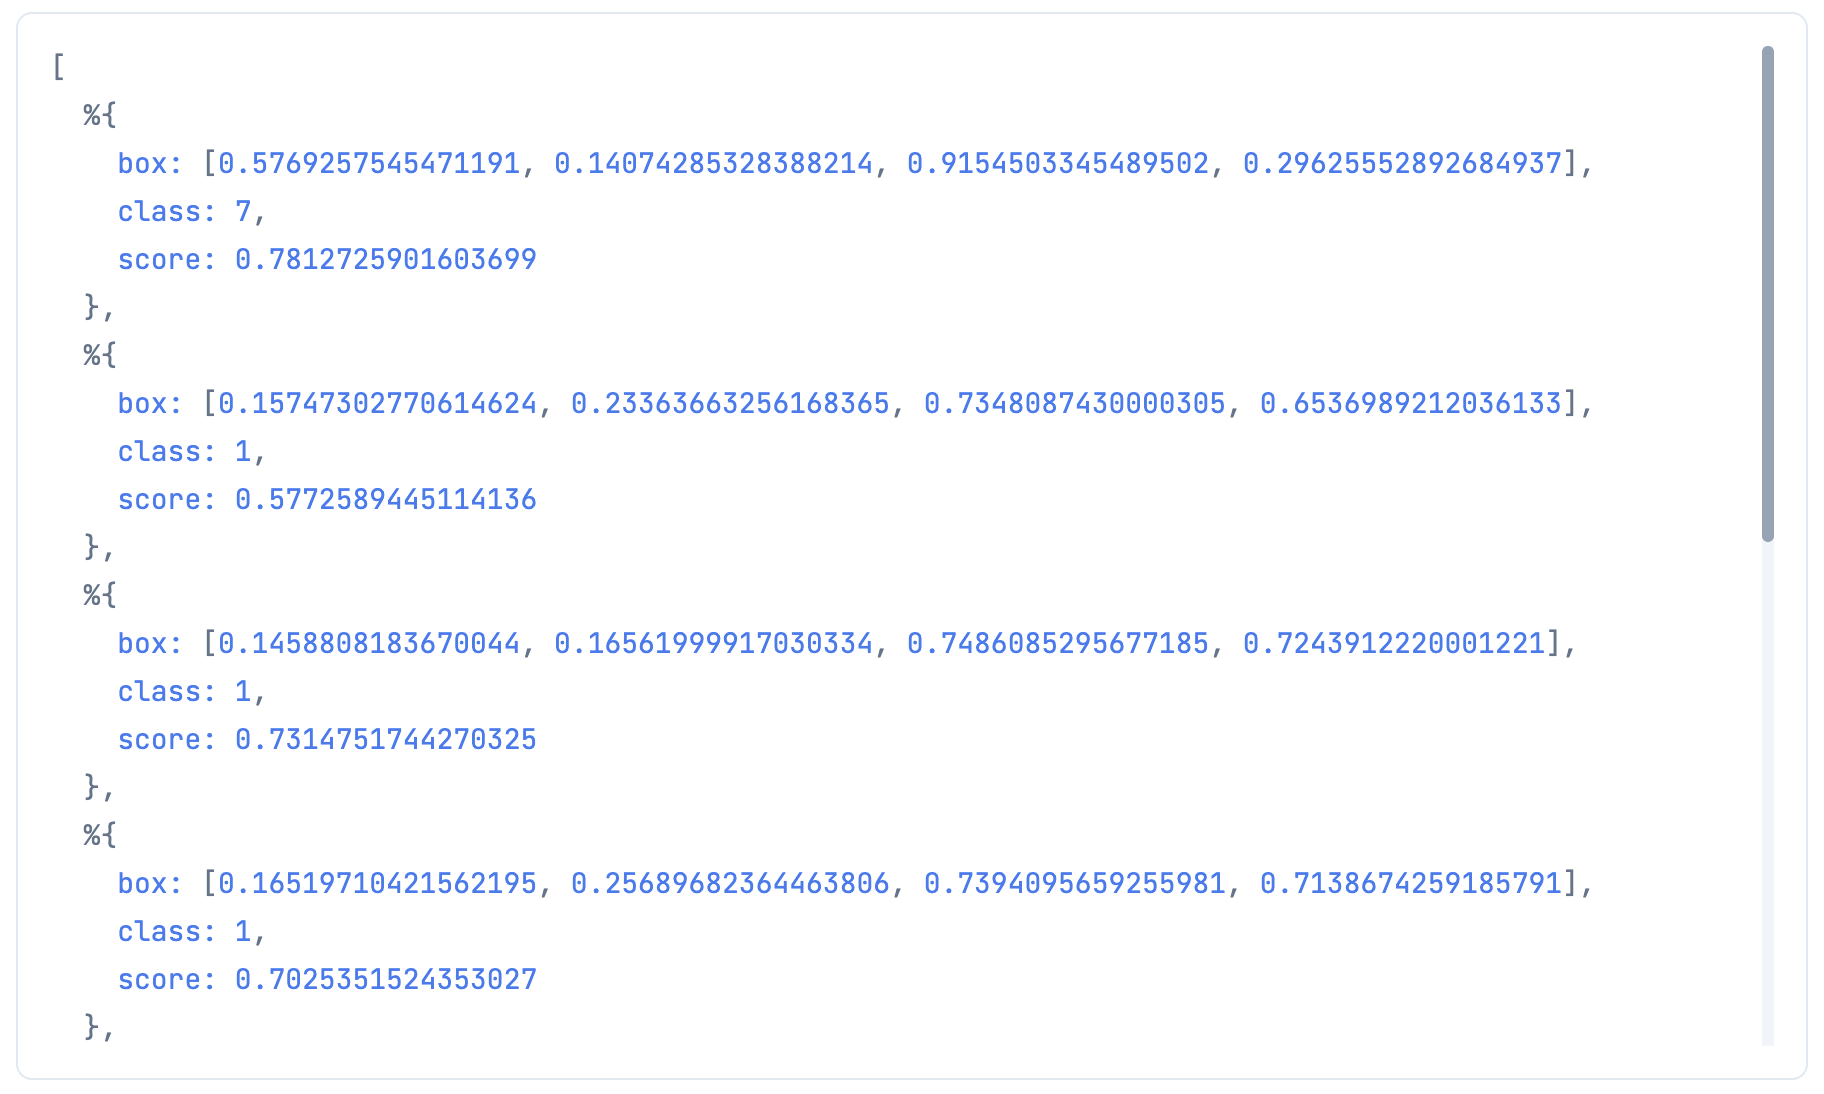
やっと使えそうな形になりました
NMS
が、このままだと様々なアンカーで検出しているため、重複(ほぼ同じ場所で重なっている推論結果)が多く存在します
そのため、 YOLO では Non-Maximum Suppression を行い、重複している場合はスコアが高いものだけを残します
前回の evision の YOLOv3 では、 evision に実装されている NMS を使いましたが、
今回は evision 抜きで実装したいため、自作しようと思います
ちなみに、先ほどまで見ていた翻訳元の Python では TensorFlow の NMS を使っていたので、
ここは参考にできません
翻訳元
    nms_index = tf.image.non_max_suppression(
        boxes, scores, max_boxes_tensor, iou_threshold=iou_threshold)
また、 Nx にも実装されていません
なので、これまた Python 実装を見つけて翻訳します
翻訳元の記事
まず、重複を見つけるために重なり具合(=IOU)を計算する関数を作ります
翻訳元
def iou_np(a, b, a_area, b_area):
    abx_mn = np.maximum(a[0], b[:,0]) # xmin
    aby_mn = np.maximum(a[1], b[:,1]) # ymin
    abx_mx = np.minimum(a[2], b[:,2]) # xmax
    aby_mx = np.minimum(a[3], b[:,3]) # ymax
    w = np.maximum(0, abx_mx - abx_mn + 1)
    h = np.maximum(0, aby_mx - aby_mn + 1)
    intersect = w*h

    iou_np = intersect / (a_area + b_area - intersect)
    return iou_np
翻訳先
iou_nx = fn (a, b, a_area, b_area) ->
  num_b = Nx.shape(b) |> elem(0)
  abx_mn = Nx.max(a[0], b[[0..(num_b - 1), 0]]) # xmin
  aby_mn = Nx.max(a[1], b[[0..(num_b - 1), 1]]) # ymin
  abx_mx = Nx.min(a[2], b[[0..(num_b - 1), 2]]) # xmax
  aby_mx = Nx.min(a[3], b[[0..(num_b - 1), 3]]) # ymax
  w = Nx.subtract(abx_mx, abx_mn)
  h = Nx.subtract(aby_mx, aby_mn)
  intersect = Nx.multiply(w, h)

  Nx.divide(intersect, Nx.subtract(Nx.add(a_area, b_area), intersect))
end
そして、 NMS を実行する関数を作ります
翻訳元
def nms_fast(bboxes, scores, classes, iou_threshold=0.5):
    areas = (bboxes[:,2] - bboxes[:,0] + 1) \
             * (bboxes[:,3] - bboxes[:,1] + 1)

    sort_index = np.argsort(scores)

    i = -1 # 未処理の矩形のindex
    while(len(sort_index) >= 2 - i):
        max_scr_ind = sort_index[i]
        ind_list = sort_index[:i]
        iou = iou_np(bboxes[max_scr_ind], bboxes[ind_list], \
                     areas[max_scr_ind], areas[ind_list])
        del_index = np.where(iou >= iou_threshold)
        sort_index = np.delete(sort_index, del_index)
        #print(len(sort_index), i, flush=True)
        i -= 1 # 未処理の矩形のindexを1減らす

    bboxes = bboxes[sort_index]
    scores = scores[sort_index]
    classes = classes[sort_index]

    return bboxes, scores, classes
翻訳先
nms = fn (bboxes, scores, iou_threshold) ->
  num_boxes = Nx.shape(bboxes) |> elem(0)

  areas = Nx.multiply(
    Nx.subtract(bboxes[[0..(num_boxes - 1), 2]], bboxes[[0..(num_boxes - 1), 0]]),
    Nx.subtract(bboxes[[0..(num_boxes - 1), 3]], bboxes[[0..(num_boxes - 1), 1]])
  )

  bboxes
  |> Nx.to_batched_list(1)
  |> Enum.with_index()
  |> Enum.map(fn {box, index} ->
    box[0]
    |> iou_nx.(bboxes, areas[index], areas)
    |> Nx.greater(iou_threshold)
    |> Nx.to_flat_list()
  end)
  |> Enum.uniq()
  |> Enum.map(fn mask_list ->
    duplicated_index_list =
      mask_list
      |> Enum.with_index()
      |> Enum.filter(fn {value, _} -> value == 1 end)
      |> Enum.map(&elem(&1, 1))

    max_index =
      scores
      |> Nx.take(duplicated_index_list |> Nx.tensor())
      |> Nx.argmax()
      |> Nx.to_number()

    Enum.at(duplicated_index_list, max_index)
  end)
  |> Enum.uniq()
end
Elixir には while が存在しないため、とりあえず全部の組み合わせを計算したあとユニークにしています
ここも間違いなくもっとスマートな実装があるはずです
NMS を適用させます
翻訳元
        nms_bboxes, nms_scores, nms_classes = \
            nms_fast(bboxes_np, scores_np, classes_np, \
                     iou_threshold=iou_threshold)
翻訳先
box_list =
  formed_predictions
  |> Enum.map(& &1.box)
  |> Nx.tensor()

score_list =
  formed_predictions
  |> Enum.map(& &1.score)
  |> Nx.tensor()

nms_threshold = 0.7

index_list = nms.(box_list, score_list, nms_threshold)

selected_predictions = Enum.map(index_list, &Enum.at(formed_predictions, &1))
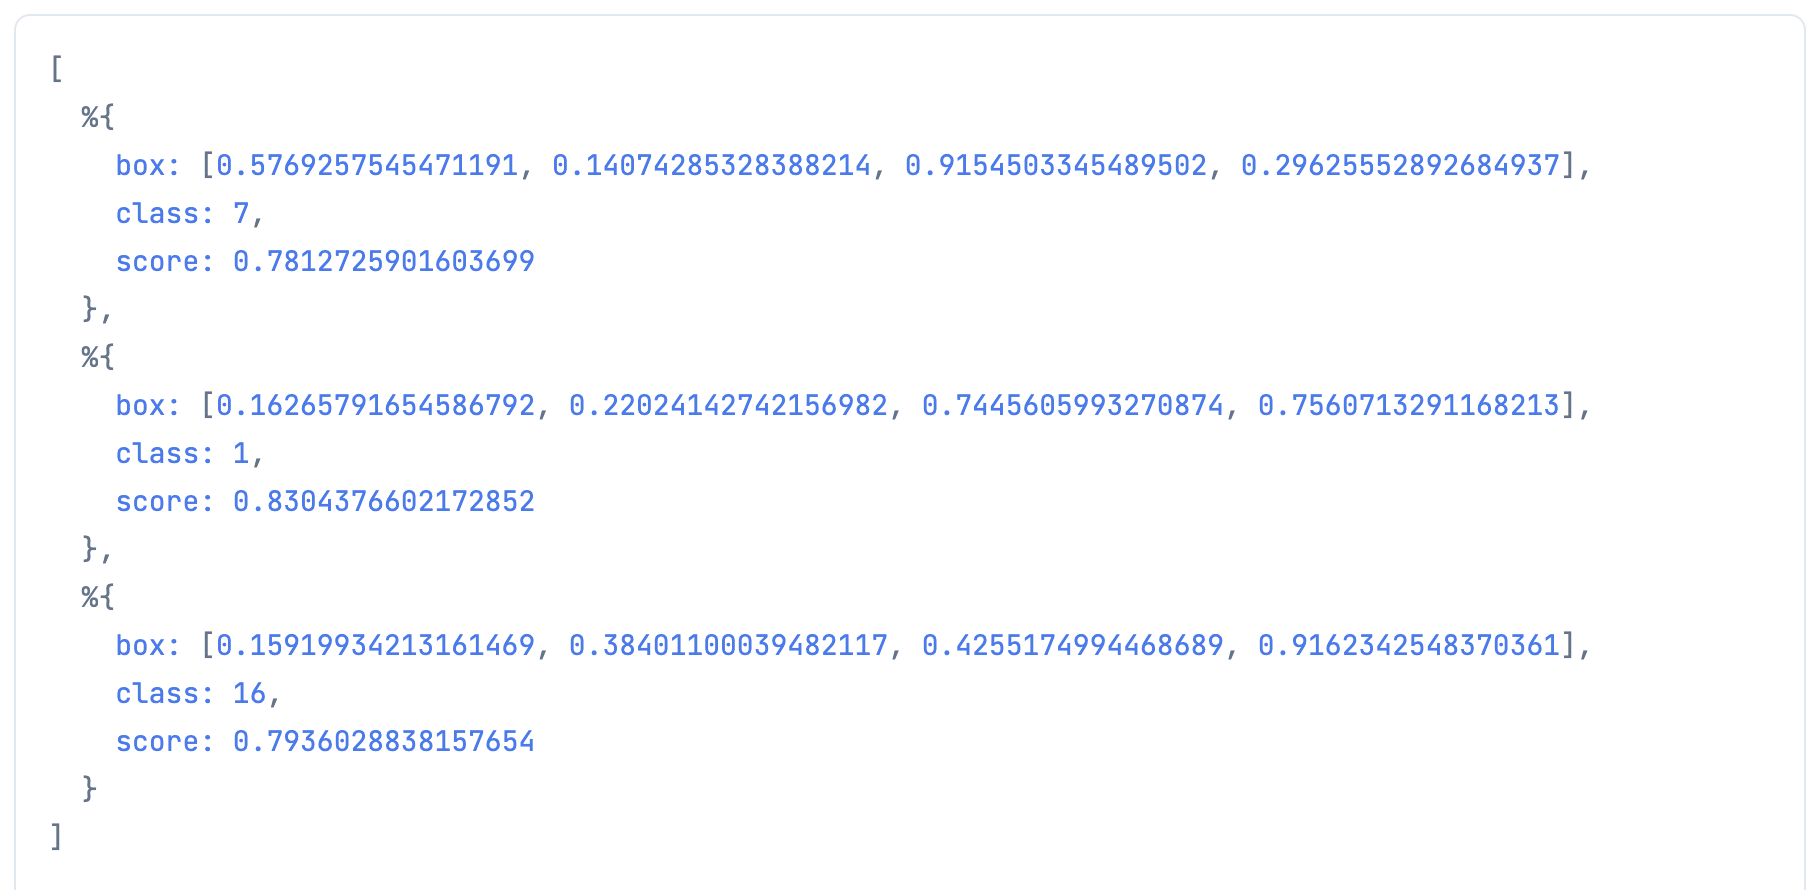
推論結果が3つだけに絞られました
推論結果の視覚化
前回の evision の YOLOv3 では、 OpenCV の機能で簡単に矩形を描画できました
今回は Nx だけで画像を切り抜きたいと思います
まず、リサイズなどしていない元画像をテンソルにします
image_tensor =
  image_path
  |> File.read!()
  |> StbImage.read_binary!()
  |> StbImage.to_nx()
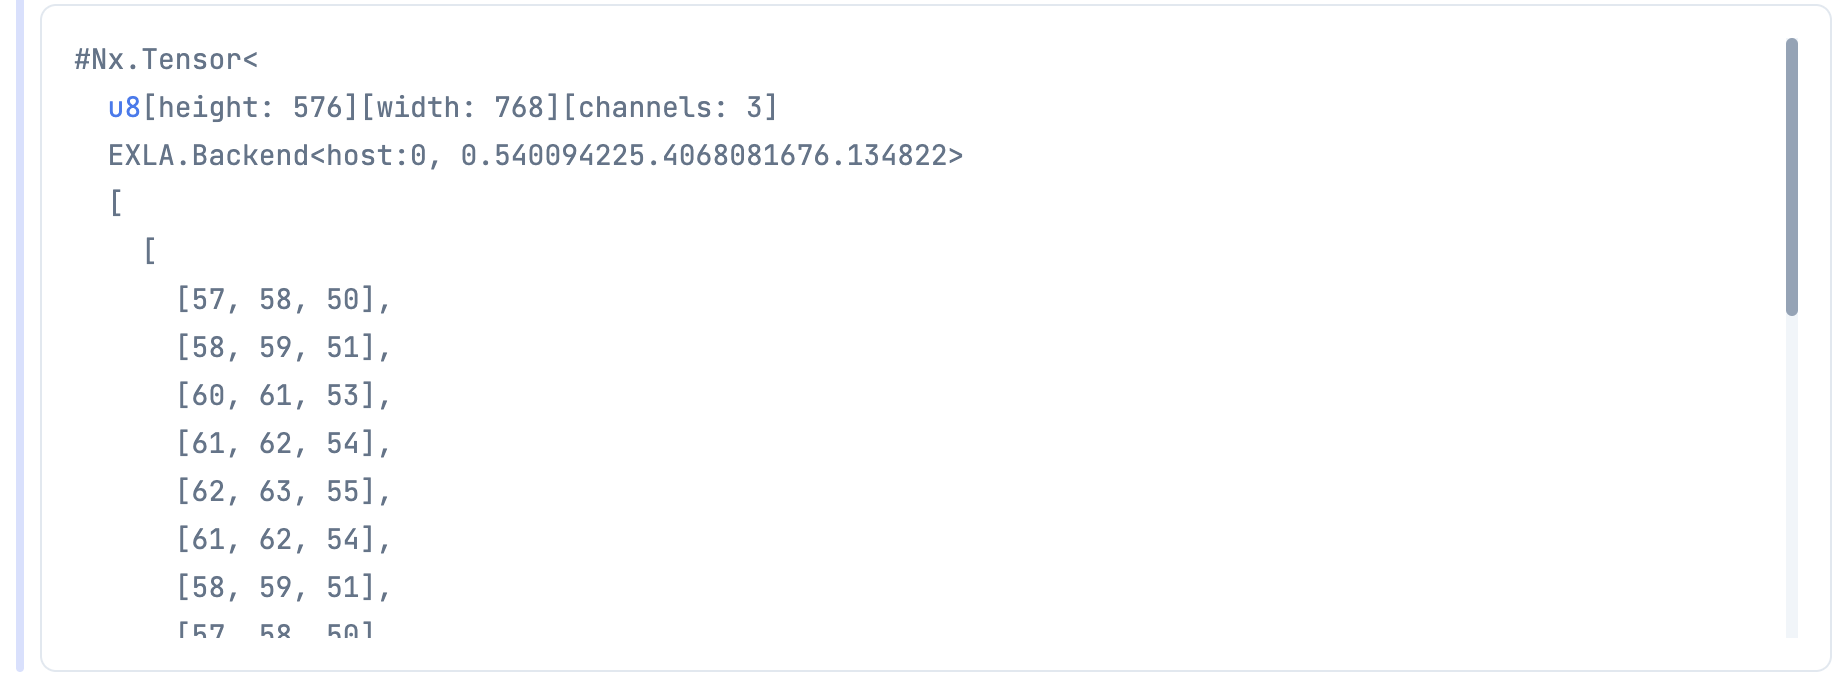
576 * 768 * 3 のテンソルになっていますね
推論結果の座標は画像内の幅、高さを1としたときの値なので、
描画時には画像の幅、高さをかける必要があります
{height, width, _} = Nx.shape(image_tensor)
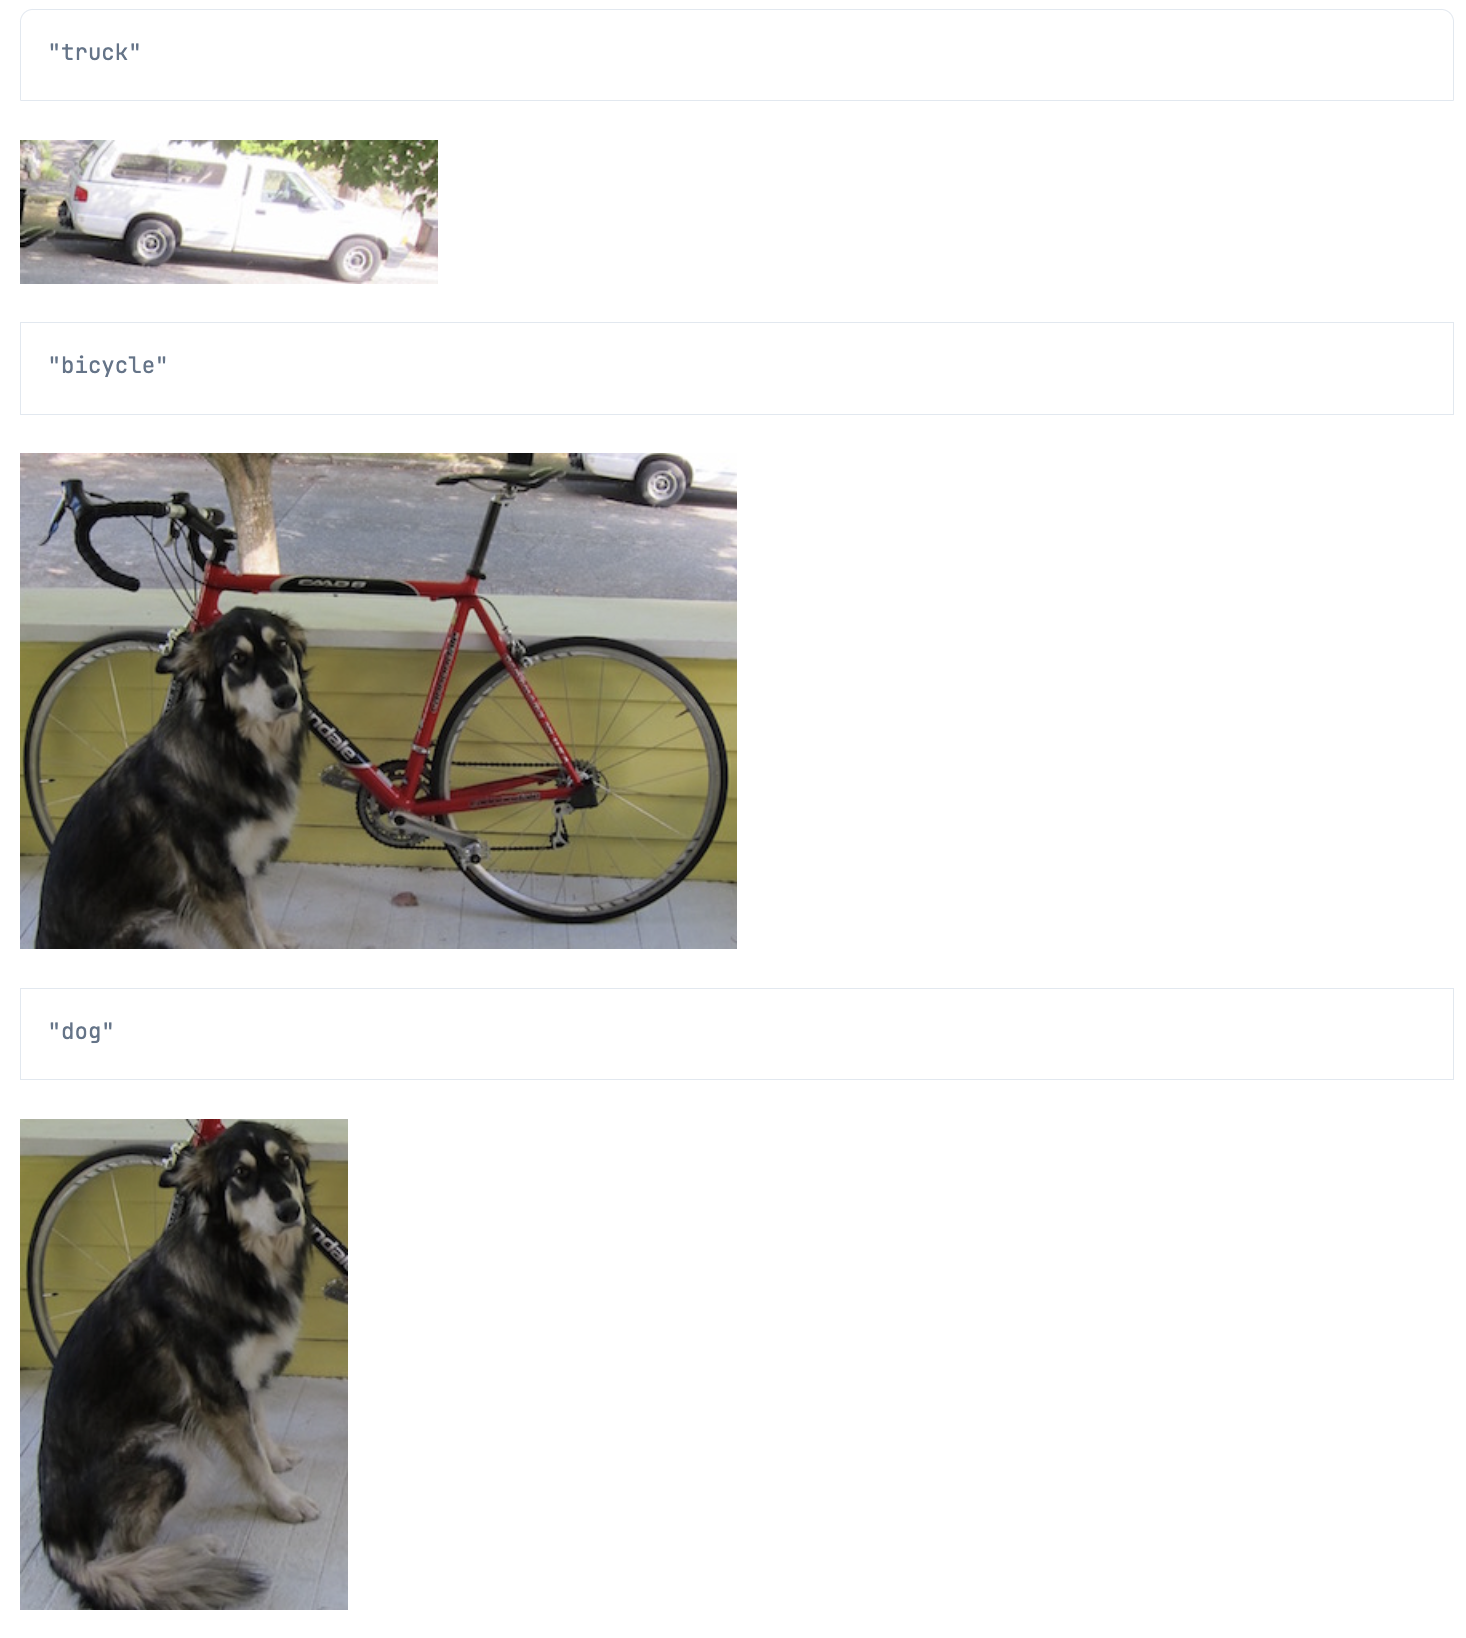
Kino.render() を入れることで、最終結果ではない画像も描画されます
croped_list =
  selected_predictions
  |> Enum.map(fn prediction ->
    classes
    |> Enum.at(prediction.class)
    |> IO.inspect()

    box = prediction.box
    left = Enum.at(box, 0) |> Kernel.*(width) |> trunc()
    top = Enum.at(box, 1) |> Kernel.*(height) |> trunc()
    right = Enum.at(box, 2) |> Kernel.*(width) |> trunc()
    bottom = Enum.at(box, 3) |> Kernel.*(height) |> trunc()

    image_tensor[[top..bottom, left..right, 0..2]]
    |> StbImage.from_nx()
    |> StbImage.to_binary(:jpg)
    |> Kino.Image.new(:jpeg)
    |> Kino.render()
  end)
まとめ
Axon が読み込みさえすれば、その後は気合で何とかなりますね
これで Axon が iOS で動いてくれれば、 Elixir で AI アプリが実装できますが、、、