はじめに
Apple が CoreML で Stable Diffusion を実行できるようにしました
コードはこちら
後でやってみようと思っていたらあっという間に日本語でも記事が作られていましたが、自分もせっかくやったので私なりに実行したことを書いておきます
先駆者様
実行環境
最初は以下の環境で実行しました
- MacBook Pro
- CPU Intel i5 4 コア (Apple sillicon ではないので、実行はできるものの最適ではない)
- メモリ 16 GB
- macOS Monterey 12.6.1
- XCode 13.4.1
- Swift 5.7.1
しかし、まず変換の時点で以下の警告が表示されました
!!! macOS 13.1 and newer or iOS/iPadOS 16.2 and newer is required for best performance !!!
また、「最適じゃなくても動くだろう」と思ってそのまま画像生成を実行したところ、以下のエラーで結局実行できませんでした
"Error reading protobuf spec. validator error: The model supplied is of version 7, intended for a newer version of Xcode. This version of Xcode supports model version 6 or earlier."
というわけで、結局 OS と XCode を更新しました
- macOS Venture 13.0.1
- XCode 14.1
コードのクローン
公式からコードをクローンします
git clone https://github.com/apple/ml-stable-diffusion.git
クローンしたパスに移動します
cd ml-stable-diffusion
準備
公式では conda を使うようになっていますが、私は普段から asdf を使っているので、 asdf で Python 3.8 をインストールしました
asdf install python 3.8.15
asdf local python 3.8.15
この状態で開発版のパッケージをインストールします
pip install --upgrade pip
pip install -e .
このままモデルの変換を実行すると以下のような警告が表示されるます
Torch version 1.13.0 has not been tested with coremltools. You may run into unexpected errors. Torch 1.12.1 is the most recent version that has been tested.
念の為 PyTorch のバージョンを下げておきます
pip install torch==1.12.1
インストールされたコマンドラインツールを有効化します
asdf reshim python
Hugging Face にアカウントを作成します
CLI からアクセスするためのアクセストークンを生成します
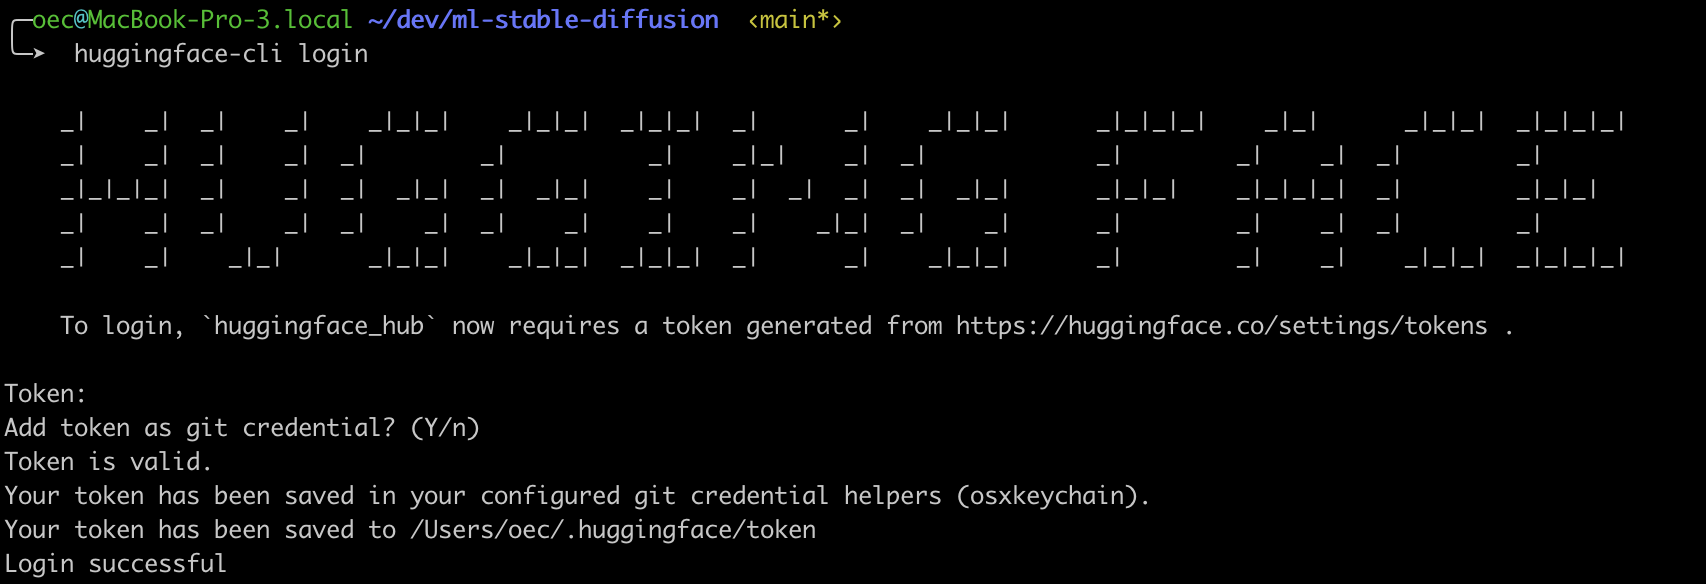
以下のコマンドを実行すると Token を求められるので、生成しておいたアクセストークンを入力します
huggingface-cli login
使用する変換元モデルの利用規約に同意しておきます
モデルの変換
以下のコマンドを実行し、 models ディレクトリー配下に Core ML 用に変換したモデルを出力します
公式のコマンドだと --bundle-resources-for-swift-cli が入っていませんが、これがないと Swift で画像生成できません
python -m python_coreml_stable_diffusion.torch2coreml \
  --convert-unet \
  --convert-text-encoder \
  --convert-vae-decoder \
  --convert-safety-checker \
  --bundle-resources-for-swift-cli \
  -o models
私の環境だとここに数十分かかります(というかこれ以降も毎回数十分かかります)
しばらくすると、 models 配下に以下のファイルが生成されます
- Stable_Diffusion_version_CompVis_stable-diffusion-v1-4_safety_checker.mlpackage
- Stable_Diffusion_version_CompVis_stable-diffusion-v1-4_text_encoder.mlpackage
- Stable_Diffusion_version_CompVis_stable-diffusion-v1-4_unet.mlpackage
- Stable_Diffusion_version_CompVis_stable-diffusion-v1-4_vae_decoder.mlpackage
- Resources
- merges.txt
- SafetyChecker.mlmodelc
- TextEncoder.mlmodelc
- Unet.mlmodelc
- VAEDecoder.mlmodelc
- vocab.json
Python で画像生成
まず Python から実行します
-i で変換したモデルを配置したパス、 -o で画像の出力先パスを指定します
私の環境だと --compute-unit ALL を指定するとエラーになりました(おそらく GPU がないから)
そのため、 --compute-unit CPU_AND_NE を指定しています
--prompt には「ふさふさしたウサギの獣人が料理を食べて恍惚としている絵本」を指定しています
python -m python_coreml_stable_diffusion.pipeline \
  --prompt "picture book of a bushy rabbit beastman eating food and looking ecstatic" \
  -i models \
  -o outputs \
  --compute-unit CPU_AND_NE \
  --seed 93
しばらく待つと、以下のような画像が生成されました
Swift で画像生成
続いて Swift です
こちらも --compute-units cpuAndNeuralEngine を指定しないとエラーになりました
--resource-path は 変換モデルの配置パス/Resources/ です
--output-path で画像の出力先を指定します
ここで出力先に存在しないディレクトリーを指定すると画像を保存するときにエラー終了して悲しい気持ちになります
出力先のディレクトリーは作っておきましょう
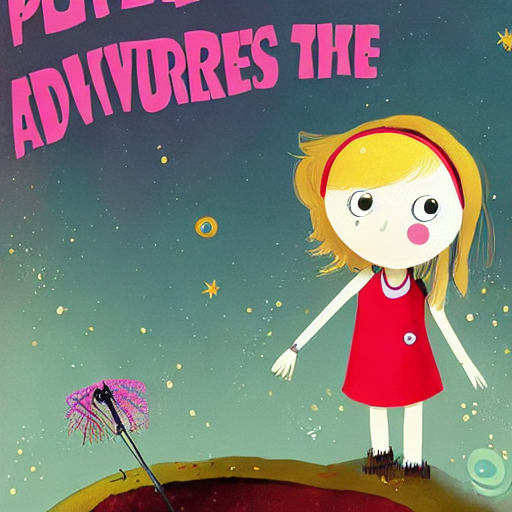
今回のプロンプトは「深淵を冒険する少女とロボットの絵本」です
swift run StableDiffusionSample \
  "picture book about a girl and a robot adventuring in the abyss" \
  --resource-path models/Resources/ \
  --seed 93 \
  --output-path outputs \
  --compute-units cpuAndNeuralEngine
ロボットは穴の中から腕を伸ばしているわけですね
まとめ
動きはしましたが、やはり相応の環境じゃないと重すぎますね
あと、変換中はすごくストレージを圧迫するので、ストレージがギリギリの人(私)は気をつけてください
Core ML で動かせるということは、 iPhone アプリに組み込めるということなので、これからこの手のアプリが量産されそうです


