はじめに
Livebook から AWS のサービスを操作するシリーズです
今回は Amazon Rekognition を操作します
Amazon Rekognition は画像 AI サービスで、物体検出や顔識別などができます
今回は物体検出と顔検出、環状などの顔情報の分析を行います
実装したノートブックはこちら
事前作業
AWS のアカンウトと、 Rekognition の権限を持った IAM ユーザーと、その認証情報(ACCESS_KEY_ID と SECRET_ACCESS_KEY)が必要です
実行環境
Livebook 0.7.2 の Docker イメージを元にしたコンテナで動かしました
コンテナ定義はこちらを参照
セットアップ
ex_aws_rekognition を中心に、必要なモジュールをインストールします
また、データ分析のために Explorer 、画像処理のために Evision などもインストールします
Mix.install([
  {:ex_aws, "~> 2.0"},
  {:ex_aws_rekognition, "~> 0.6"},
  {:poison, "~> 5.0"},
  {:hackney, "~> 1.18"},
  {:sweet_xml, "~> 0.7"},
  {:explorer, "~> 0.4"},
  {:evision, "~> 0.1"},
  {:download, "~> 0.0.4"},
  {:kino, "~> 0.8"}
])
エイリアス等の準備をします
alias ExAws.Rekognition
alias Explorer.DataFrame
alias Explorer.Series
require Explorer.DataFrame
認証
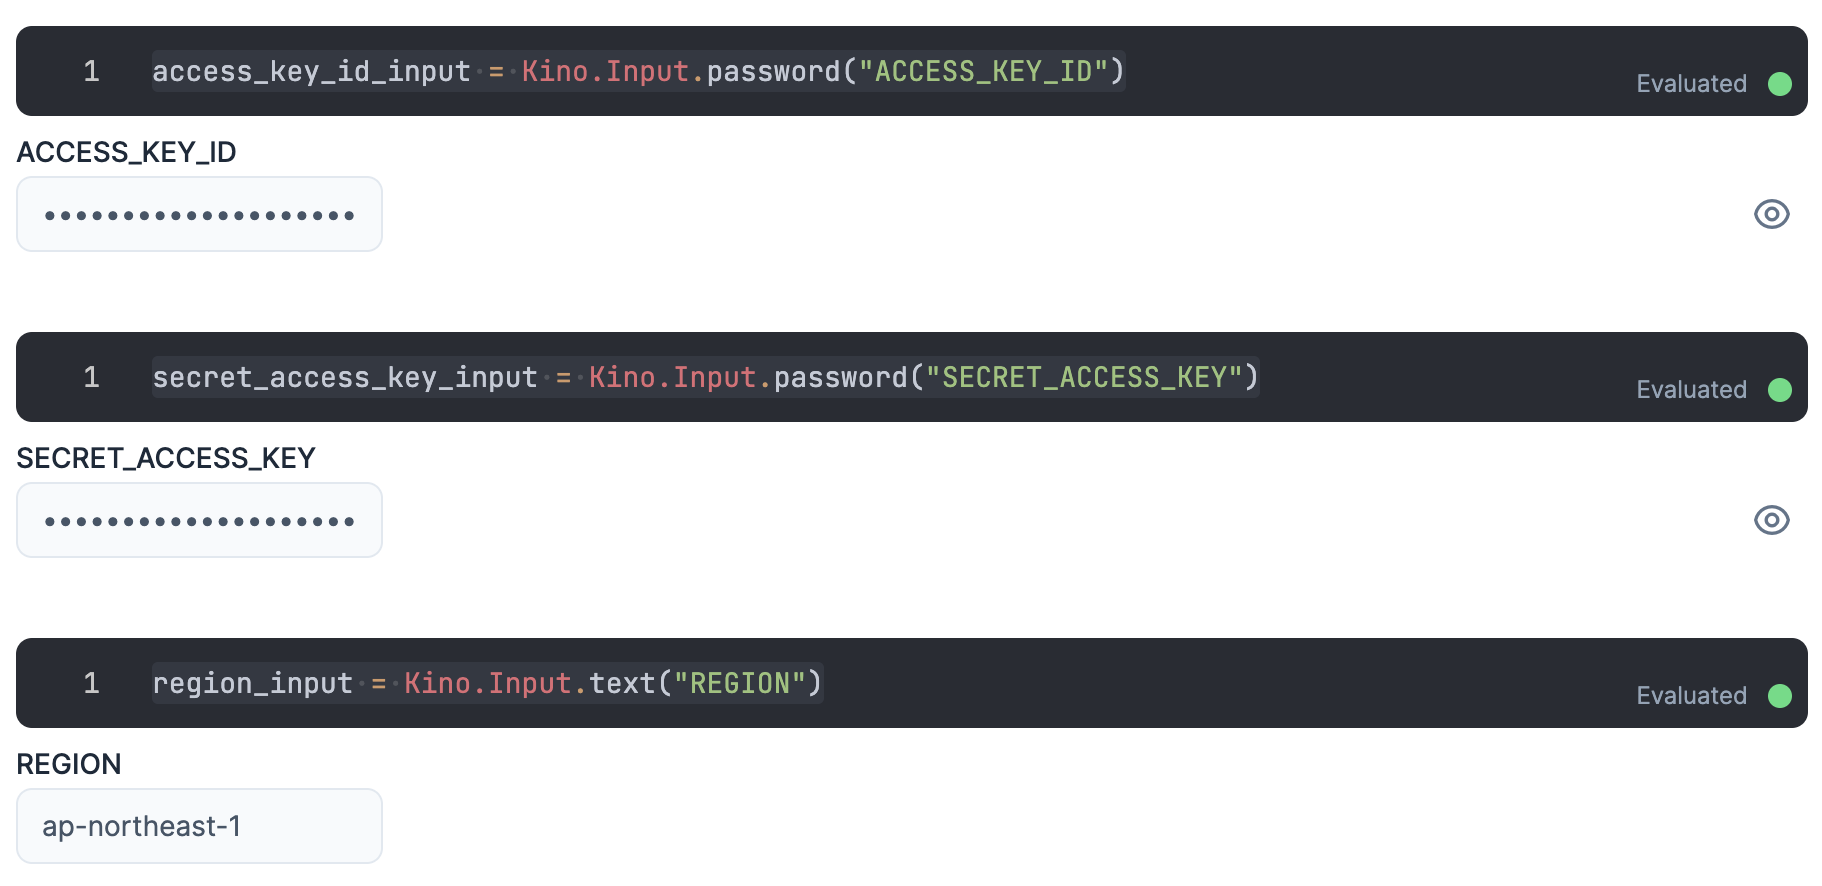
入力エリアを用意し、そこに IAM ユーザーの認証情報を入力します
ACCESS_KEY_ID と SECRET_ACCESS_KEY は秘密情報なので、値が見えないように Kino.Input.password を使います
access_key_id_input = Kino.Input.password("ACCESS_KEY_ID")
secret_access_key_input = Kino.Input.password("SECRET_ACCESS_KEY")
リージョンもここで入力しておきましょう
region_input = Kino.Input.text("REGION")
各認証情報を ExAws に渡すためにまとめておきます
秘密情報が実行結果に現れないよう、セルの最後には "dummy" を入れておきましょう
auth_config = [
  access_key_id: Kino.Input.read(access_key_id_input),
  secret_access_key: Kino.Input.read(secret_access_key_input),
  region: Kino.Input.read(region_input)
]

"dummy"
物体検出
画像内にある物体を検出し、それが何であるか、画像内のどこにあるのかを取得します
いつもお世話になっている Lenna さんの画像を使います
File.rm("Lenna_%28test_image%29.png")

lenna =
  Download.from("https://upload.wikimedia.org/wikipedia/en/7/7d/Lenna_%28test_image%29.png")
  |> elem(1)
いつものです
lenna_mat = Evision.imread(lenna)

さあ、 Rekognition.detect_labels で Rekognition に物体検出させましょう
rek_res =
  Evision.imencode(".png", lenna_mat)
  |> Rekognition.detect_labels()
  |> ExAws.request!(auth_config)

色々返ってきてはいますが、これだと見にくいので整形しましょう
detections_df =
  rek_res["Labels"]
  # 位置情報がないものは除外する
  |> Enum.filter(&(Enum.count(&1["Instances"]) > 0))
  |> Enum.flat_map(fn detection ->
    detection["Instances"]
    |> Enum.map(fn instance ->
      [
        label: detection["Name"],
        left: instance["BoundingBox"]["Left"],
        top: instance["BoundingBox"]["Top"],
        width: instance["BoundingBox"]["Width"],
        height: instance["BoundingBox"]["Height"],
        score: instance["Confidence"]
      ]
    end)
  end)
  |> DataFrame.new()

detections_df
|> Kino.DataTable.new()

一覧にしてみると、どうも無駄に同じ位置で Person や Woman や Adult 、 Female が検出されています
確かに Lenna さんは Person で Woman で Adult で Female ですが、重なると見にくいので一つに絞ります
detections_df =
  detections_df
  |> DataFrame.distinct(["left", "top", "width", "height"], keep_all: true)

detections_df
|> Kino.DataTable.new()

これで人物二人になりました
ではこの位置情報を画像にプロットしましょう
Rekognition から返ってくる Let や Top の値は画像全体の幅、高さを 1.0 としたときの比なので、元の画像サイズをかける必要があります
{img_height, img_width, _} = Evision.Mat.shape(lenna_mat)
検出した位置情報毎に四角形とラベル文字を出力します
detections_df
|> DataFrame.to_rows()
|> Enum.reduce(lenna_mat, fn detection, drawed ->
  label = detection["label"]
  left = img_width * detection["left"] |> trunc()
  top = img_height * detection["top"] |> trunc()
  right = left + img_width * detection["width"] |> trunc()
  bottom = top + img_height * detection["height"] |> trunc()

  drawed
  |> Evision.rectangle(
    {left, top},
    {right, bottom},
    {255, 0, 0},
    thickness: 4
  )
  |> Evision.putText(
    label,
    {left + 6, top + 26},
    Evision.Constant.cv_FONT_HERSHEY_SIMPLEX(),
    0.8,
    {0, 0, 255},
    thickness: 2
  )
end)

さすが Rekognition です
手前の Lenna さんはもちろん、後ろの鏡に映った Lenna さんも検出できています
せっかくなので、一連の処理を関数化しましょう
show_objects = fn input_mat ->
  Evision.imencode(".jpg", input_mat)
  |> Rekognition.detect_labels()
  |> ExAws.request!(auth_config)
  |> then(&(&1["Labels"]))
  |> Enum.filter(&(Enum.count(&1["Instances"]) > 0))
  |> Enum.flat_map(fn detection ->
    detection["Instances"]
    |> Enum.map(fn instance ->
      [
        label: detection["Name"],
        left: instance["BoundingBox"]["Left"],
        top: instance["BoundingBox"]["Top"],
        width: instance["BoundingBox"]["Width"],
        height: instance["BoundingBox"]["Height"],
        score: instance["Confidence"]
      ]
    end)
  end)
  |> DataFrame.new()
  |> DataFrame.distinct(["left", "top", "width", "height"], keep_all: true)
  |> DataFrame.to_rows()
  |> Enum.reduce(input_mat, fn detection, drawed ->
    {img_height, img_width, _} = Evision.Mat.shape(input_mat)

    label = detection["label"]
    left = img_width * detection["left"] |> trunc()
    top = img_height * detection["top"] |> trunc()
    right = left + img_width * detection["width"] |> trunc()
    bottom = top + img_height * detection["height"] |> trunc()

    drawed
    |> Evision.rectangle(
      {left, top},
      {right, bottom},
      {255, 0, 0},
      thickness: 4
    )
    |> Evision.putText(
      label,
      {left + 6, top + 26},
      Evision.Constant.cv_FONT_HERSHEY_SIMPLEX(),
      0.8,
      {0, 0, 255},
      thickness: 2
    )
  end)
end
この関数を使って、今度は例の犬画像から物体を検出します
File.rm("dog.jpg")

dog =
  Download.from("https://raw.githubusercontent.com/pjreddie/darknet/master/data/dog.jpg")
  |> elem(1)
dog_mat = Evision.imread(dog)

show_objects.(dog_mat)

木の枝に隠れているバイクまで見逃していません
顔検出
続いて顔検出です
Rekognition.detect_faces で顔検出ができます
attributes: ["ALL"] を指定すると、顔の位置情報だけでなく、感情などの情報も併せて取得できます
rek_res =
  Evision.imencode(".png", lenna_mat)
  |> Rekognition.detect_faces(attributes: ["ALL"])
  |> ExAws.request!(auth_config)

Lenna さんの顔情報をとっておきます
lenna_face =
  rek_res["FaceDetails"]
  |> Enum.at(0)

この顔情報からさまざまなことが分かります
顔の位置
物体検出と同じように顔の位置をプロットします
{img_height, img_width, _} = Evision.Mat.shape(lenna_mat)

box = lenna_face["BoundingBox"]

left = img_width * box["Left"] |> trunc()
top = img_height * box["Top"] |> trunc()
right = left + img_width * box["Width"] |> trunc()
bottom = top + img_height * box["Height"] |> trunc()

lenna_mat
|> Evision.rectangle(
  {left, top},
  {right, bottom},
  {255, 0, 0},
  thickness: 4
)

顔のパーツ
目や鼻の位置も取得できます
{img_height, img_width, _} = Evision.Mat.shape(lenna_mat)

lenna_face["Landmarks"]
|> Enum.reduce(lenna_mat, fn detection, drawed ->

  x = img_width * detection["X"] |> trunc()
  y = img_height * detection["Y"] |> trunc()

  drawed
  |> Evision.circle(
    {x, y},
    4,
    {255, 0, 0},
    thickness: -1
  )
end)

目尻、眉尻、顎先、鼻先など、かなり細かく取得できますね
顔の向き
顔の向きまで分かります
lenna_face["Pose"]
|> then(&%{
  "どれくらい首を傾げているか" => Float.round(&1["Roll"]),
  "どれくらい見上げたり見下ろしたりしているか" => Float.round(&1["Pitch"]),
  "どれくらい左右に向いているか" => Float.round(&1["Yaw"]),
})

値の単位は「度」で -180 〜 180 の範囲です
これを使えば「正面を見ているか」「上を見上げているか」といったことが判定できます
写りの良さ
顔がちゃんと写っているか判定できます
明るさを見ると、暗くて見えづらい顔を判別できます
lenna_face["Quality"]["Brightness"]
|> Float.round()
|> then(&"明るさ #{&1}%")

鮮明さで顔にフォーカスが合っているかを判定できます
lenna_face["Quality"]["Sharpness"]
|> Float.round()
|> then(&"鮮明さ #{&1}%")

感情
8種類の感情について判定できます
lenna_face["Emotions"]
|> Enum.map(fn emotion ->
  %{
    "confidence" => Float.round(emotion["Confidence"]),
    "emotion" => emotion["Type"]
  }
end)
|> DataFrame.new()
|> DataFrame.select(["emotion", "confidence"])
|> Kino.DataTable.new()

Lenna さんは CARM 86% なので、ほぼ感情がない(表れていない)状態です
年齢
年齢までバレます
lenna_face["AgeRange"]
|> then(&"#{&1["Low"]}歳 〜 #{&1["High"]}歳")

性別
性別も分かります
lenna_face["Gender"]
|> then(fn attr ->
  "#{Float.round(attr["Confidence"])}% " <>
    case attr["Value"] do
      "Female" ->
        "女性"
      "Male" ->
        "男性"
    end
end)

その他の情報
他にも色々判定してくれます
そうであるか、そうでないかを日本語に置き換えるための関数を用意します
to_jp = fn bool ->
  case bool do
    true ->
      "る"
    false ->
      "ない"
  end
end
判定する項目の一覧を用意します
attributes =
  [
    {"Smile", "微笑んで"},
    {"EyesOpen", "目を開けて"},
    {"MouthOpen", "口を開けて"},
    {"Eyeglasses", "メガネをかけて"},
    {"Sunglasses", "サングラスをかけて"},
    {"Mustache", "髭が生えて"},
    {"Beard", "ハゲて"},
  ]
それぞれについて判定結果を表示します
attributes
|> Enum.map(fn {en, jp} ->
  lenna_face[en]
  |> then(fn attr ->
    "#{Float.round(attr["Confidence"])}% #{jp}い#{to_jp.(attr["Value"])}"
  end)
end)

まとめ
画像 AI サービスの Rekognition は Livebook と非常に相性がいいですね
色々な写真や動画を分析できそうです