先日、Node.jsでアプリを天気予報アプリを作成しました。
今回はNode.jsとTypeScriptで作ってみました。
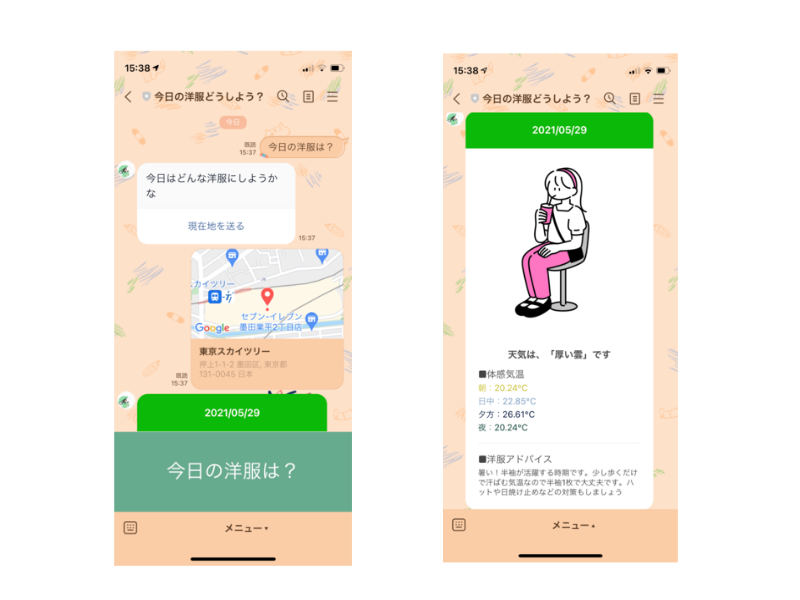
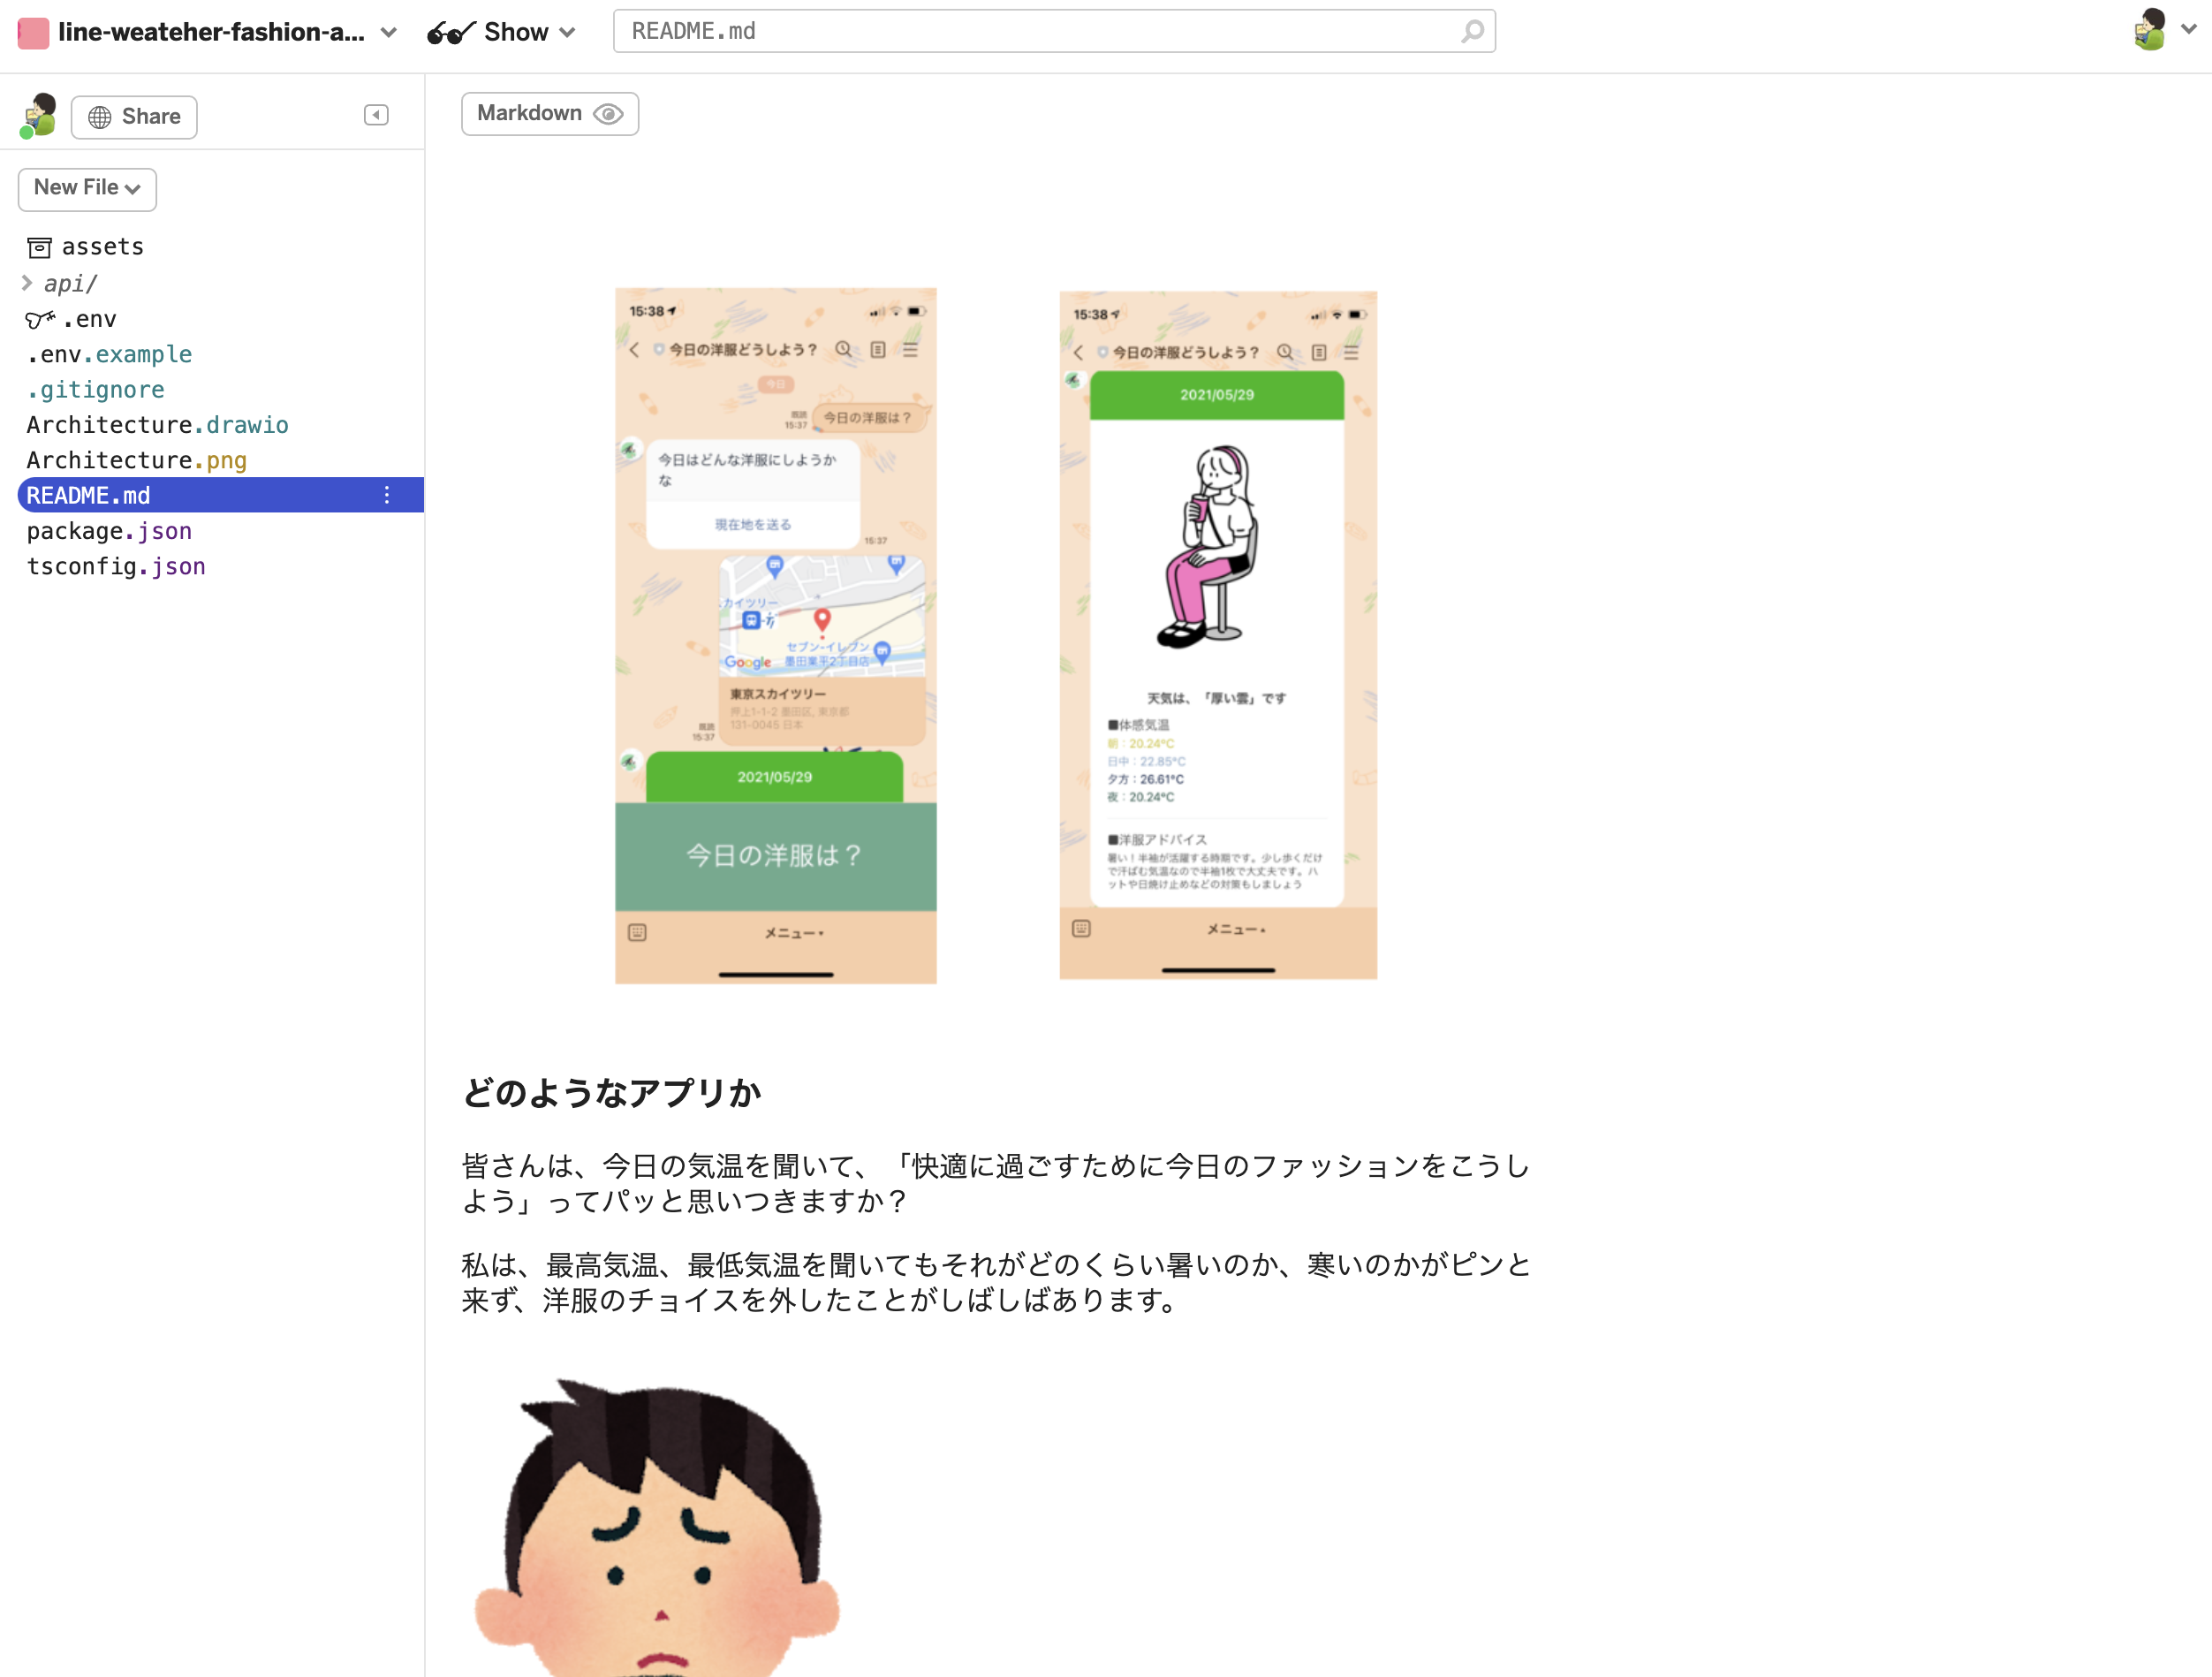
完成形としては以下の通りです。
以前作成したLaravelに関してはこちらからどうぞ。
追記(2021/06/22)
AWSでデプロイしました。
AWS勉強中の方はこちらの記事もどうぞ!
追記(2021/07/14)
AWSのLambdaを使ってサーバレスアプリケーションとしてデプロイしました。
インフラ初心者の方に関しては、上記のEC2を使った構成よりも簡単なのでぜひチャレンジしてみてください。
追記(2021/06/24)
新たに、現在地から美味しいお店を探すアプリをLINE Messaging APIで作ってみました!
こちらでは、Google Maps APIを使用しています。
ぜひこちらの記事もどうぞ!
どのようなアプリか
皆さんは、今日の気温を聞いて、**「快適に過ごすために今日のファッションをこうしよう」**ってパッと思いつきますか?
私は、最高気温、最低気温を聞いてもそれがどのくらい暑いのか、寒いのかがピンと来ず、洋服のチョイスを外したことがしばしばあります。

こんな思いを2度としないために今回このアプリを作りました。
line-bot-sdk-nodejsの型定義で多少躓きましたが、TypeScript初心者でもそこまで時間かからずにできるかと思います。
なので、TypeScriptを勉強中の方はぜひ取り組んでみてください。
アプリの流れ
アプリの流れは大まかに以下の4つのステップで成り立っています。
・①クライアントが現在地を送る
・②OpenWeatherから天気予報を取得
・③データの整形
・④クライアントに送る
GitHub
完成形のコードは以下となります。
では実際に作成していきましょう!
LINE Developersにアカウントを作成する
LINE Developersにアクセスして、「ログイン」ボタンをクリックしてください。
その後諸々入力してもらったら以下のように作成できるかと思います。
注意事項としては、今回Messaging APIとなるので、チャネルの種類を間違えた方は修正してください。
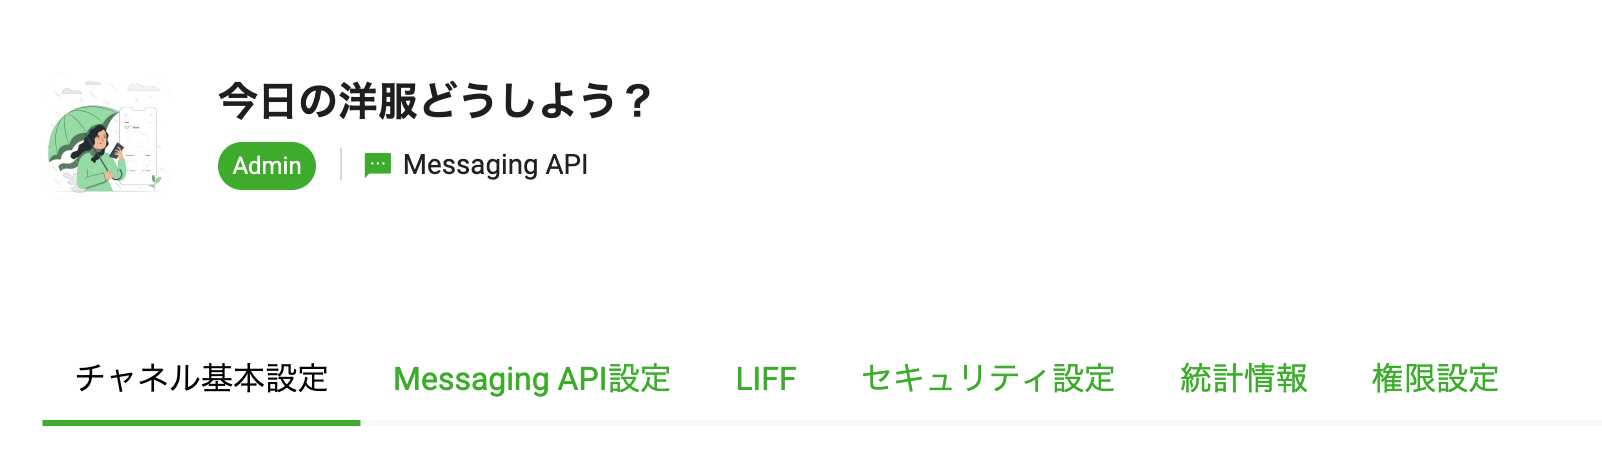
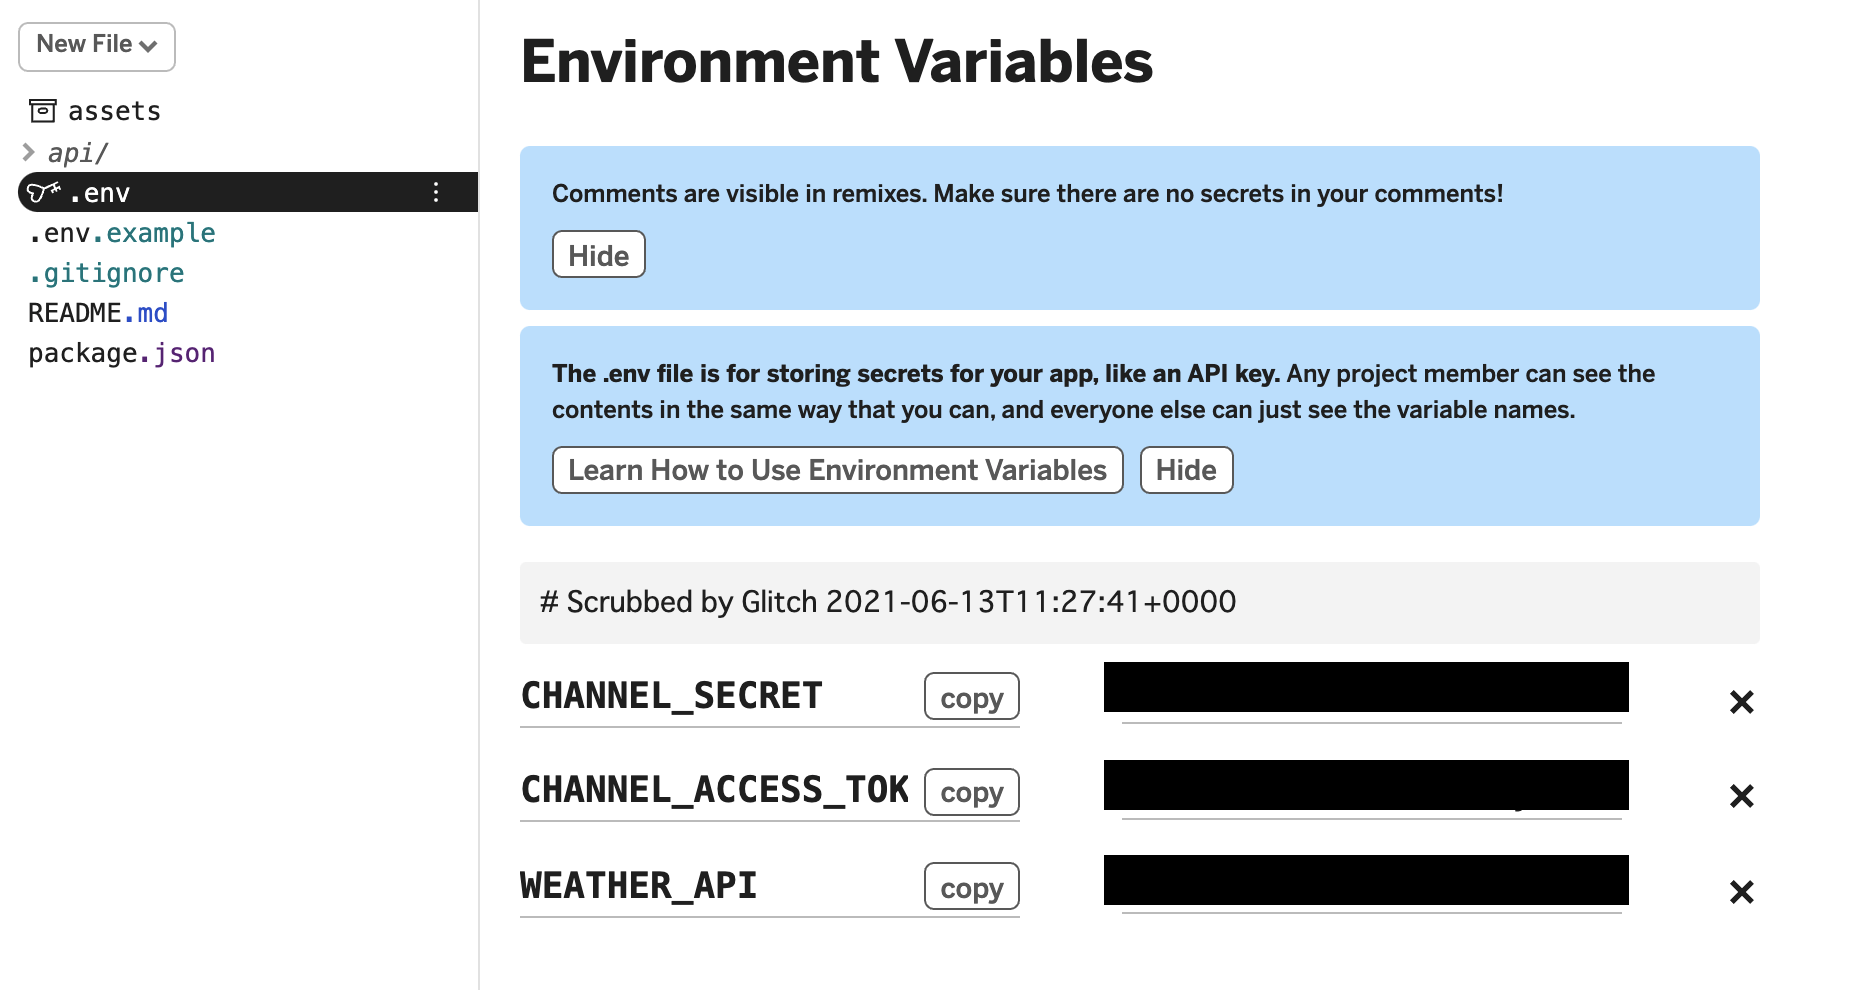
チャネルシークレットとチャネルアクセストークンが必要になるのでこの2つを発行します。


ではこの2つを.envに入力します。
LINE_CHANNEL_SECRET=abcdefg123456
LINE_CHANNEL_ACCESS_TOKEN=HogeHogeHoge123456789HogeHogeHoge
package.jsonの作成
以下のコマンドを入力してください。
これで、package.jsonの作成が完了します。
$ npm init -y
必要なパッケージのインストール
dependencies
dependenciesはすべてのステージで使用するパッケージです。
今回使用するパッケージは以下の4つです。
・@line/bot-sdk
・express
・dotenv
・axios
以下のコマンドを入力してください。
これで全てのパッケージがインストールされます。
$ npm install @line/bot-sdk express dotenv axios --save
devDependencies
devDependenciesはコーディングステージのみで使用するパッケージです。
今回使用するパッケージは以下の7つです。
・typescript
・@types/node
・@types/express
・ts-node
・ts-node-dev
・rimraf
・npm-run-all
以下のコマンドを入力してください。
これで全てのパッケージがインストールされます。
$ npm install -D typescript @types/node @types/express ts-node ts-node-dev rimraf npm-run-all
package.jsonにコマンドの設定を行う
npm run devが開発環境の立ち上げに使います。
npm run startが本番環境用です。
{
  "scripts": {
    "dev": "ts-node-dev --respawn api/src/index.ts",
    "clean": "rimraf dist",
    "tsc": "tsc",
    "build": "npm-run-all clean tsc",
    "start": "npm run build && node ."
  },
}
tsconfig.jsonの作成
以下のコマンドを実行しTypeScriptの初期設定を行います。
$ npx tsc --init
それでは、作成されたtsconfig.jsonの上書きをしていきます。
{
  "compilerOptions": {
    "target": "ES6",
    "module": "commonjs",
    "sourceMap": true,
    "outDir": "./api/dist",
    "strict": true,
    "moduleResolution": "node",
    "esModuleInterop": true,
    "skipLibCheck": true,
    "forceConsistentCasingInFileNames": true
  },
  "include": ["api/src/**/**/*"]
}
簡単にまとめると、
api/srcディレクトリ以下を対象として、それらをapi/distディレクトリにES6の書き方でビルドされるという設定です。
tsconfig.jsonに関して詳しく知りたい方は以下のサイトをどうぞ。
また、この辺りで必要ないディレクトリはGithubにpushしたくないので、.gitignoreも作成しておきましょう。
node_modules
package-lock.json
.env
dist
https://localhost:3000にアクセスするとhello worldが表示
APIサーバーが正しく動くか検証のため一応作っておきましょう。
// Load the package
import { Client, ClientConfig } from '@line/bot-sdk';
import express from 'express';
require('dotenv').config();

// Read the ports from the process.env file
const PORT = process.env.PORT || 3000;

// Load the access token and channel secret from the .env file
const config: ClientConfig = {
  channelAccessToken: process.env.CHANNEL_ACCESS_TOKEN || '',
  channelSecret: process.env.CHANNEL_SECRET || '',
};

// Instantiate
const app: express.Express = express();
const client = new Client(config);

// Do routing
// Testing Routing
app.get('/', (req: express.Request, res: express.Response): void => {
  res.send('Hello World');
});

// Start the server
app.listen(PORT, (): void => {
  console.log('http://localhost:3000');
});
上記の内容としては、
①必要なパッケージを読み込む
②PORT番号を選択する(デプロイ先でPORT番号が指定されるパターンに備えて一応.envを読み込む形式にしています。)
③config の作成(これはおまじないのようなものです)
④インスタンス化を行う。(clientもおまじない)
⑤ルーティングの作成
⑥WEBサーバーの実行
おまじないだけで片付けるのもアレなので公式サイトを貼っておきます。
またLINEBot関連の型定義に関してもこちらは基本なので、参考コードがあります。
それを丸パクリしましょう。
localhost.runで開発用のhttpsを取得
前回のNode.jsの記事でも使ったlocalhost.runを使います。
ということでここからはターミナル2つ使って開発していきます。
ターミナルに2つのコードを貼り付けて実行してください。
$ npm run dev
$ ssh -R 80:localhost:3000 localhost.run
Webhook URLの登録
localhost.runで作成したhttpsのURLをコピーしてください。
私の場合は以下のURLです。
これをLINE DevelopersのWebhookに設定します。

これで初期設定は完了です。
ここからの流れはこのような感じです。
①「今日の洋服は?」というメッセージを受け取る
②「今日の洋服は?」を受け取ったら、位置情報メッセージを送る
③「今日の洋服は?」以外を受け取ったら、「そのメッセージには対応していません」と送る
④「位置情報メッセージ」を受け取る
⑤「位置情報メッセージ」を受け取ったら、緯度と経度を使って天気予報を取得する
⑥「位置情報メッセージ」を受け取ったら、天気予報メッセージを送る
では作っていきましょう!
またこれら全てのコードをapi/src/index.tsに書くとコードが肥大化し可読性が落ちます。
なのでCommonディレクトリに関数に切り分けて作成していきます。
またここからはLINEBotのオリジナルの型が頻出します。
1つずつ説明するのはあまりに時間がかかるので、知らない型が出てきたらその度に以下のサイトで検索するようにしてください。
①「今日の洋服は?」というメッセージを受け取る
// Load the package
import { Client, middleware, ClientConfig, MiddlewareConfig, WebhookEvent } from '@line/bot-sdk';
import express from 'express';
import dotenv from 'dotenv';
dotenv.config();

// Load the module
import { SendMessage } from './Common/Send/ButtonOrErrorMessage';

// Read the ports from the process.env file
const PORT: string | 3000 = process.env.PORT || 3000;

// Load the access token and channel secret from the .env file
const clientConfig: ClientConfig = {
  channelAccessToken: process.env.CHANNEL_ACCESS_TOKEN || '',
  channelSecret: process.env.CHANNEL_SECRET || '',
};
const middlewareConfig: MiddlewareConfig = {
  channelAccessToken: process.env.CHANNEL_ACCESS_TOKEN || '',
  channelSecret: process.env.CHANNEL_SECRET || '',
};

// Instantiate
const app: express.Express = express();
const client: Client = new Client(clientConfig);

// Do routing
// Testing Routing
app.get('/', (req: express.Request, res: express.Response): void => {
  res.send('Hello World');
});

// API Routing
app.post(
  '/api/line/message',
  middleware(middlewareConfig),
  async (req: express.Request, res: express.Response): Promise<void> => {
    const events: WebhookEvent[] = req.body.events;

    events.map(
      async (event: WebhookEvent): Promise<void> => {
        try {
          await SendMessage(client, event);
        } catch (err) {
          console.error(err);
        }
      }
    );
  }
);

// Start the server
app.listen(PORT, (): void => {
  console.log('http://localhost:3000');
});
②「今日の洋服は?」を受け取ったら、位置情報メッセージを送る
// Load the package
import { TemplateMessage } from '@line/bot-sdk';

export const ButtonMessageTemplate = (): TemplateMessage => {
  return {
    type: 'template',
    altText: 'This is a buttons template',
    template: {
      type: 'buttons',
      text: '今日はどんな洋服にしようかな',
      actions: [
        {
          type: 'uri',
          label: '現在地を送る',
          uri: 'https://line.me/R/nv/location/',
        },
      ],
    },
  };
};
// Load the package
import { Client, WebhookEvent } from '@line/bot-sdk';

// Load the module
import { ButtonMessageTemplate } from '../Template/ButtonMessageTemplate';

export const SendMessage = async (client: Client, event: WebhookEvent): Promise<void> => {
  try {
    if (event.type !== 'message' || event.message.type !== 'text') {
      return;
    }

    const { replyToken } = event;
    const { text } = event.message;

    if (text === '今日の洋服は?') {
      await client.replyMessage(replyToken, ButtonMessageTemplate());
    } else {
      // エラーメッセージを送る
    }
  } catch (err) {
    console.log(err);
  }
};
ボタンメッセージのJSON作成に関しては公式サイトを参考にしましょう。
③「今日の洋服は?」以外を受け取ったら、「そのメッセージには対応していません」と送る
// Load the package
import { TextMessage } from '@line/bot-sdk';

export const ErrorMessageTemplate = (): TextMessage => {
  return {
    type: 'text',
    text: 'ごめんなさい、このメッセージは対応していません。',
  };
};
// Load the package
import { Client, WebhookEvent } from '@line/bot-sdk';

// Load the module
import { ButtonMessageTemplate } from '../Template/ButtonMessageTemplate';
import { ErrorMessageTemplate } from '../Template/ErrorMessageTemplate';

export const SendMessage = async (client: Client, event: WebhookEvent): Promise<void> => {
  try {
    if (event.type !== 'message' || event.message.type !== 'text') {
      return;
    }

    const { replyToken } = event;
    const { text } = event.message;

    if (text === '今日の洋服は?') {
      await client.replyMessage(replyToken, ButtonMessageTemplate());
    } else {
      await client.replyMessage(replyToken, ErrorMessageTemplate());
    }
  } catch (err) {
    console.log(err);
  }
};
テキストメッセージのJSON作成に関しては公式サイトを参考にしましょう。
④「位置情報メッセージ」を受け取る
// Load the package
import { Client, middleware, ClientConfig, MiddlewareConfig, WebhookEvent } from '@line/bot-sdk';
import express from 'express';
import dotenv from 'dotenv';
dotenv.config();

// Load the module
import { SendMessage } from './Common/Send/ButtonOrErrorMessage';
import { FlexMessage } from './Common/Send/FlexMessage';

// Read the ports from the process.env file
const PORT: string | 3000 = process.env.PORT || 3000;

// Load the access token and channel secret from the .env file
const clientConfig: ClientConfig = {
  channelAccessToken: process.env.CHANNEL_ACCESS_TOKEN || '',
  channelSecret: process.env.CHANNEL_SECRET || '',
};
const middlewareConfig: MiddlewareConfig = {
  channelAccessToken: process.env.CHANNEL_ACCESS_TOKEN || '',
  channelSecret: process.env.CHANNEL_SECRET || '',
};

// Instantiate
const app: express.Express = express();
const client: Client = new Client(clientConfig);

// Do routing
// Testing Routing
app.get('/', (req: express.Request, res: express.Response): void => {
  res.send('Hello World');
});

// API Routing
app.post(
  '/api/line/message',
  middleware(middlewareConfig),
  async (req: express.Request, res: express.Response): Promise<void> => {
    const events: WebhookEvent[] = req.body.events;

    events.map(
      async (event: WebhookEvent): Promise<void> => {
        try {
          await SendMessage(client, event);
          await FlexMessage(client, event);
        } catch (err) {
          console.error(err);
        }
      }
    );
  }
);

// Start the server
app.listen(PORT, (): void => {
  console.log('http://localhost:3000');
});
⑤「位置情報メッセージ」を受け取ったら、緯度と経度を使って天気予報を取得する
Flex Messageの作成方法に関してファイル名も出しながら説明します。
【ファイル名】GetWeatherForecast.ts
天気予報を取得します。
まずはOpenWeatherで天気予報を取得するために必要な情報が3つあります。
①API
②経度
③緯度
それではこの3つを取得していきましょう。
①API
以下にアクセスしてください。
アカウントを作成し、APIキーを発行してください。
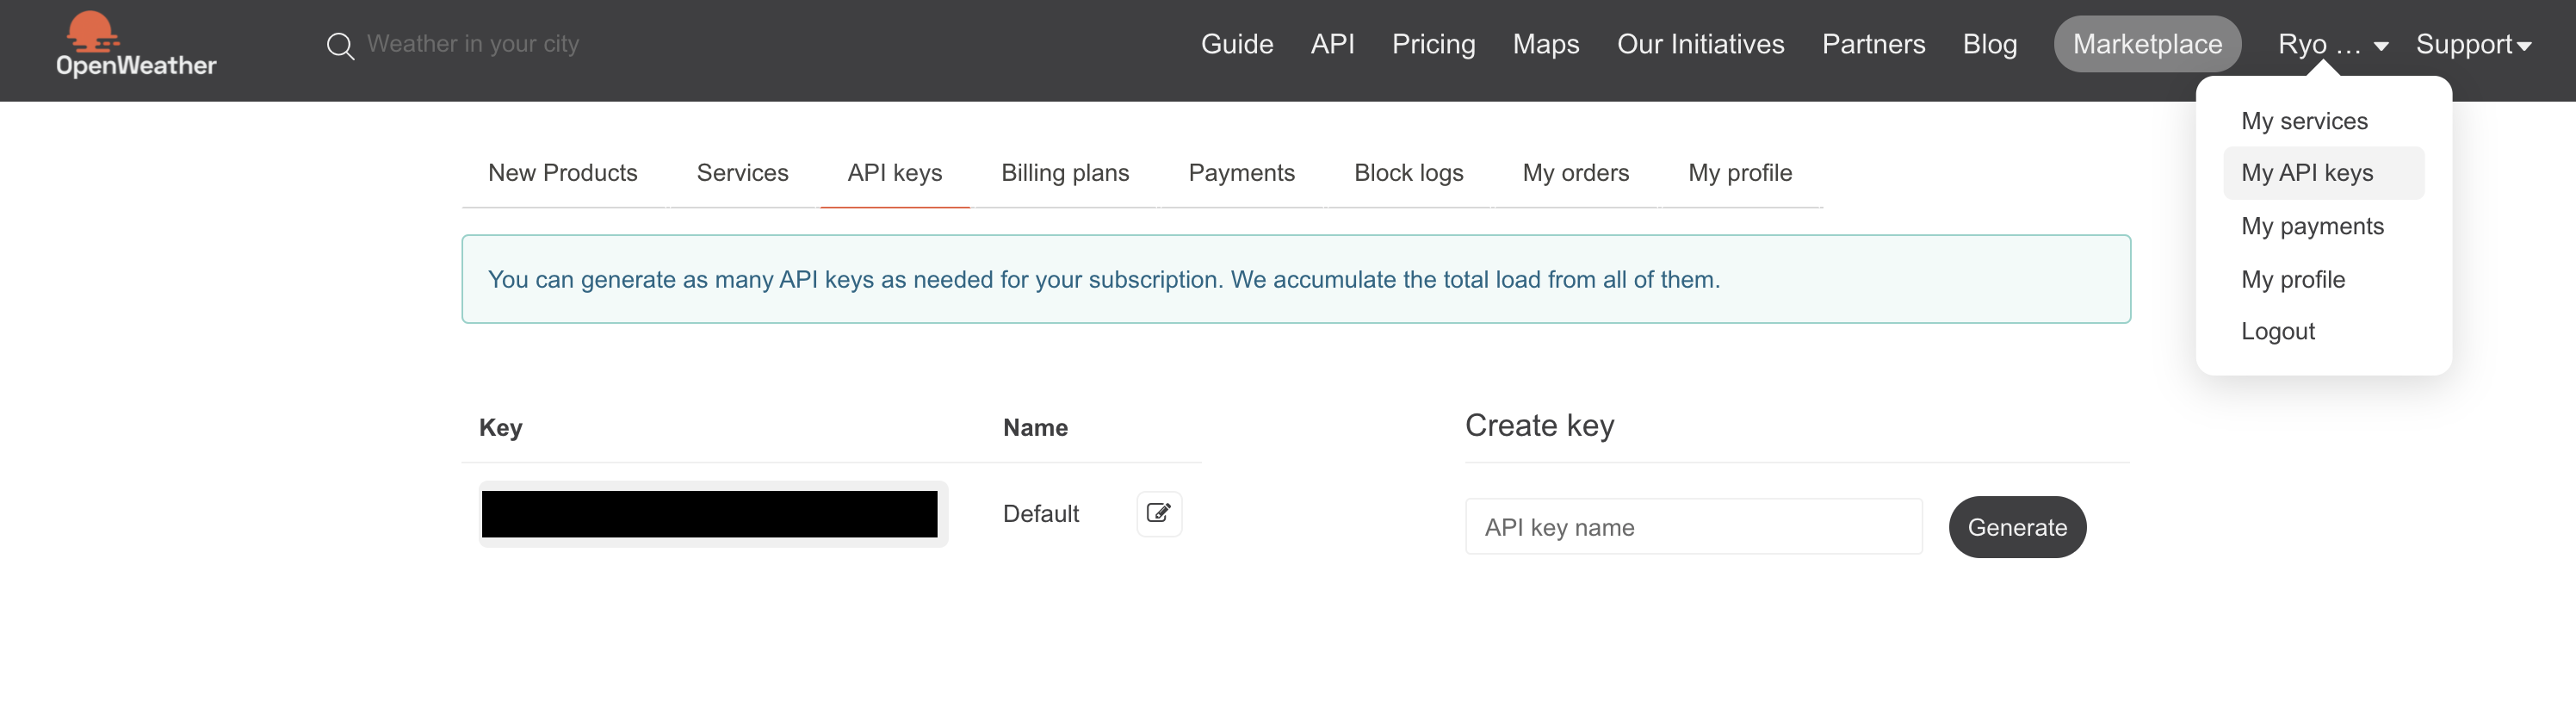
発行できたらこのAPIを.envに保存します。
# OpenWeather(https://home.openweathermap.org/api_keys)
WEATHER_API = "a11b22c33d44e55f66g77"
あとは関数内で.envを取得するだけです。
②経度、③緯度
これら2つは、eventから取得できます。
ということで作っていきましょう。
// Load the package
import { WebhookEvent } from '@line/bot-sdk';
import axios, { AxiosResponse } from 'axios';

export const getWeatherForecastData = async (event: WebhookEvent): Promise<any> => {
  try {
    if (event.type !== 'message' || event.message.type !== 'location') {
      return;
    }

    // Get latitude and longitude
    const latitude: number = event.message.latitude;
    const longitude: number = event.message.longitude;

    // OpenWeatherAPI
    const openWeatherAPI: string | undefined = process.env.WEATHER_API || '';

    // OpenWeatherURL
    const openWeatherURL: string = `https://api.openweathermap.org/data/2.5/onecall?lat=${latitude}&lon=${longitude}&units=metric&lang=ja&appid=${openWeatherAPI}`;

    const weatherData: AxiosResponse<any> = await axios.get(openWeatherURL);
    return weatherData;
  } catch (err) {
    console.log(err);
  }
};
【ファイル名】FormatWeatherForecast.ts
取得した天気予報のデータの整形を行う。
こちらでは、const weatherとconst weatherArrayの2つで型定義ファイルを作成する必要があります。
ということで作成しましょう。
export type WeatherType = {
  dt: number;
  sunrise: number;
  sunset: number;
  moonrise: number;
  moonset: number;
  moon_phase: number;
  temp: {
    day: number;
    min: number;
    max: number;
    night: number;
    eve: number;
    morn: number;
  };
  feels_like: {
    day: number;
    night: number;
    eve: number;
    morn: number;
  };
  pressure: number;
  humidity: number;
  dew_point: number;
  wind_speed: number;
  wind_deg: number;
  wind_gust: number;
  weather: [
    {
      id: number;
      main: string;
      description: string;
      icon: string;
    }
  ];
  clouds: number;
  pop: number;
  rain: number;
  uvi: number;
};
export type WeatherArrayType = {
  today: string;
  imageURL: string;
  weatherForecast: string;
  mornTemperature: number;
  dayTemperature: number;
  eveTemperature: number;
  nightTemperature: number;
  fashionAdvice: string;
};
作成した型定義を使ってファイルを完成させます。
// Load the package
import { WebhookEvent } from '@line/bot-sdk';
import { AxiosResponse } from 'axios';

// Load the module
import { getWeatherForecastData } from './GetWeatherForecast';

// types
import { WeatherType } from './types/weather.type';
import { WeatherArrayType } from './types/weatherArray.type';

export const formatWeatherForecastData = async (event: WebhookEvent): Promise<WeatherArrayType> => {
  // Get the getWeatherForecastData
  const weathers: AxiosResponse<any> = await getWeatherForecastData(event);

  // Util
  const weather: WeatherType = weathers.data.daily[0];

  // Five required data
  // 1) Today's date
  const UNIXToday: number = weather.dt;
  const convertUNIXToday: Date = new Date(UNIXToday * 1000);
  const today: string = convertUNIXToday.toLocaleDateString('ja-JP');

  // 2) Weather forecast
  const weatherForecast: string = weather.weather[0].description;

  // 3) Temperature (morning, daytime, evening, night)
  const mornTemperature: number = weather.feels_like.morn;
  const dayTemperature: number = weather.feels_like.day;
  const eveTemperature: number = weather.feels_like.eve;
  const nightTemperature: number = weather.feels_like.night;

  // Bifurcate your clothing by maximum temperature
  const maximumTemperature: number = Math.max(
    mornTemperature,
    dayTemperature,
    eveTemperature,
    nightTemperature
  );

  // 4) Fashion Advice
  let fashionAdvice: string = '';

  // 5) Fashion Image
  let imageURL: string = '';

  if (maximumTemperature >= 26) {
    fashionAdvice =
      '暑い!半袖が活躍する時期です。少し歩くだけで汗ばむ気温なので半袖1枚で大丈夫です。ハットや日焼け止めなどの対策もしましょう';
    imageURL =
      'https://uploads-ssl.webflow.com/603c87adb15be3cb0b3ed9b5/60aa3c44153071e6df530eb7_71.png';
  } else if (maximumTemperature >= 21) {
    fashionAdvice =
      '半袖と長袖の分かれ目の気温です。日差しのある日は半袖を、曇りや雨で日差しがない日は長袖がおすすめです。この気温では、半袖の上にライトアウターなどを着ていつでも脱げるようにしておくといいですね!';
    imageURL =
      'https://uploads-ssl.webflow.com/603c87adb15be3cb0b3ed9b5/6056e58a5923ad81f73ac747_10.png';
  } else if (maximumTemperature >= 16) {
    fashionAdvice =
      'レイヤードスタイルが楽しめる気温です。ちょっと肌寒いかな?というくらいの過ごしやすい時期なので目一杯ファッションを楽しみましょう!日中と朝晩で気温差が激しいので羽織ものを持つことを前提としたコーディネートがおすすめです。';
    imageURL =
      'https://uploads-ssl.webflow.com/603c87adb15be3cb0b3ed9b5/6087da411a3ce013f3ddcd42_66.png';
  } else if (maximumTemperature >= 12) {
    fashionAdvice =
      'じわじわと寒さを感じる気温です。ライトアウターやニットやパーカーなどが活躍します。この時期は急に暑さをぶり返すことも多いのでこのLINEで毎日天気を確認してくださいね!';
    imageURL =
      'https://uploads-ssl.webflow.com/603c87adb15be3cb0b3ed9b5/6056e498e7d26507413fd853_4.png';
  } else if (maximumTemperature >= 7) {
    fashionAdvice =
      'そろそろ冬本番です。冬服の上にアウターを羽織ってちょうどいいくらいです。ただし室内は暖房が効いていることが多いので脱ぎ着しやすいコーディネートがおすすめです!';
    imageURL =
      'https://uploads-ssl.webflow.com/603c87adb15be3cb0b3ed9b5/6056e4de7156326ff560b1a1_6.png';
  } else {
    fashionAdvice =
      '凍えるほどの寒さです。しっかり厚着して、マフラーや手袋、ニット帽などの冬小物もうまく使って防寒対策をしましょう!';
    imageURL =
      'https://uploads-ssl.webflow.com/603c87adb15be3cb0b3ed9b5/6056ebd3ea0ff76dfc900633_48.png';
  }

  // Make an array of the above required items.
  const weatherArray: WeatherArrayType = {
    today,
    imageURL,
    weatherForecast,
    mornTemperature,
    dayTemperature,
    eveTemperature,
    nightTemperature,
    fashionAdvice,
  };

  return weatherArray;
};
【ファイル名】FlexMessageTemplate
整形したデータを取得して Flex Messageのテンプレートを作成する。
// Load the package
import { WebhookEvent, FlexMessage } from '@line/bot-sdk';

// Load the module
import { formatWeatherForecastData } from './FormatWeatherForecast';

export const FlexMessageTemplate = async (event: WebhookEvent): Promise<FlexMessage> => {
  const data = await formatWeatherForecastData(event);

  return {
    type: 'flex',
    altText: '天気予報です',
    contents: {
      type: 'bubble',
      header: {
        type: 'box',
        layout: 'vertical',
        contents: [
          {
            type: 'text',
            text: data.today,
            color: '#FFFFFF',
            align: 'center',
            weight: 'bold',
          },
        ],
      },
      hero: {
        type: 'image',
        url: data.imageURL,
        size: 'full',
      },
      body: {
        type: 'box',
        layout: 'vertical',
        contents: [
          {
            type: 'text',
            text: `天気は、「${data.weatherForecast}」です`,
            weight: 'bold',
            align: 'center',
          },
          {
            type: 'text',
            text: '■体感気温',
            margin: 'lg',
          },
          {
            type: 'text',
            text: `朝:${data.mornTemperature}℃`,
            margin: 'sm',
            size: 'sm',
            color: '#C8BD16',
          },
          {
            type: 'text',
            text: `日中:${data.dayTemperature}℃`,
            margin: 'sm',
            size: 'sm',
            color: '#789BC0',
          },
          {
            type: 'text',
            text: `夕方:${data.eveTemperature}℃`,
            margin: 'sm',
            size: 'sm',
            color: '#091C43',
          },
          {
            type: 'text',
            text: `夜:${data.nightTemperature}℃`,
            margin: 'sm',
            size: 'sm',
            color: '#004032',
          },
          {
            type: 'separator',
            margin: 'xl',
          },
          {
            type: 'text',
            text: '■洋服アドバイス',
            margin: 'xl',
          },
          {
            type: 'text',
            text: data.fashionAdvice,
            margin: 'sm',
            wrap: true,
            size: 'xs',
          },
        ],
      },
      styles: {
        header: {
          backgroundColor: '#00B900',
        },
        hero: {
          separator: false,
        },
      },
    },
  };
};
⑥「位置情報メッセージ」を受け取ったら、天気予報メッセージを送る
// Load the package
import { Client, WebhookEvent } from '@line/bot-sdk';

// Load the module
import { FlexMessageTemplate } from '../Template/WeatherForecast/FlexMessageTemplate';

export const FlexMessage = async (client: Client, event: WebhookEvent): Promise<void> => {
  try {
    if (event.type !== 'message' || event.message.type !== 'location') {
      return;
    }

    const { replyToken } = event;
    const message = await FlexMessageTemplate(event);

    await client.replyMessage(replyToken, message);
  } catch (err) {
    console.log(err);
  }
};
これで完成です!
めちゃくちゃ簡単ですね。
最後にデプロイをしましょう
今回もデプロイはGlitchを使います。
アカウントは、Githubで作るのがおすすめです。
作成しましたら、プロジェクトを作成します。
**「import from GitHub」**をクリックします。
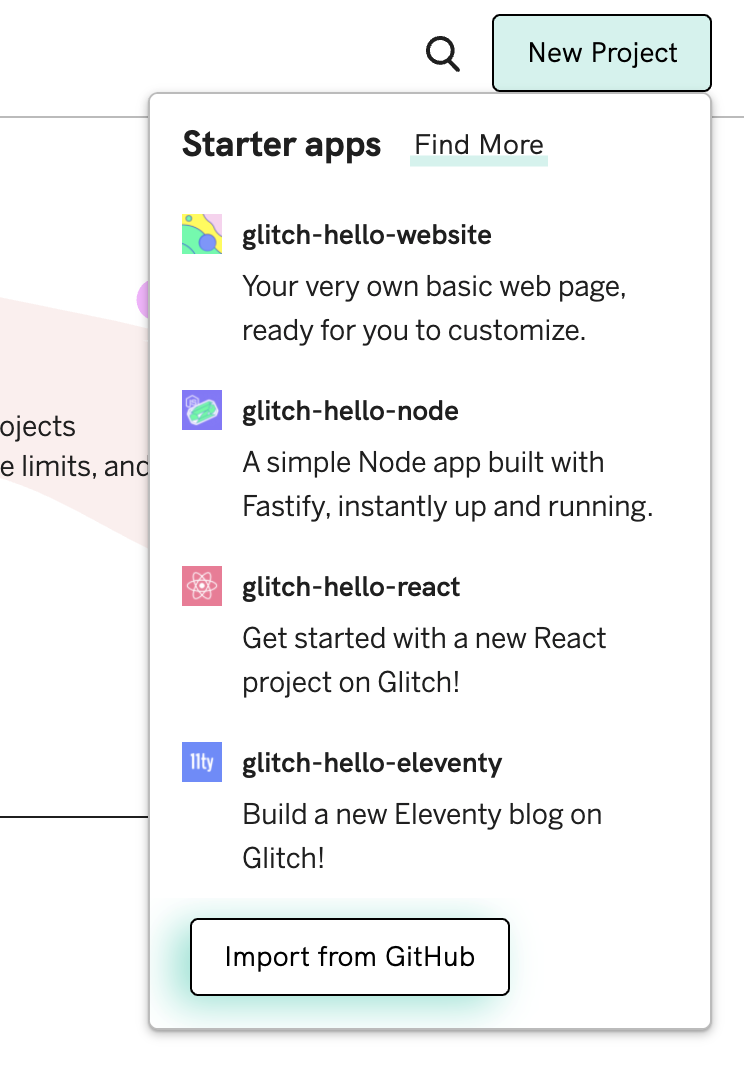
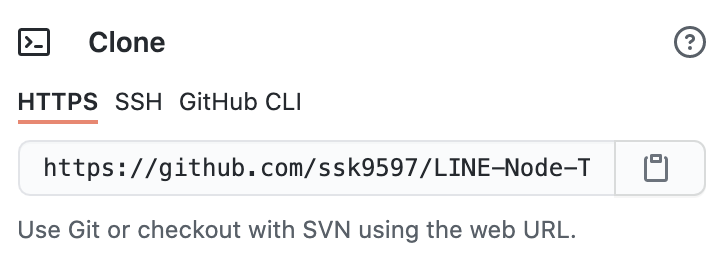
ここには、GithubのURLを貼り付けます。
ちょっと待つとこのように読み込まれます。
便利なのは全てのファイルが確認できるところです。
HerokuなどはどちらかというとCUIであり、GUIのGlitchは直感的に操作できてすごく良かったです。
最後に.envに値を入力します。
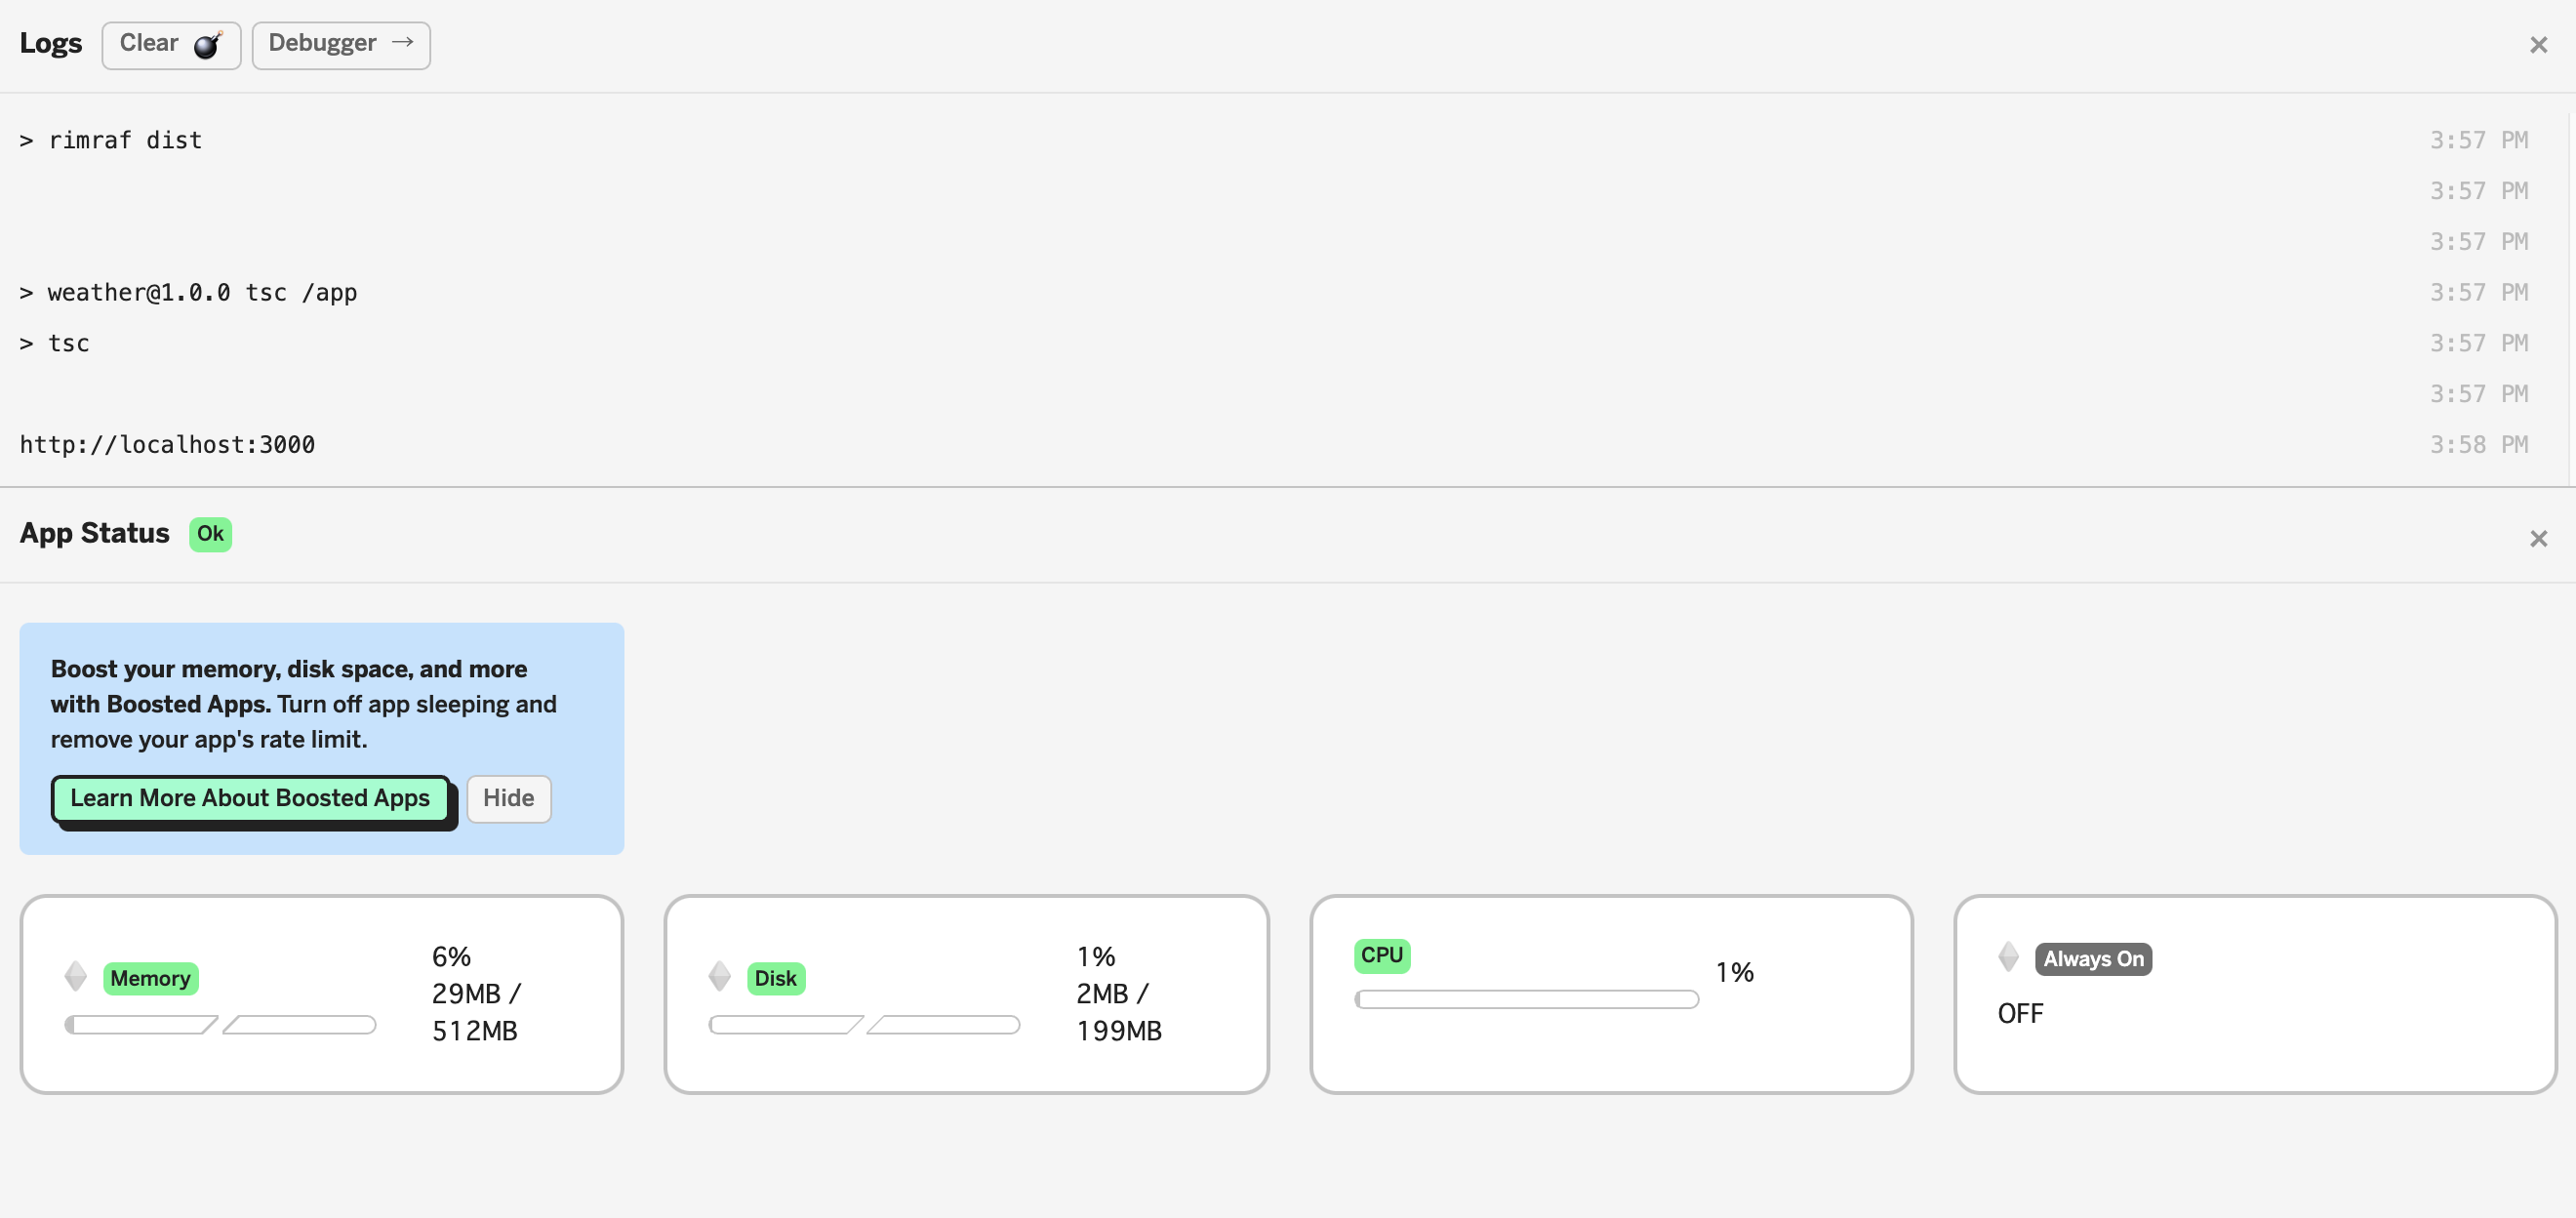
ここまで行えばデプロイは成功です!
ちなみに
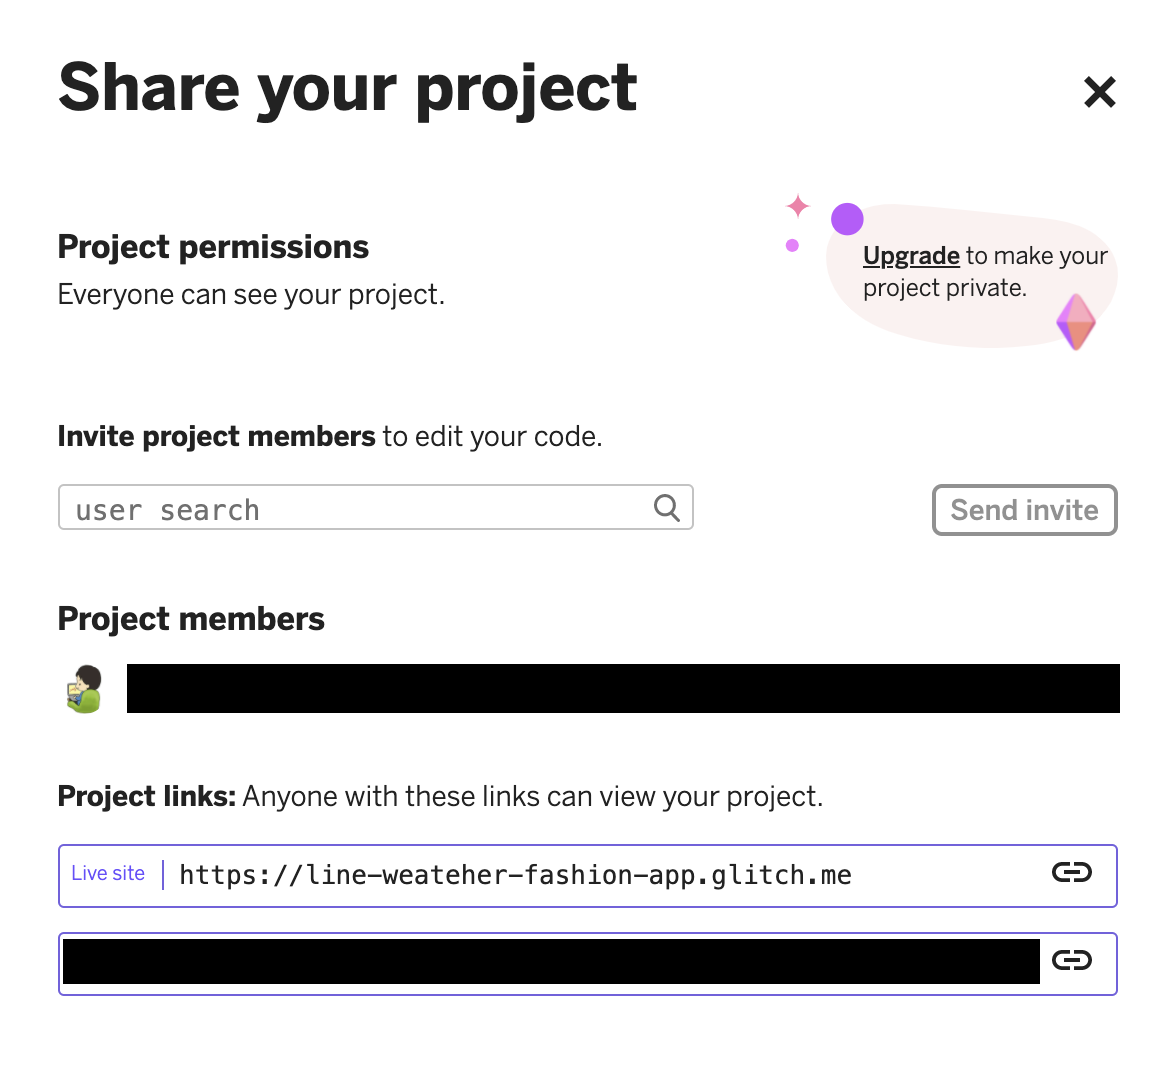
URL変えたいときはここをいじってください
ShareボタンをクリックすればURLがLive siteに書いているよ
Webhookの設定を変更

これで完成です!
最後に
FlexMessageなどコードにミスが起きやすいので、TypeScriptの型定義さえあればミスに気づきやすくなるなぁと実感しました。

次は、このアプリをAWSへデプロイするハンズオン記事を書いていきます。