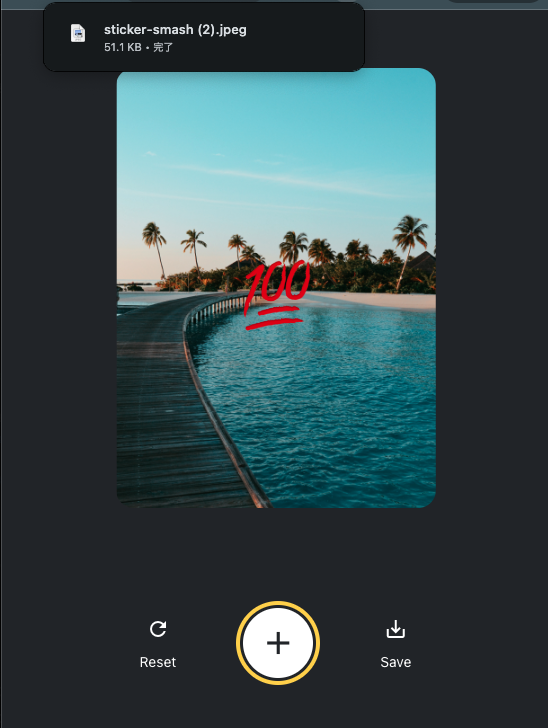
スクリーンショットを撮る機能を実装していきます。
ライブラリのインストール
react-native-view-shotとexpo-media-libaryをインストールします。
$ npx expo install react-native-view-shot expo-media-library
許可を求めるプロンプトの実装
メディアライブラリへのアクセスなどは、ユーザーへ許可を要求しないといけません。
expo-media-libaryでは、権限を確認するhookusePermissions()と権限をリクエストするrequestPermission()があるので、これを使います。
import * as MediaLibrary from 'expo-media-library';

export default function App() {
  const [status, requestPermission] = MediaLibrary.usePermissions();
  if (status === null) {
    requestPermission();
  }
}
権限が与えられていると、statusの中身はgrantedになります。
ライブラリのimport
アプリ内の表示を撮影し、URIを返すreact-native-view-shotを使ってスクリーンショットを撮影します。
import { captureRef } from 'react-native-view-shot';
Viewを撮影するためのrefを作成します。
export default function App() {
+   const imageRef = useRef();

  return (
+        <View ref={imageRef} collapsable={false}>
          <ImageViewer placeholderImageSource={PlaceholderImage} selectedImage={selectedImage} />
          {pickedEmoji !== null ? (
            <EmojiSticker imageSize={40} stickerSource={pickedEmoji} />
          ) : null}
        </View>
  );
}
スクリーンショットをキャプチャして保存する
保存ボタンがタップされたときの処理を追加していきます。
captureRef関数へ、Viewのrefと、画像のサイズや圧縮率などを渡します。
caputreRef関数は、キャプチャしたスクショのURIを持つPromiseを返してくるので、localUriをMediaLibraryのsavaToLibraryAsyncで保存します。
export default function App() {
  const onSaveImageAsync = async () => {
    try {
      const localUri = await captureRef(imageRef, {
        height: 440,
        quality: 1,
      });

      await MediaLibrary.saveToLibraryAsync(localUri);
      if (localUri) {
        alert("Saved!");
      }
    } catch (e) {
      console.log(e);
    }
  };
  // ...rest of the code remains same
}
Webに対応する
ここまでのコードでは、iOS/Androidには対応していますが、react-native-view-shotがWebに対応していないので、Webでは動きません。
iOS/Android同様にWebでもスクリーンショットが撮影できるように修正していきます。
dom-to-imageのインストール
Webでのスクリーンショットは、dom-to-imageというexpoとは別のサードパーティーのライブラリを利用していきます。
これにより、任意のDomを撮影し、pngまたはjpegとして保存することができます。
$ npm install dom-to-image
プラットフォームの分岐を追加する
Platform.OSで利用されているOSが確認できます。
Webブラウザの場合、Webが返ってくるので、Platform.OS !== 'web'で分岐させます。
const onSaveImageAsync = async () => {
  if (Platform.OS !== 'web') {
    try {
      const localUri = await captureRef(imageRef, {
        height: 440,
        quality: 1,
      });
      await MediaLibrary.saveToLibraryAsync(localUri);
      if (localUri) {
        alert('Saved!');
      }
    } catch (e) {
      console.log(e);
    }
  } else {
    try {
      const dataUrl = await domtoimage.toJpeg(imageRef.current, {
        quality: 0.95,
        width: 320,
        height: 440,
      });

      let link = document.createElement('a');
      link.download = 'sticker-smash.jpeg';
      link.href = dataUrl;
      link.click();
    } catch (e) {
      console.log(e);
    }
  }
};
上記の分岐を追加することで、無事Webブラウザでも画像が保存できるようになりました。
