背景
終わった。終わったと言われつつも、なんだかんだ人がいるTwitter。
そんな中、Twitter APIを細々と使ってBotを運用してみたので、Zennに使い方をまとめる。
無料プランでの制限が厳しくなったものの、1アカウント1ヶ月に1500ツイートできるので、1日50ツイート。まだ個人で遊ぶには使えるかなーという感想です。
この記事は、ZennのScrapをまとめた記事です。
https://zenn.dev/rurucun/scraps/e1cf63825055f6
Developer Platformに登録する
Developer Platoformへアクセス。
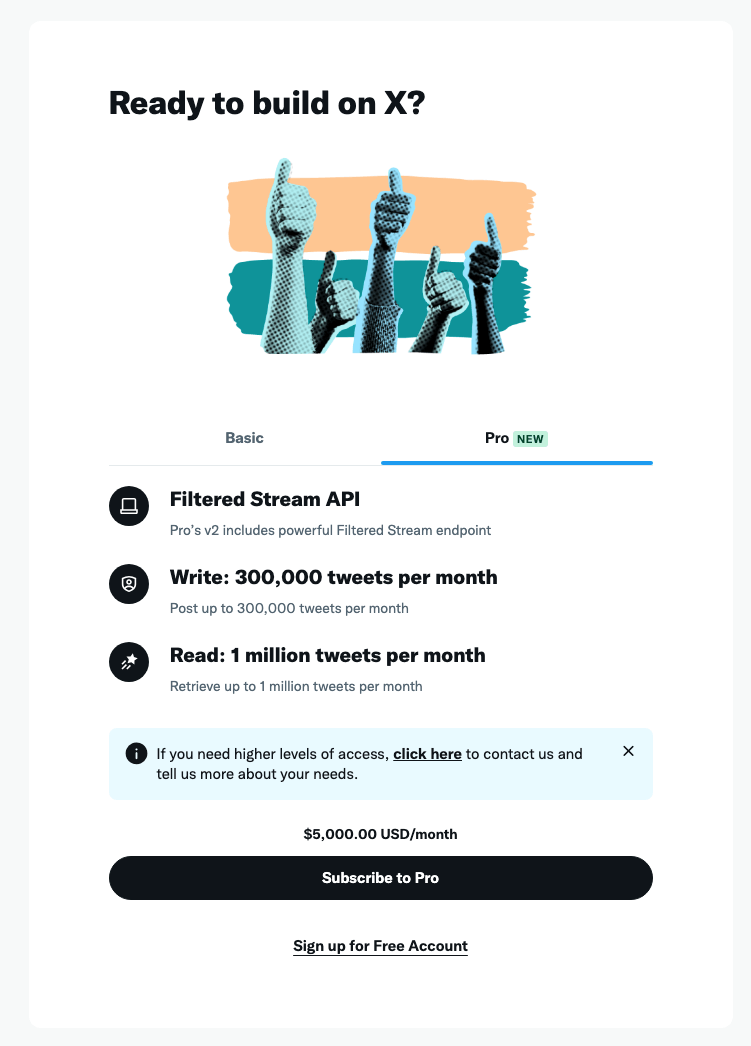
右上のDeveloper Portalをクリックし、下記の画面へ。
「Sign up for Free Account」 をクリック
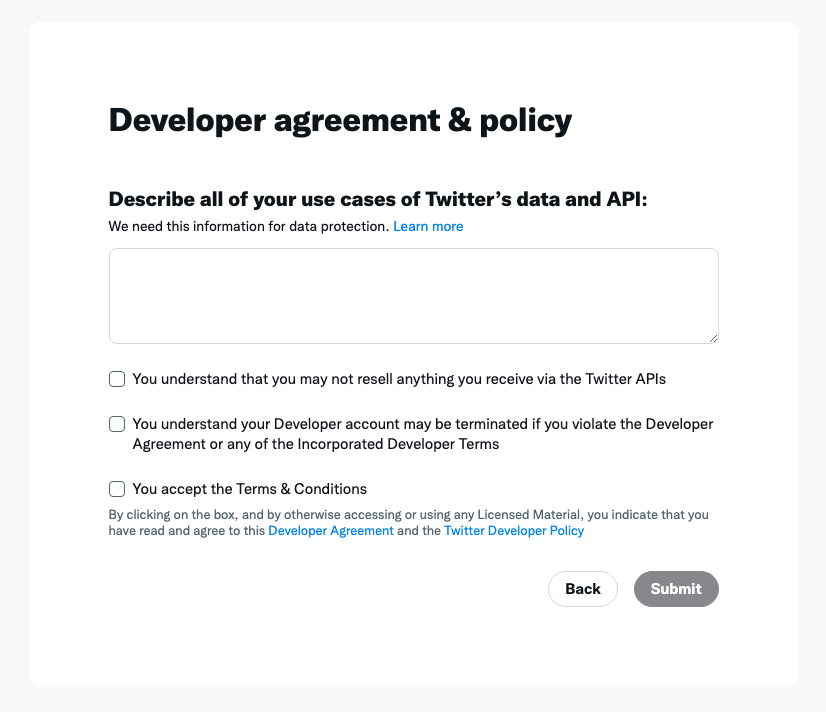
下記を入力、確認します。
- 利用目的
- データを再販しないことへの同意
- 250文字以上
- 違反をした場合にアカウント停止への同意
- 利用規約への同意
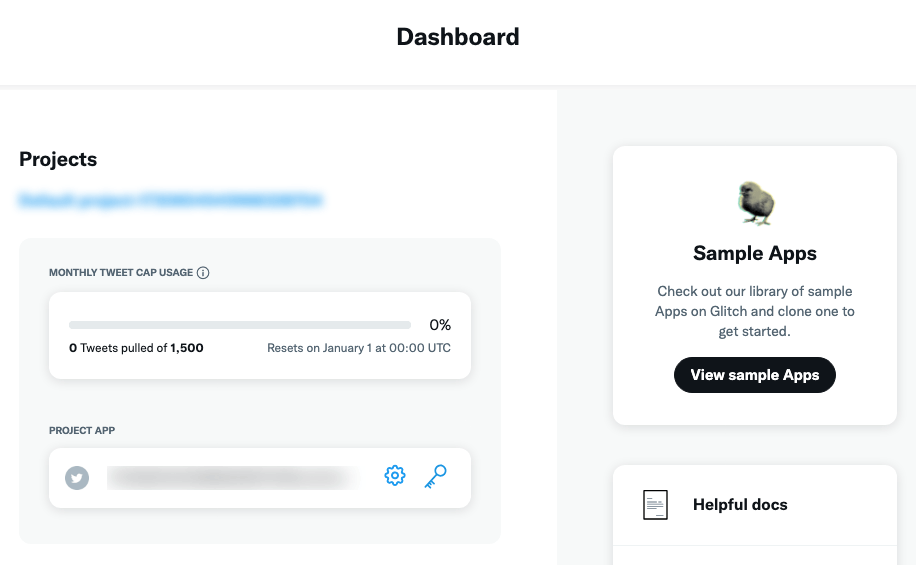
これまで文章の審査があったのですが、すぐに使える状態になっており、Dashboardへ遷移します。
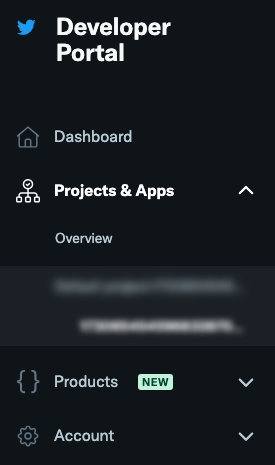
サイドバーのProjects & Apps にデフォルトでPrjectが作成されているので、こちらをクリック。
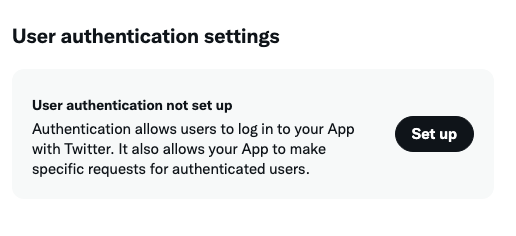
ページ下部のUser authentication settingsのSet upをクリックし、移動
下記を行います。Saveを押します。
- App permissionsを「Read and write」へ
- Type of Appを「Web App」へ
- App info 「Callback URI」と「Website URL」へ適当なURLを入力します。

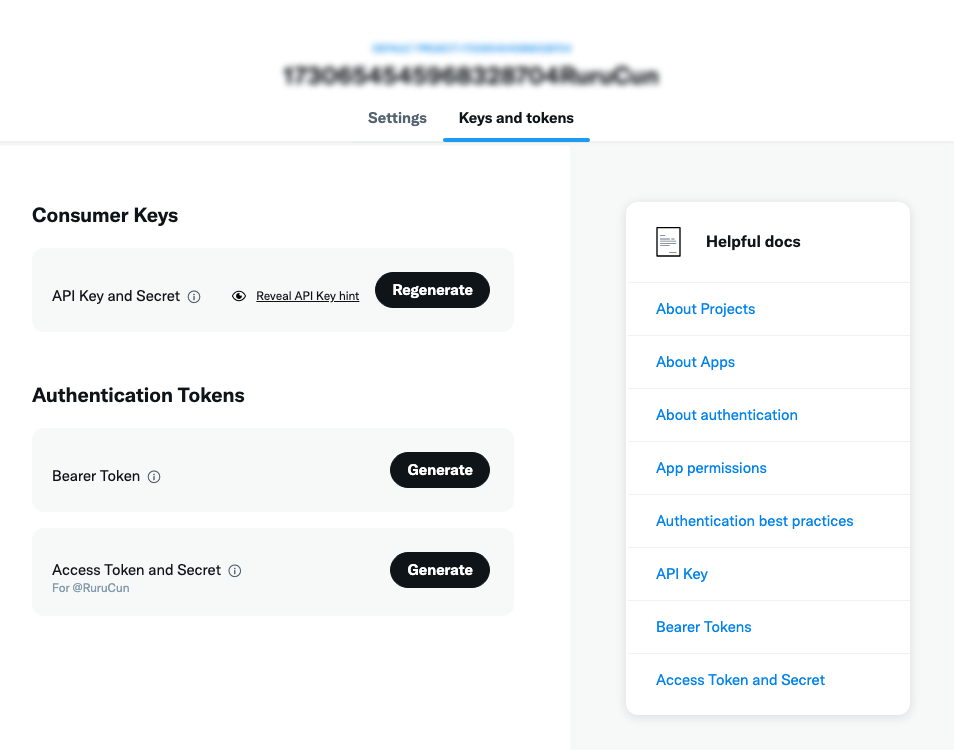
Projectのトップページのタブから、「Keys and tokens」へ移動します。
- Consumer Keysの「API Key and Secret」 のRegenerateをクリック
- API Key と Secret を保存しておきます。
- Authentication Tokens の 「Accesss Token and Secret」のGenerateをクリック
- Access Token と Secretをこちらも保存しておきます。
yarn add twitter-api-v2
# or
npm i twitter-api-v2
下記のようなjsファイルを作り、関数を呼び出すことで、Node.jsからTweetできます。
1点紛らわしい箇所があり、 appKey appSecretはConsumer Keysのものを使います。
tweet.jsファイル
import { TwitterApi } from "twitter-api-v2";

const twitterClient = new TwitterApi({
  // ↓ConsumerKeysで取得したもの
  appKey:
  appSecret:
  // ↓Acuthentication Tokensで取得したもの
  accessToken:
  accessSecret:
});

// Twitterにメッセージを投稿する関数
async function postToTwitter(message) {
  try {
    await twitterClient.v2.tweet(message);
    console.log('Tweet successfully posted!');
  } catch (error) {
    console.error('Error posting tweet:', error);
  }
}

async function post() {
  const message = 'Hello, world! This is a test tweet from Firebase Functions.';
  await postToTwitter(message);
};

post()
$ node tweet.js
