初めに
今回は、tiptapライブラリを使用して、Notion風のエディタを実装しました。その過程を解説します。
tiptapとは
Tiptapは、リッチテキストエディターのツールキットであるProseMirrorのヘッドレスラッパーです。これにより、簡単にWYSIWYGエディターを構築できるオープンソースのライブラリです。
完成デモ動画
目次
- 初期設定
- エディタ表示
- h1~h3タグの実装
前提条件
-- Next.jsのプロジェクトを作成されていること。
1.初期設定
まずは、必要なtiptapのライブラリをインストールします。
npm install @tiptap/react @tiptap/starter-kit
2.エディタ表示
次に、テキストの書き込みができる状態にします。
"use client";

import { useEffect } from "react";

import { useEditor, EditorContent } from "@tiptap/react";
import StarterKit from "@tiptap/starter-kit";
import Placeholder from "@tiptap/extension-placeholder";

export const Editor = () => {
  const editor = useEditor({
    extensions: [
      StarterKit,
      Placeholder.configure({
        placeholder: "Type / to browse options",
      }),
    ],
    content: "<p></p>",
  });

  return (
    <div className="mt-4 relative border border-gray-300 rounded-lg mx-2 min-h-[400px]">
      <EditorContent editor={editor} className="w-full h-full pl-4 pt-2" />
    </div>
  );
};
上記のコードで、テキスト入力ができる基本的なエディタが完成します。ただし、この状態では placeholderが正しく表示されません。
これは、global.cssでも適用させる必要があるためです。::before疑似要素は、contentプロパティが明示的に設定されていないと、何も表示されません。
なのでglobal.cssに以下のように書いてください。
is-editor-emptyクラスはwebブラウザ上の開発者ツールで確認すると、確認できると思います。
@tailwind base;
@tailwind components;
@tailwind utilities;

.is-editor-empty::before {
  content: attr(data-placeholder);
  @apply text-gray-500 absolute top-0 left-0;
}
次に、エディタを選択すると、borderが出ると思いますが、個人的にはない方がいいので、以下のコードをcontentの下に追加します。
editorProps: {
      attributes: {
        class: "focus:outline-none",
      },
    },
ここまでの全体のコードを以下に出します。
"use client";

import { useEffect } from "react";

import { useEditor, EditorContent } from "@tiptap/react";
import StarterKit from "@tiptap/starter-kit";
import Placeholder from "@tiptap/extension-placeholder";

export const Editor = () => {
  const editor = useEditor({
    extensions: [
      StarterKit,
      Placeholder.configure({
        placeholder: "Type / to browse options",
      }),
    ],
    content: "<p></p>",
    editorProps: {
      attributes: {
        class: "focus:outline-none", //入力時のborderを非表示にする
      },
    },
  });

  return (
    <div className="mt-4 relative border border-gray-300 rounded-lg mx-2 min-h-[400px]">
      <EditorContent editor={editor} className="w-full h-full pl-4 pt-2" />
    </div>
  );
};
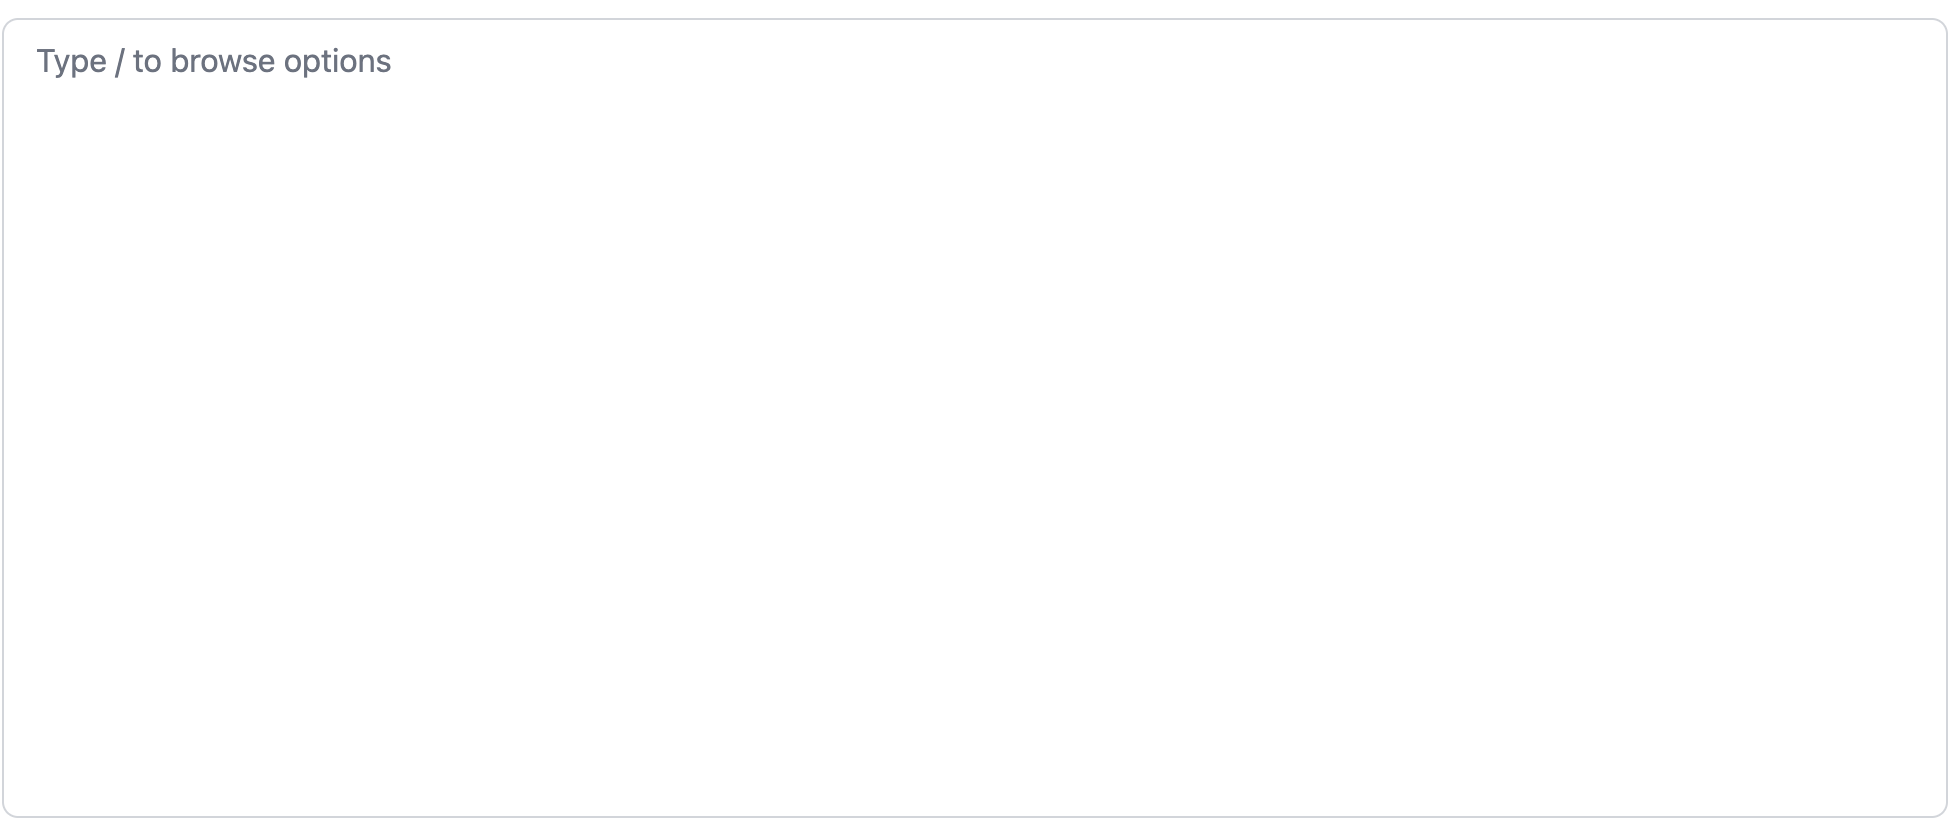
ここまでの実装の画像です。
3.h1~h3タグの実装
次に、/ を入力するとメニューを表示し、選択したタグに応じて文字サイズを変更する機能を実装します。
h1~h3タグのデザインを適用するために、以下をglobal.cssに追加してください。
h1 {
  @apply text-2xl font-bold;
}

h2 {
  @apply text-xl font-semibold;
}

h3 {
  @apply text-lg font-medium;
}
次にEditorMenu.tsxコンポーネントを作成します。このコンポーネントは、/がクリックされたときに、表示されるメニューになります。
addHeading関数によって入力された文字がそれぞれのh1~h3タグのどれかに変わります。
type Props = {
  addHeading: (level: 1 | 2 | 3) => void;
};

export const EditorMenu = (props: Props) => {
  const { addHeading } = props;

  return (
    <div className="bg-white border border-gray-300 shadow-lg p-2 rounded-lg mt-2">
      <button onClick={() => addHeading(1)} className="block px-4 py-2 text-left hover:bg-gray-100 w-full">
        見出し 1
      </button>
      <button onClick={() => addHeading(2)} className="block px-4 py-2 text-left hover:bg-gray-100 w-full">
        見出し 2
      </button>
      <button onClick={() => addHeading(3)} className="block px-4 py-2 text-left hover:bg-gray-100 w-full">
        見出し 3
      </button>
    </div>
  );
};
次にEditor.tsxを以下のように修正します。
"use client";

import { useCallback, useState } from "react";

import { EditorMenu } from "./EditMenu";

import { useEditor, EditorContent } from "@tiptap/react";
import StarterKit from "@tiptap/starter-kit";
import Heading from "@tiptap/extension-heading";
import Placeholder from "@tiptap/extension-placeholder";

export const Editor = () => {
  const [showMenu, setShowMenu] = useState(false);

  const editor = useEditor({
    extensions: [
      StarterKit,
      Heading.configure({ levels: [1, 2, 3] }),
      Placeholder.configure({
        placeholder: "Type / to browse options",
      }),
    ],
    content: "<p></p>",
    editorProps: {
      attributes: {
        class: "focus:outline-none",
      },
    },
    onUpdate: ({ editor }) => {
      const currentLine = editor.state.doc.textBetween(editor.state.selection.$anchor.start(), editor.state.selection.$anchor.end(), "\n");

      if (currentLine.trim() === "/") {
        setShowMenu(true);
      } else {
        setShowMenu(false);
      }

      setTimeout(() => {
        if (editor.isEmpty) {
          editor.commands.clearNodes();
        }
      }, 0);
    },
  });

  const addHeading = useCallback(
    (level: 1 | 2 | 3) => {
      if (!editor) return;
      const { from } = editor.state.selection;

      editor
        .chain()
        .focus()
        .deleteRange({ from: from - 1, to: from })
        .insertContent(" ")
        .setNode("paragraph")
        .toggleHeading({ level })
        .run();

      setShowMenu(false);
    },
    [editor]
  );

  return (
    <div className="mt-4 relative border border-gray-300 rounded-lg mx-2 min-h-[400px]">
      <EditorContent editor={editor} className="w-full h-full pl-4 pt-2" />
      {showMenu && <EditorMenu addHeading={addHeading} />}
    </div>
  );
};
上記のコードで、.insertContent(" ")を追加する理由として、/が消えた状態だと、文字が何もなくなってしまい、toggleHeadingメソッドが効かなくなってしまいます。なのでこれの対策法として/を削除後に空白を入れるか<br>タグを入れる解決策があります。
<br>の場合、色々バグが起きたので今回は、空白を入れるやり方で実装しています
これで動作確認してみると以下のように実装することができました!
終わりに
他にも機能はたくさんあるので色々実装してみようと思います。
ここまで読んでくれた方ありがとうございました。

