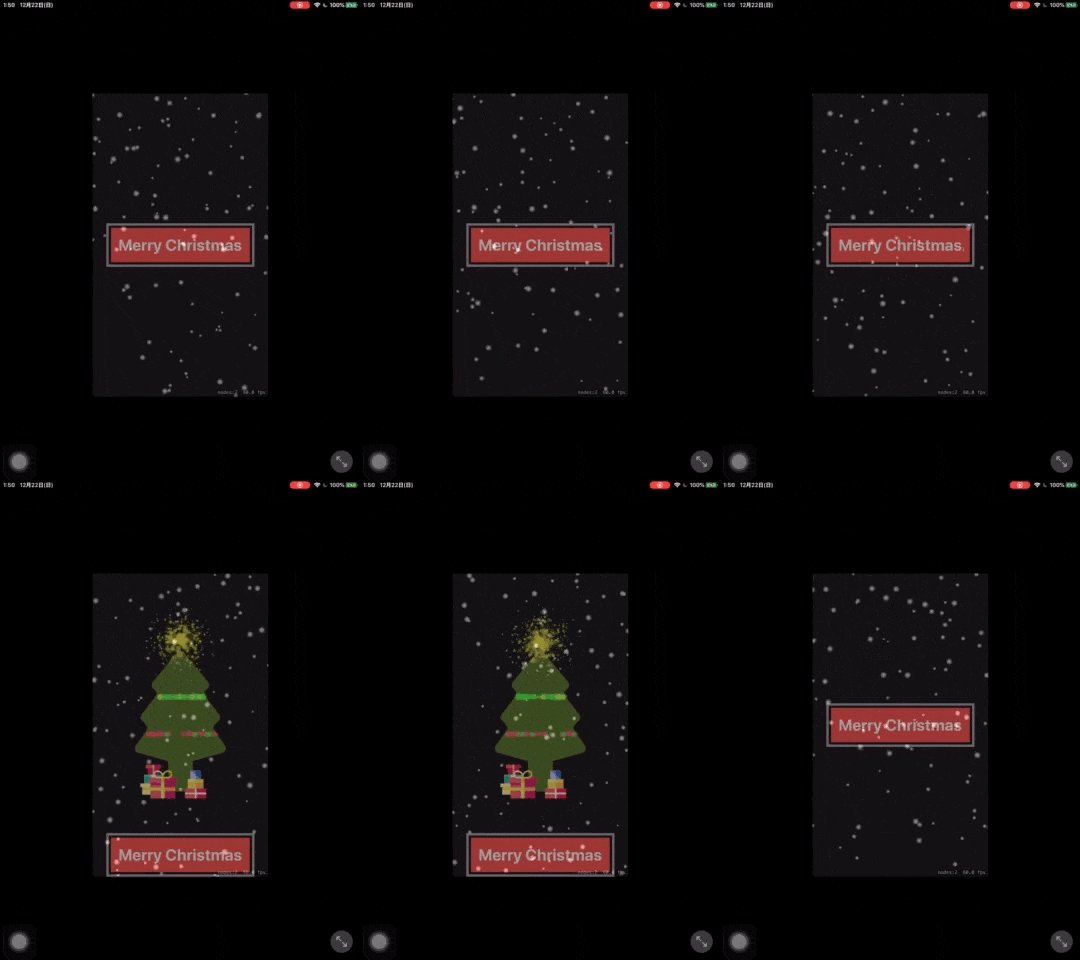
こんにちは、
オークファンAdvent Calendar 24日担当のRickyです。
19新卒として入社して半年強が経ちました。
先週人生初の日本忘年会を体験しました。
そういえば明日クリスマスですね。
この前Advent Calendar 12日の記事を書き終わったら、
うちの同期に24日の記事でなんかクリスマスに関する記事を書いてくださいよと
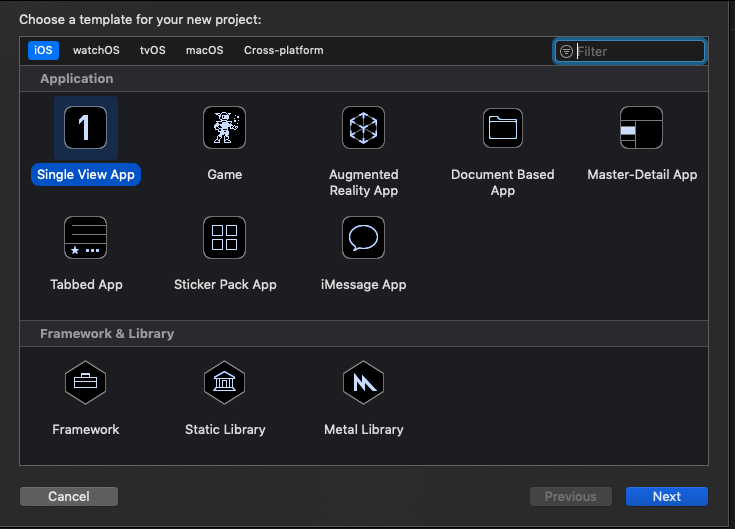
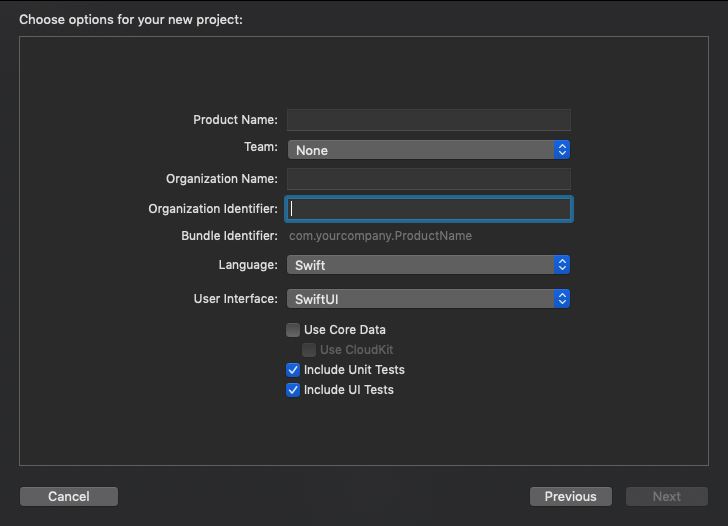
煽られましたから今日はSwiftUIとSpriteKitでクリスマスツリーを作りましょう。![]()
ちなみに、
持っているMacBookAirのOSは10.14.6なのでSwiftUIのCanvasは使えない。。。。
環境
流れ
1、雪背景SpriteKitParticleとイリュミネイションSpriteKitParticle作成
2、雪のUIView作成
3、クリスマスツリーUIView作成
4、ギフトUIView作成
5、文字UIView作成
6、SwiftUIのContentViewに纏める
1、雪背景SpriteKitParticleライトイリュミネイションSpriteKitParticle作成
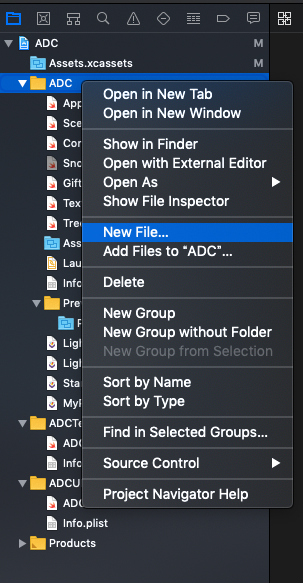
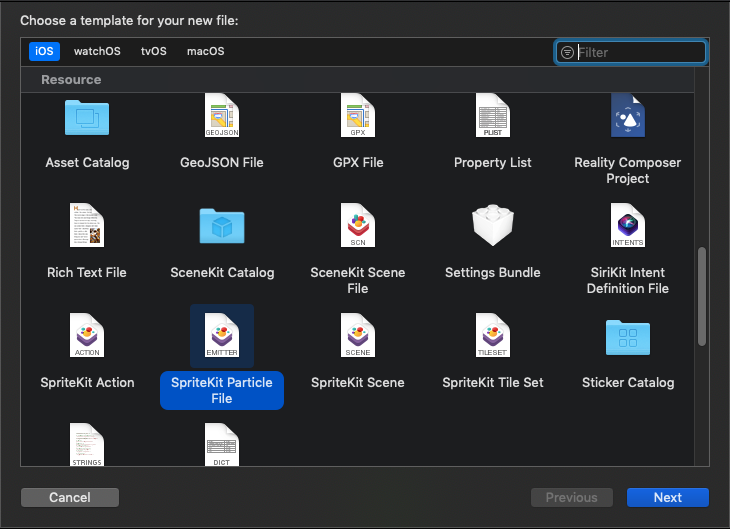
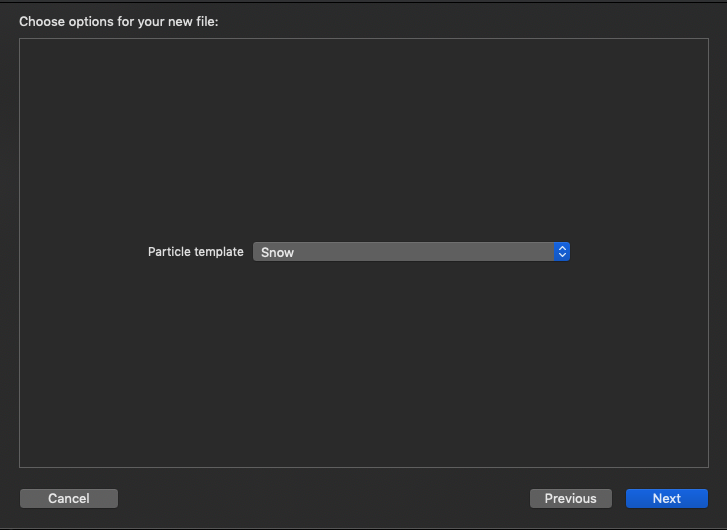
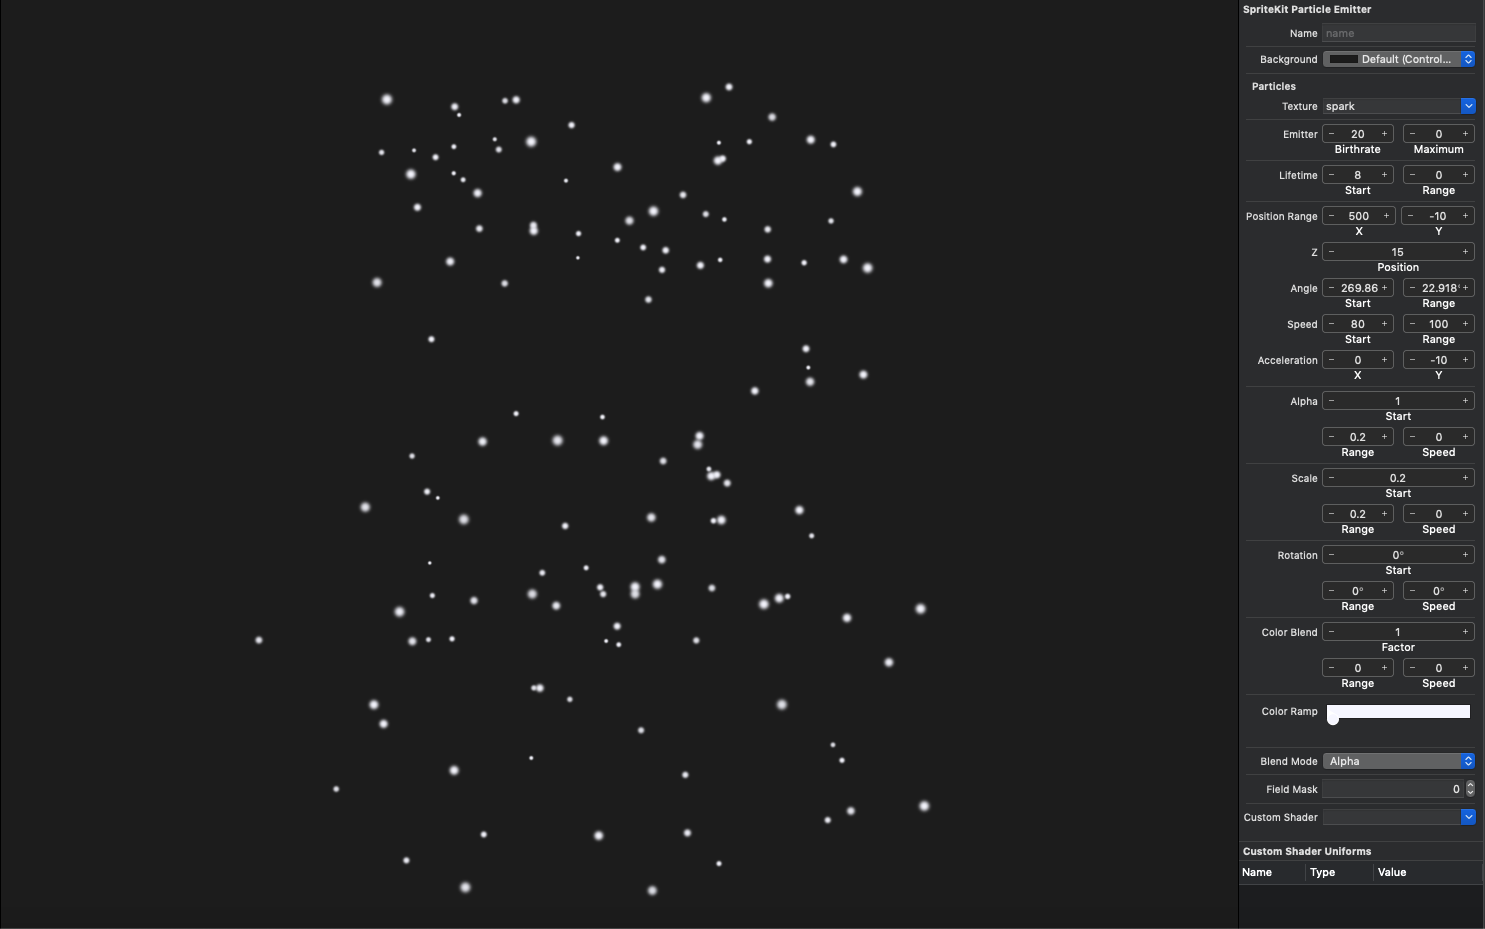
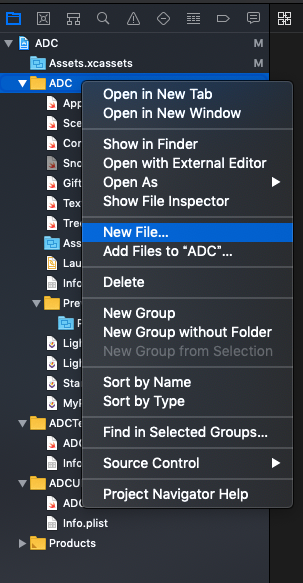
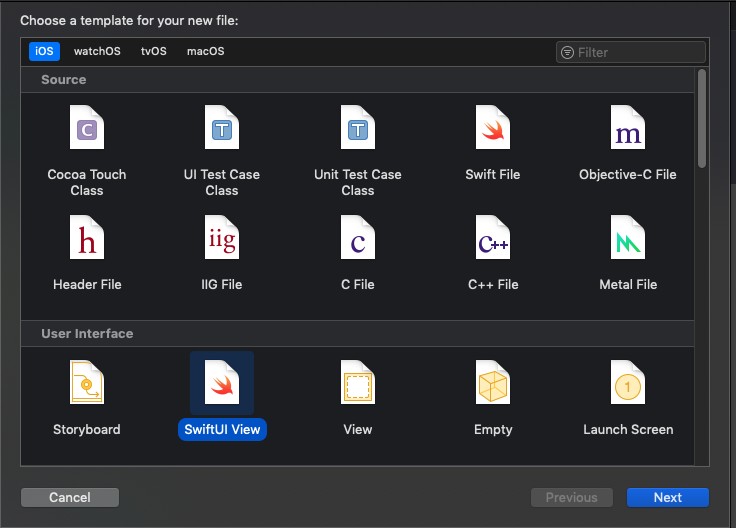
SnowParticle.sks作成
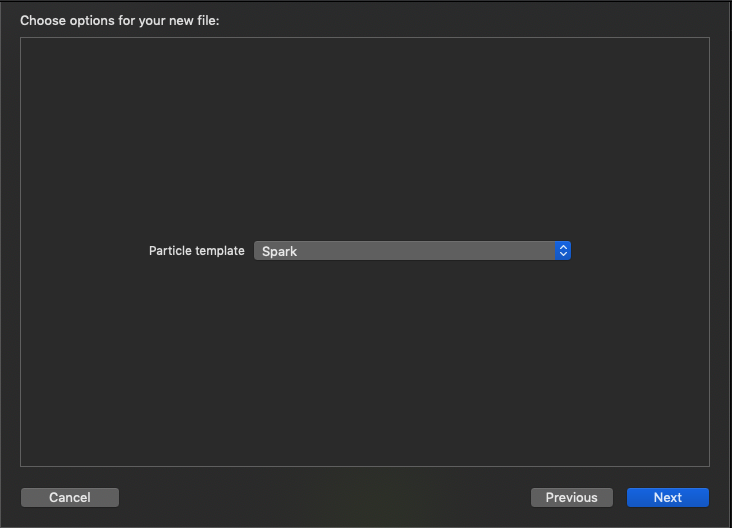
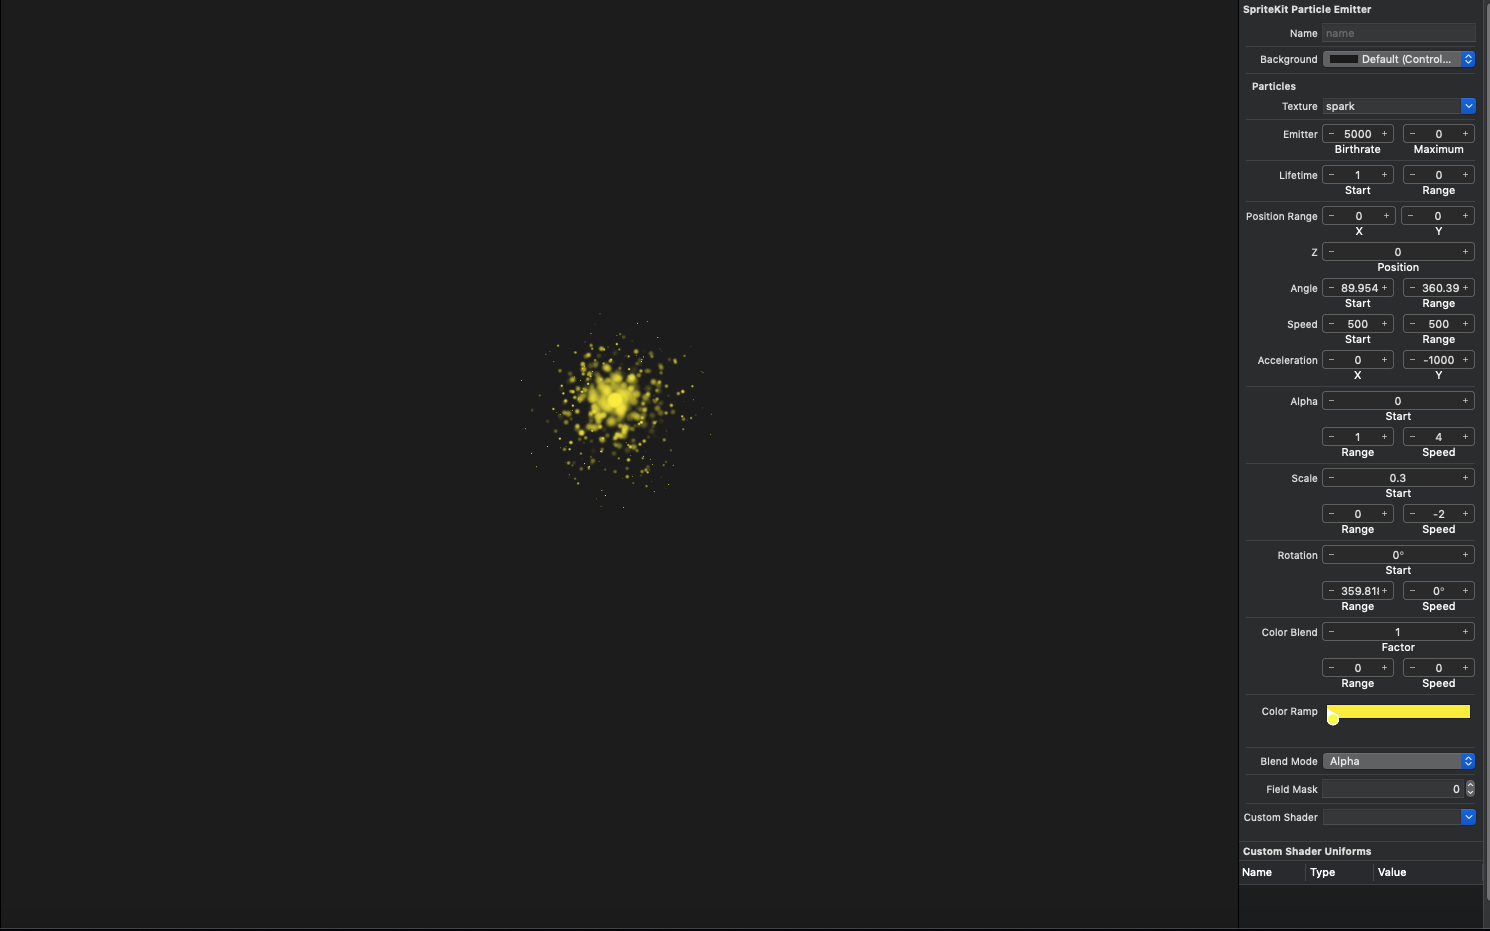
StarParticle.sks作成
値設定
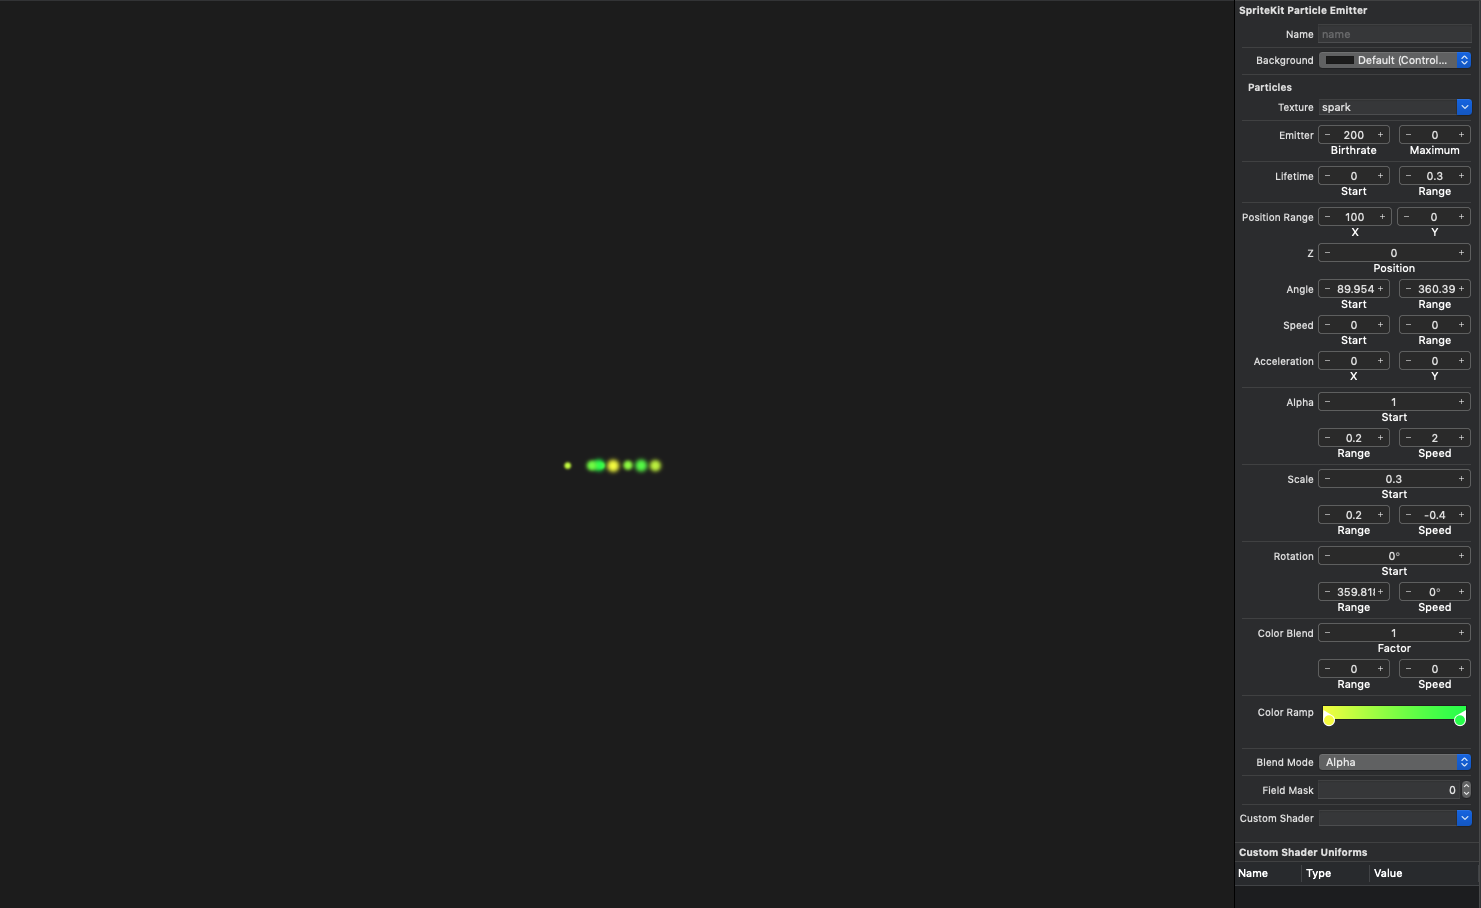
Light1Particle.sks作成
値設定
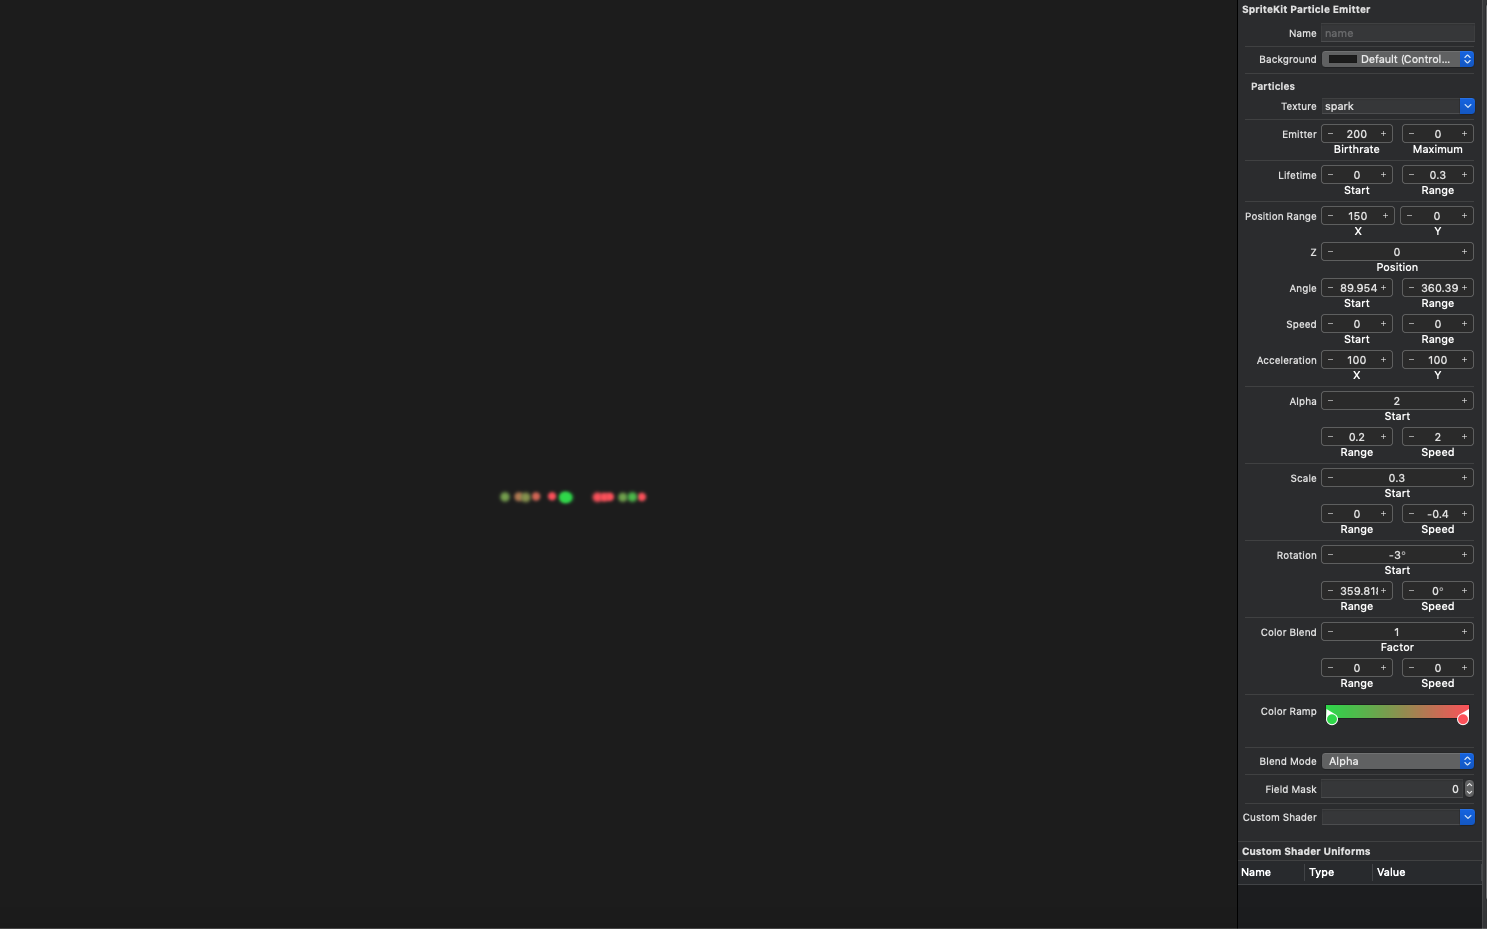
Light2Particle.sks作成
値設定
2、雪のUIView作成
SnowBackgroundView.swift
import SwiftUI
import SpriteKit

struct SnowBackgroundView: UIViewRepresentable {
       class Coordinator: NSObject {
          var scene: SKScene?
       }
       func makeCoordinator() -> Coordinator {
           return Coordinator()
       }
       func makeUIView(context: Context) -> SKView {
           //SkView作成
           let skView = SKView()
           //FPSの表示
           skView.showsFPS = true
           //ノード数表示
           skView.showsNodeCount = true
           //シーン作成
           let scene = SKScene()
           //spriteの中心を設定する
           scene.anchorPoint = CGPoint(x: 0.5, y: 1)
           //ノードを作成
           let emitterNode = SKEmitterNode(fileNamed: "SnowParticle")
           //シーンにノード入れる
           scene.addChild(emitterNode!)
           scene.scaleMode = .resizeFill
           //シーンをこのviewの内容に設定
           context.coordinator.scene = scene

           return skView
       }

       func updateUIView(_ view: SKView, context: Context) {

          view.presentScene(context.coordinator.scene)
       }
}

struct SnowBackgroundView_Previews: PreviewProvider {
    static var previews: some View {
        SnowBackgroundView()
    }
}
3、クリスマスツリーUIView作成
TreeView.swift
import SwiftUI
import SpriteKit

struct TreeView: UIViewRepresentable {
       class Coordinator: NSObject {var scene: SKScene?
       }
       func makeCoordinator() -> Coordinator {
           return Coordinator()
       }
       func makeUIView(context: Context) -> SKView {
           //SkView作成
           let skView = SKView()
           //シーン作成
           let scene = SKScene()
           //クリスマスてツリーノードを作成
           let treeNode = SKSpriteNode(imageNamed: "tree")
           treeNode.position = CGPoint(x: UIScreen.main.bounds.size.width/2, y: UIScreen.main.bounds.size.height/3)
           //スターノードを作成
           let starNode = SKSpriteNode(fileNamed: "StarParticle")
           starNode?.position = CGPoint(x: 0, y: treeNode.position.y-50)
           //ライトノードを作成
           let lightNode1 = SKSpriteNode(fileNamed: "Light1Particle")
           lightNode1?.position = CGPoint(x: 0, y: starNode!.position.y-120)
           let lightNode2 = SKSpriteNode(fileNamed: "Light2Particle")
           lightNode2?.position = CGPoint(x: 0, y: starNode!.position.y-200)
           //クリスマスツリーノードにスターノードとライトノードを入れる
           treeNode.addChild(starNode!)
           treeNode.addChild(lightNode1!)
           treeNode.addChild(lightNode2!)
           //シーンクリスマスツリーノードを入れる
           scene.addChild(treeNode)
           scene.scaleMode = .resizeFill
           //シーン背景色を透明で黒色にする
           scene.backgroundColor = UIColor.init(displayP3Red: 0, green: 0, blue: 0, alpha: 0.1)
           //シーンをこのviewの内容に設定
           context.coordinator.scene = scene
           return skView
       }

       func updateUIView(_ view: SKView, context: Context) {
          view.presentScene(context.coordinator.scene)
       }
}

struct TreeView_Previews: PreviewProvider {
    static var previews: some View {
       TreeView()
    }
}
4、ギフトUIView作成
GiftView.swift
import SwiftUI

struct GiftView: View {
    var body: some View {
        ZStack{
            //重ねるギフトの絵作成
            Image("gift")
           .position(x: 130, y: 440)
            Image("gift1")
           .position(x: 150, y: 450)
            Image("gift2")
           .position(x: 220, y: 450)
        }
    }
}

struct GiftView_Previews: PreviewProvider {
    static var previews: some View {
        GiftView()
    }
}
5、文字UIView作成
TextView.swift
import SwiftUI

struct TextView: View {
    var body: some View {
        //文字作成
        Text("Merry Christmas")
            //フォント設定
            .font(.largeTitle)
            //フォント太さ設定
            .fontWeight(.bold)
            .padding()
            //文字の色
            .foregroundColor(Color.white)
            //枠の線
            .background(Color.red)
            //文字と距離設定
            .padding(10)
            //枠の線の太さと色設定
            .border(Color.gray, width: 5)

    }
}

struct TextView_Previews: PreviewProvider {
    static var previews: some View {
        TextView()
    }
}
6、SwiftUIのContentViewにまとめる
ContrntView.swift
import UIKit
import SwiftUI
import SpriteKit
struct ContentView: View {
    //@Stateプロパティを使ってUIの状態自動に同期
    @State private var displayTree = false

    var body: some View {
        //Z軸にビューを並べるコンポーネント
        ZStack{
            //縦軸にビューを並べるコンポーネント
            VStack{
                if(displayTree) {
                    ZStack{
                        //クリスマスツリーとギフトviewを呼び出す
                        TreeView()
                        GiftView()
                    }
                }
                Button(action: {
                    //ON/OFFを制御するコンポーネント
                    self.displayTree.toggle()
                }, label: {
                       TextView()
                })
            }
            //雪のviewを呼び出す
            SnowBackgroundView()
            //雪のviewを半透明にする
            .opacity(0.5)
        }.background(SwiftUI.Color.black.edgesIgnoringSafeArea(.all))

    }
}

struct ContentView_Previews: PreviewProvider {
    static var previews: some View {
        ContentView()

    }
}
Merry Christmas 
ソースコード
