1. はじめに
HTML/CSSを勉強して1ヶ月も経っていない人間による備忘録です。
間違い、冗長なコードがあります。
最適方法やアドバイスなどコメントいただけると幸いです。
1-1. この記事のやりたいこと
1-2. 得た知識
- ブロック要素の上下左右の中央寄せ
- border-radiusで正円を作る
- リストの「・」を消す方法
- 最後の要素だけにスタイルを適用
- ヘッダーを固定する方法
- 絶対配置する際の親要素は「position:fixed;」でも可能
1-3. 記事作成までにやったこと
Progate:HTML/CSS、一周
Udemy:ちゃんと学ぶ、HTML/CSS + JavaScript、セクション3まで
HTML&CSSとWebデザインが1冊できちんと身につく本:流し読み
1冊ですべて身につくHTML & CSSとWebデザイン入門講座 :流し読み
1-4. 開発環境
ブラウザ :GoogleChrome(100.0.4896.88)
スクリーン解像度:1920×1080
1-5. この記事の注意事項
・わかりやすいよう
background-colorやborderなどを指定していますが、
目的以外のコードは割愛しています。
・前回からコードの変更がないことろも割愛しています。
ってことで、それでは作っていくっ!!
2. 実装
2-1. ロゴを作成する
2-1-1. やりたいこと
2-1-2. コード
HTML
  <header class="header-wrapper">
    <h1 class="header-logo">
      <a class="header-logo-link" href="#">
        <img class="header-logo-img" src="./imgs/no_image_square.jpg">
      </a>
    </h1>
  </header>
CSS
 .header-wrapper {
  height: 100vh;
  width: 120px;

  margin: 0 auto;
}

.header-logo {
  height: 120px;
  width: 120px;

  display: flex;
 align-items: center;
  justify-content: center;
}

.header-logo-link {
  height: 70px;
  width: 70px;
}

.header-logo-img {
  height: 100%;
  width: 100%;
  border-radius: 50%;
}
2-1-3. ポイント
ブロック要素の上下左右の中央寄せ
display: flex;
align-items: center;
justify-content: center;
border-radiusで正円を作る
border-radius: 50%;
2-1-4. 参考文献
ブロック要素の上下左右の中央寄せ
CSSのborder-radiusを極める!円・角丸自在に実装
2-2. ナビゲーションを作成する
2-2-1. やりたいこと
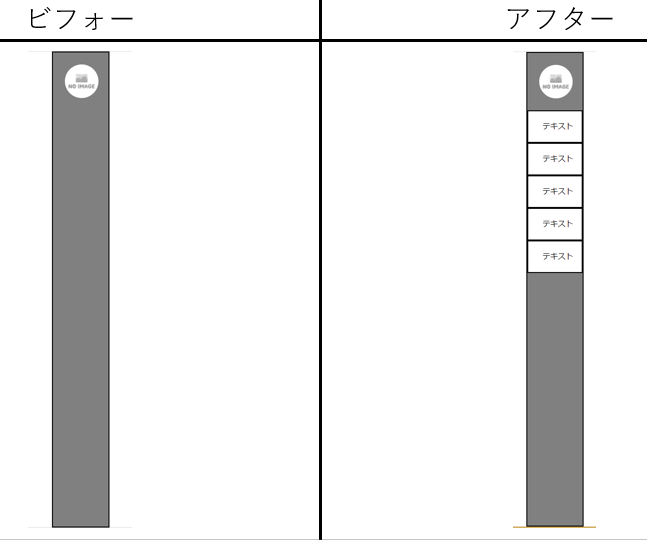
2-2-2. コード
HTML
    <nav>
      <ul class="header-nav-list">
        <a class="header-nav-link" href="#">
          <li class="header-nav-item">テキスト</li>
        </a>
  </nav>
CSS
 .header-nav-list {
  list-style: none;
}

.header-nav-link {
  color: black;
  text-decoration: none;
}

.header-nav-item {
  height: auto;
  width: 100%;

  padding: 20px 0 20px 30px;
}
2-2-3. ポイント
リストの「・」を消す方法
list-style: none;
2-2-4. 参考文献
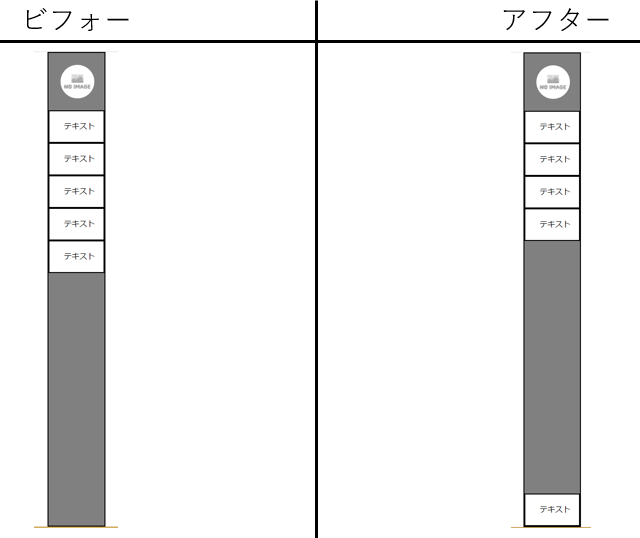
2-3. リストの最後だけ一番下に配置する
2-3-1. やりたいこと
2-3-2. コード
CSS
.header-wrapper {
  position: relative;
}

.header-nav-link:last-child {
  width: 100%;

  position: absolute;
  bottom: 0px;
}
2-3-3. ポイント
最後の要素だけにスタイルを適用
:last-child
なぜ幅を指定する必要があるのか?後日調査
width: 100%;
2-3-4. 参考文献
【CSS】最初の要素、最後の要素だけにスタイルを適用したい!
2-4. ヘッダーを固定する
2-4-1. やりたいこと
2-4-2. コード
CSS
 .header-wrapper {
- position: relative;
+ position:fixed;
}
2-4-3. ポイント
ヘッダーを固定する方法
position:fixed;
絶対配置する際の親要素は「position:fixed;」でも可能
2-4-4. 参考文献
【初心者でもわかる】HTMLとCSSだけで上部固定ヘッダーを作る方法(position: fixed;)
CSSのpositionを総まとめ!absoluteやfixedの使い方は?
3. まとめ
以下の項目を取り組んだ。
- ヘッダーの作成
- ナビゲーションを作成する
-
<ul><li>を用いる - リストの「・」をなくす
- 疑似クラス
:last-childを使う - ヘッダーを固定する


