その1ではざっくりと全文検索サーバ構築の経緯と構築環境について記載しました。
その2ではもう少し掘り下げて環境構築のメモを記載します。(ほぼWebエビデンス)
OS環境
OSバージョン
$ cat /etc/redhat-release
CentOS Linux release 7.6.1810 (Core)
カーネルバージョン
$ uname -a
Linux [ホスト名] 3.10.0-957.12.2.el7.x86_64 #1 SMP Tue May 14 21:24:32 UTC 2019 x86_64 x86_64 x86_64 GNU/Linux
dockerインストール
dockerはCentOS標準のdockerをyumでインストールしました。
$ sudo yum -y install docker

インストール:
  docker.x86_64 2:1.13.1-96.gitb2f74b2.el7.centos

依存性関連をインストールしました:
  PyYAML.x86_64 0:3.10-11.el7
  atomic-registries.x86_64 1:1.22.1-26.gitb507039.el7.centos
  audit-libs-python.x86_64 0:2.8.4-4.el7
  checkpolicy.x86_64 0:2.5-8.el7
  container-selinux.noarch 2:2.95-2.el7_6
  container-storage-setup.noarch 0:0.11.0-2.git5eaf76c.el7
  containers-common.x86_64 1:0.1.35-2.git404c5bd.el7.centos
  device-mapper-event.x86_64 7:1.02.149-10.el7_6.7
  device-mapper-event-libs.x86_64 7:1.02.149-10.el7_6.7
  device-mapper-persistent-data.x86_64 0:0.7.3-3.el7
  docker-client.x86_64 2:1.13.1-96.gitb2f74b2.el7.centos
  docker-common.x86_64 2:1.13.1-96.gitb2f74b2.el7.centos
  libaio.x86_64 0:0.3.109-13.el7
  libcgroup.x86_64 0:0.41-20.el7
  libsemanage-python.x86_64 0:2.5-14.el7
  libyaml.x86_64 0:0.1.4-11.el7_0
  lvm2.x86_64 7:2.02.180-10.el7_6.7
  lvm2-libs.x86_64 7:2.02.180-10.el7_6.7
  oci-register-machine.x86_64 1:0-6.git2b44233.el7
  oci-systemd-hook.x86_64 1:0.1.18-3.git8787307.el7_6
  oci-umount.x86_64 2:2.3.4-2.git87f9237.el7
  policycoreutils-python.x86_64 0:2.5-29.el7_6.1
  python-IPy.noarch 0:0.75-6.el7
  python-backports.x86_64 0:1.0-8.el7
  python-backports-ssl_match_hostname.noarch 0:3.5.0.1-1.el7
  python-ipaddress.noarch 0:1.0.16-2.el7
  python-pytoml.noarch 0:0.1.14-1.git7dea353.el7
  python-setuptools.noarch 0:0.9.8-7.el7
  setools-libs.x86_64 0:3.3.8-4.el7
  subscription-manager-rhsm-certificates.x86_64 0:1.21.10-3.el7.centos
  yajl.x86_64 0:2.0.4-4.el7

完了しました!
dockerサービス自動起動設定
$ sudo systemctl enable docker
Created symlink from /etc/systemd/system/multi-user.target.wants/docker.service to /usr/lib/systemd/system/docker.service.
dockerサービス起動と確認
$ sudo systemctl start docker
$ sudo systemctl status docker
● docker.service - Docker Application Container Engine
   Loaded: loaded (/usr/lib/systemd/system/docker.service; enabled; vendor preset: disabled)
   Active: active (running) since 金 2019-06-07 14:42:00 JST; 23s ago
     Docs: http://docs.docker.com
 Main PID: 20950 (dockerd-current)
   CGroup: /system.slice/docker.service
           tq20950 /usr/bin/dockerd-current --add-runtime docker-runc=/usr/libexec/docker/docker-runc-current --defau...
           mq20958 /usr/bin/docker-containerd-current -l unix:///var/run/docker/libcontainerd/docker-containerd.sock ...
Fessのイメージを取得する
$ sudo docker pull codelibs/fess:latest
Trying to pull repository docker.io/codelibs/fess ...
latest: Pulling from docker.io/codelibs/fess
e79bb959ec00: Pull complete
d4b7902036fe: Pull complete
1b2a72d4e030: Pull complete
de423484a946: Pull complete
9ce08128c662: Pull complete
53b0cf80b370: Pull complete
52bd533f444d: Pull complete
f39d9fa4825b: Pull complete
ffbf2fa304a8: Pull complete
560b4917ad19: Pull complete
b19453126120: Pull complete
3e02eca524a0: Pull complete
5145f1f6b740: Pull complete
9c0519ef74ee: Pull complete
Digest: sha256:f8c9818af2035b2b5489756c609bf973f8cc02c460874f4f9e5e8672f7c105c9
Status: Downloaded newer image for docker.io/codelibs/fess:latest
Fessのdockerコンテナを作成する
dockerのコンテナ名は、__"全文検索"を英訳すると"Full text search"となるため、頭文字を取って"fts"__にしました。
また、メインサービスがfessになるため、ポート指定してつながなくても良いようにホストの80番ポートをコンテナ内の
fessの8080ポートにマッピングしています。
$ sudo docker run -d -p 80:8080 --name fts codelibs/fess:latest
c266e8c6c14d2514a60d987d1beb4c6c5a187b2ba5142a6087a464fc3261b17b
コンテナのタイムゾーンを変更する
コンテナ内のOS環境の標準タイムゾーンがUTCのため、日本時間のJSTに変更します。
$ sudo docker exec -it fts rm /etc/localtime
$ sudo docker exec -it fts ln -s /usr/share/zoneinfo/Asia/Tokyo /etc/localtime
# 時間確認
$ sudo docker exec -it fts date
Fri Jun  7 15:01:10 JST 2019
$ sudo docker exec -it fts ls -l /etc/localtime
lrwxrwxrwx 1 root root 30 Jun  7 15:00 /etc/localtime -> /usr/share/zoneinfo/Asia/Tokyo
Fess動作確認
curlで80番ポートにHTTPしてヘッダが読めるか確認します。
$ curl --head http://localhost
HTTP/1.1 200
Set-Cookie: JSESSIONID=4937956A71BB0E6DE7D7B974BB39D7F0; Path=/; HttpOnly
Pragma: no-cache
Cache-Control: no-cache, no-store
Expires: Thu, 01 Dec 1994 16:00:00 GMT
Content-Type: text/html;charset=UTF-8
Transfer-Encoding: chunked
Date: Fri, 07 Jun 2019 06:08:41 GMT
ブラウザ動作確認
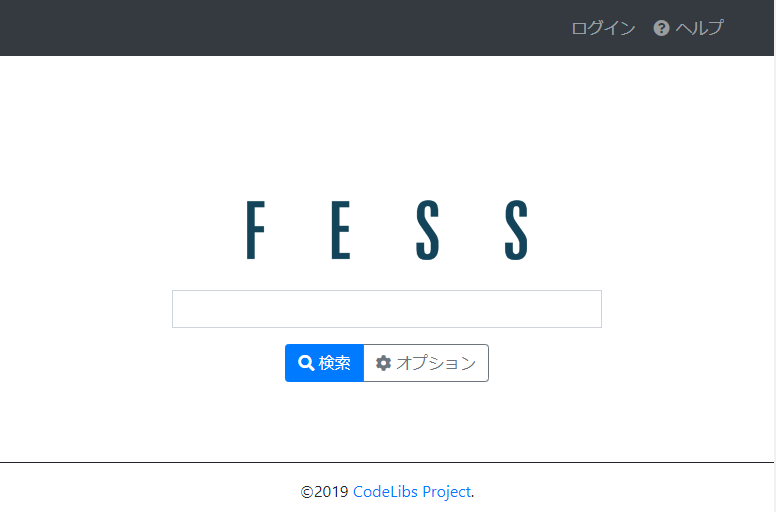
ブラウザでアクセスしてFessのページが表示されればOK。
まとめ
こんな感じで非常に簡単にFessによる全文検索サーバの環境が構築できます。
実際やっていただければわかりますが、イメージのダウンロード時間を除けばものの数分でFessが
利用できる環境を構築することができます。
おまけ
割愛しておりますが、selinuxを無効、firewalldの停止をしております。
selinuxとfirewalldを有効にして利用する場合はもうひと手間手順が必要かもしれません…
その辺は別の詳しい方に聞いてください…(弱気)
次回こそ、PDF変換手順の説明を書きます!