背景
業務の中で、フォルダをバックアップすることがあり、
「面倒くさいなぁ・・・」「自動化できないかなぁ・・・」
と、思ったのがきっかけ。
色々調べた結果、「コマンドプロンプト(XCOPY)」とWindowsの「タスクスケジューラ」を組み合わせれば、フォルダのバックアップを自動化することができることがわかったので、忘備録として投稿。
必要なファイル
・ファイルをコピーするためのバッチファイル(XCOPY)
※自分用に、日付の変数を入れたりとしています。
任意で削除したりしてください。
※/E/I等の、「XCOPY」の仕様については、別記事にて投稿します。
backup.bat
rem 現在日付(YYYYMMDD)の取得
set date_str=%date:~,4%%date:~5,2%%date:~8,2%

XCOPY コピー元 コピー先%date_str%バックアップフォルダ名% /E/I/Q/S/Y
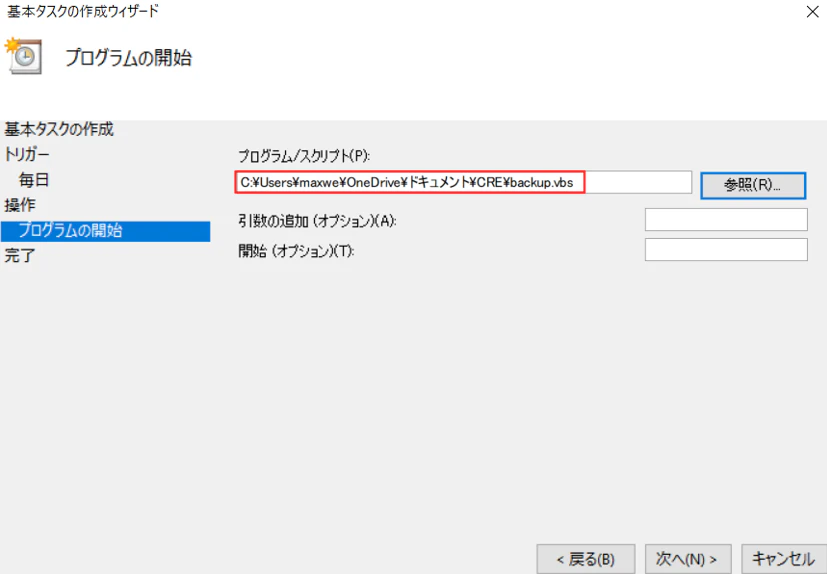
・タスクスケジューラ起動時、コマンドプロンプトを非表示にするためのvbsファイル
backup.vbs
Set ws = CreateObject("Wscript.Shell")
ws.run "cmd /c batch実行ファイルのパス", vbhide
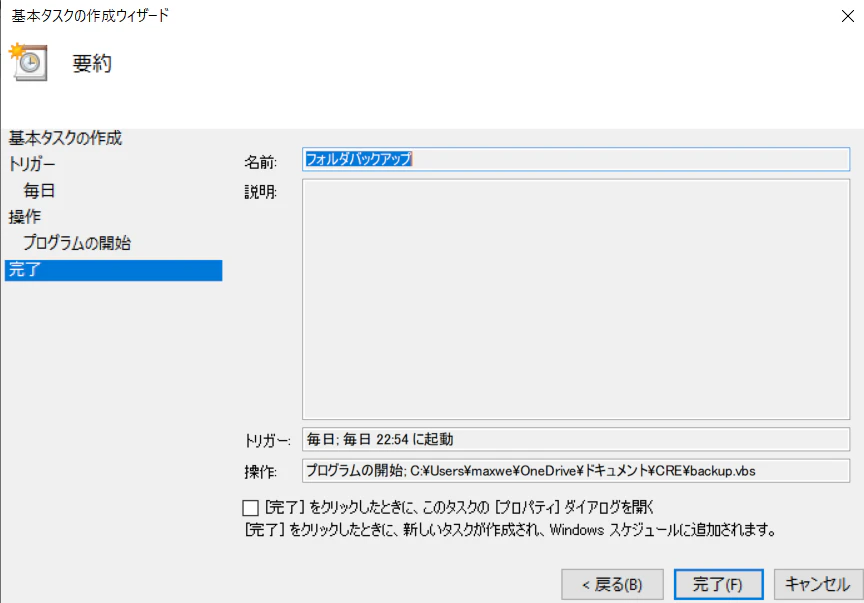
タスクスケジューラ登録方法
①タスクスケジューラを開く
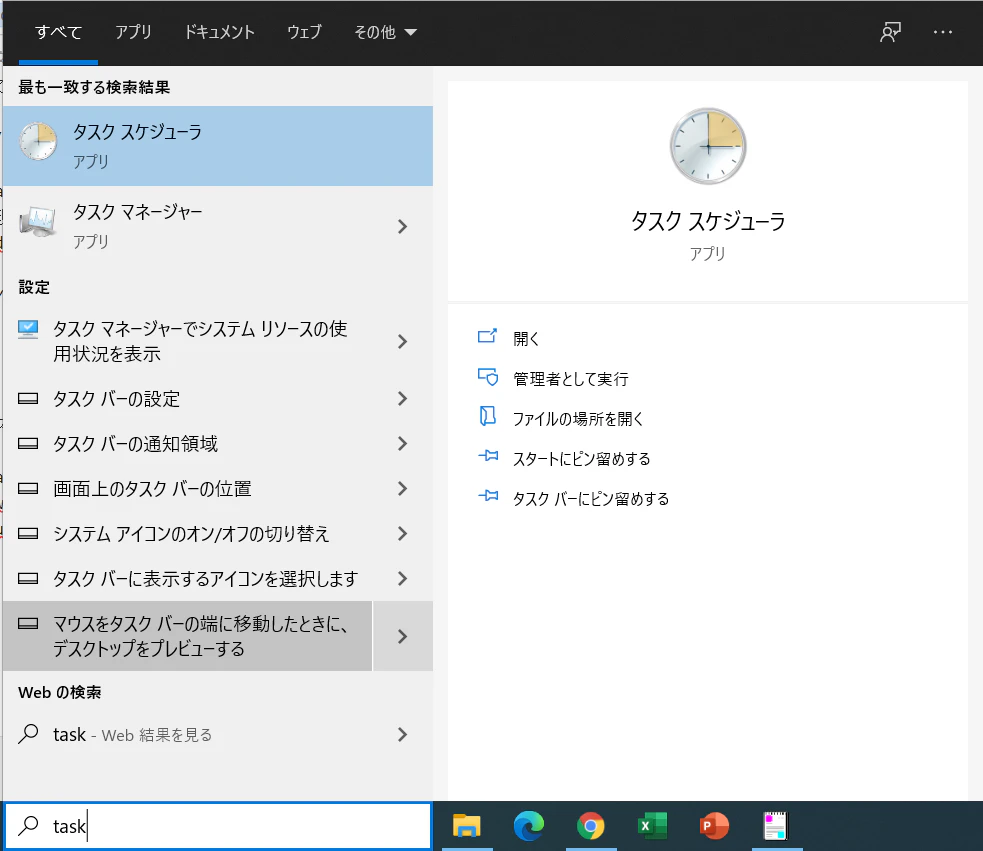
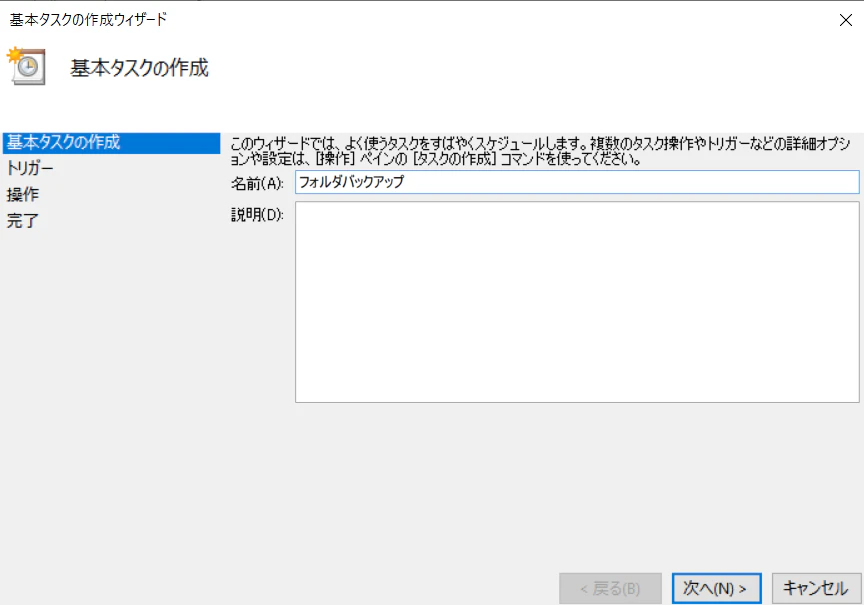
②「基本タスクの作成」をクリック

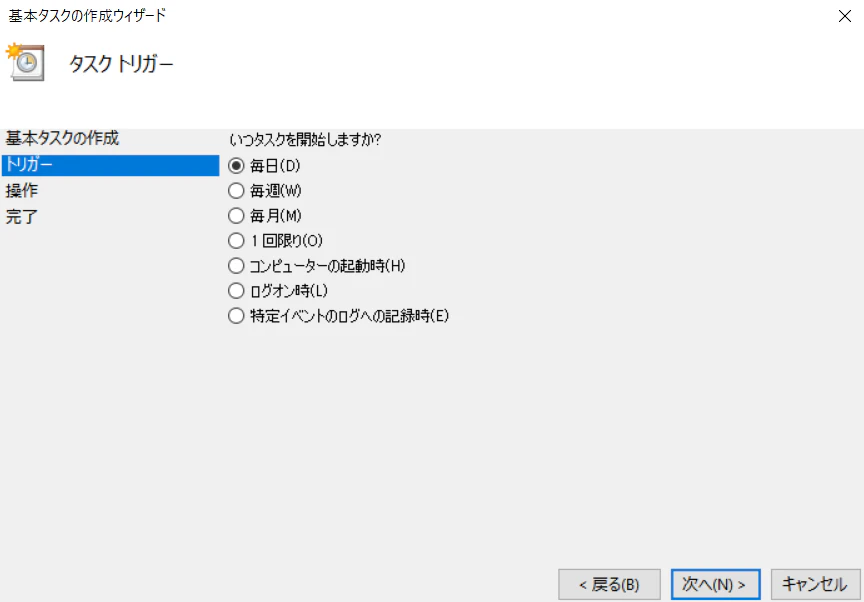
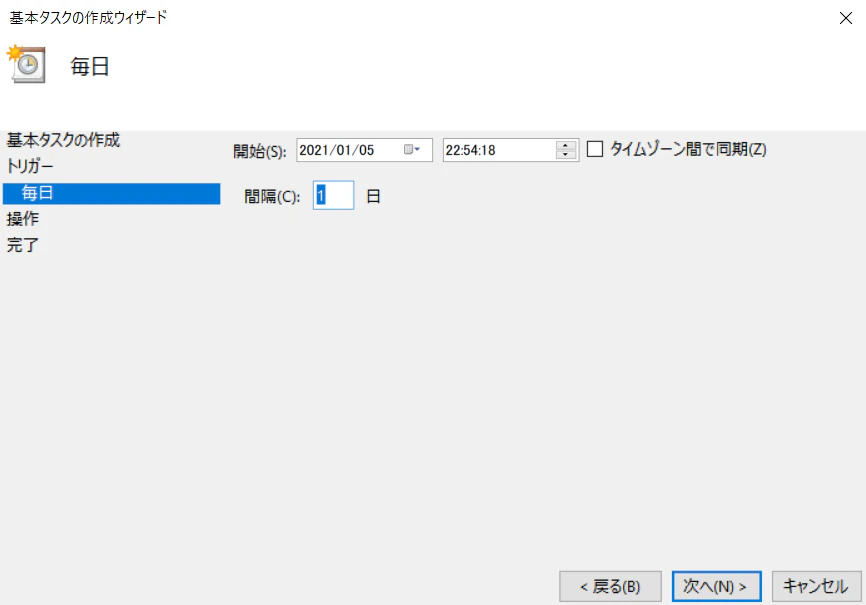
③この後は、手順に沿って登録すれば大丈夫です。
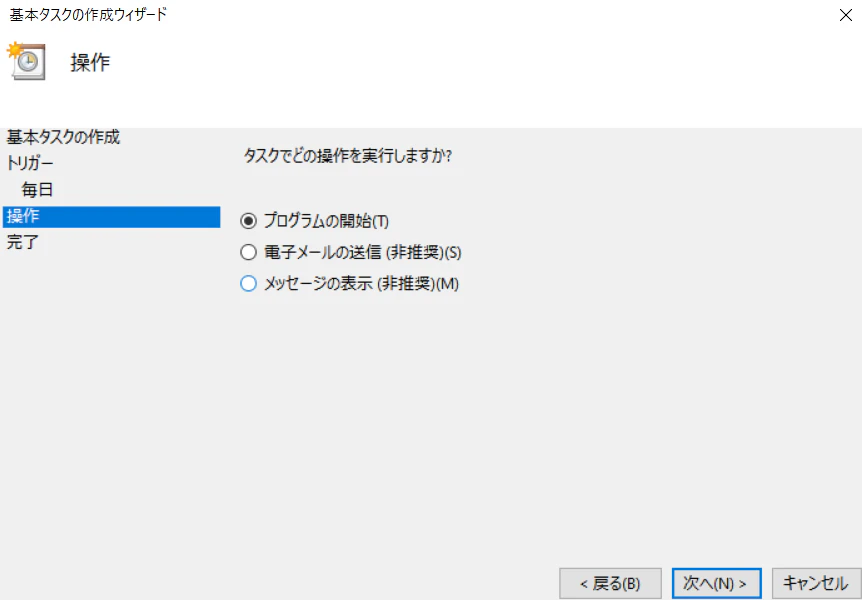
※VBSファイルを選択しないと、batch実行時、コマンドプロンプトの画面が表示されてしまいます。
以上です!
何かご質問がございましたらご連絡お願いします!
次回は、XCOPYについての記事をあげれたらな~と思います。
最後までお読みいただき、ありがとうございました!