1.前提条件
・開発環境 macOS Catalina 10.15.x
・開発ツール: Visual Studio 2019 for Mac
: Xcode
2.プロジェクト作成
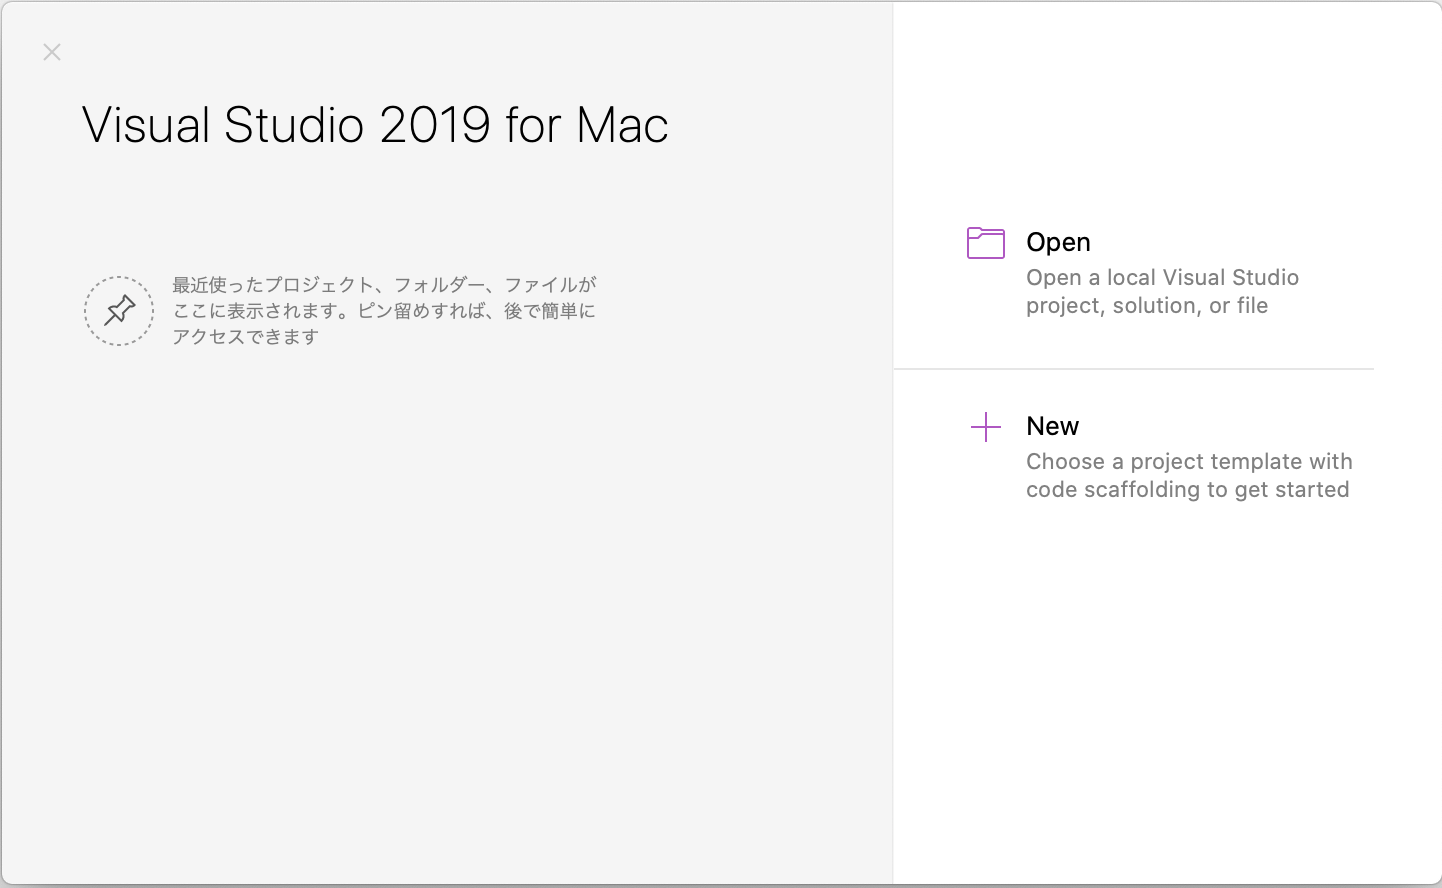
- 画面右の「New」から新規プロジェクトを作成する。
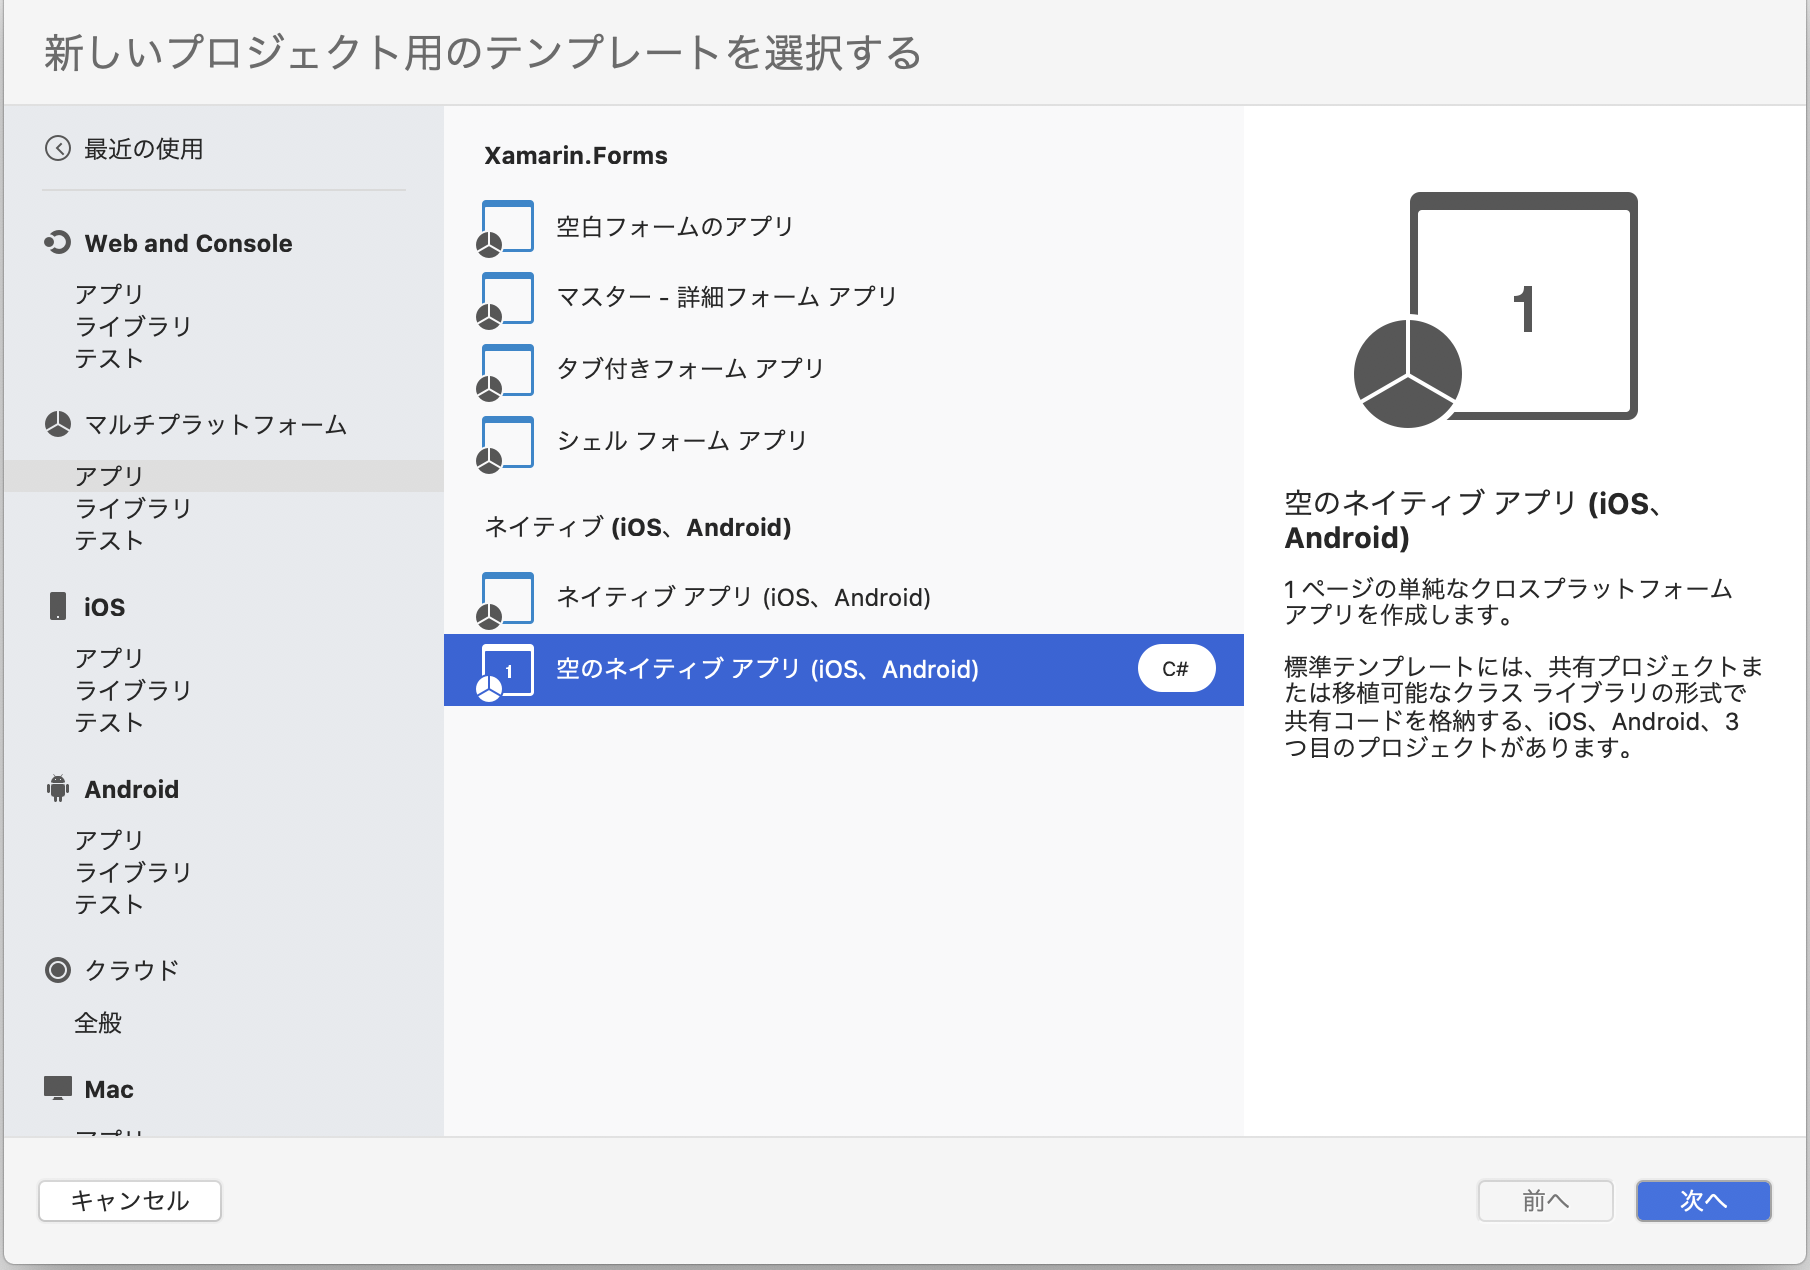
- 「マルチプラットフォーム」、「アプリ」、「空のネイティブアプリ」を選択し、次へ。
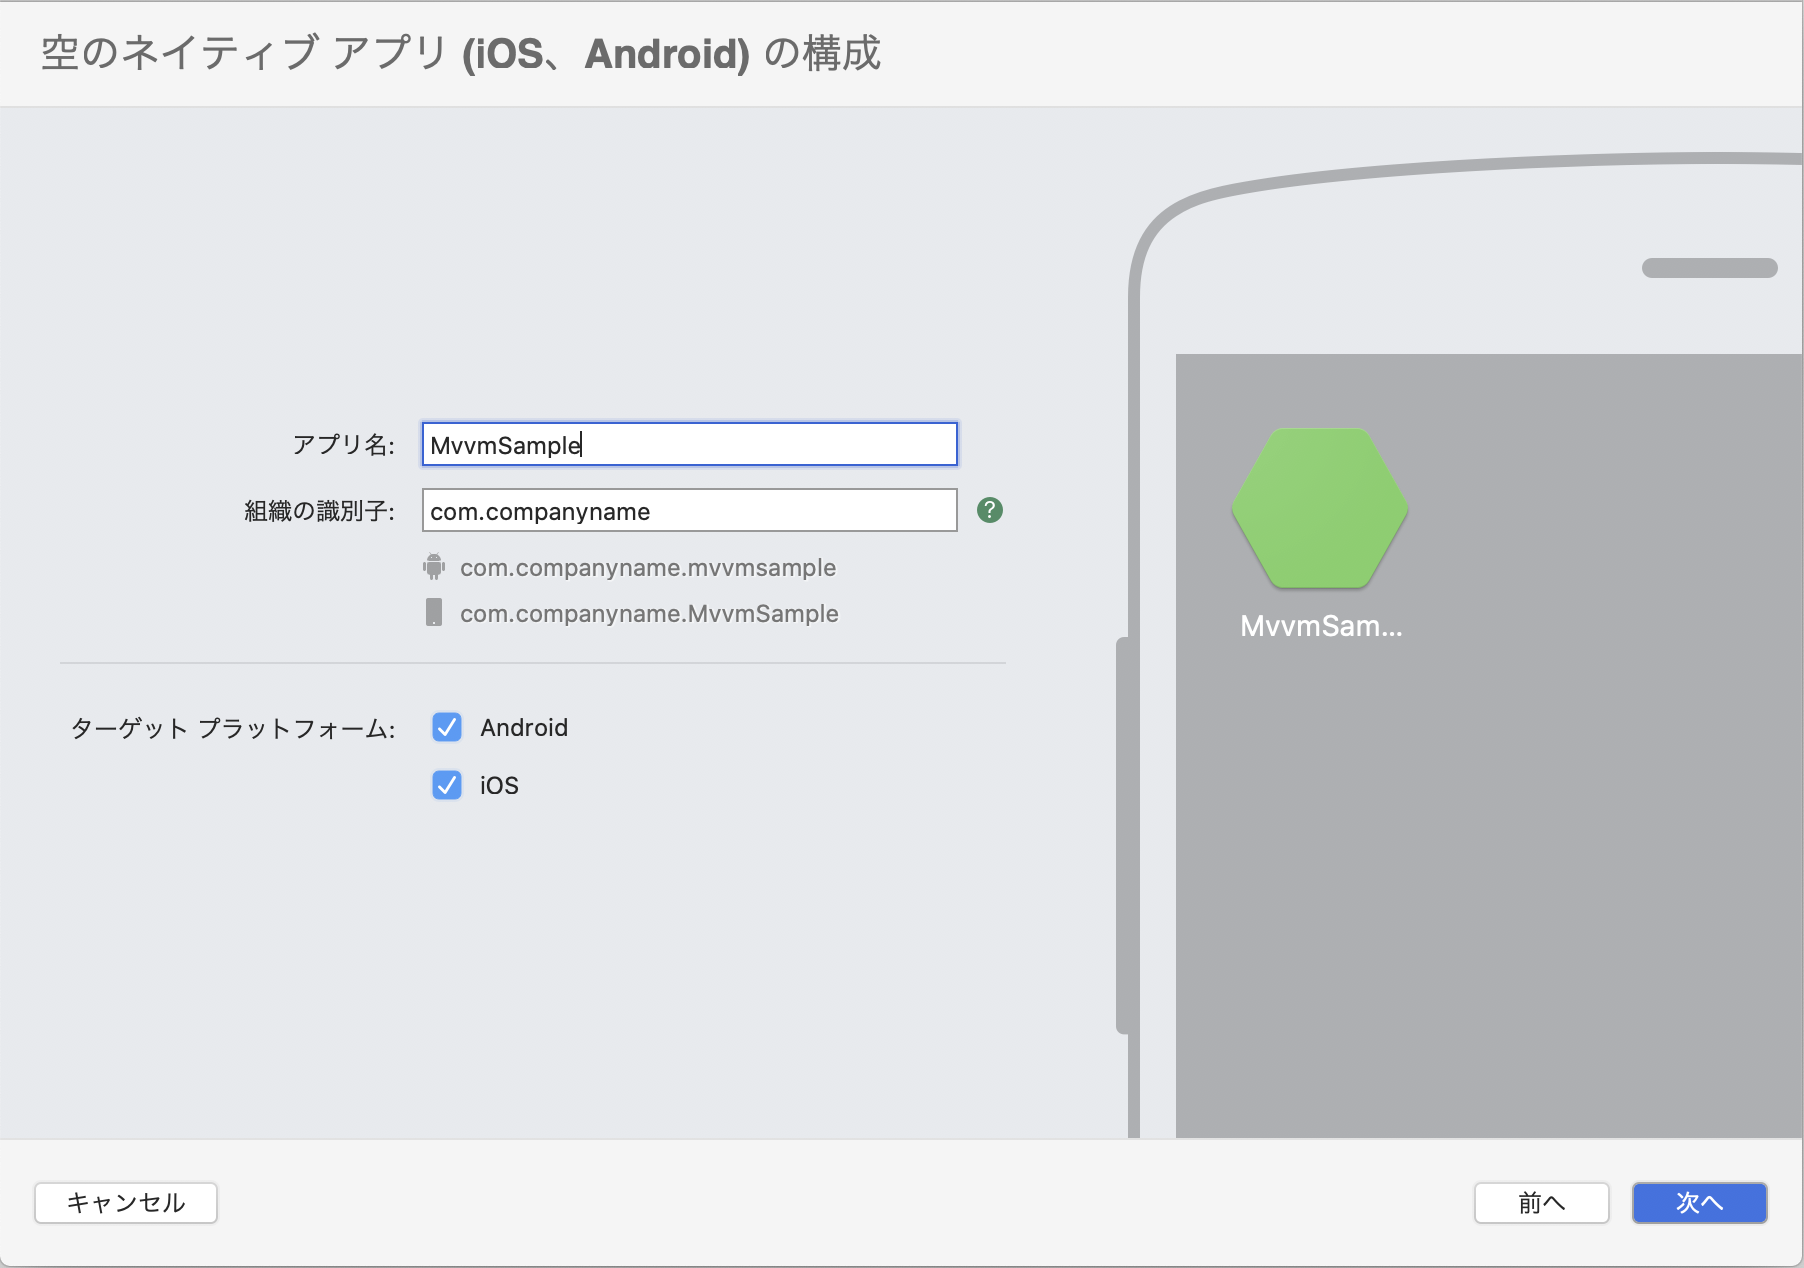
- 任意のアプリ名を入力し、次へ
- 「プロジェクト名」「ソリューション名」「場所」を指定し、作成を押下する。

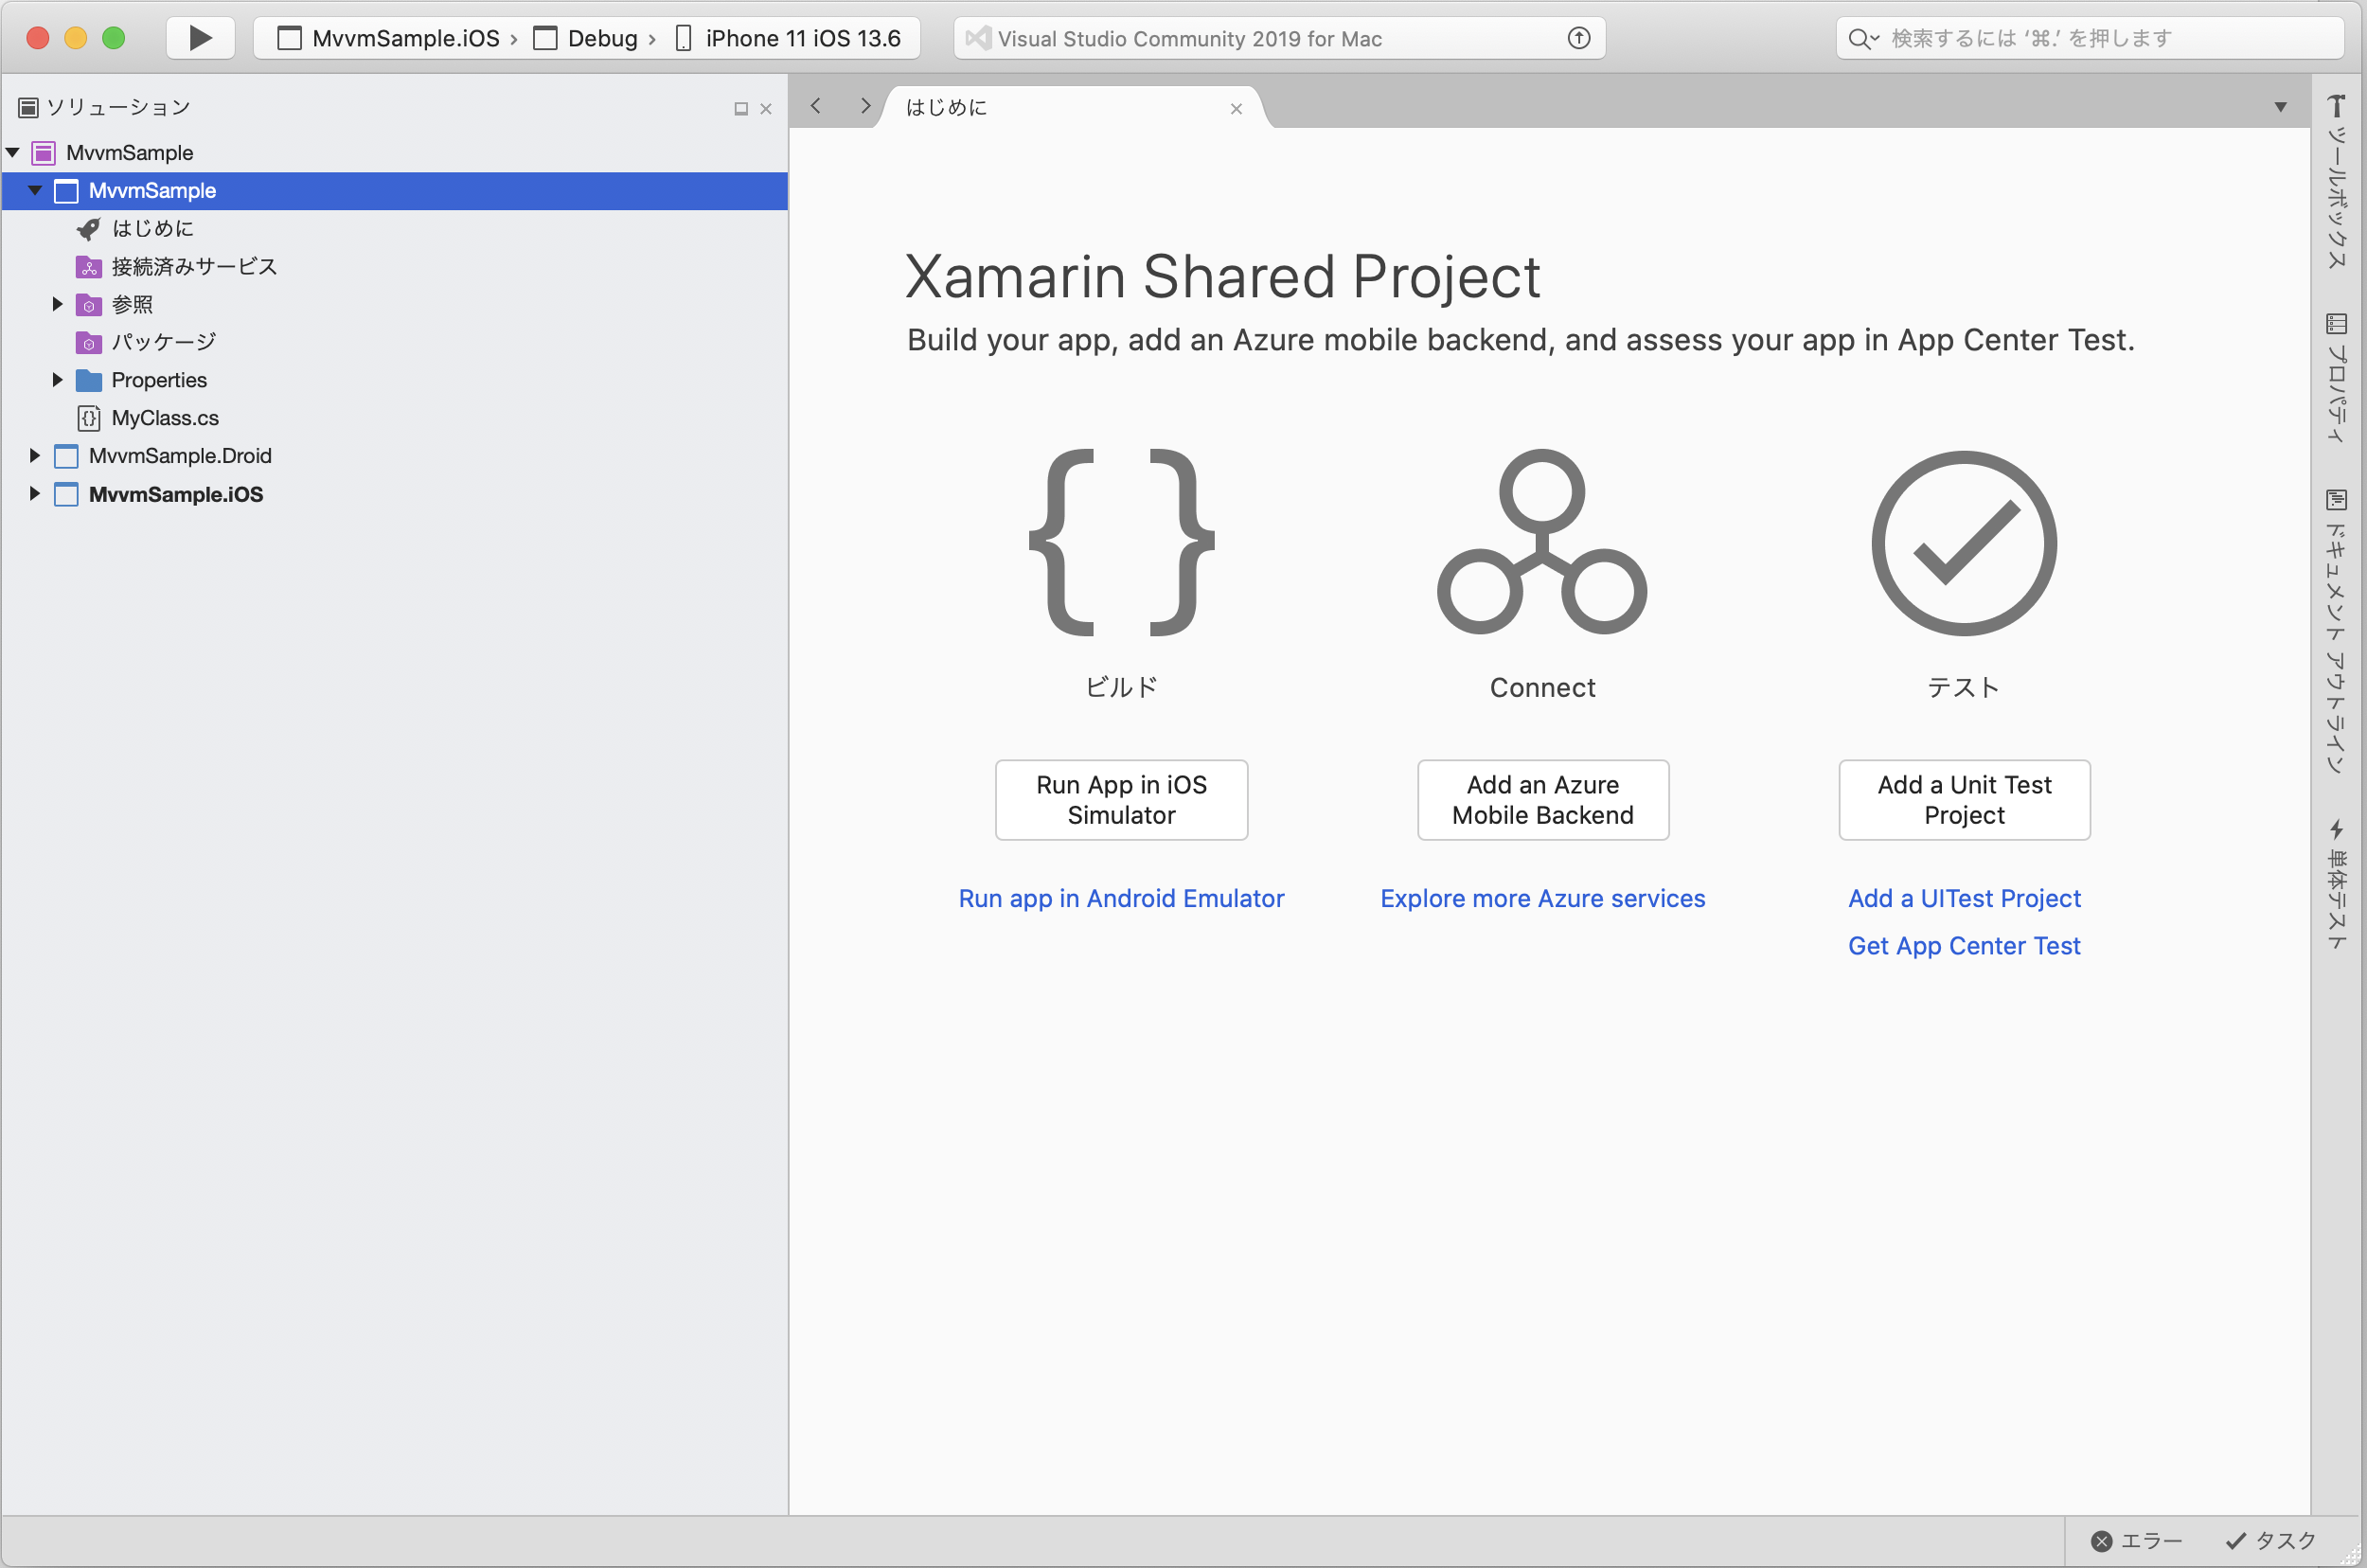
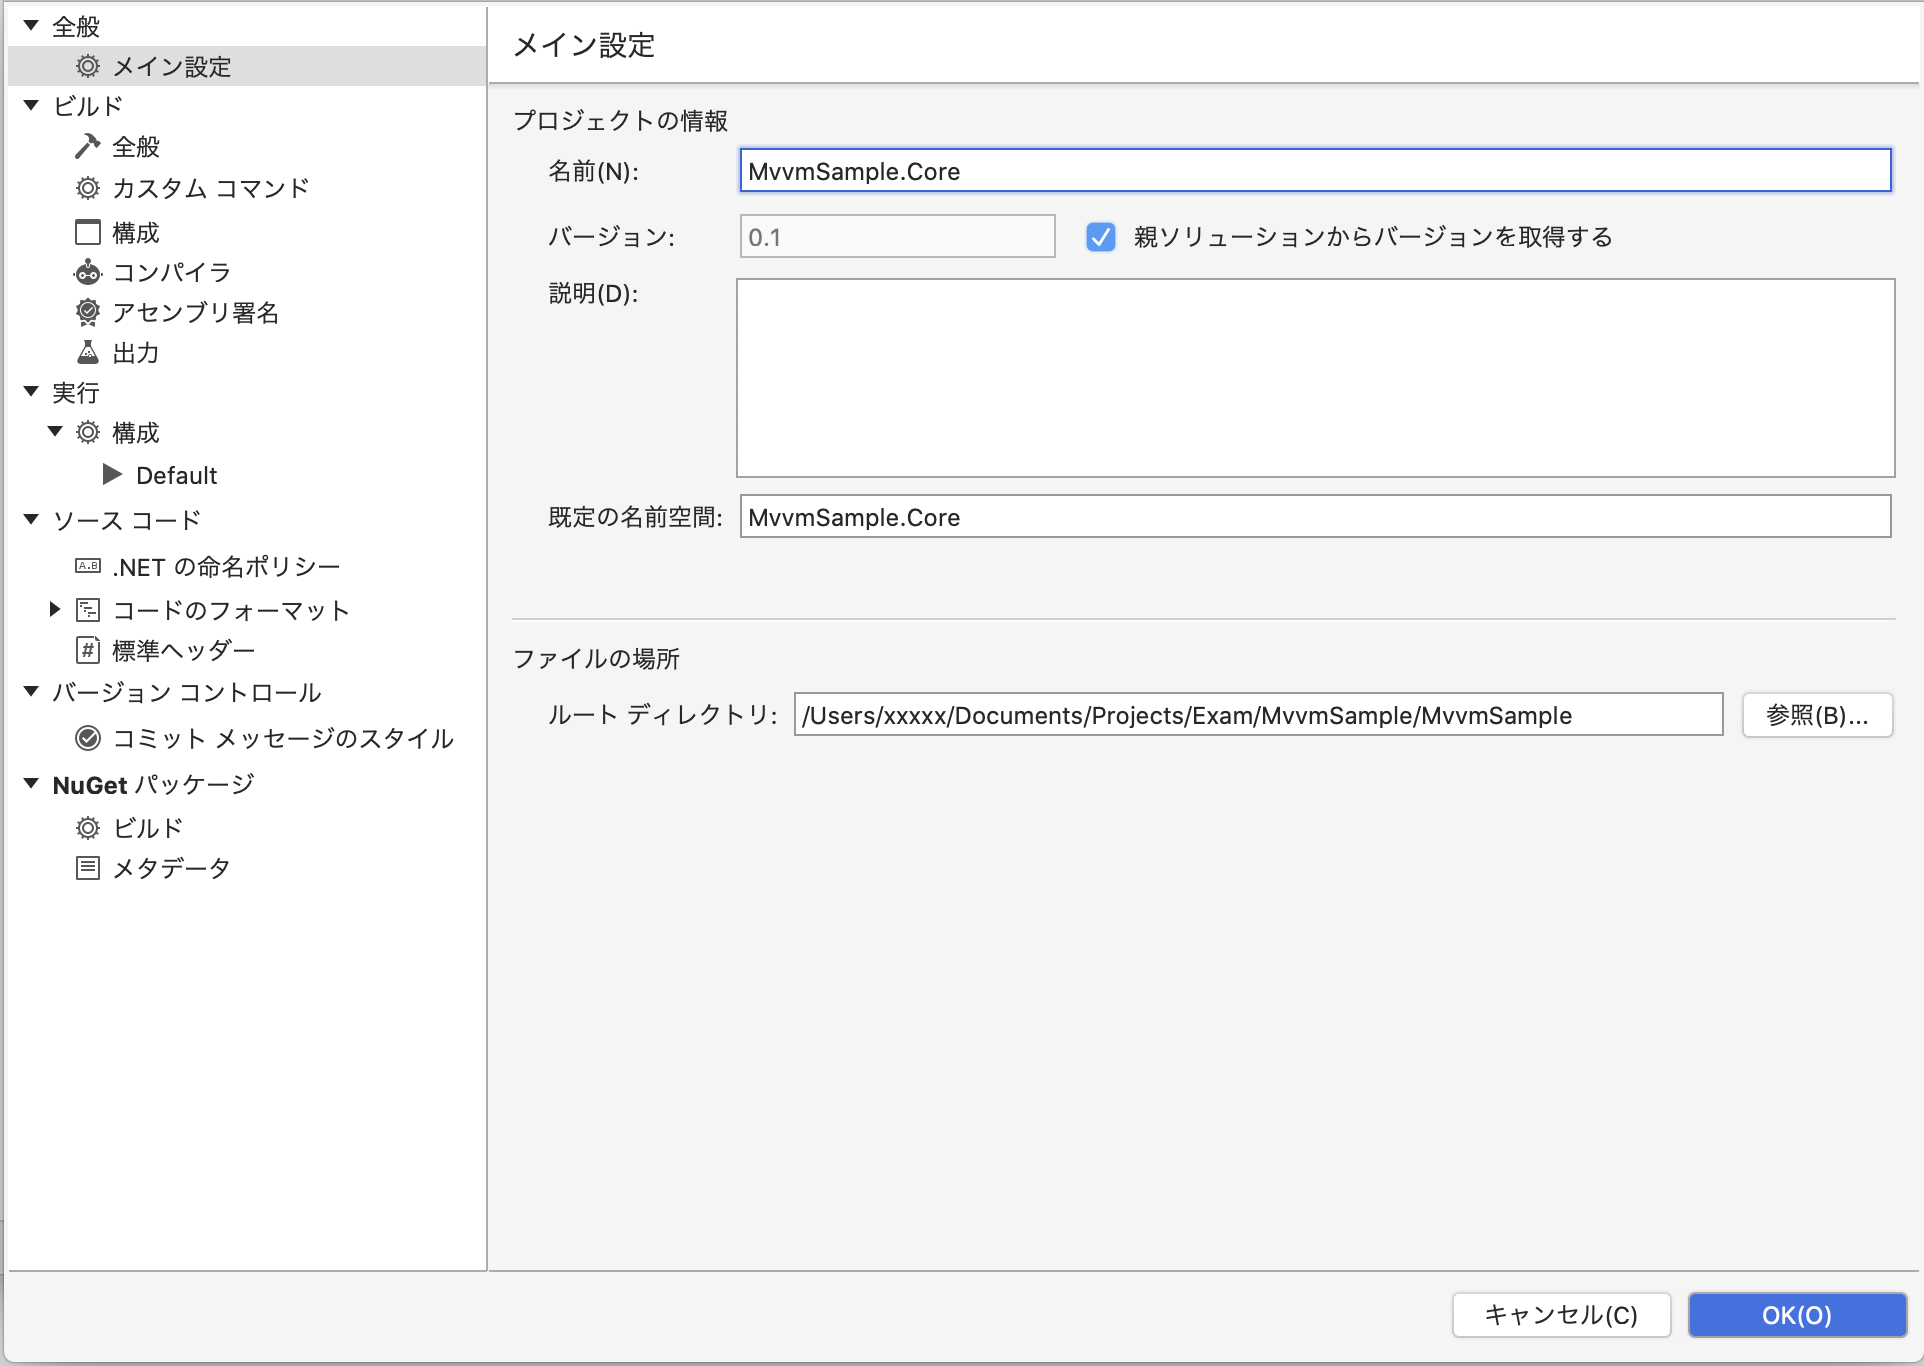
- 「Coreプロジェクト(画面上で選択しているプロジェクト「MvvmSample」)」のオプションを開く
- プロジェクト情報の「名前」「規程の名前空間」に「既存プロジェクト名+.Core」と設定し、OKを押下。
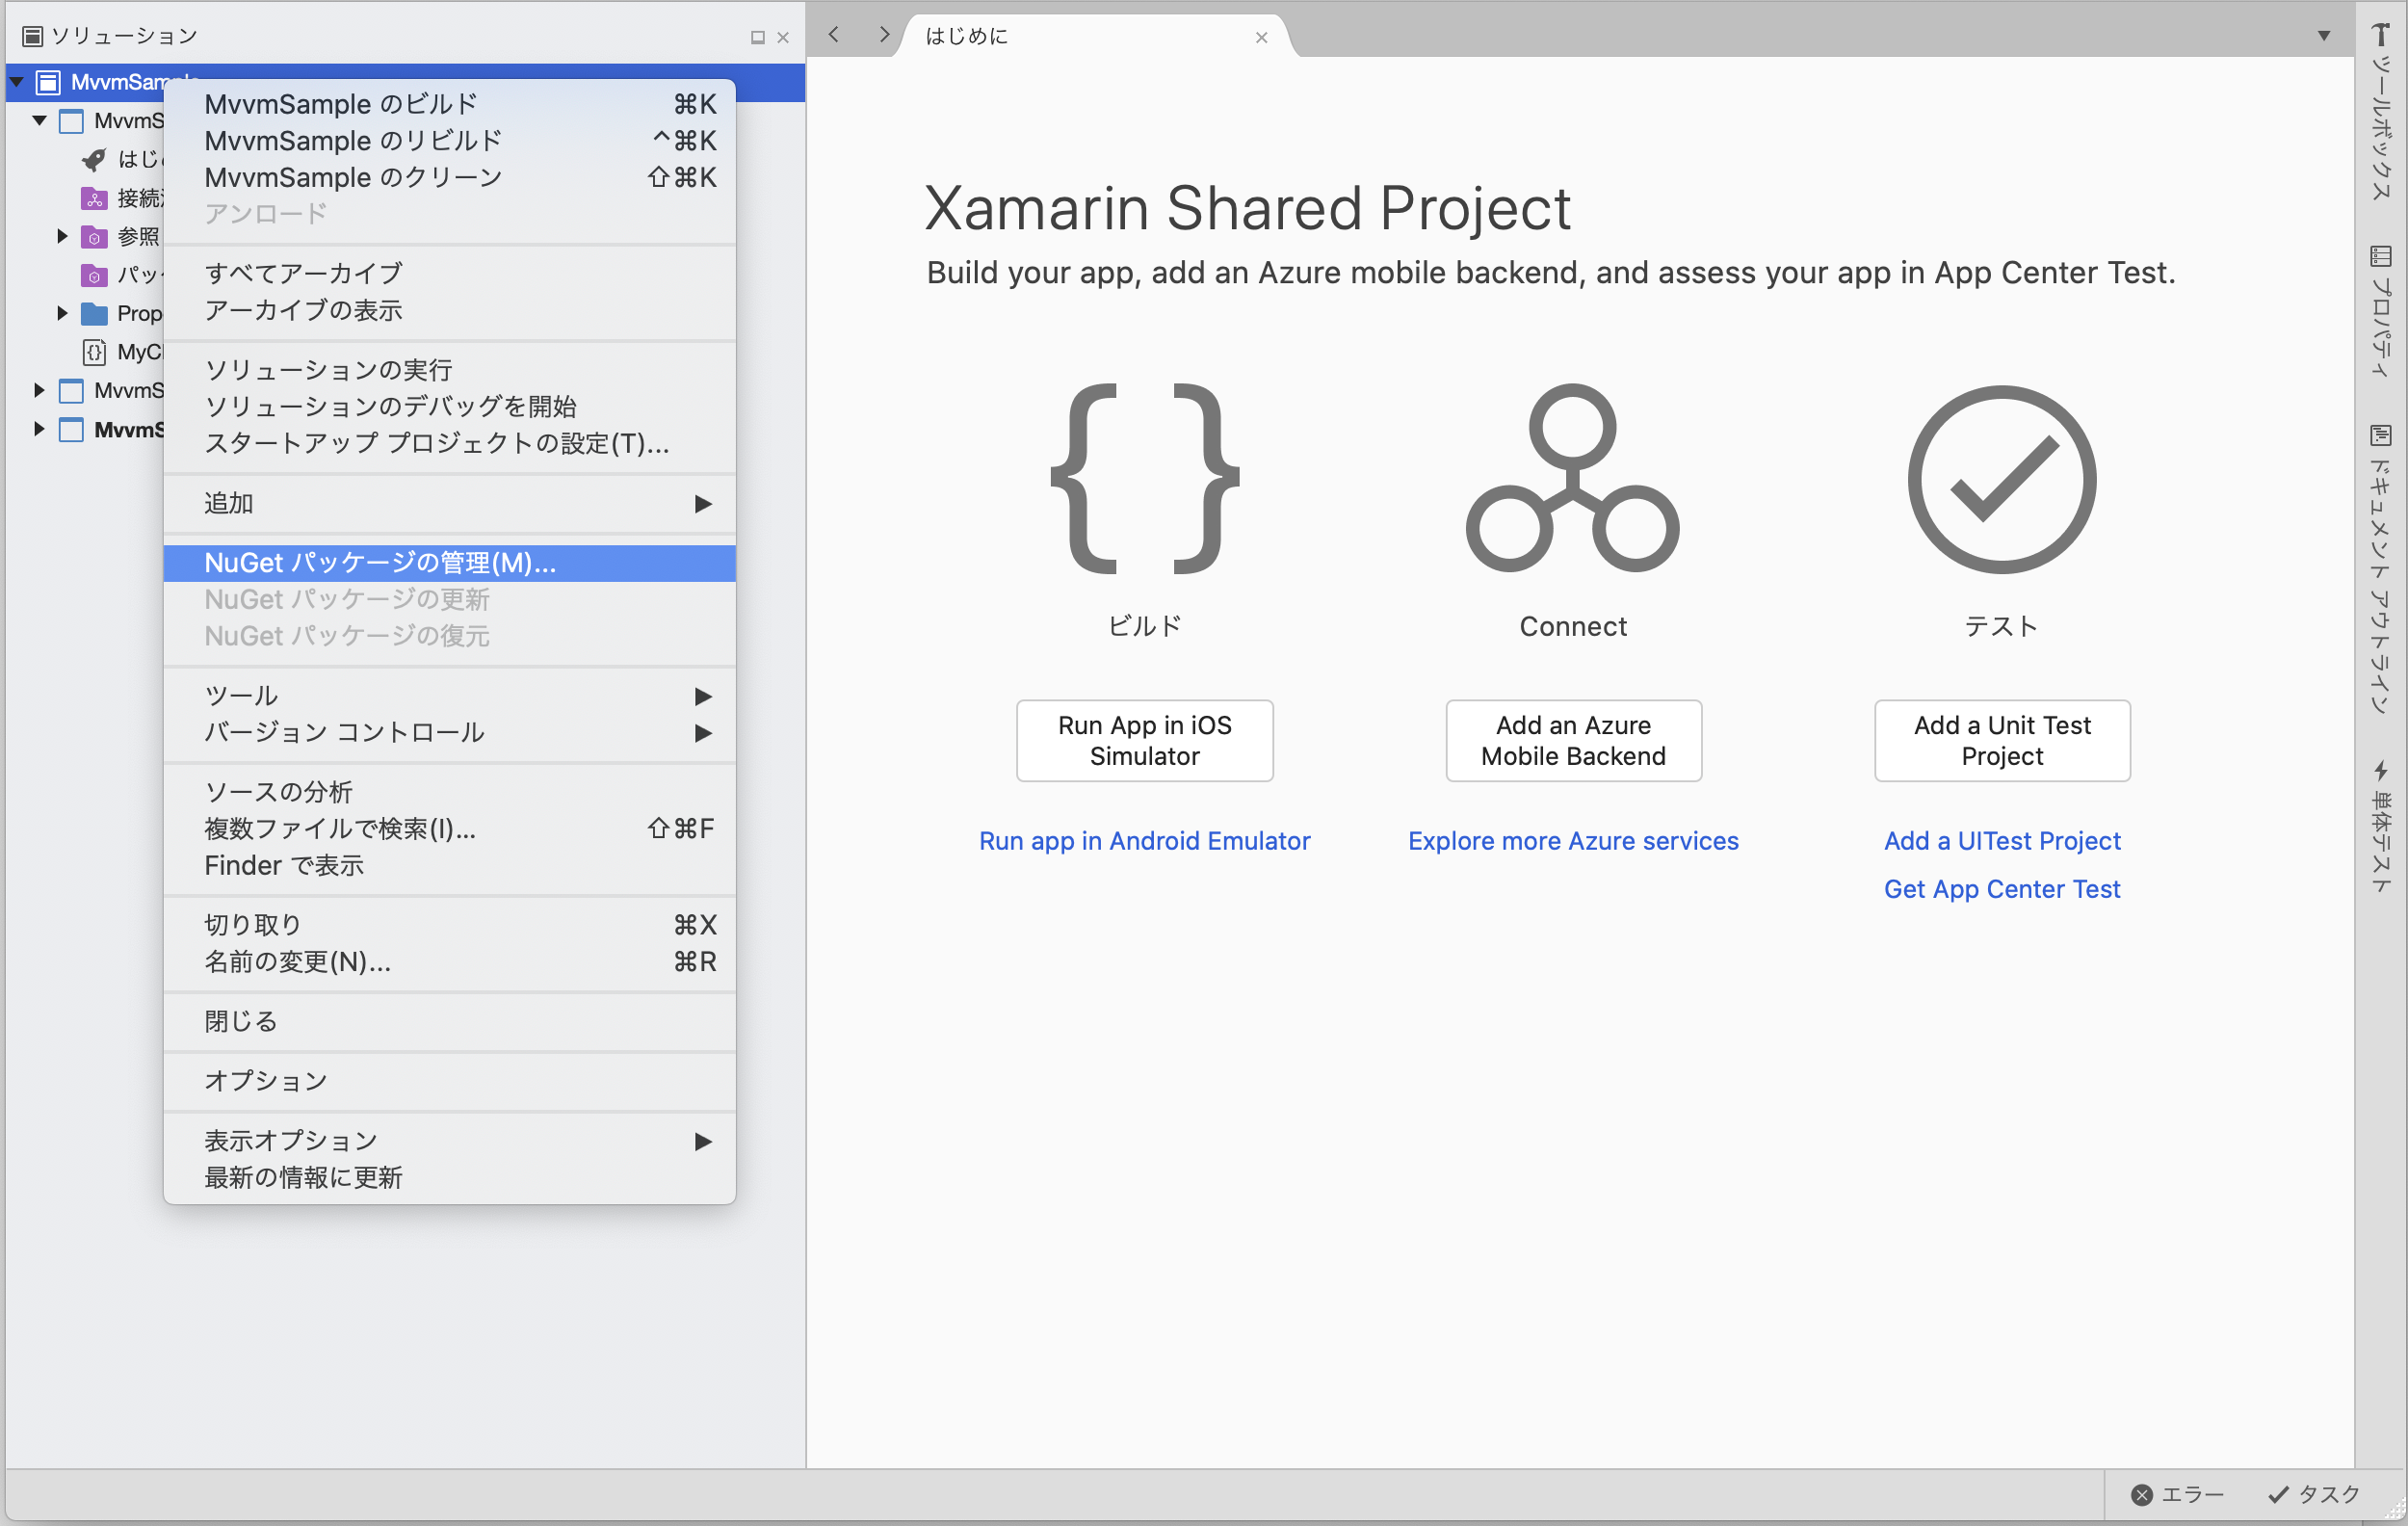
- ソリューションを選択し、「NuGetパッケージの管理」を開く。
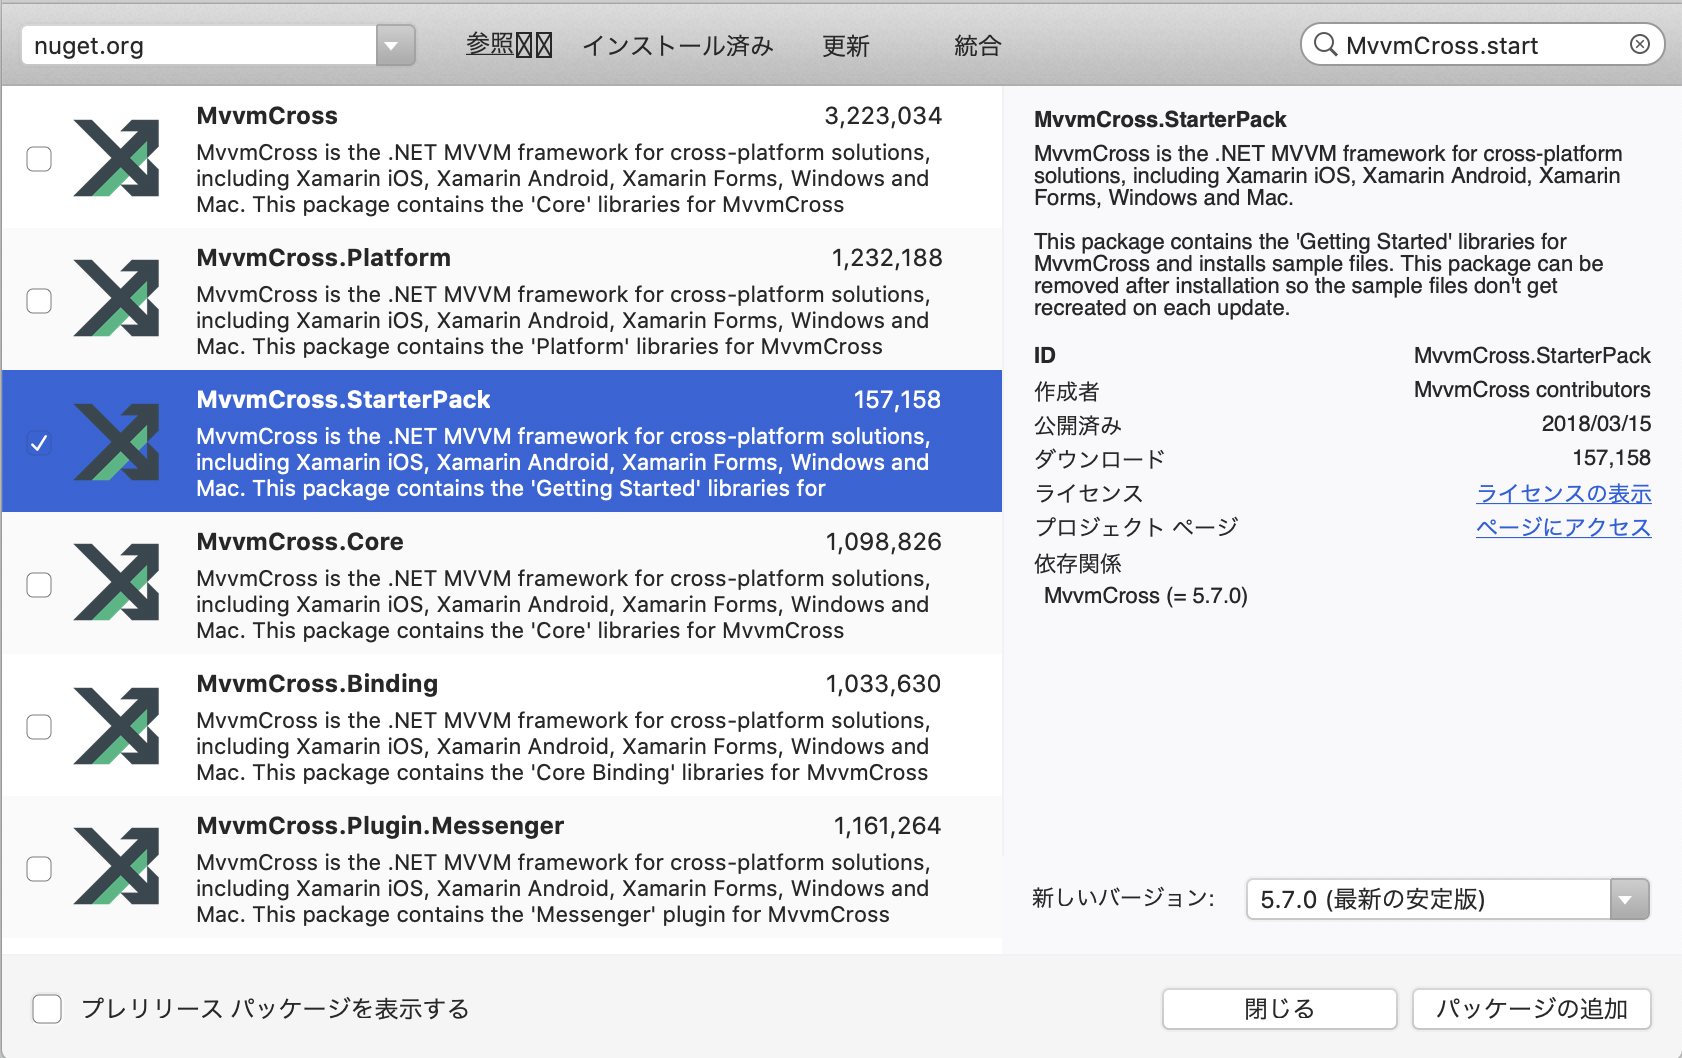
- 検索から「MvvmCross.StarterPack」を検索し、バージョンを選択し、パッケージの追加を押下。
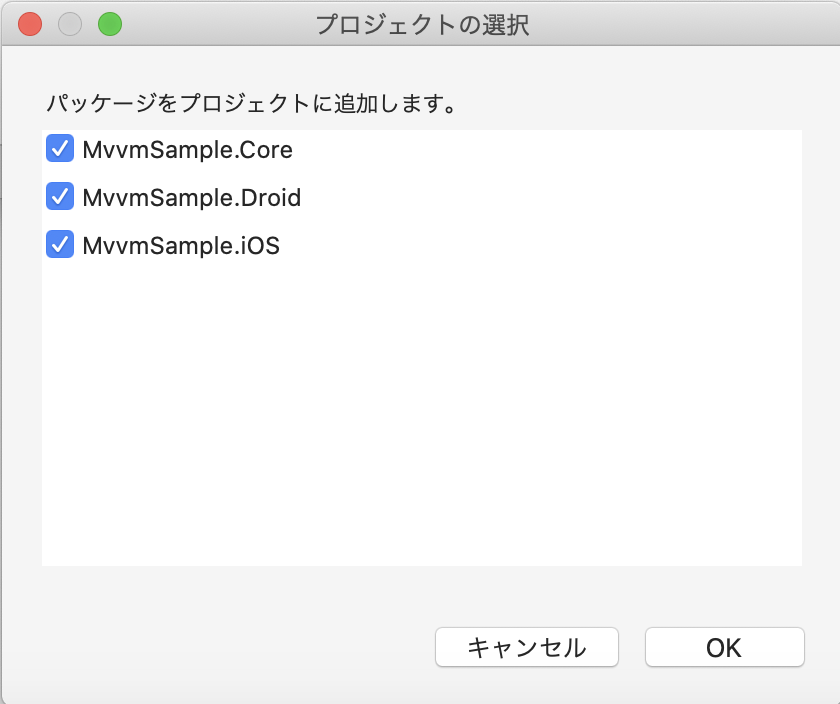
- すべてのプロジェクトを選択し、OKを押下。
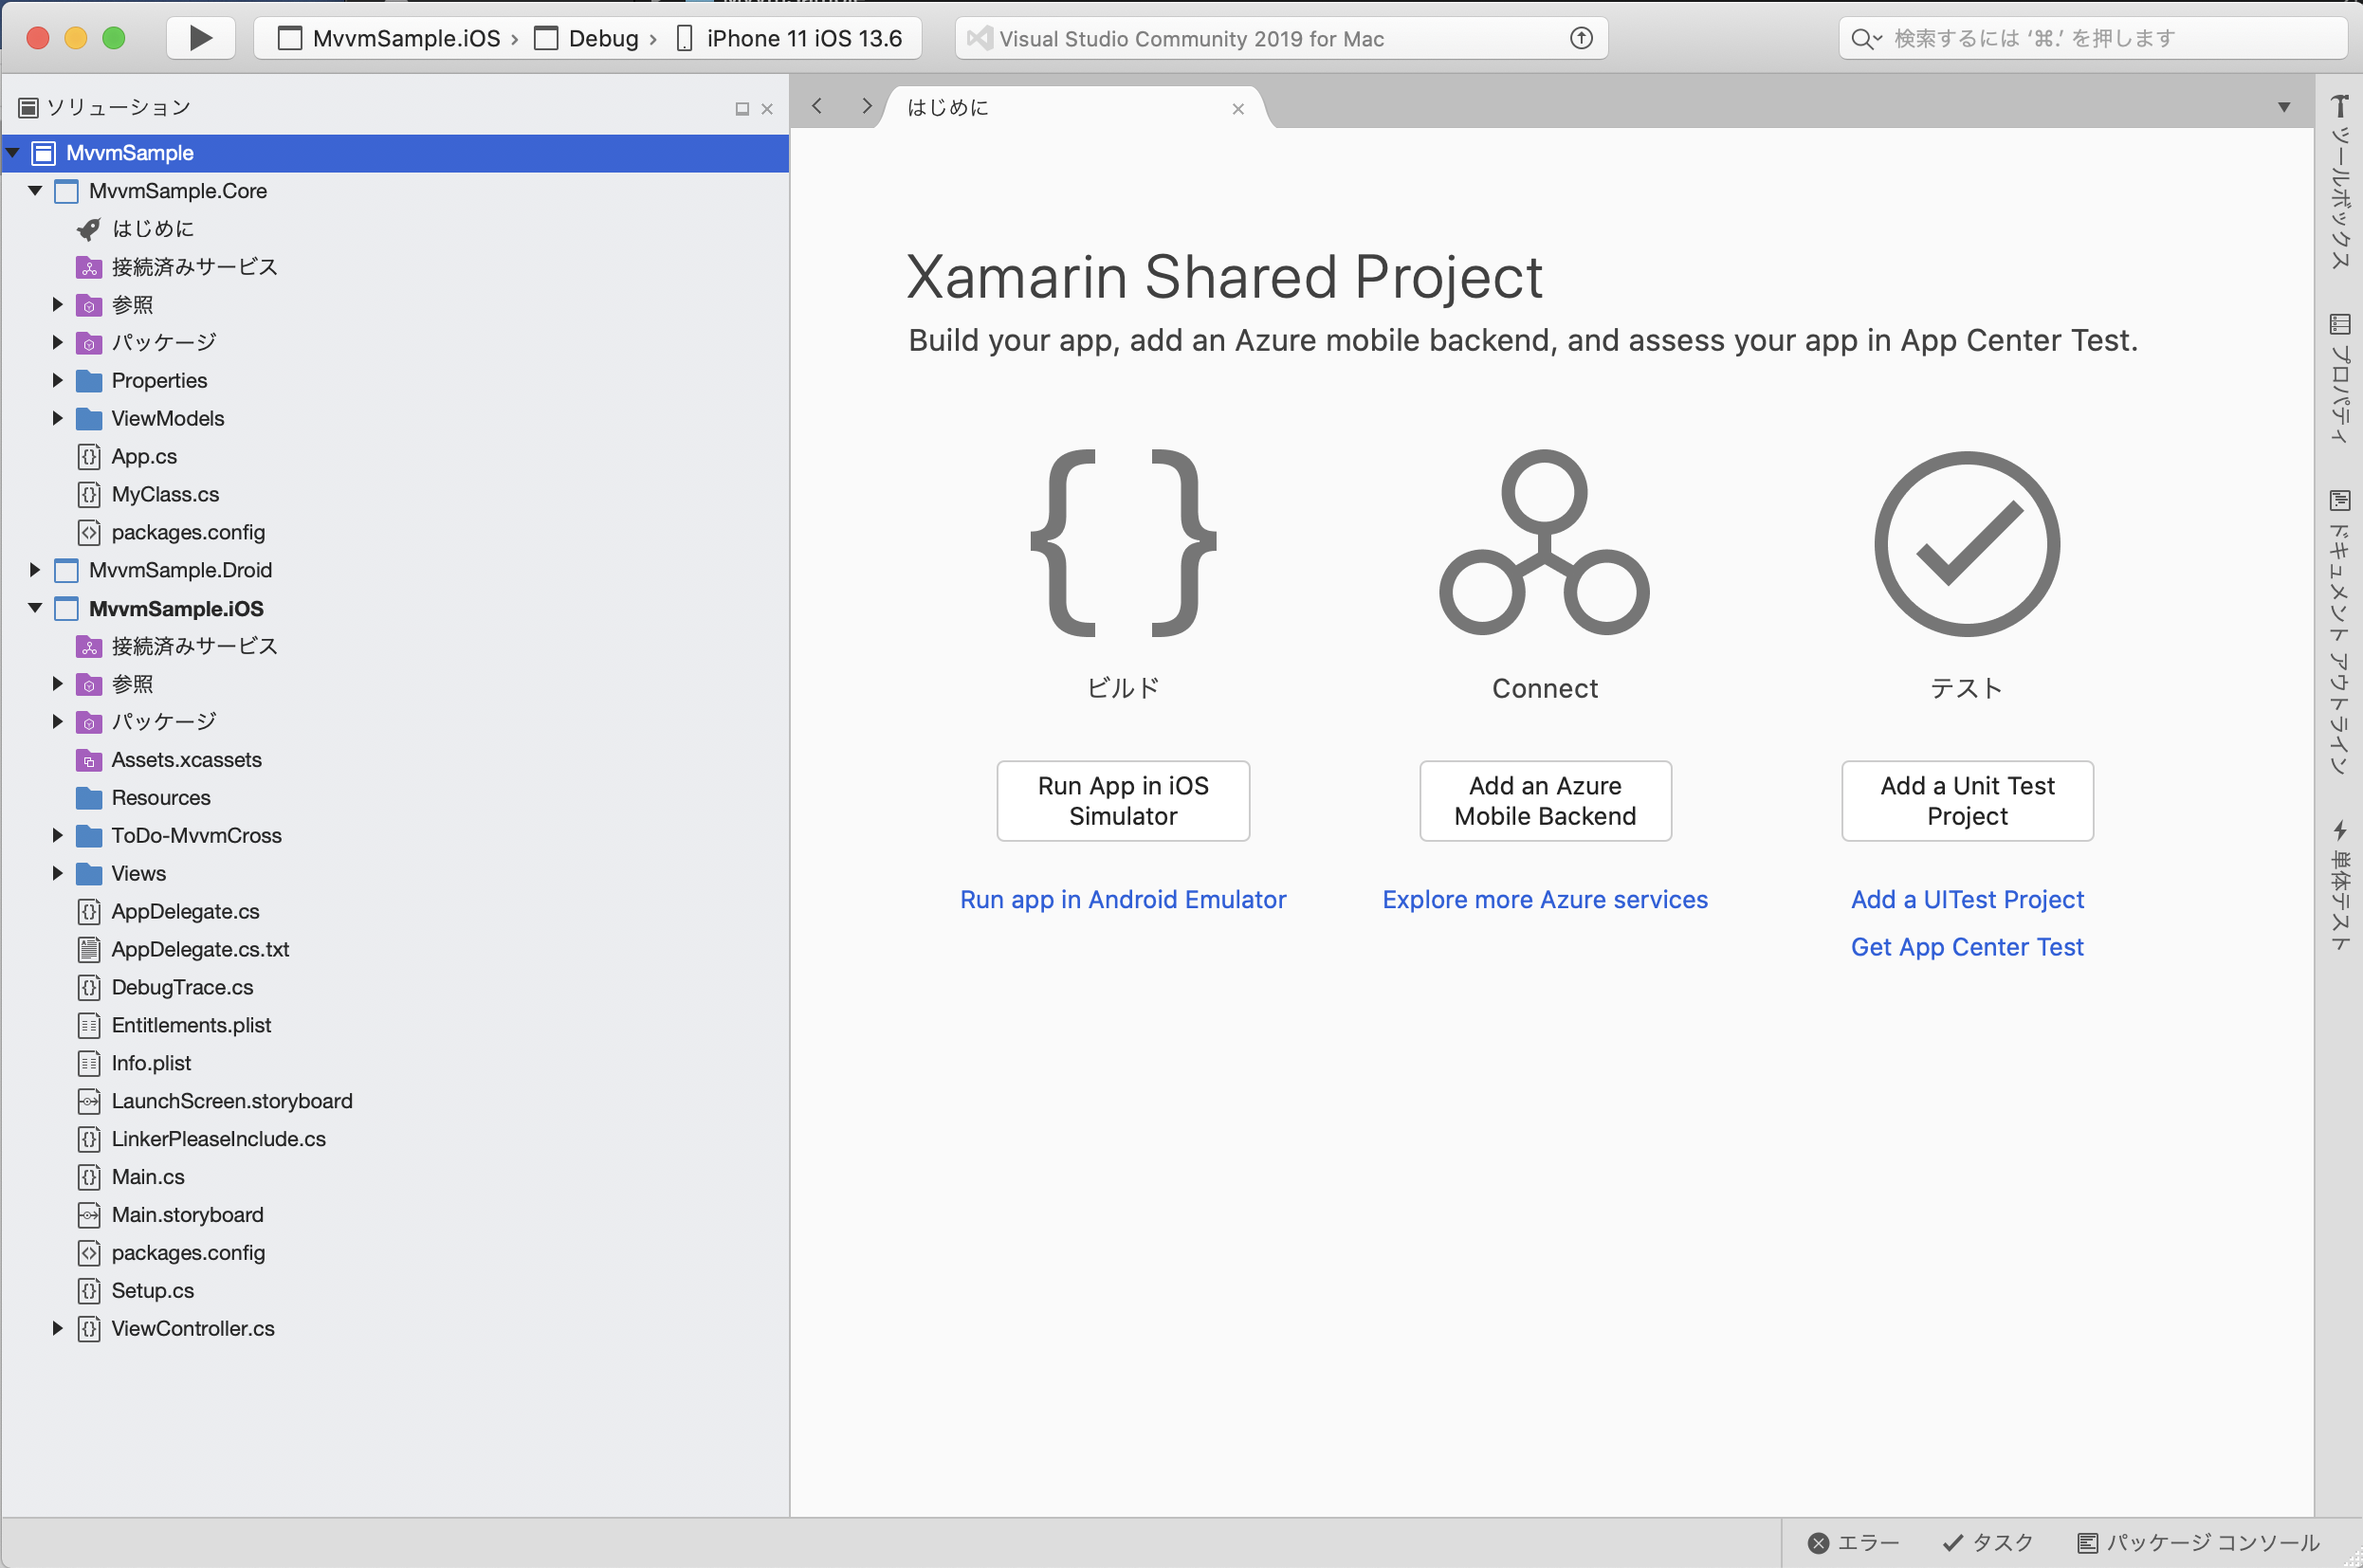
- 「〜.Core」に「Properties」「ViewModels」が追加され、
「〜.Droid」「〜.iOS」に「Views」が追加されていることを確認する。
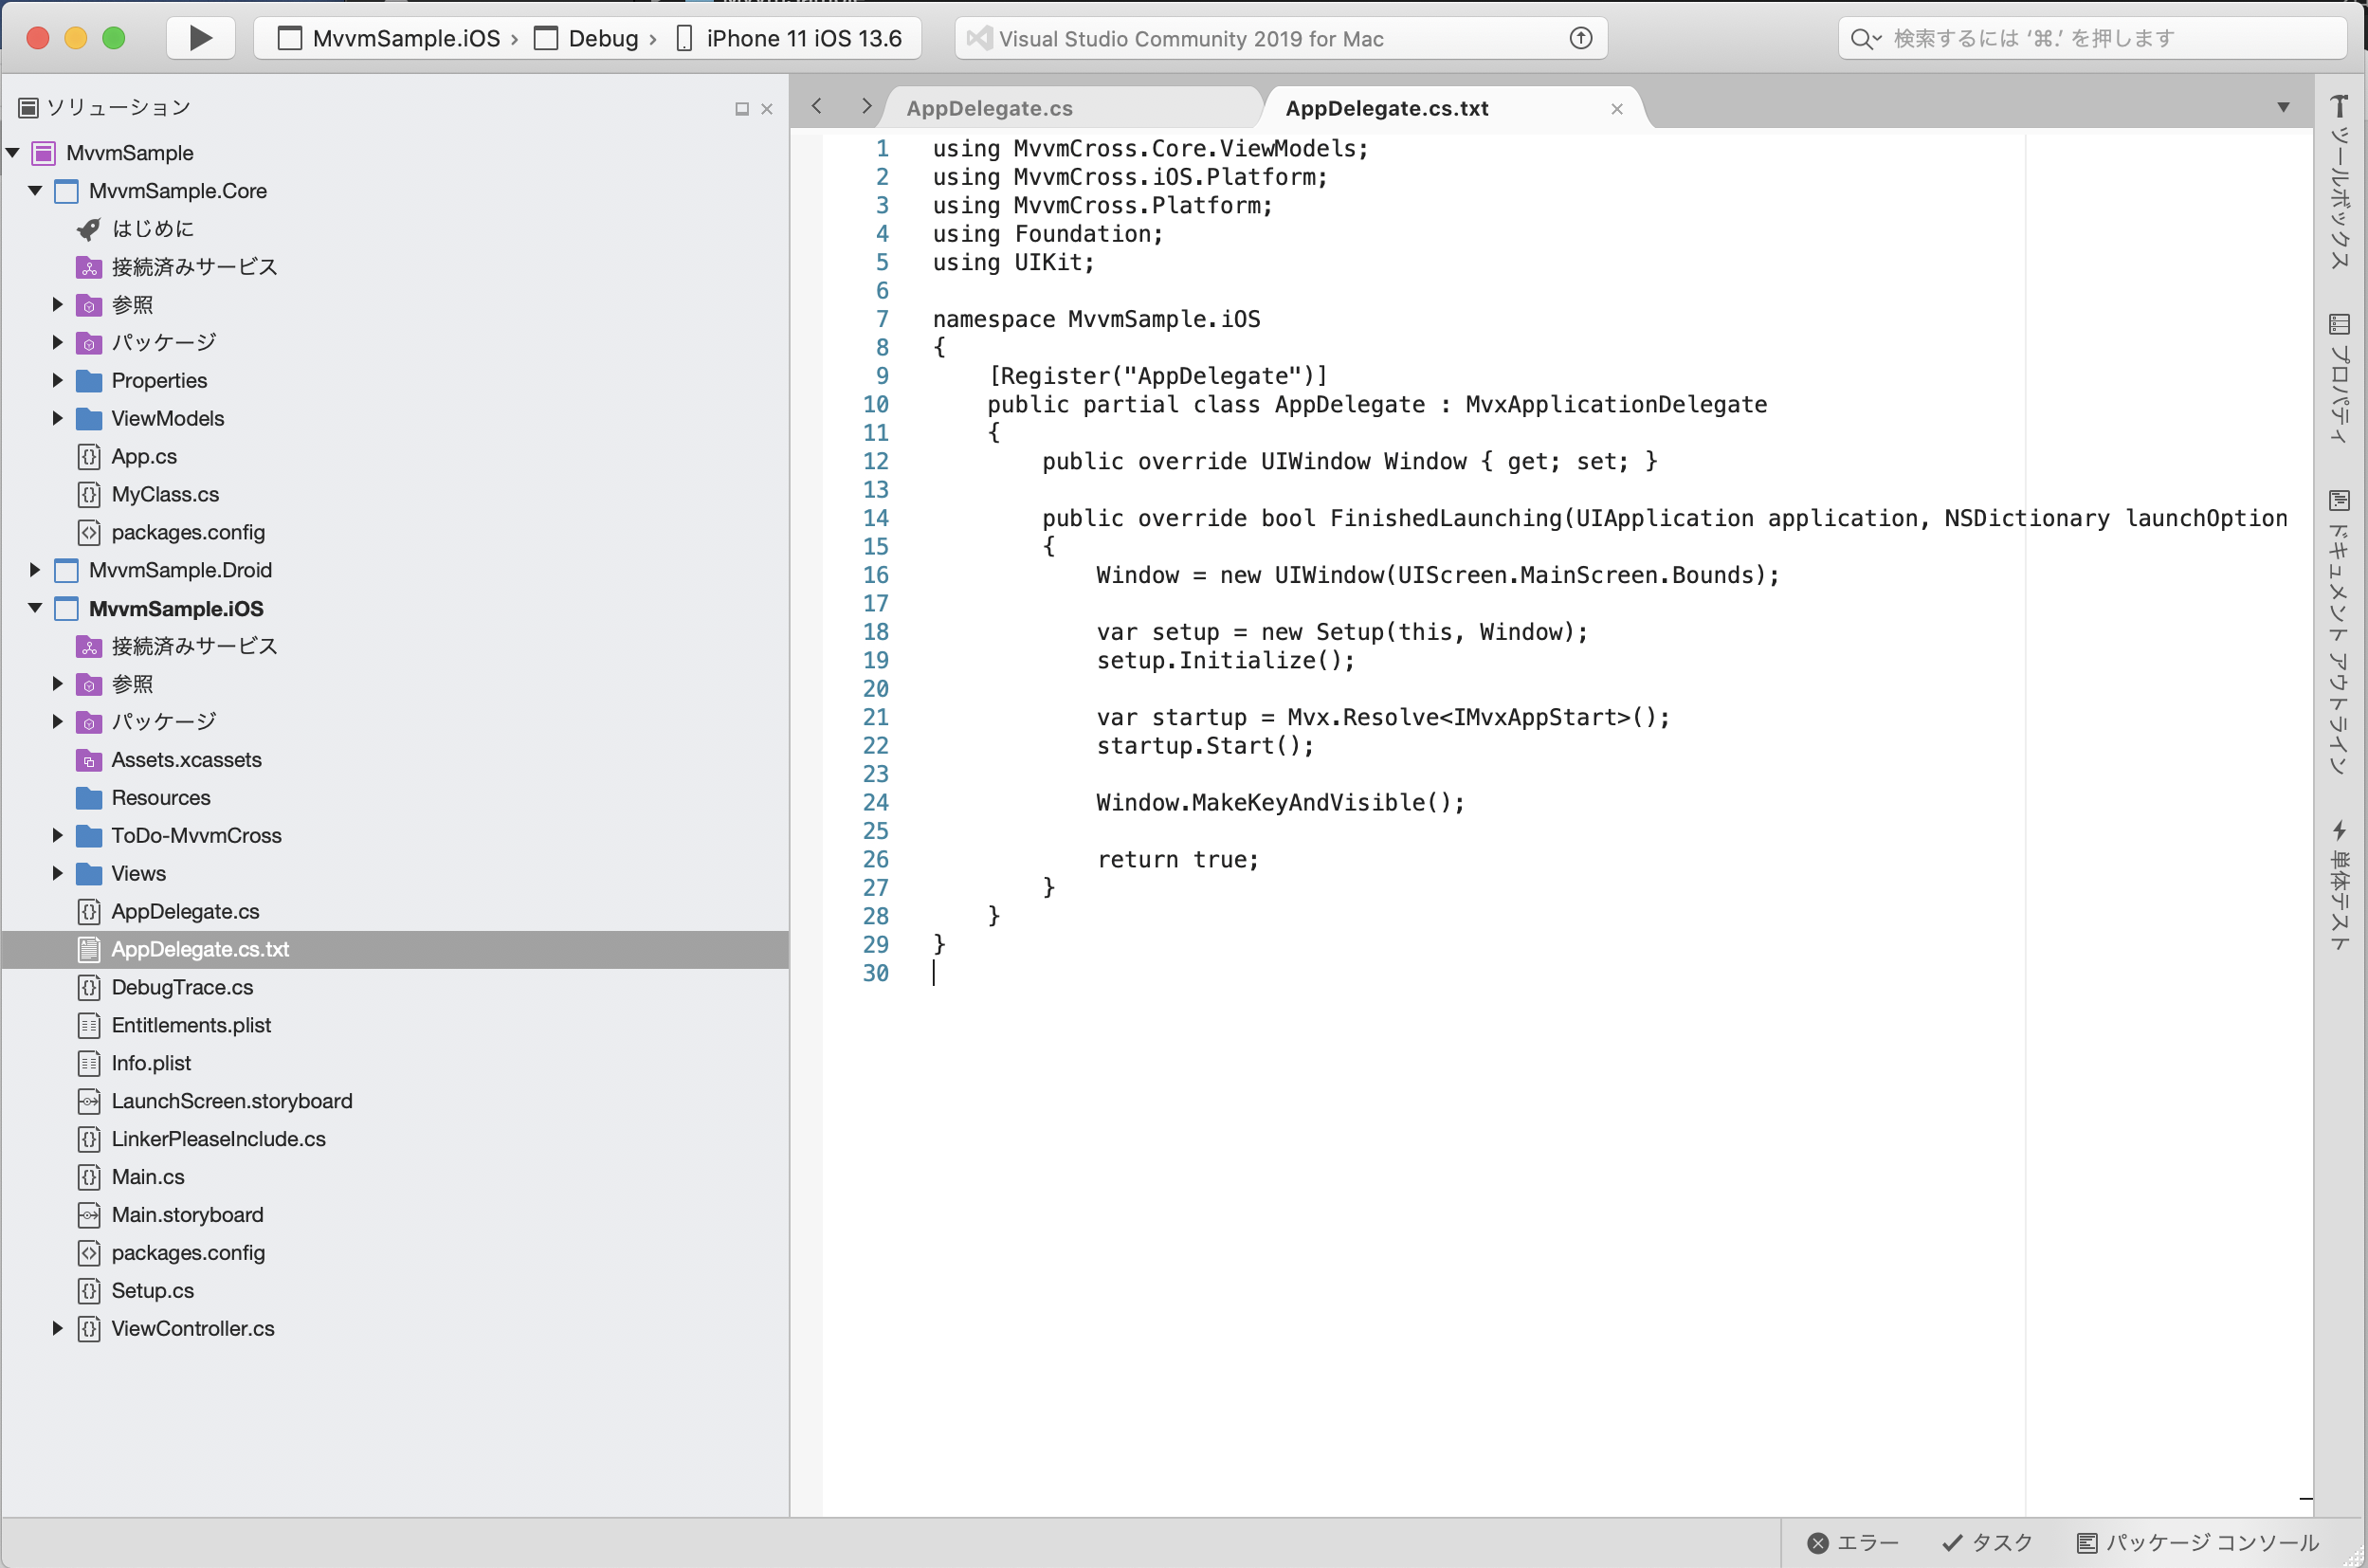
11.「AppDelegate.cs.txt」の内容で「AppDelegate.cs」を書き換え、保存する。
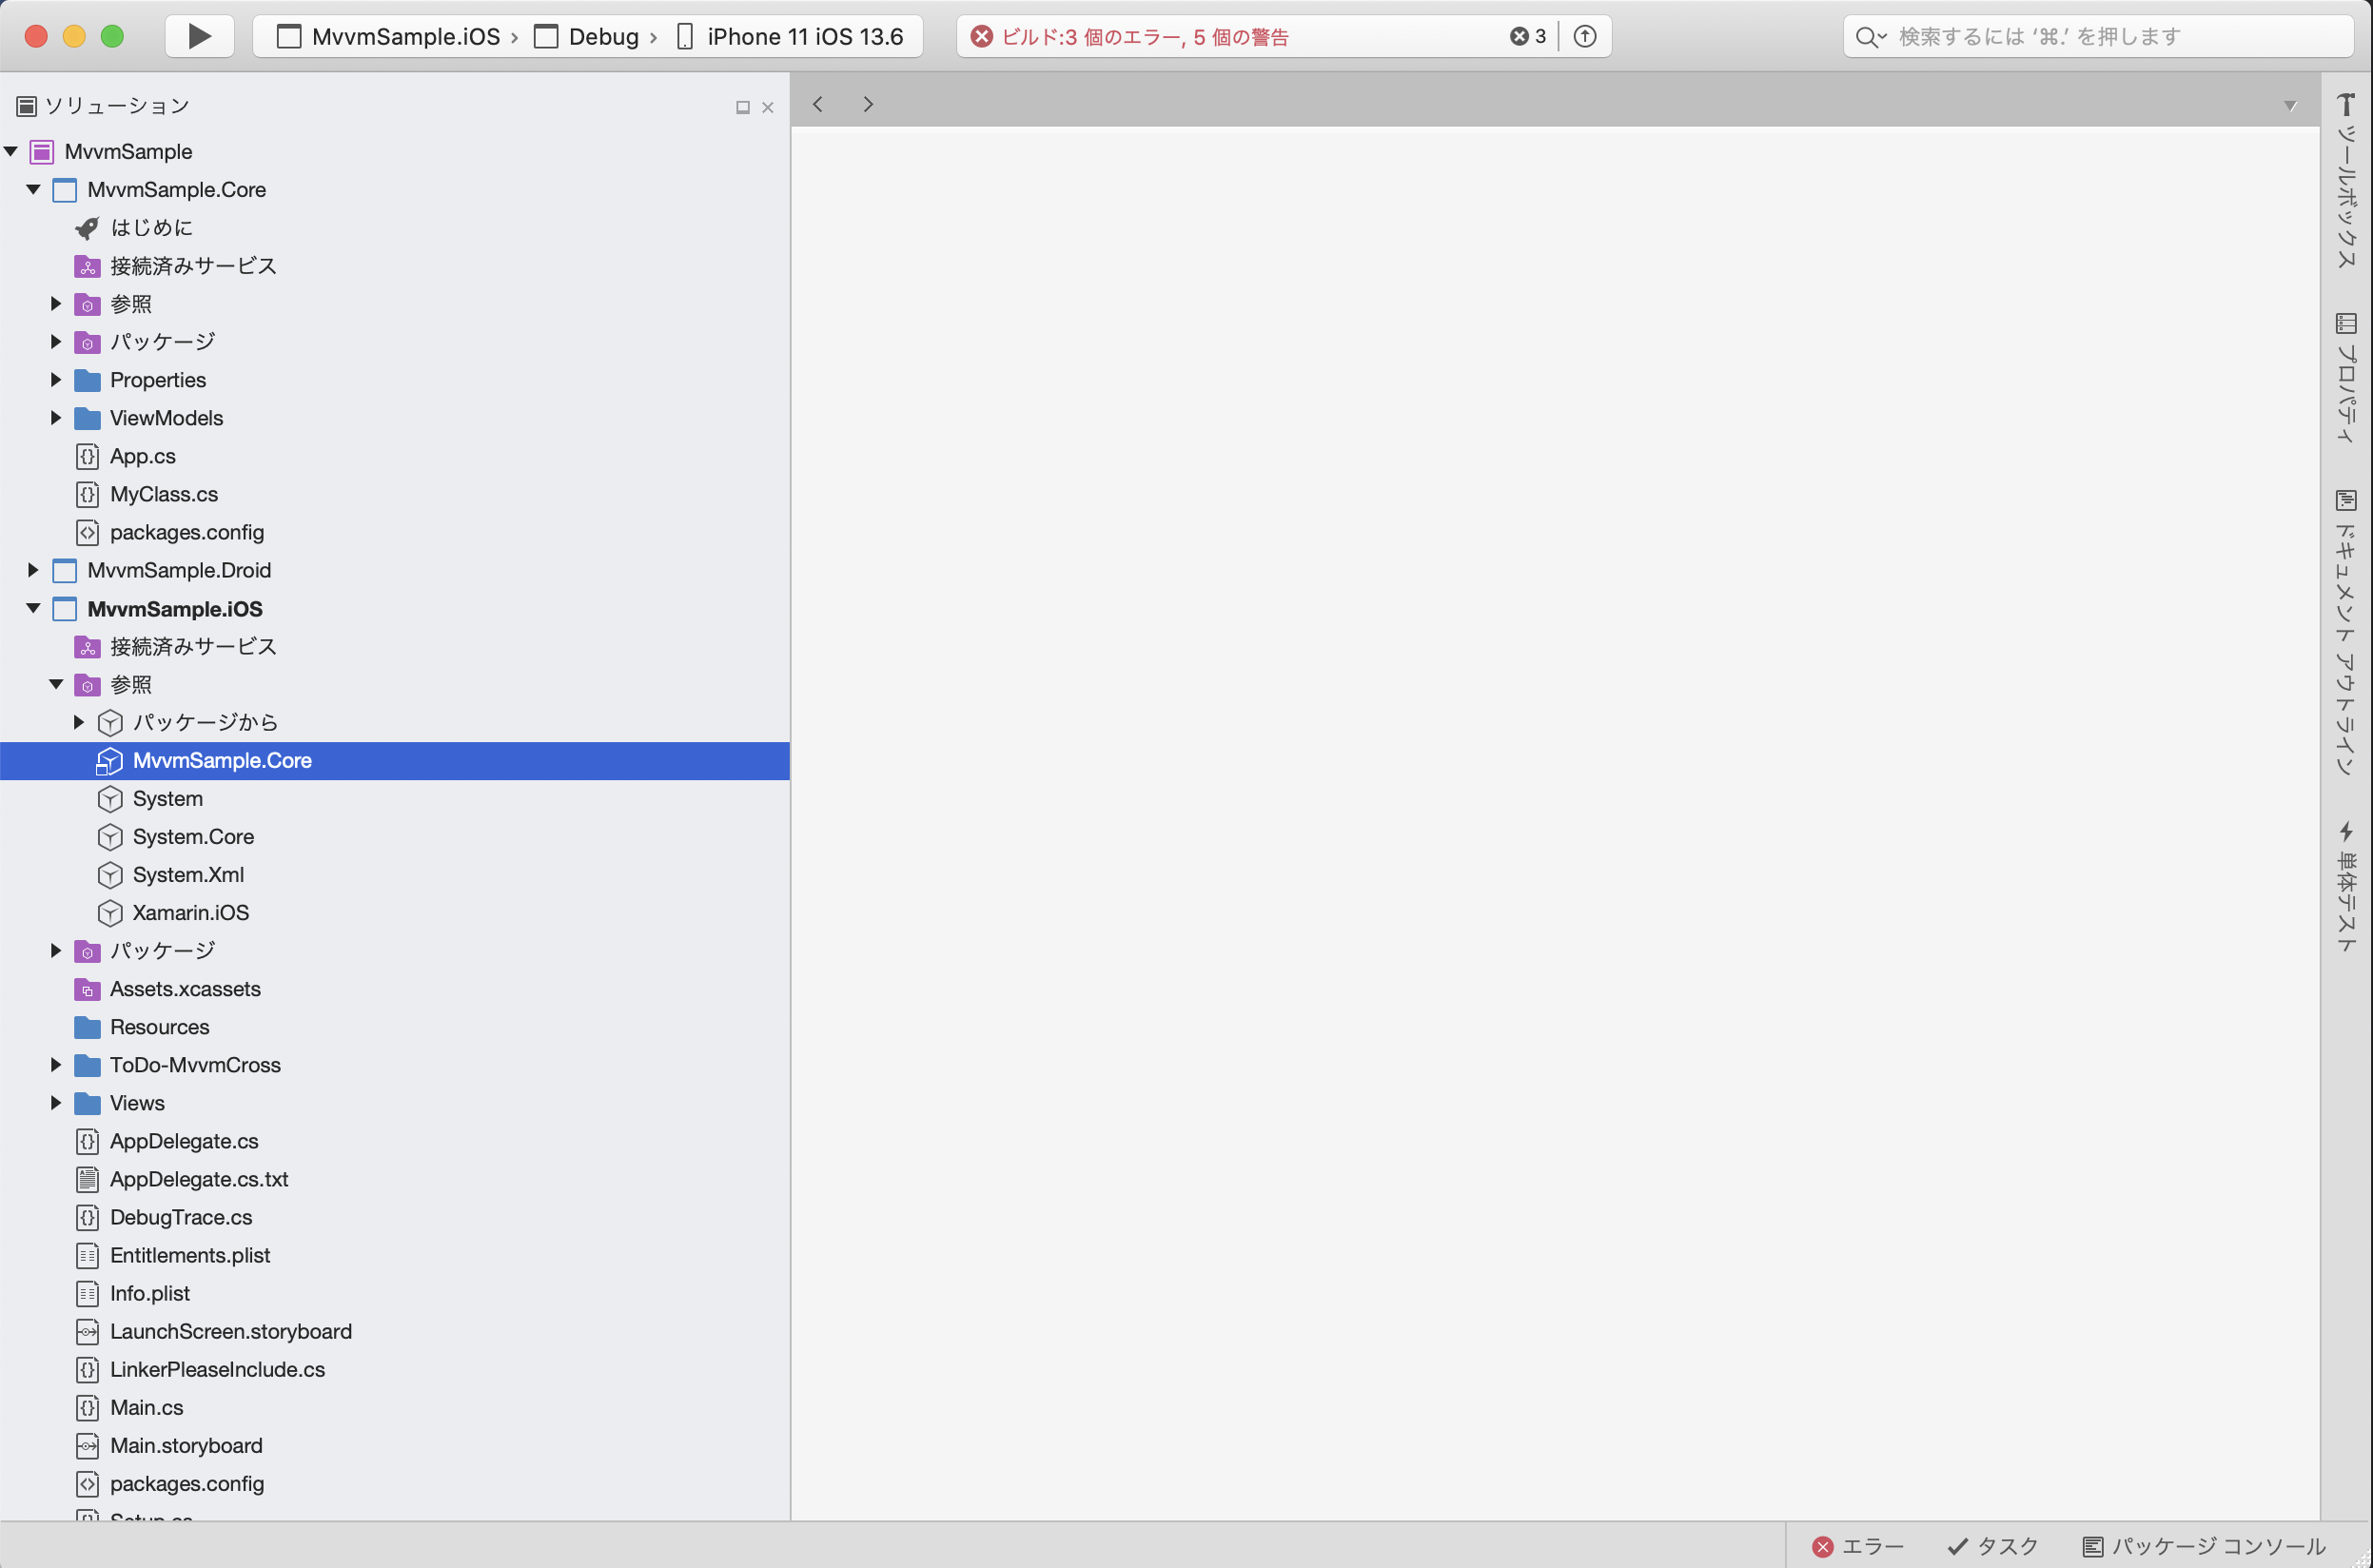
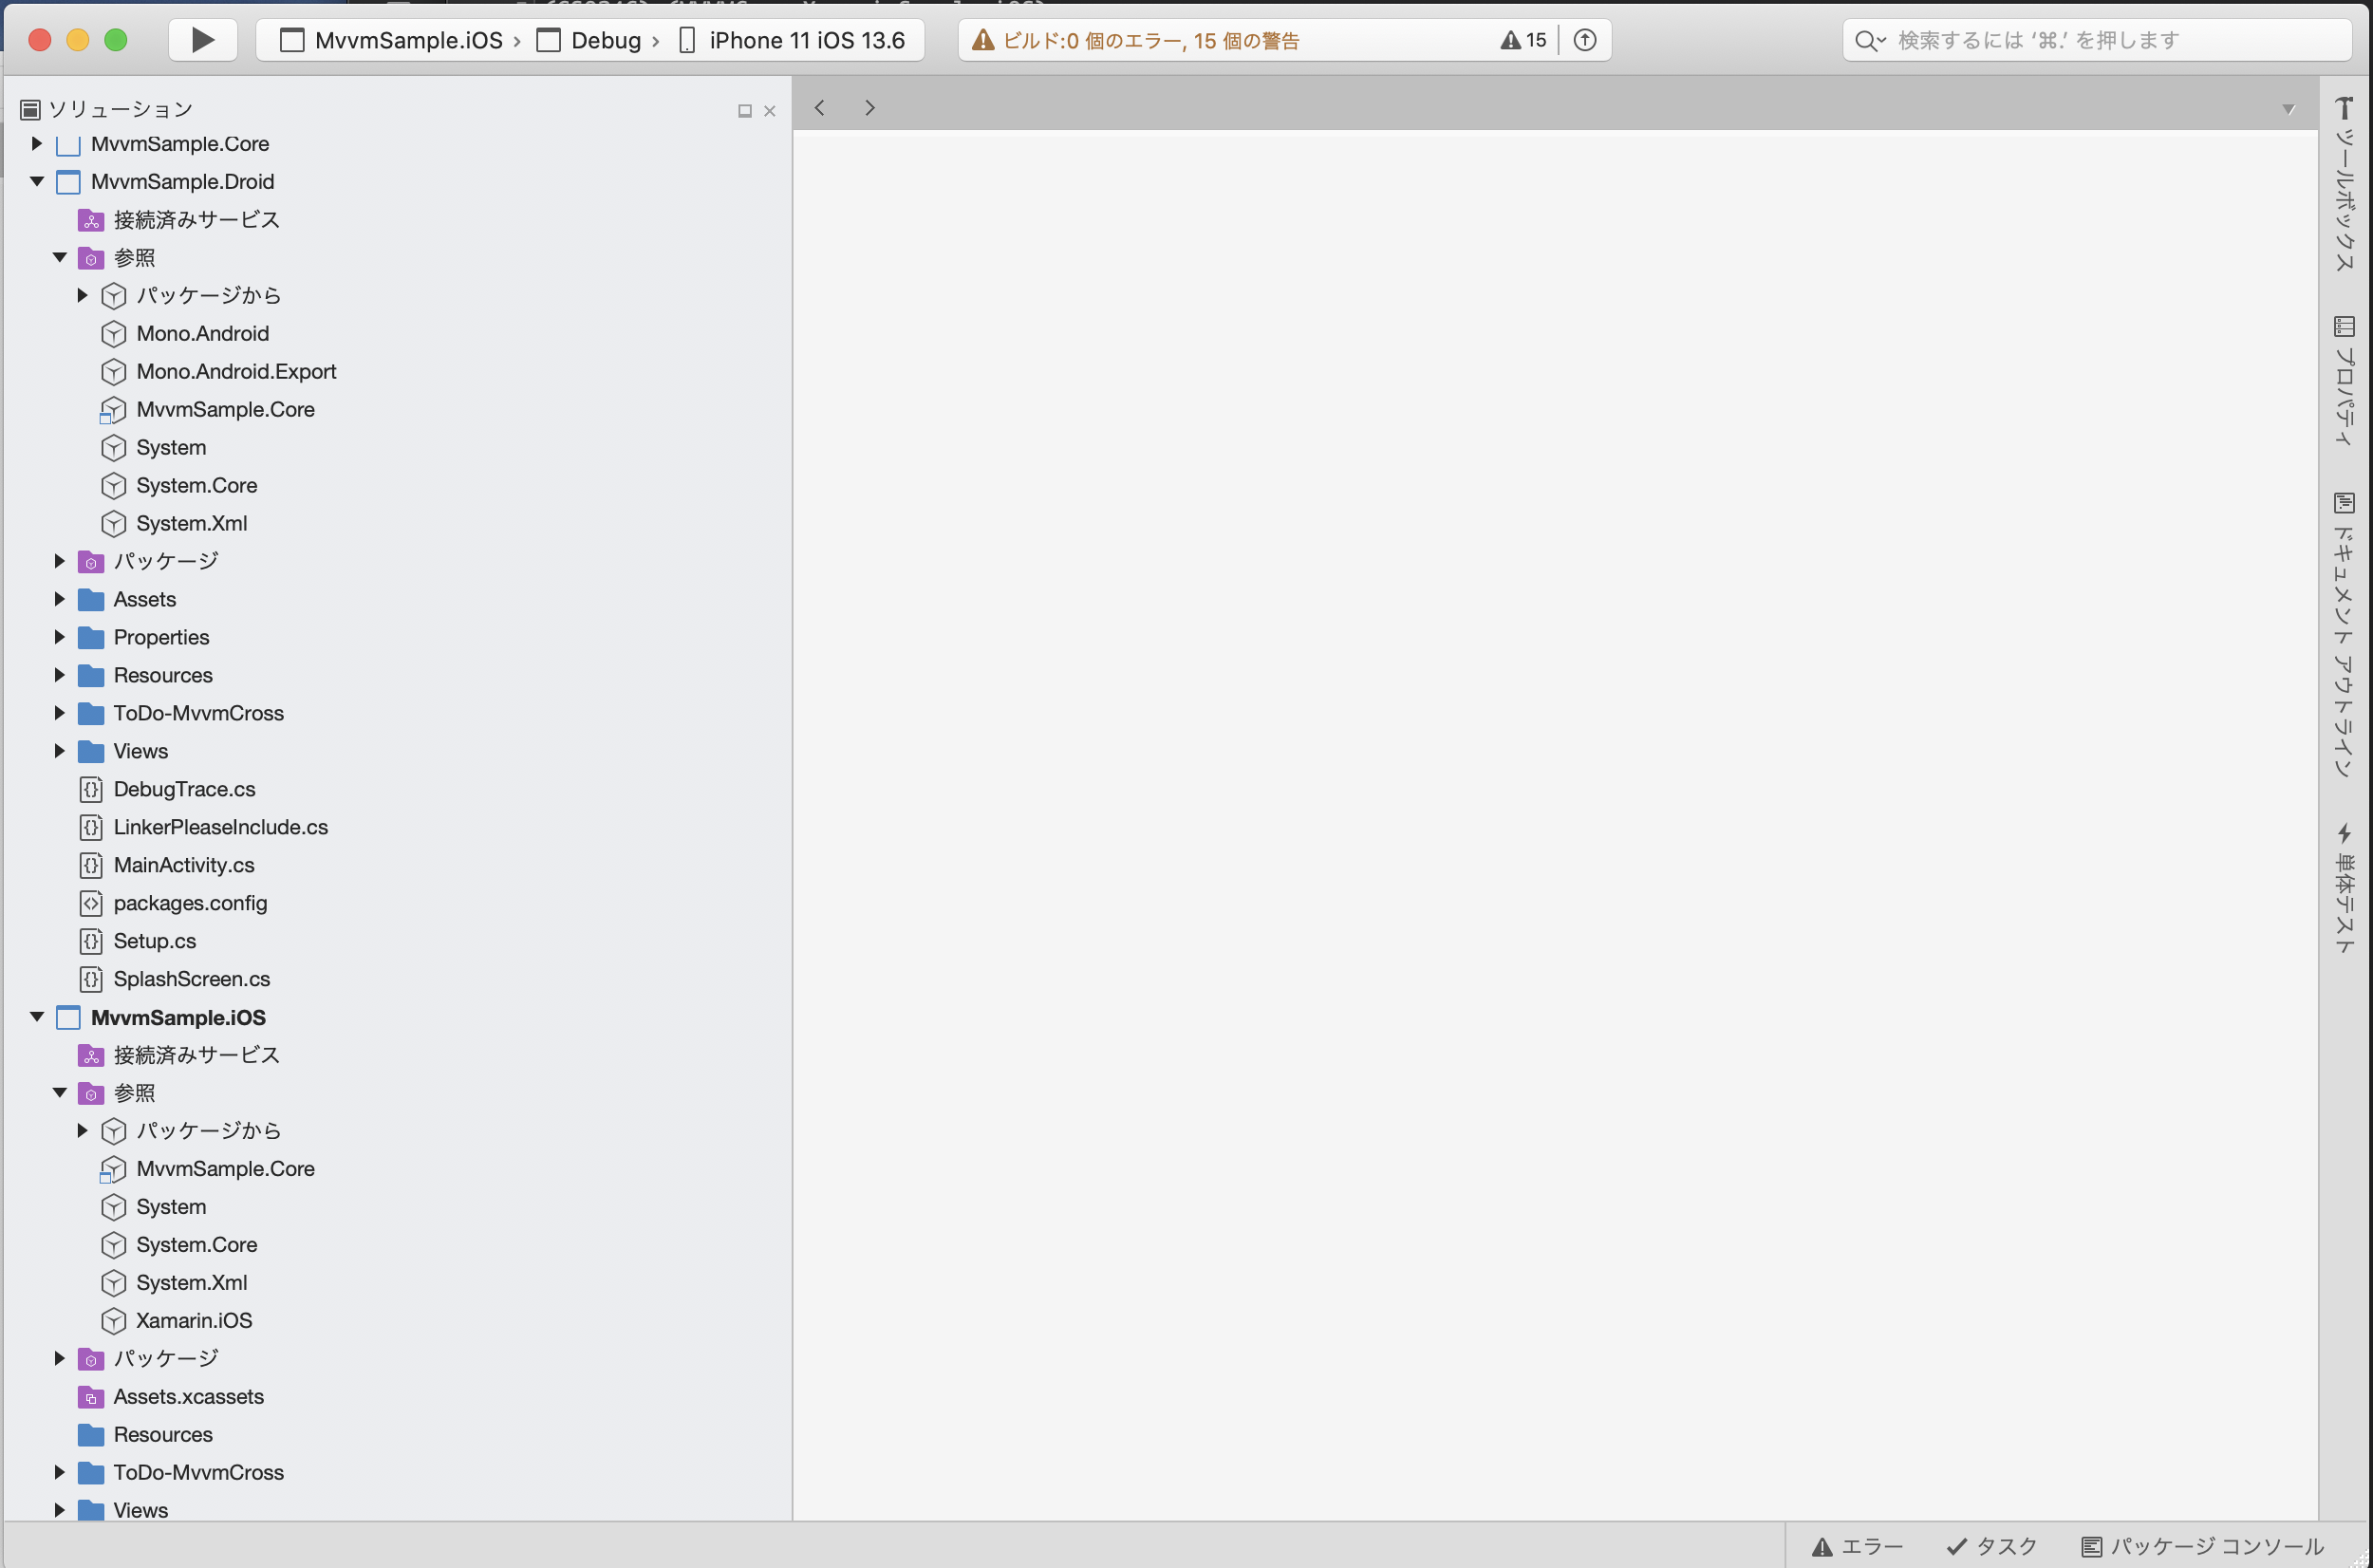
- ソリューションをビルドし、エラーがでないことを確認する。
もし「The type or namespace name 'Core' could not be found 」が出現する場合、
プロジェクト「〜.Droid」「〜.iOS」の参照設定の「〜.Core」を参照しなおすことで解決するはず。

以上。