seleniumを使ってPHPでChromeの自動操作をする
テストとかどうでも良いから自動操作がしたい!
seleniumは本来phpUnitなどと組み合わせてテストを自動実行するために使われるのだが私はただブラウザの自動実行を体験したいだけ。
なので今回は『とりあえず自動操作を体感』したいという人に向けて発信する。
seleniumとは
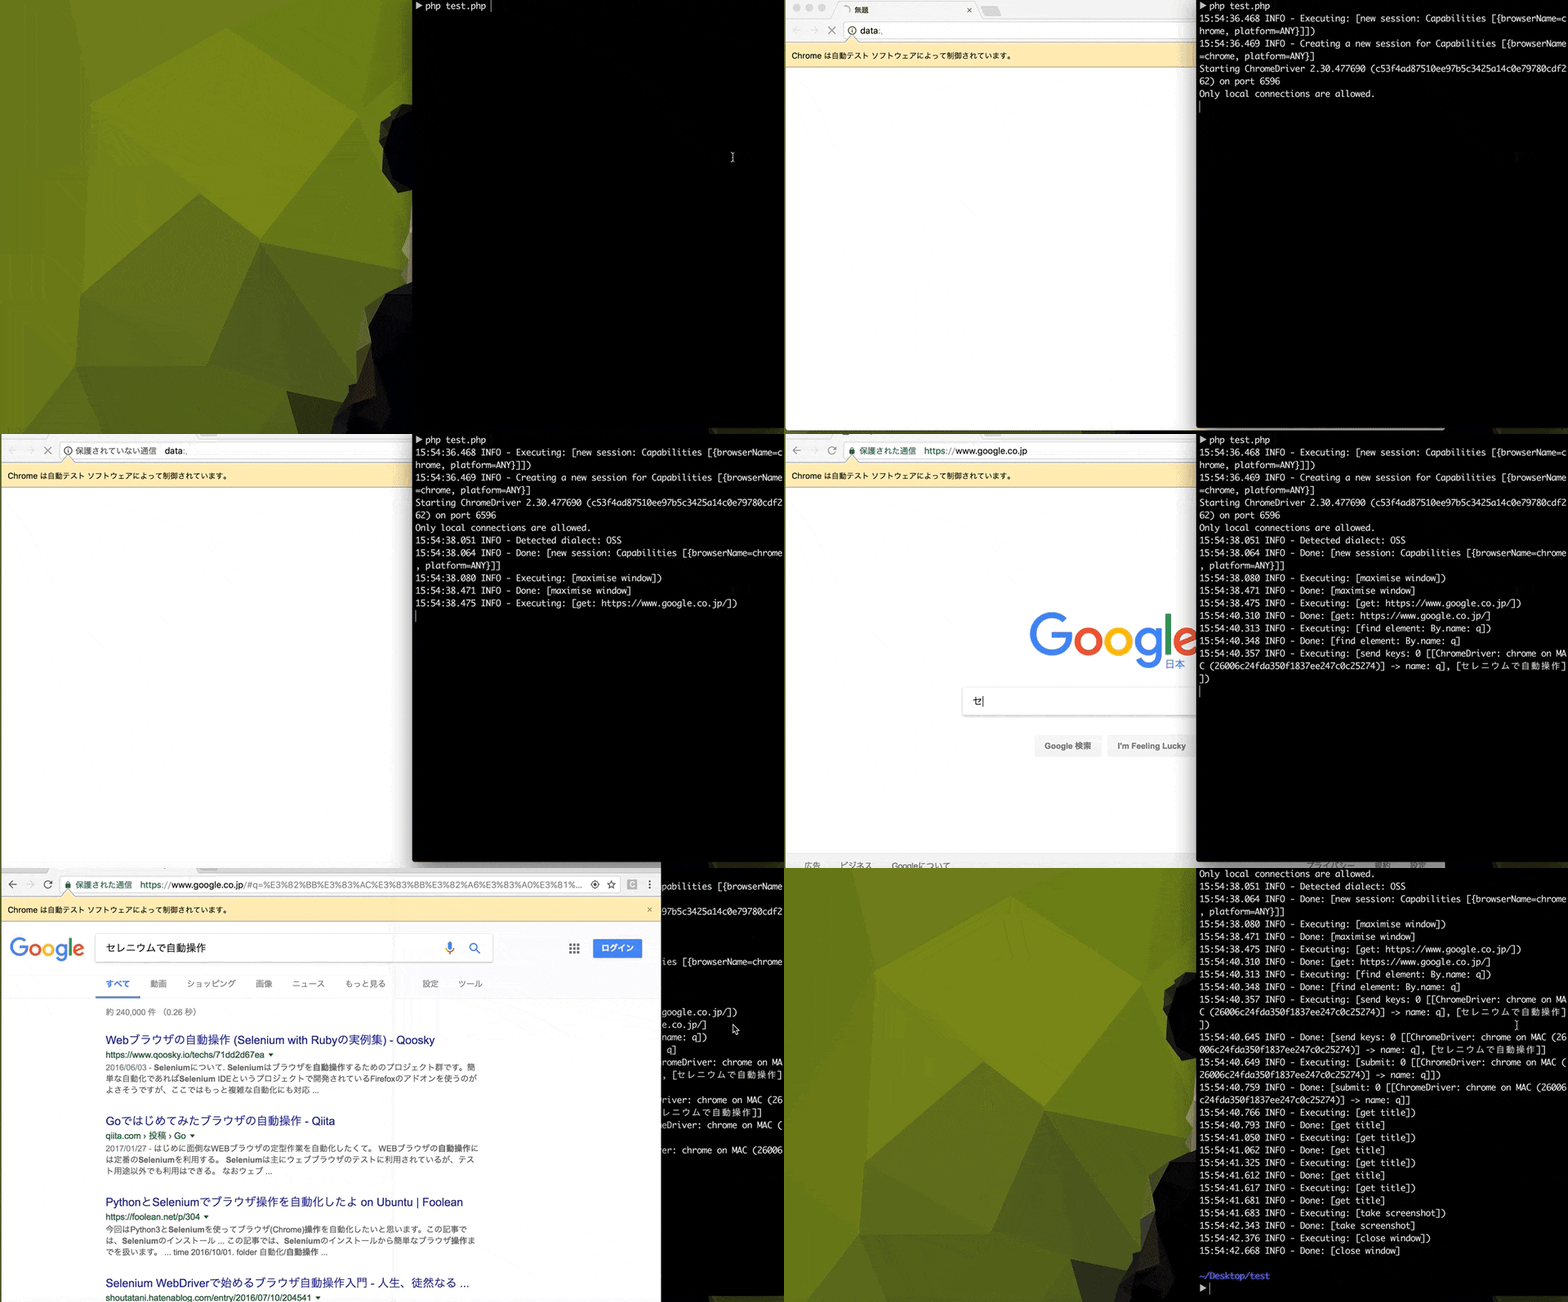
これをご覧になるのが一番。コマンドを叩くだけで勝手にブラウザが起動して入力・検索を行っている。本記事ではここまでを目指す。

環境構築
今回はPHPで自動操作のプログラムを書き、Chromeで自動操作を実行する。
公式ではphpでSeleniumを動かすドライバーがないため、Facebookの中の人が作ったSeleniumのPHP版、facebook-webdriverを使用する。(SNSのFacebookサービスとは無関係です)
作業ディレクトリの作成
とりあえず実行したいんじゃ、という方のためなので以後はこのフォルダ内で全ての作業を行っていく
~$ mkdir workspace
~$ cd workspace
chromedriverのダウンロード
ここからchromedriver_mac64.zipをダウンロードして解凍。
解凍したらchromedriverというファイルができるのでPATHが通っているフォルダに移動させて実行権限を付与。
mv ~/Downloads/chromedriver /usr/local/bin/
chmod +x /usr/local/bin/chromedriver
selenium-server-standaloneのダウンロード
selenium-server-standalone-3.4.0.jar
をダウンロードし、作業ディレクトリに移動。
mv ~/Downloads/selenium-server-standalone-3.4.0.jar ./
composerのダウンロード
composerはPHPのライブラリ管理ツール。iOSでいうcocoaPodsみたいなもの。
curl -sS https://getcomposer.org/installer | php
facebook-webdriverのインストール
以下のコマンドで一撃でインストールが完了する。
php composer.phar require facebook/webdriver
コマンドを叩いた後少し時間がかかるかもしれないが無事終わると下のようなレスポンスが返ってくる。
~/workspace$ php composer.phar require facebook/webdriver
Using version ^1.4 for facebook/webdriver
./composer.json has been created
Loading composer repositories with package information
Updating dependencies (including require-dev)
Package operations: 2 installs, 0 updates, 0 removals
  - Installing symfony/process (v3.3.4): Loading from cache
  - Installing facebook/webdriver (1.4.1): Loading from cache
Writing lock file
Generating autoload files
現在のフォルダはこのようになっているはず(lsコマンドで確認)。
~/workspace$ ls
composer.json
composer.phar
vendor
composer.lock
selenium-server-standalone-3.4.0.jar
早速seleniumを動かしてみる
環境構築は以上で終了。早速seleniumを起動してみる。
java -jar selenium-server-standalone-3.4.0.jar &
コマンドの最後に&をつけるとバックグラウンド起動になる。
自動操作プログラムはこちら。
<?php

require_once './vendor/autoload.php';

use Facebook\WebDriver\Remote\RemoteWebDriver;
use Facebook\WebDriver\Remote\DesiredCapabilities;
use Facebook\WebDriver\WebDriverExpectedCondition;
use Facebook\WebDriver\WebDriverBy;

/**
 * selenium facebook-webdriver 実行のサンプル
 */
function sample()
{
    // selenium
    $host = 'http://localhost:4444/wd/hub';
    // chrome ドライバーの起動
    $driver = RemoteWebDriver::create($host,DesiredCapabilities::chrome());
    // 指定URLへ遷移 (Google)
    $driver->get('https://www.google.co.jp/');
    // 検索Box
    $element = $driver->findElement(WebDriverBy::name('q'));
    // 検索Boxにキーワードを入力して
    $element->sendKeys('セレニウムで自動操作');
    // 検索実行
    $element->submit();

    // 検索結果画面のタイトルが 'セレニウムで自動操作 - Google 検索' になるまで10秒間待機する
    // 指定したタイトルにならずに10秒以上経ったら
    // 'Facebook\WebDriver\Exception\TimeOutException' がthrowされる
    $driver->wait(10)->until(
        WebDriverExpectedCondition::titleIs('セレニウムで自動操作 - Google 検索')
    );

    // セレニウムで自動操作 - Google 検索 というタイトルを取得できることを確認する
    if ($driver->getTitle() !== 'セレニウムで自動操作 - Google 検索') {
        throw new Exception('fail');
    }
    // キャプチャ
    $file = __DIR__ . '/' . __METHOD__ . "_chrome.png";
    $driver->takeScreenshot($file);

    // ブラウザを閉じる
    $driver->close();
}

// 実行
sample();
いざ、実行!!
以下のコマンドで早速実行だ!
php test.php
実行結果↓

おお...!!素晴らしい、自動操作素晴らしい。
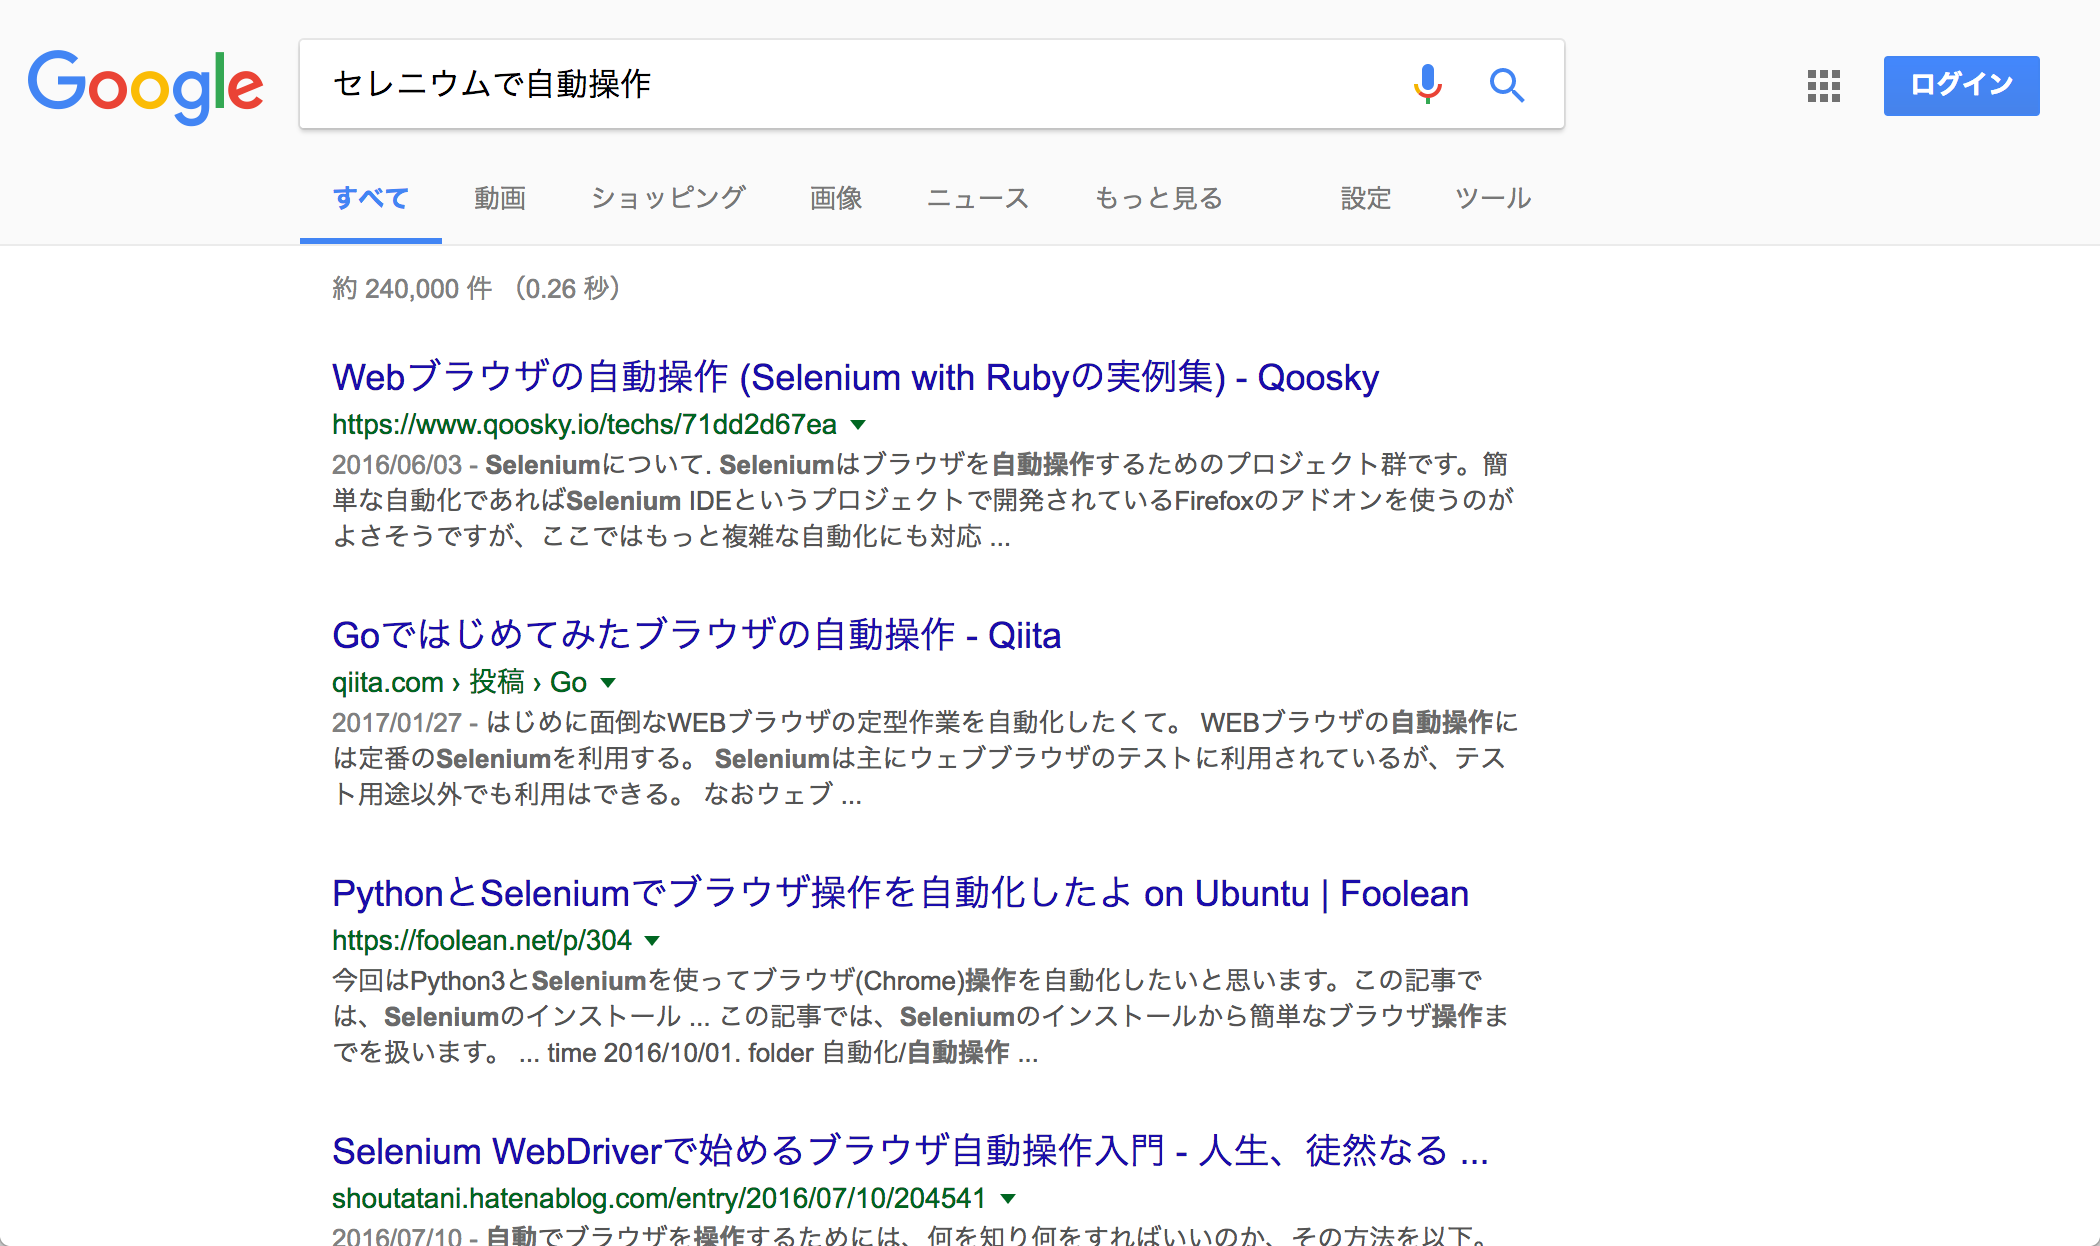
成功すると作業ディレクトリ内にsample_chrome.pngという名でスクリーンショットが取れているはず。(フル画面ではない)
sample_chrome.png

まとめ
今回はComposerもよくわからん、Seleniumもよくわからんという状態から自動操作をするまでを記したため、まどろっこしい部分等もあるかもしれないがそこらへんは各々飛ばしてくだせえ(Composerのインストールのくだりなど)。
大変参考にさせていただいたサイト
Shimabox Blog
基本的にはこちらのサイトを大いに参考にしています。本記事ではこちらのサイトを参考にしていて私が詰まったところ・わからなかったところを適宜追加してあります。
おまけ
seleniumを起動するとき
java -jar selenium-server-standalone-3.4.0.jar &
のコマンドを叩いたが、バックグランドで起動したままになってしまうため、プロセスを終了させる必要がある。
そんなときは以下のコマンドで終了させる。
ps aux | grep selenium-server-standalone | grep -v grep |awk {'print $2'} |xargs kill -9
ただ毎回これを打つのは馬鹿らしいのでalias(ショートカット)を登録しておく。
.zshrcまたは.bashrcの末尾に以下を追加。
# selenium起動のalias
alias selenium-up='java -jar selenium-server-standalone-3.4.0.jar &'
# selenium停止のalias
alias selenium-stop="ps aux | grep selenium-server-standalone | grep -v grep |awk {'print \$2'} |xargs kill -9"
source ~/.zshrcを実行後、以降はselenium-upで起動、selenium-stopで終了できる。