frameとbounds
- frame
- 親View(SuperView)からみて、現在のView(子Viewなど)のサイズと位置を保持するプロパティ
- bounds
- 現在のView(子Viewなど)からみて、現在のViewのサイズと位置を保持するプロパティ
- Viewにimageなどコードでサイズを定義する際、基本的にはboundsを使う方が良い
- boundsは要素(自分)自身を基準としたサイズや位置を持っているから
- 両者の違い
- 親Viewと子View、つまり、どこを基準としてサイズや位置を決めるのかに両者の違いがある
コード
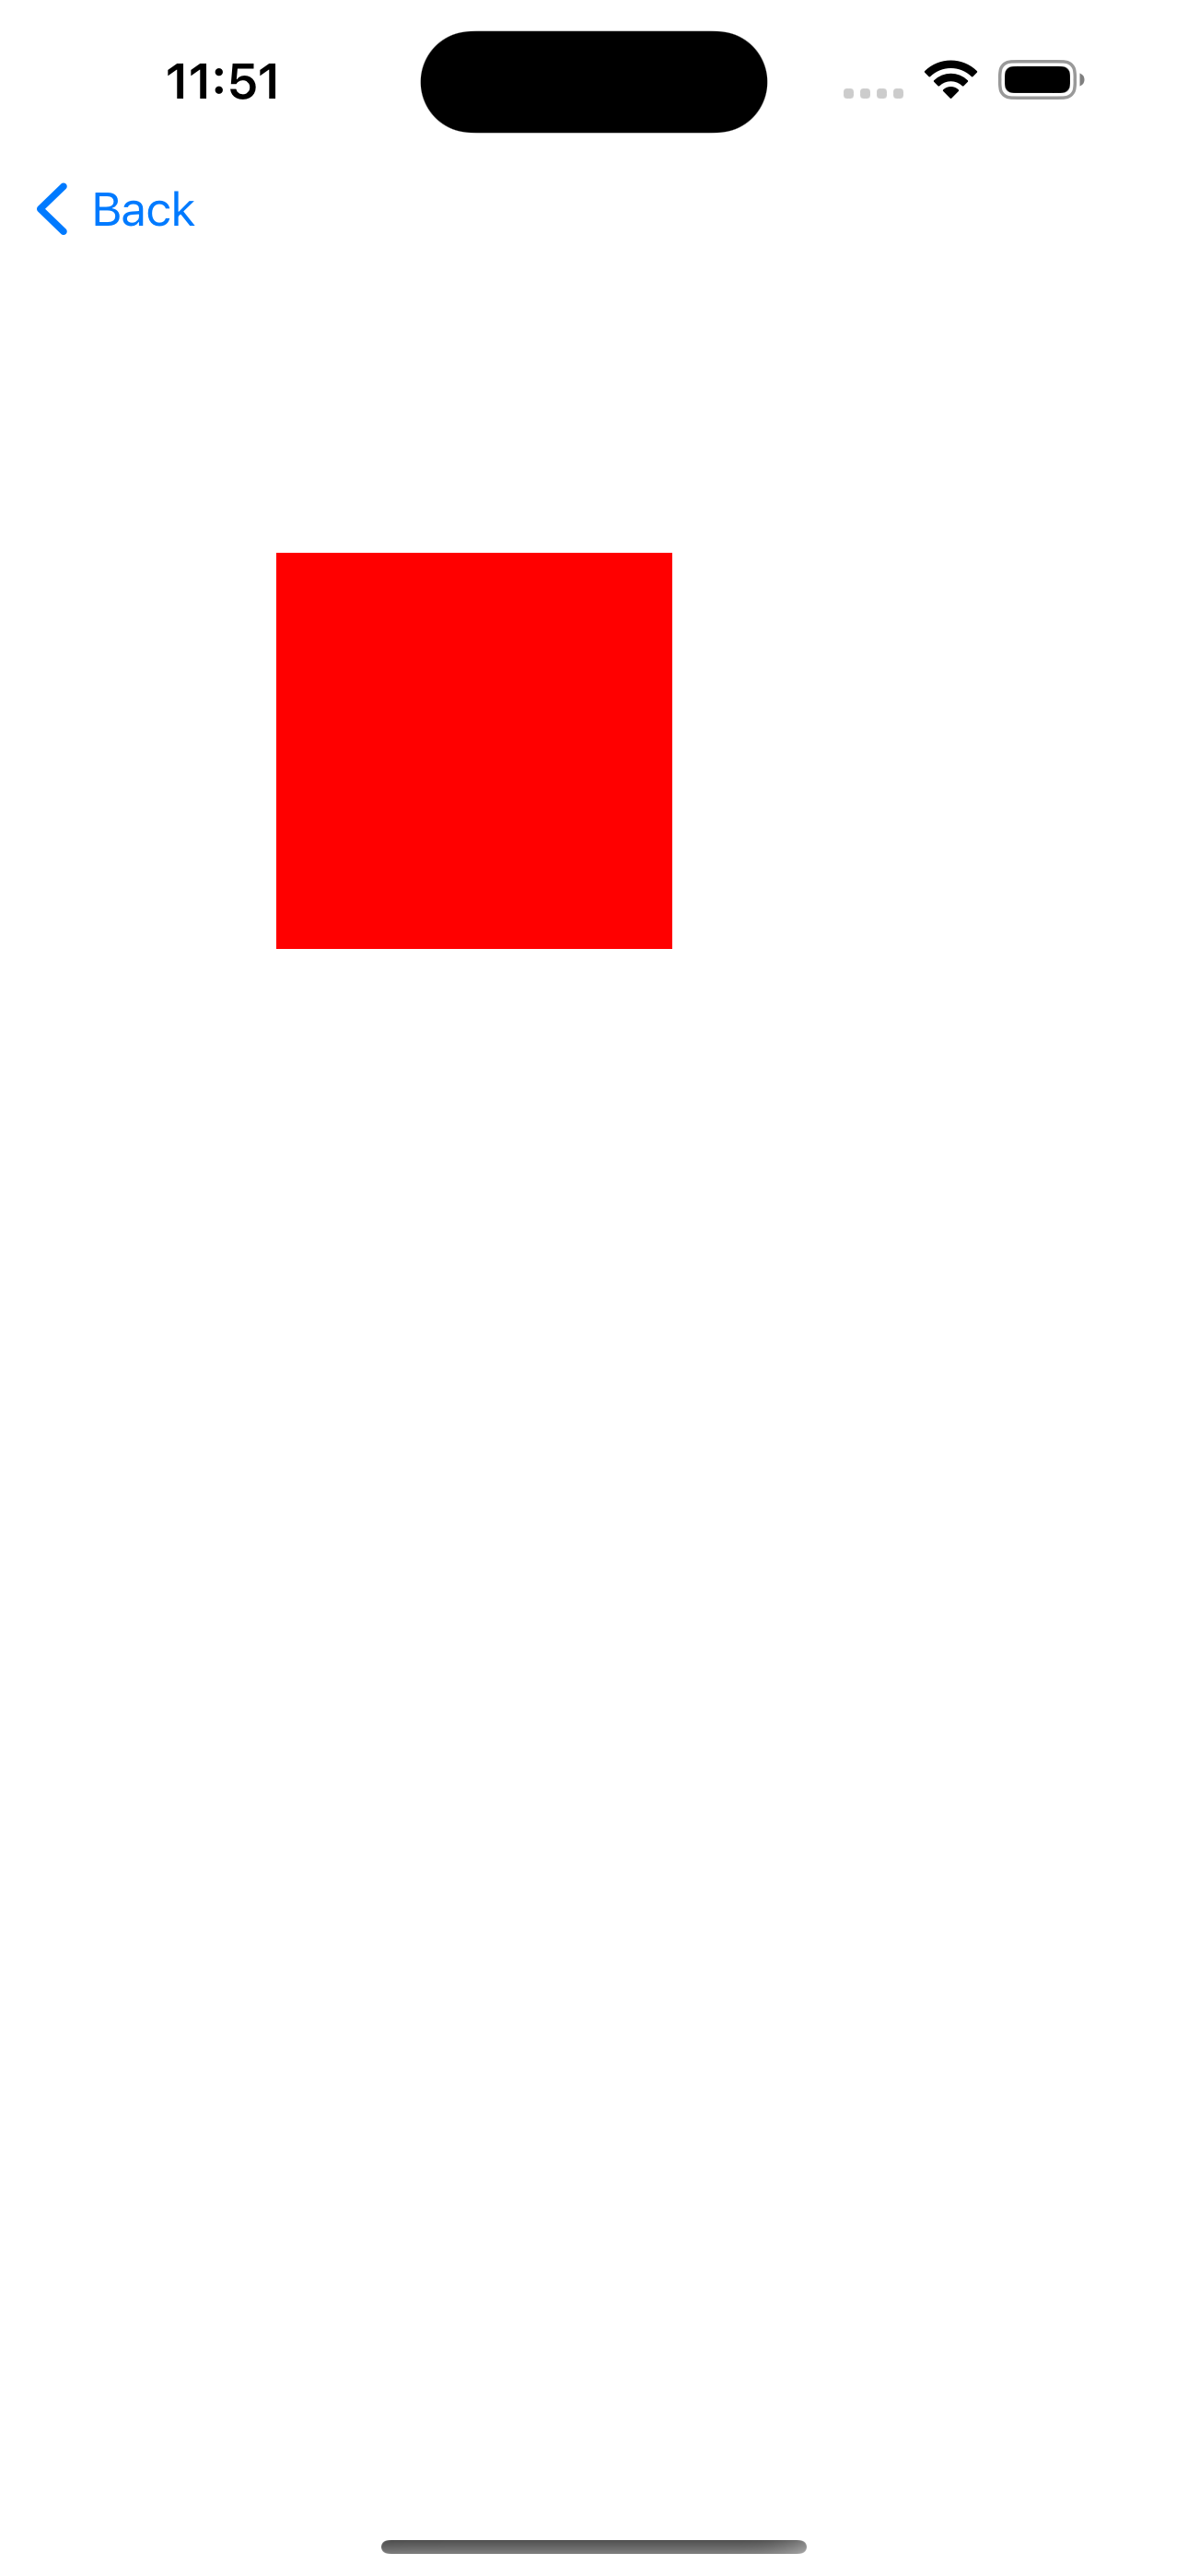
- Viewを表示させてみる
Swift
//boundsを基準にWidthとheightを定義
redView.frame = CGRect(x: 100, y: 200, width: view.bounds.width/3, height: view.bounds.width/3)
print(redView.frame) //(100, 200, 143, 143)

// viewにUIImageViewを追加
self.view.addSubview(imageView)
- おまけ:iPhone14 pro を使用しているデバイスとしてソースコードを記載する
Swift
//画面のサイズを取得する
//横幅
let deviceWidth = UIScreen.main.bounds.width
print(deviceWidth) //393.0

//高さ
let deviceHeight = UIScreen.main.bounds.height
print(deviceHeight) //852.0

//一気にサイズ(width,height)を取得する
let deviceSize = UIScreen.main.bounds.size
print(deviceSize) //(393.0, 852.0)

//画面のピクセル(解像度)を取得する
//横幅
let deviceResolutionWidth = UIScreen.main.nativeBounds.width
print(deviceResolutionWidth) //1179.0

//高さ
let deviceResolutionHeight = UIScreen.main.nativeBounds.height
print(deviceResolutionHeight) //2556.0

//一気に解像度(width,height)を取得する
let deviceResolutonSize = UIScreen.main.nativeBounds.size
print(deviceResolutonSize) //(1179.0, 2556.0)
おわりに
間違い等ありましたらコメント欄でご指摘ください。
参考記事
【Xcode/Swift】端末の画面サイズ(ポイント)や解像度(ピクセル)、倍率(スケール)を取得する方法
[増補改訂第3版]Swift実践入門 ── 直感的な文法と安全性を兼ね備えた言語 (WEB+DB PRESS plusシリーズ)
↑引用元
石川 洋資 (著), 西山 勇世 (著)
発行者:片岡 巌
出版社:技術評論社
印刷/製本:日経印刷株式会社
開発環境
- Xcode-13.4.1
- Swift version 5.7