Siv3Dを使ってときどき2Dゲームなど作ったりしている者です。
今回はOpenSiv3D実装会で桃太郎電鉄(桃鉄)っぽいサイコロを描画する機能を作った話をしようと思います。
リファクタリングが終わり次第、OpenSiv3Dに取り込まれる予定です。
できたもの
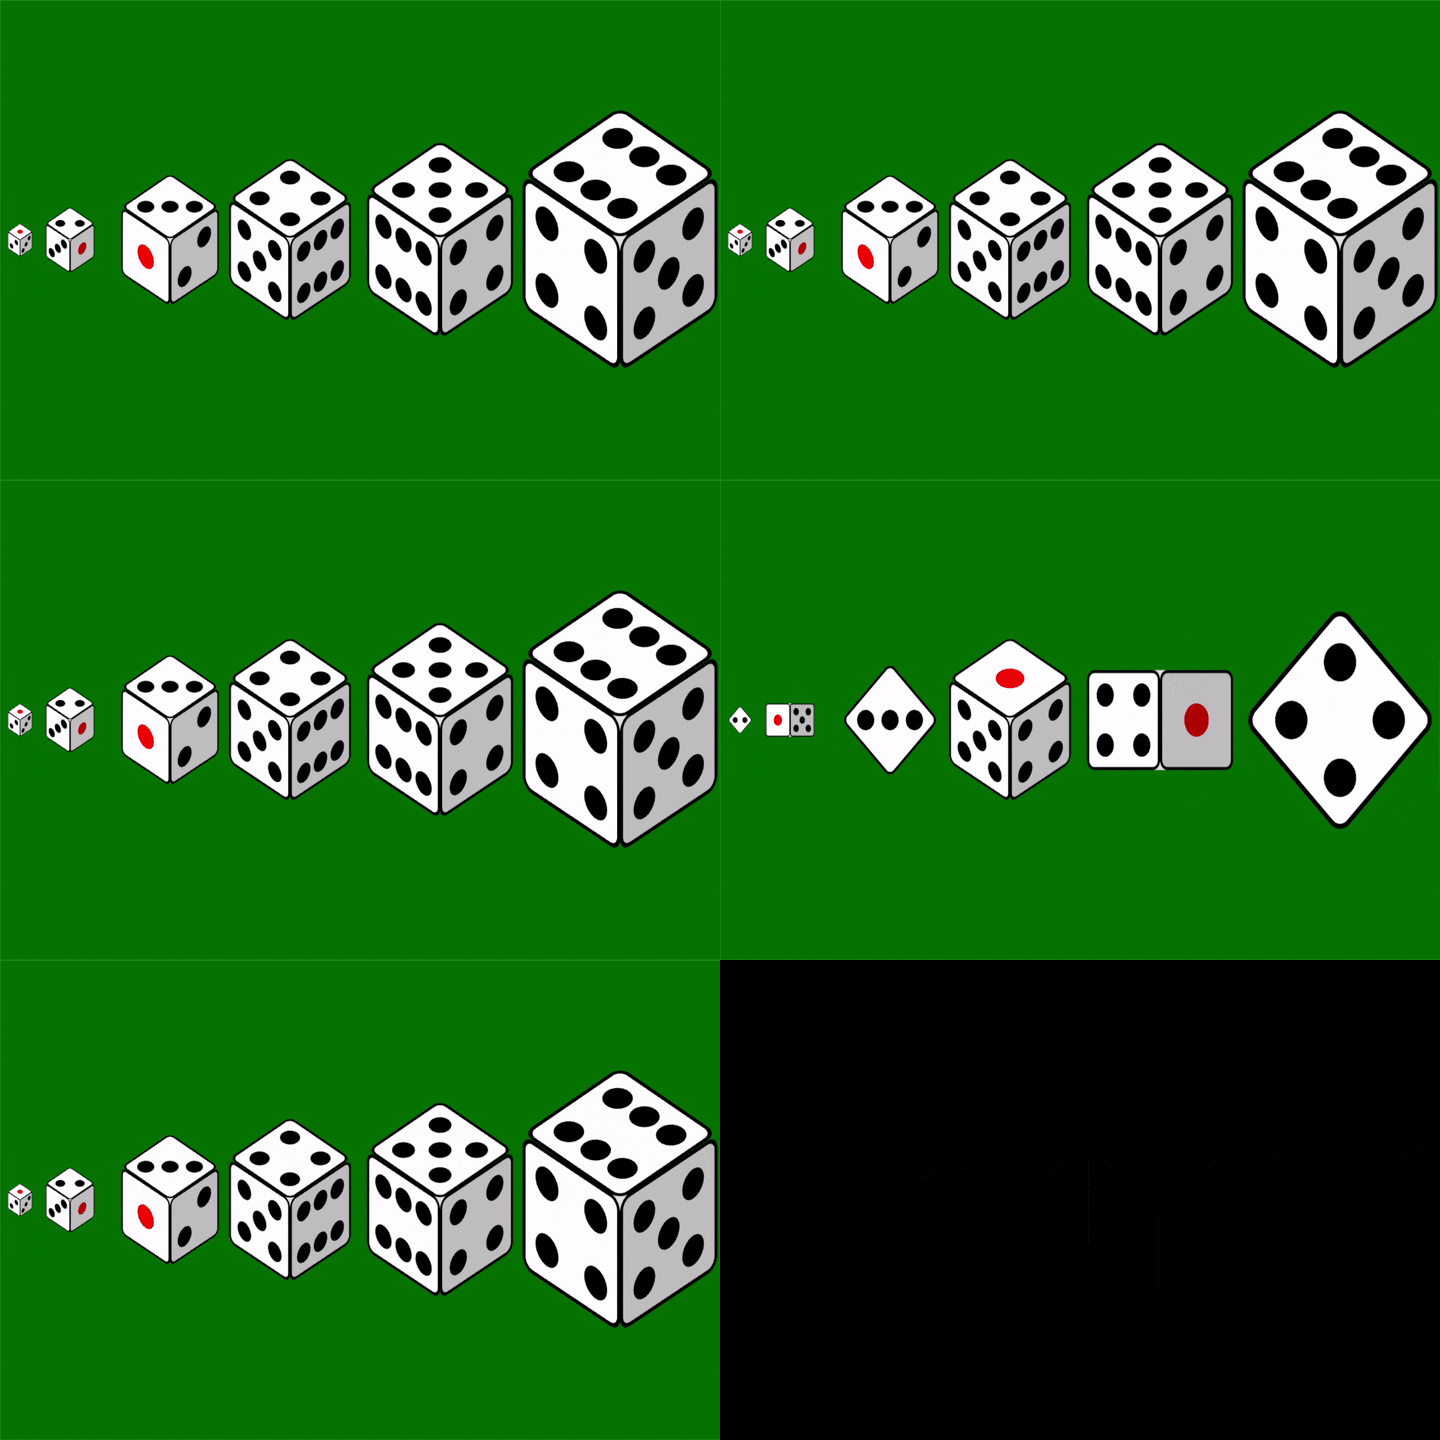
どこからどう見てもサイコロですね!
大きさも自由に変えられます。
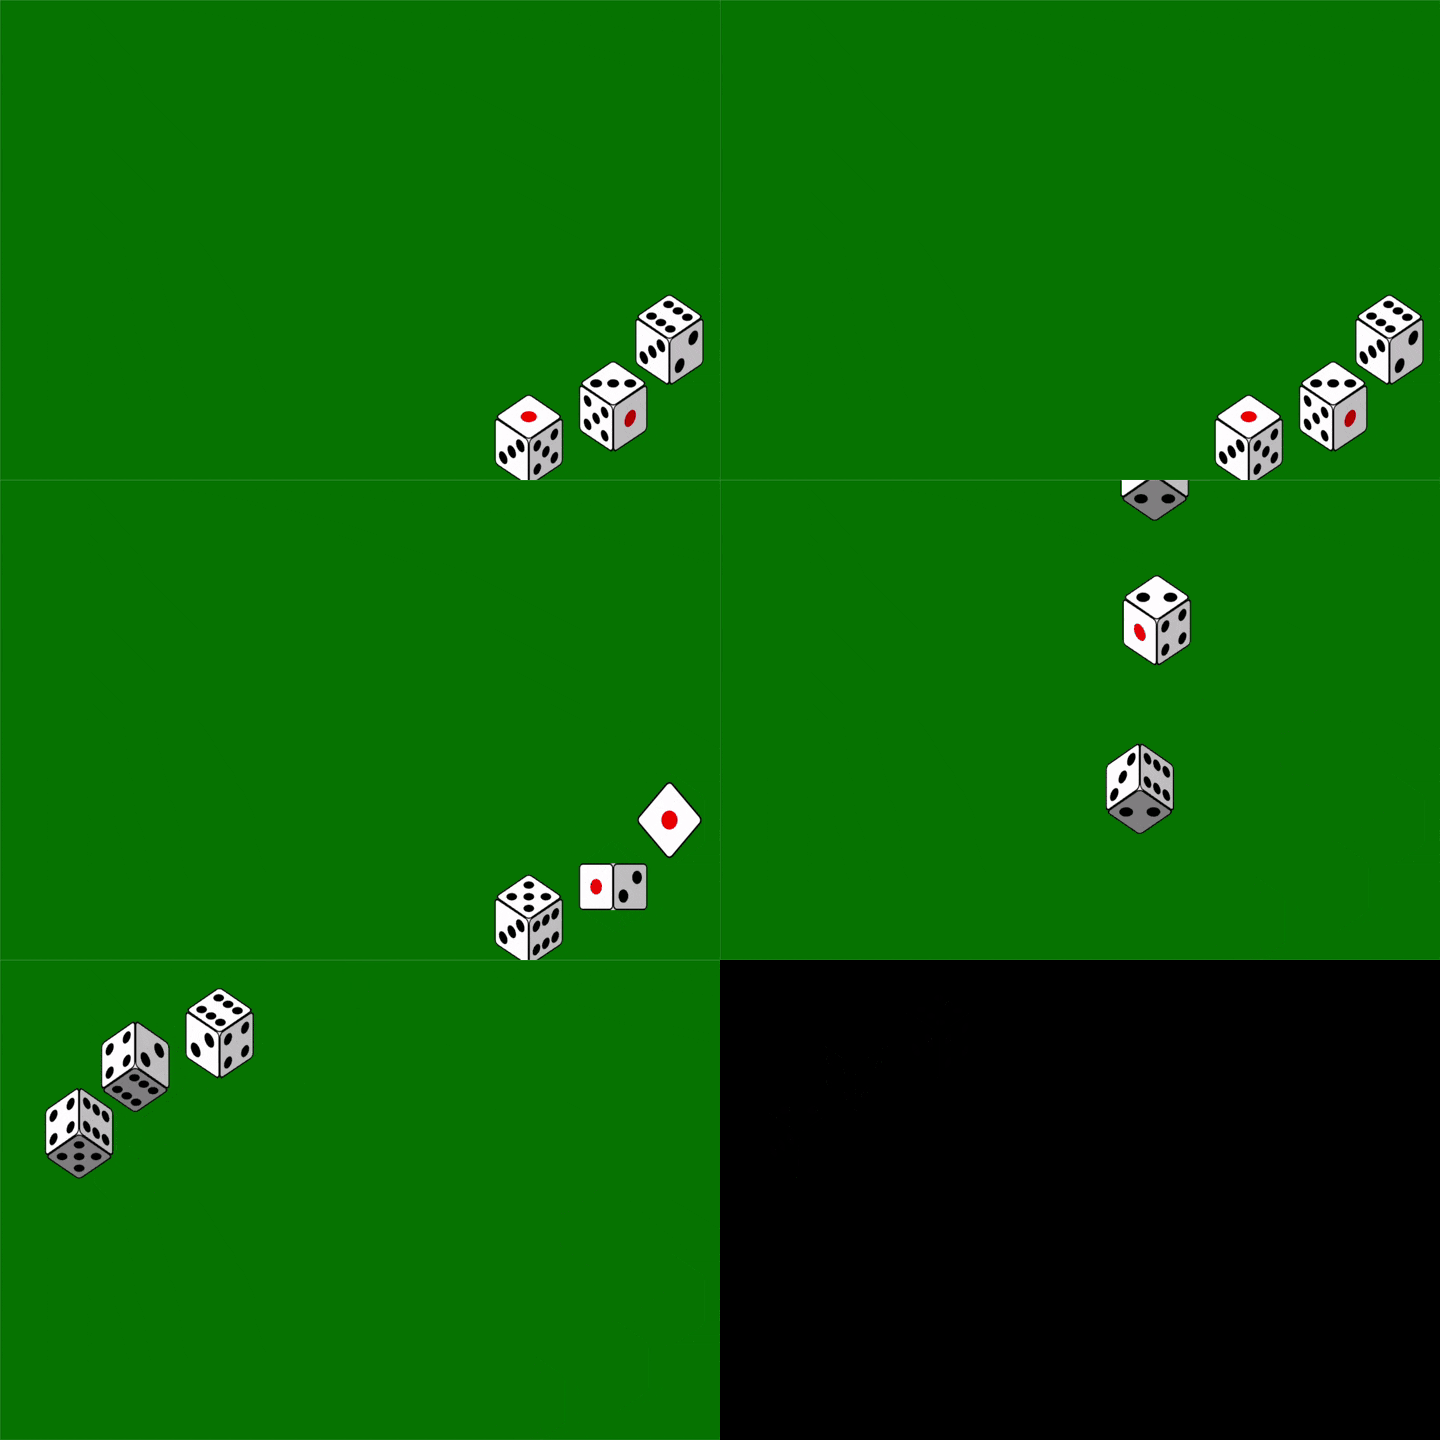
これにいい感じの動きをつけてあげると、
これでいつでも桃鉄が作れますね!
実装
OpenSiv3Dは最新のv0.3.1を使いました。
ソースコード全体はGistに Dice.hpp として公開しています。
インクルードして下の方にあるコードを実行すれば上記の例のようにサイコロを転がせます。
サイコロは全てランタイムで図形の組み合わせと変形で計算&描画しています。
特に画像や音楽ファイル等は使っていません。
(Gif動画なのでわからないですがサイコロの回転にあわせて音も鳴っています。)
ダイスを描画する関数
int drawDice(Vec2 center, double scale, int topNumber, int lookPos, int rotatePos);
使い方
例えば1枚目の画像のサイコロを描画するには以下のようなパラメータになります。
drawDice(Window::Center(), 1.0, 1, 2, 1);
こうするとウィンドウの中央に上の面が1、側面に2,3が見える1辺のサイズが100pxのサイコロが斜め上から見下ろした位置で描画されます。
パラメータの説明
- Vec2 center : サイコロの中心を描画する位置
- double scale : サイコロの描画する倍率
- int topNumber : サイコロの上の面に描画する数値
- int lookPos : サイコロを見る位置(上下方向)
- int rotatePos : サイコロの見る位置(横方向)
ダイスのサイズ
ダイスの基本サイズは各面の1辺の長さが100pxです。
100 * scaleのサイズが描画されます。
ダイスの見る位置(上下方向)
lookPosは1から4の値を取ります。
- 真上から1面だけ見えている状態
- 斜め上から3面が見えている状態
- 真横から2面だけ見えている状態
- 斜め下から3面が見えている状態
上の例ではlookPosに2が指定されているので、斜め上から3面が見えています。
このあたりは少々イメージしづらいと思うのでGistの方のコードにも簡単な図をアスキーアートで書いてあります。
ダイスの見る位置(横方向)
rotatePosも1から4の値を取ります。
上の例ではrotatePosに1が指定されているときに側面に2,3が見えています。
topNumberが1のときはrotatePosの値によって見える側面は次のように決まります。
- 2と3
- 3と5
- 5と4
- 4と2
※ちなみに今回描画されるサイコロは一般的な、いわゆる 雌サイコロ(一天地六東五西二南三北四) と呼ばれる面の並びです。
2枚目のgif画像のように転がすためにはtopNumber,lookPos,rotatePosにそれぞれの範囲の乱数を渡してあげるといい感じに転がってくれます。下記がそのソースコードです。
# include "Dice.hpp"
void Main()
{
  Window::Resize(1280, 720);
  Graphics::SetBackground(Palette::Darkgreen);
  bool isStop = true;
  const double scale = 1280.0 / 720;
  Audio sound(Wave(GMInstrument::Woodblock, PianoKey::A4, 0.5s));
  Audio stop(Wave(GMInstrument::OrchestraHit, PianoKey::A4, 1s));
  while (System::Update())
  {
    if (isStop)
    {
      int num = 1;
      drawDice(Window::Center().movedBy(Vec2::Left(340 * scale)), 0.25, num, 2);
      drawDice(Window::Center().movedBy(Vec2::Left(290 * scale)), 0.5, num + 1 % 6, 2);
      drawDice(Window::Center().movedBy(Vec2::Left(190 * scale)), 1.0, num + 2 % 6, 2);
      drawDice(Window::Center().movedBy(Vec2::Left(70 * scale)), 1.25, num + 3 % 6, 2);
      drawDice(Window::Center().movedBy(Vec2::Right(80 * scale)), 1.5, num + 4 % 6, 2);
      drawDice(Window::Center().movedBy(Vec2::Right(260 * scale)), 2, num + 5 % 6, 2);
      if (KeyEnter.down())
      {
        isStop = false;
      }
    }
    else
    {
      System::Sleep(1000 / 16);
      sound.playOneShot();
      drawDice(Window::Center().movedBy(Vec2::Left(340 * scale)), 0.25, Random(1, 6), Random(1, 4), Random(1, 4));
      drawDice(Window::Center().movedBy(Vec2::Left(290 * scale)), 0.5, Random(1, 6), Random(1, 4), Random(1, 4));
      drawDice(Window::Center().movedBy(Vec2::Left(190 * scale)), 1.0, Random(1, 6), Random(1, 4), Random(1, 4));
      drawDice(Window::Center().movedBy(Vec2::Left(70 * scale)), 1.25, Random(1, 6), Random(1, 4), Random(1, 4));
      drawDice(Window::Center().movedBy(Vec2::Right(80 * scale)), 1.5, Random(1, 6), Random(1, 4), Random(1, 4));
      drawDice(Window::Center().movedBy(Vec2::Right(260 * scale)), 2, Random(1, 6), Random(1, 4), Random(1, 4));
      if (KeyEnter.down())
      {
        isStop = true;
        stop.playOneShot();
      }
    }
  }
}
ダイスを投げて転がす例
最後に3枚目のgif動画のようにダイスを投げて転がすための例を紹介します。
今回はMomotetsuDiceというクラスを作ってみました。
宣言だけここにも載せておきます。
class MomotetsuDice
{
  MomotetsuDice(Vec2 startPos, Vec2 endPos, double scale, Key throwKey);
  void draw();
  void update();
  void updateAndDraw();
  void reset();
};
コンストラクタの引数はそれぞれ
- Vec2 startPos : ダイスの初期位置を指定します。
- Vec2 endPos : ダイスを投げたあとに止まる位置を指定します。
- double scale : サイコロの倍率を指定します。
- Key throwKey : ダイスを投げるキーを指定します。
です。
使い方
下記が3枚目の画像のように桃鉄っぽくダイスロールするプログラムのソースコードです。
# include "Dice.hpp"
void Main()
{
  Window::Resize(1280, 720);
  Graphics::SetBackground(Palette::Darkgreen);
  const Vec2 center = Window::Center();
  Array<MomotetsuDice> dices = {
    MomotetsuDice(center.movedBy(550, 150), center.movedBy(-250, -250), 0.7, Key1),
    MomotetsuDice(center.movedBy(450, 250), center.movedBy(-400, -200), 0.7, Key2),
    MomotetsuDice(center.movedBy(300, 300), center.movedBy(-500, -100), 0.7, Key3)
  };
  while (System::Update())
  {
    for (auto& dice : dices)
    {
      dice.updateAndDraw();
      if (KeySpace.down())
      {
        dice.reset();
      }
    }
  }
桃鉄ダイスを3つ用意しています。
あとは updateAndDraw() を呼び続けるだけでいい感じにダイスは回り始めます。
数字キーの1, 2, 3を押せばそれぞれいい感じに転がっていきます。
これでupdate()やdraw()の中身をいじればあなただけの桃鉄ダイスも作れますね。
まとめ
任天堂Switchで桃鉄がしたいです。


