next.jsでサブメニューを実装したい
解決したいこと
nextj.sでECショップのようなWebアプリを作っています。
現在サブメニューの実装中で期待するような挙動が実現できません。
分かる方おりましたらよろしくお願いします。
実現したい挙動
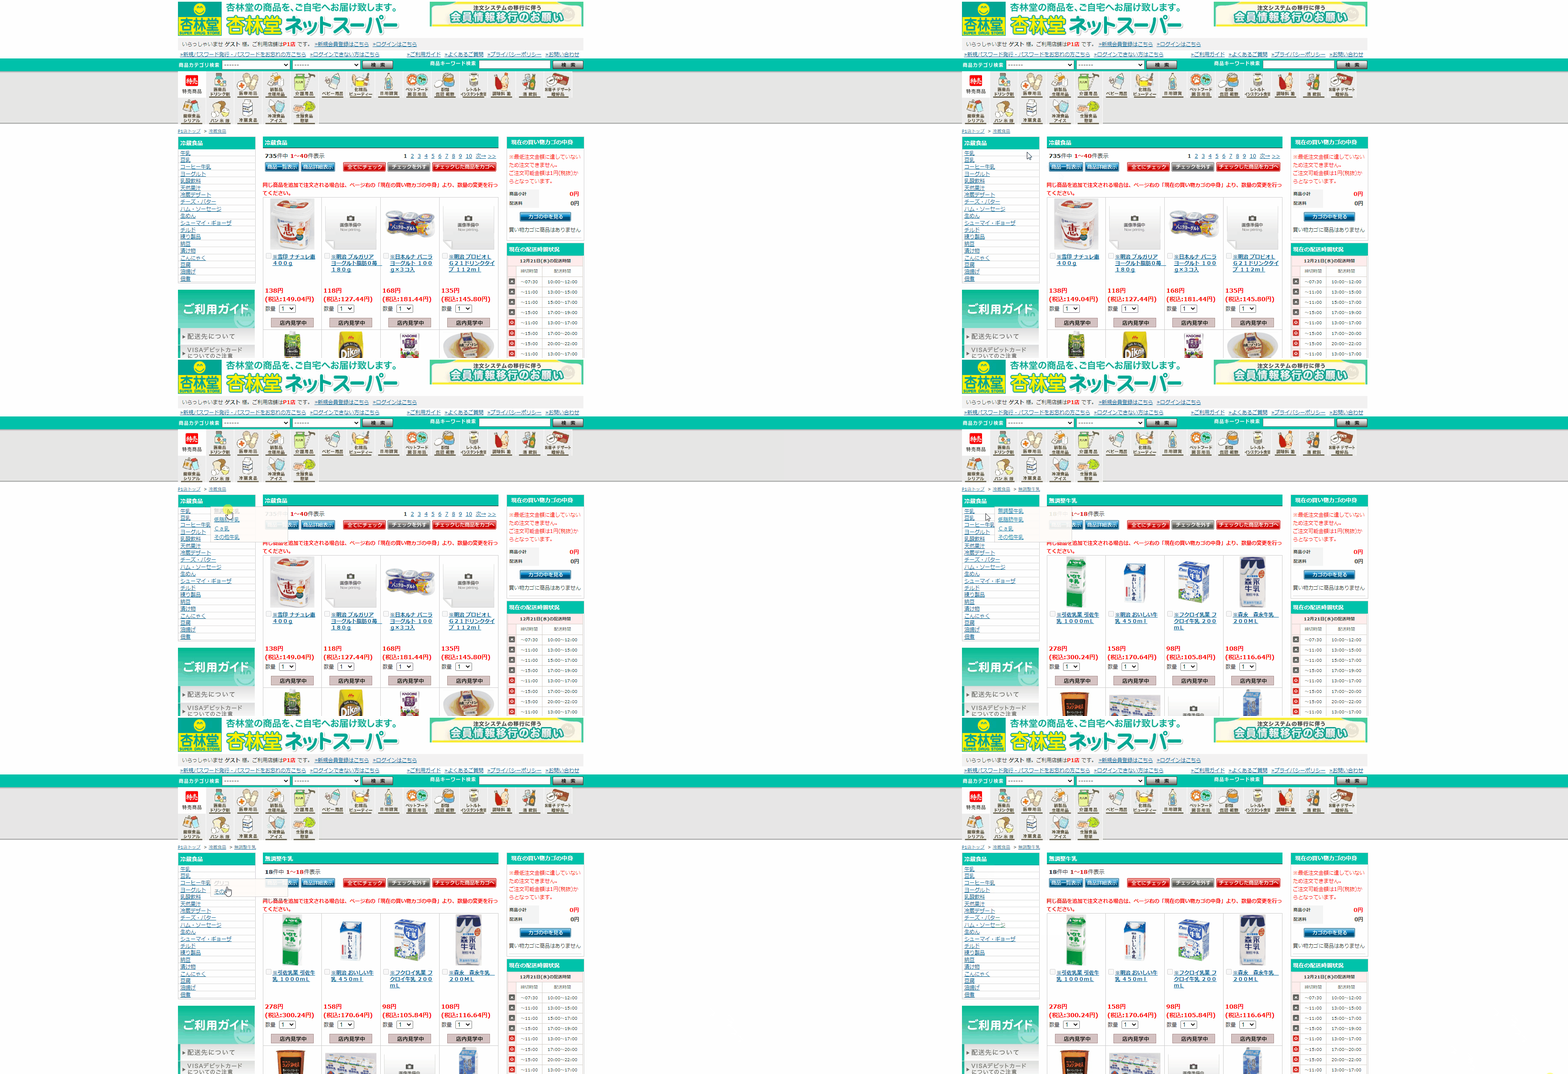
メニュー欄にカーソルを合わせるとそれに対応するサブメニューが表示される。
参考 杏林堂ネットスーパーのカテゴリー欄
https://www.kyorindo-netsuper.jp/shop/list.php?category_code=16&group_code=8401
発生している問題・エラー
現在の挙動
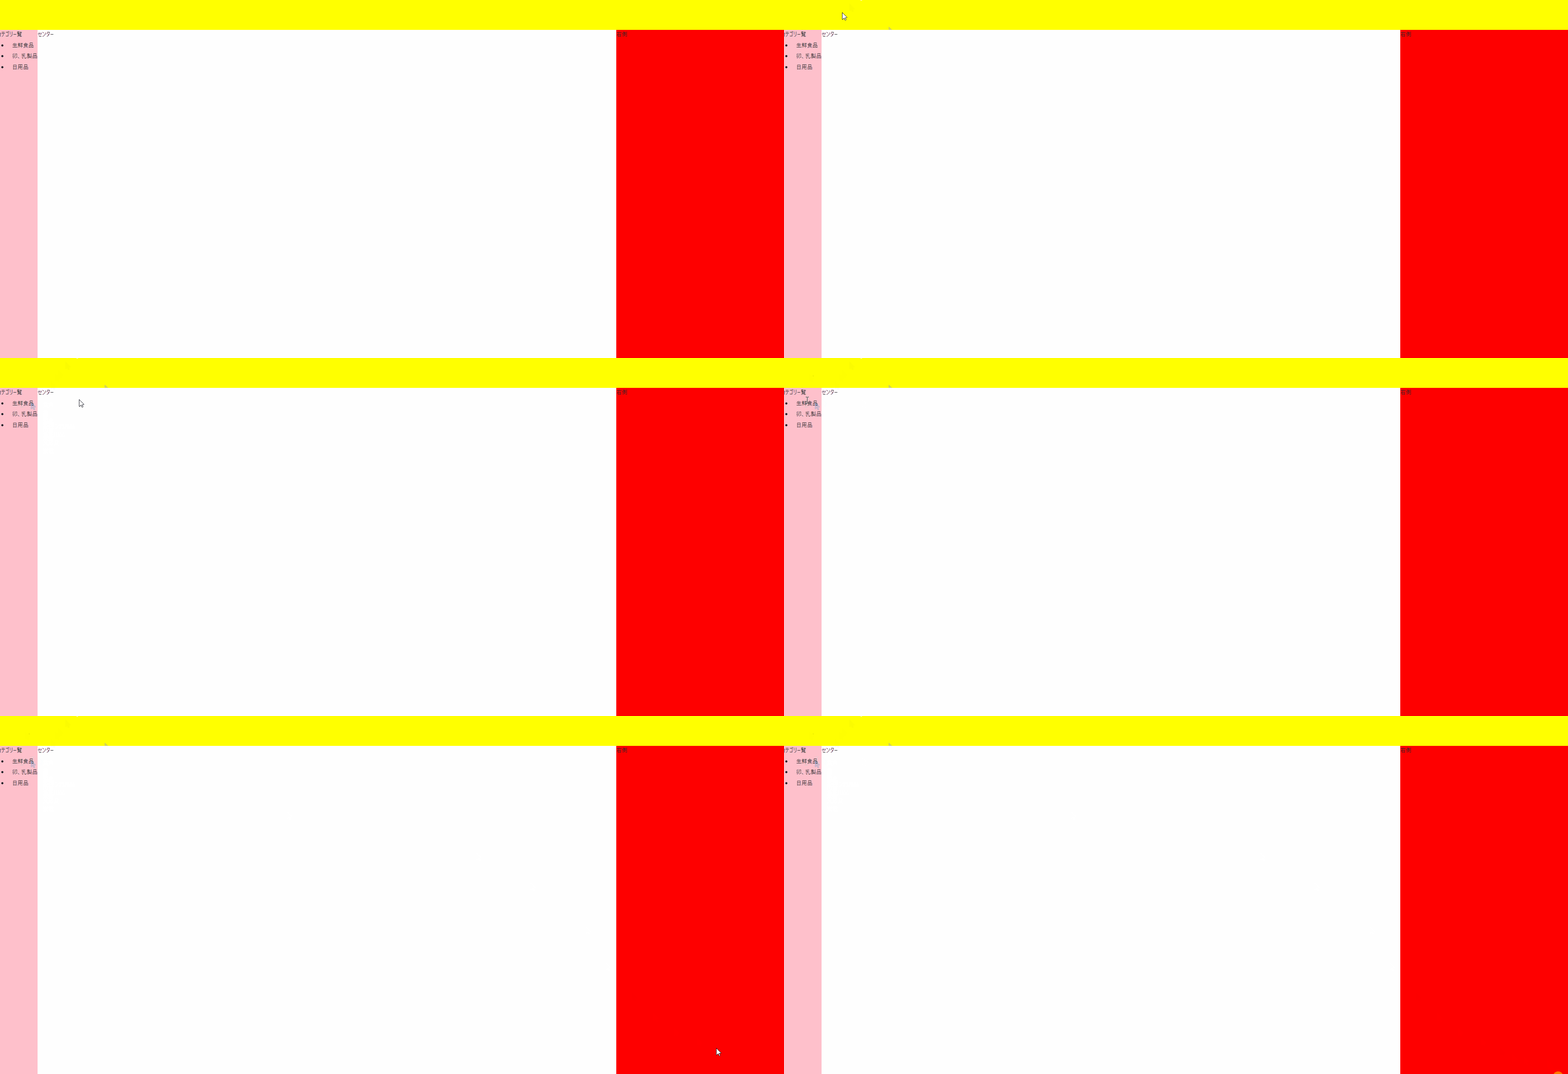
メニュー欄にカーソルを合わせると全てのサブメニューが表示される。
対応したサブメニューだけを表示したい。
ソースコード
left.tsx
import test from "node:test";
import { useEffect, useState } from "react";

// todo リファクタリング必要


//   左サブメニューのコンポーネント
export default function Left(this: any, { left, top, color, bgColor, height, width }: any) {
	const [categories, setCategories] = useState([])
	const [visible, setVisible] = useState("hidden");
	useEffect(() => {
		// fetch("http://localhost:5000/api/category/all", { method: "GET" })
		fetch("http://my-json-server.typicode.com/RYA234/ecshop_front_react/categories", { method: "GET" })
			// レスポンスのデータ形式をjsonに設定
			.then((res) => res.json())
			.then(data => {
				setCategories(data);
				console.log(data);
			})
	}, [])

	function onMouse(e) {
		setVisible("visible");
	}

	function onMouseOut(e) {
		setVisible("hidden");
	}

	return (
		<div>
			カテゴリー覧
			<ul>
				{
					categories.map(category => {
						if (category.parent == null)
							return (
								// eslint-disable-next-line react/jsx-key
								<li>
									<div className='mainMenu' onMouseEnter={onMouse} onMouseOut={onMouseOut} >{category.name}</div>
									<div id={category.name} className='subMenu'>
										{
											category.children.map(small => {
												const title = categories.at(parseInt(small)).name;
												console.log(title);
												return (
													// <div>{child}</div>
													// eslint-disable-next-line react/jsx-key
													<a href="uhii">{title}<br /></a>
												)
											})
										}
									</div>

								</li>
							);
					})
				}
			</ul>

			<>

			</>
			<style jsx>{`
				div{
					// position:fixed;
					// left:${left}px;
					// top:${top}px;
					// width:${width}px;
					//height:${height}px;
					// height:100%;
					// color:${color};
					// background:${bgColor};
				}
				.mainMenu{
					left:100px;
					//position:relative;
					list-style: none;
					visibility: visible;
					margin: 8px 0 0 12px;

				}
				.subMenu{
					position:absolute;
					margin: -20px 0 0 90px;
					padding: 0 0 0 12px;
					z-index: 4;
					visibility: ${visible};
				}

			`}</style>
		</div>
	)
}
index.tsx
import { useEffect, useState } from 'react';
import Left from '../component/left';

// 全体の画面の位置決めているコンポーネント
// ここで左サブメニューとセンターと右サブメニューを配置する
export default function Home() {
	// ApiFetch();
	return (
		<div className = 'headCenterFooter'>
			<header>ヘッダー </header>
			<main>
				<div className='leftCenterRightInMain'>
					<Left className="left"/>

					<div className='center'>
						センター
						<br/><br/><br/><br/><br/><br/><br/><br/><br/><br/><br/><br/><br/><br/>
						<br/><br/><br/><br/><br/><br/><br/><br/><br/><br/><br/><br/><br/><br/>
						<br/><br/><br/><br/><br/><br/><br/><br/><br/><br/><br/><br/><br/><br/>
						<br/><br/><br/><br/><br/><br/><br/><br/><br/><br/><br/><br/><br/><br/>
						<br/><br/><br/><br/><br/><br/><br/><br/><br/><br/><br/><br/><br/><br/>
						終わり
					</div>

					<div className="right">
						右側
					</div>
				</div>
			</main>
			<footer>フッター
			</footer>
			<style jsx>{`
				.headCenterFooter{
					display: flex;
					flex-direction: column;
				}

				header{
					position:sticky;
					top: 0;
					left: 0;
					width: 100%;
					height: 120px;
					color:black;
					background:yellow;
				}
				footer{
					color:yellow;
					background:purple;
					height:100px;
					bottom:0;
					width:100%;
				}
				main{
					flex-grow: 1;
					background:pink;
				}
				.leftCenterRightInMain{
					display: flex;
					flex-direction: row;
				}
				.left{
					flex:2;
					// width:150px;
					color:rainbow;
					background:pink;
				}
				.center{
					flex:3;
					background:white;
				}
				.right{
					flex:1;
					background:red;
				}
			`}</style>
		</div>
	)
};
// restapi 検証用の関数。
export const ApiFetch = () => {
	const [stones, setStone] = useState([]);
	useEffect(() => {
		// APIをfetchする(呼び出す)
		fetch("http://localhost:5000/api/products", { method: "GET" })
			// レスポンスのデータ形式をjsonに設定
			.then((res) => res.json())
	}, []);
}
github コミット分
https://github.com/RYA234/ecshop_front_react/commit/3e752f476dd8d8f0ace33892ed3165282e48e144
自分で試したこと
cssにおいて、idを使って分けることができるか試した。
この場合だと動的に作成する方法が調べてもわからなかったのでボツとした。
left.tsx(一部抜粋)
<style jsx>{`

				.subMenu#生鮮食品{
					position:absolute;
					margin: -20px 0 0 90px;
					padding: 0 0 0 12px;
					z-index: 4;
					visibility: ${visible};
				}
				.subMenu#卵、乳製品{
					position:absolute;
					margin: -20px 0 0 90px;
					padding: 0 0 0 12px;
					z-index: 4;
					visibility: ${visible};
				}

			`}</style>
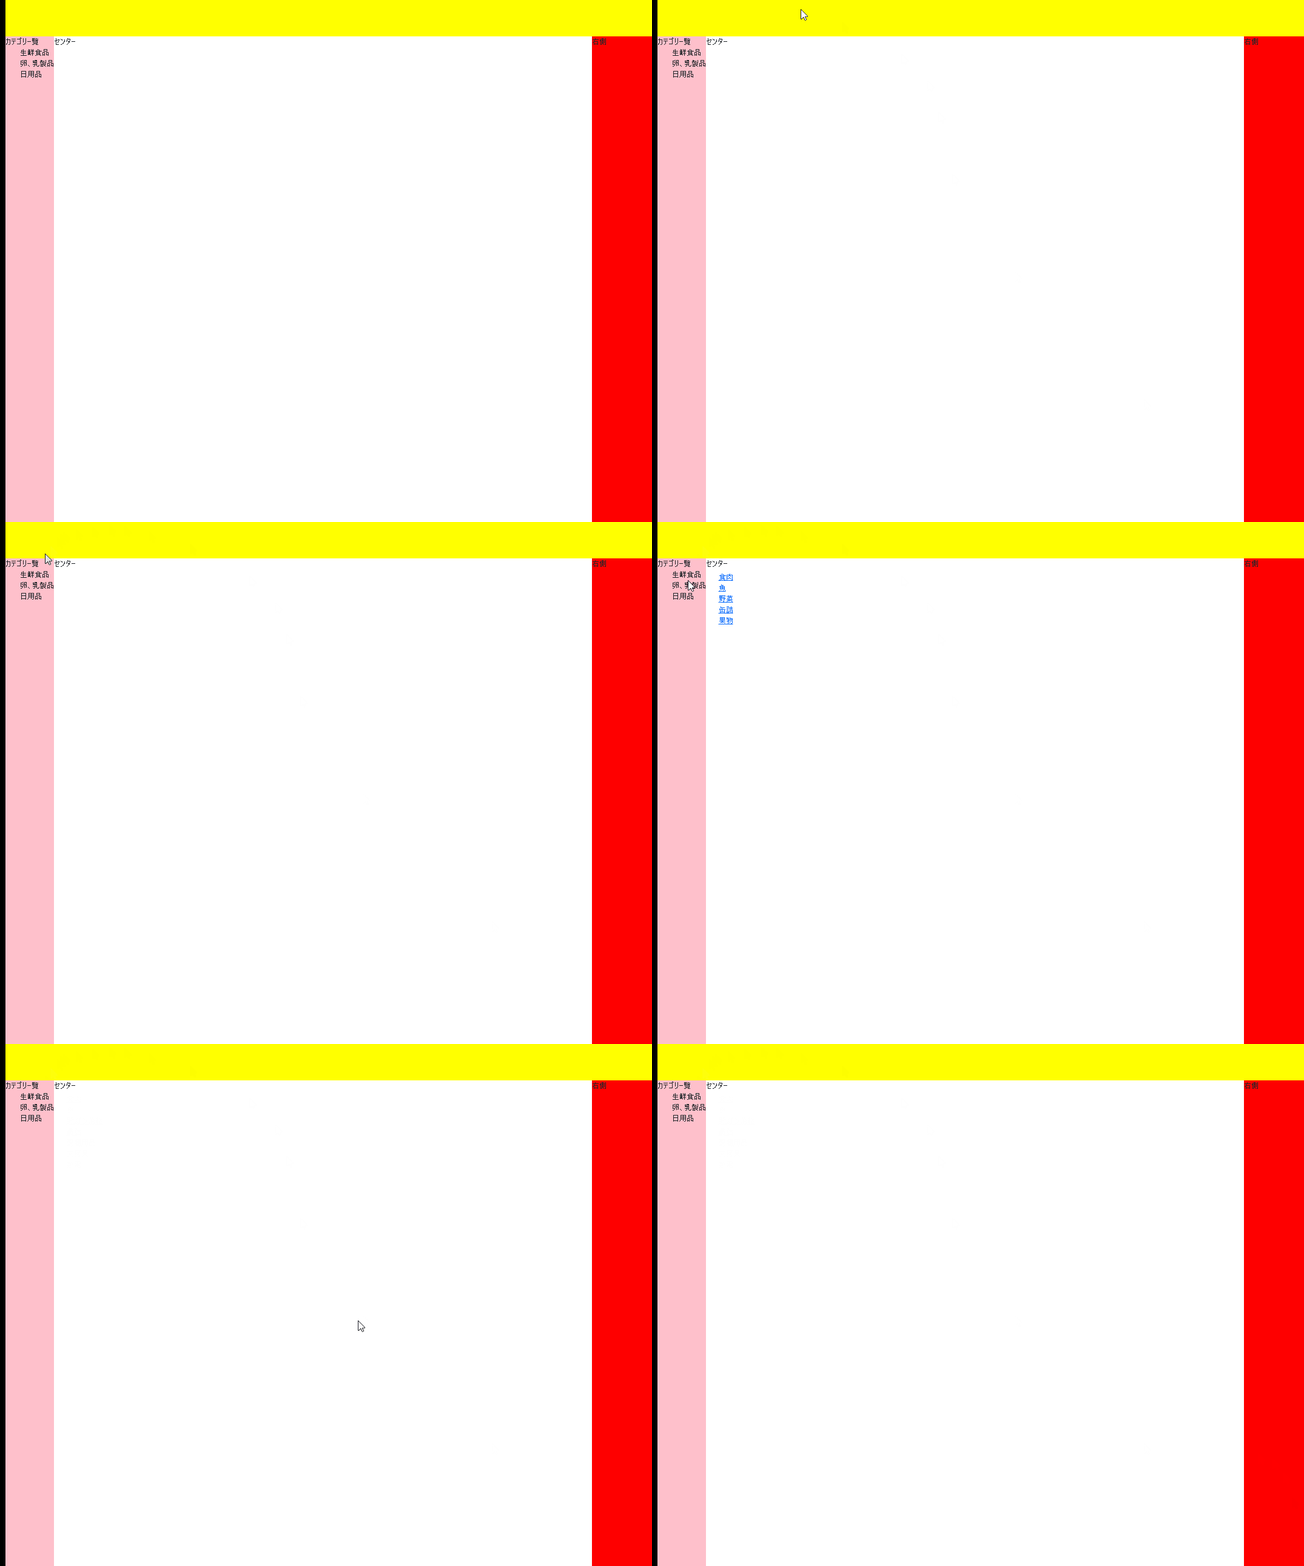
自分で解決
cssのみで書ききれる模様
left.tsx
import test from "node:test";
import { useEffect, useState } from "react";

// todo リファクタリング必要


//   左サブメニューのコンポーネント
export default function Left(this: any, { left, top, color, bgColor, height, width }: any) {
	const [categories, setCategories] = useState([])


	useEffect(() => {
		// fetch("http://localhost:5000/api/category/all", { method: "GET" })
		fetch("http://my-json-server.typicode.com/RYA234/ecshop_front_react/categories", { method: "GET" })
			// レスポンスのデータ形式をjsonに設定
			.then((res) => res.json())
			.then(data => {
				setCategories(data);
				//console.log(data);
			})
	}, [])


	return (
		<div>
			カテゴリー覧
			<nav>
			<ul>
				{
					categories.map(category => {
						if (category.parent == null)
							return (
								// eslint-disable-next-line react/jsx-key
								<li>
									<div className='mainMenu' >{category.name}

									{/* <div id={category.name}  className='subMenu'> */}
									<ul className='test'>
										{
											 category.children.map(small => {
												const  title  = categories.at(parseInt(small)).name;
												//console.log(title);
												return(
													// <div>{child}</div>
													// eslint-disable-next-line react/jsx-key
													<li><a href="uhii">{title}<br/></a></li>
												)
											 })
										}
									</ul>
									</div>
								</li>
							);
					})
				}
			</ul>
			</nav>
			<>

			</>
			<style jsx>{`
				nav ul{

					visibility: visible;
					list-style: none;
				}

				// nav ul li div ul li a
				nav ul li div ul{
					position:absolute;
					z-index:5;
					visibility: hidden;
					 list-style: none;
					padding: 1px 1px 1px 12px;
					margin: -20px 1px 2px 90px;
					width:100px;
					height:100px;
				}
				nav ul li div.mainMenu:hover > ul{
					position:absolute;
					z-index:5;
					visibility: visible;
					// list-style: none;
					padding: 1px 1px 1px 12px;
					margin: -20px 0 0 90px;
					width:100px;
				}


			`}</style>
		</div>
	)
}
参考
0 likes


