概要
application.propertiesはSpringbootの各種パラメーターを定義するファイルです。
開発環境と本番環境でパラメーターの値が異なるので切り替えをできるようにします。
開発環境
OS:windows10
バックエンド側:
IDE:IntelliJ Community
spring-boot-starter-parent 2.75
java : 11
手順
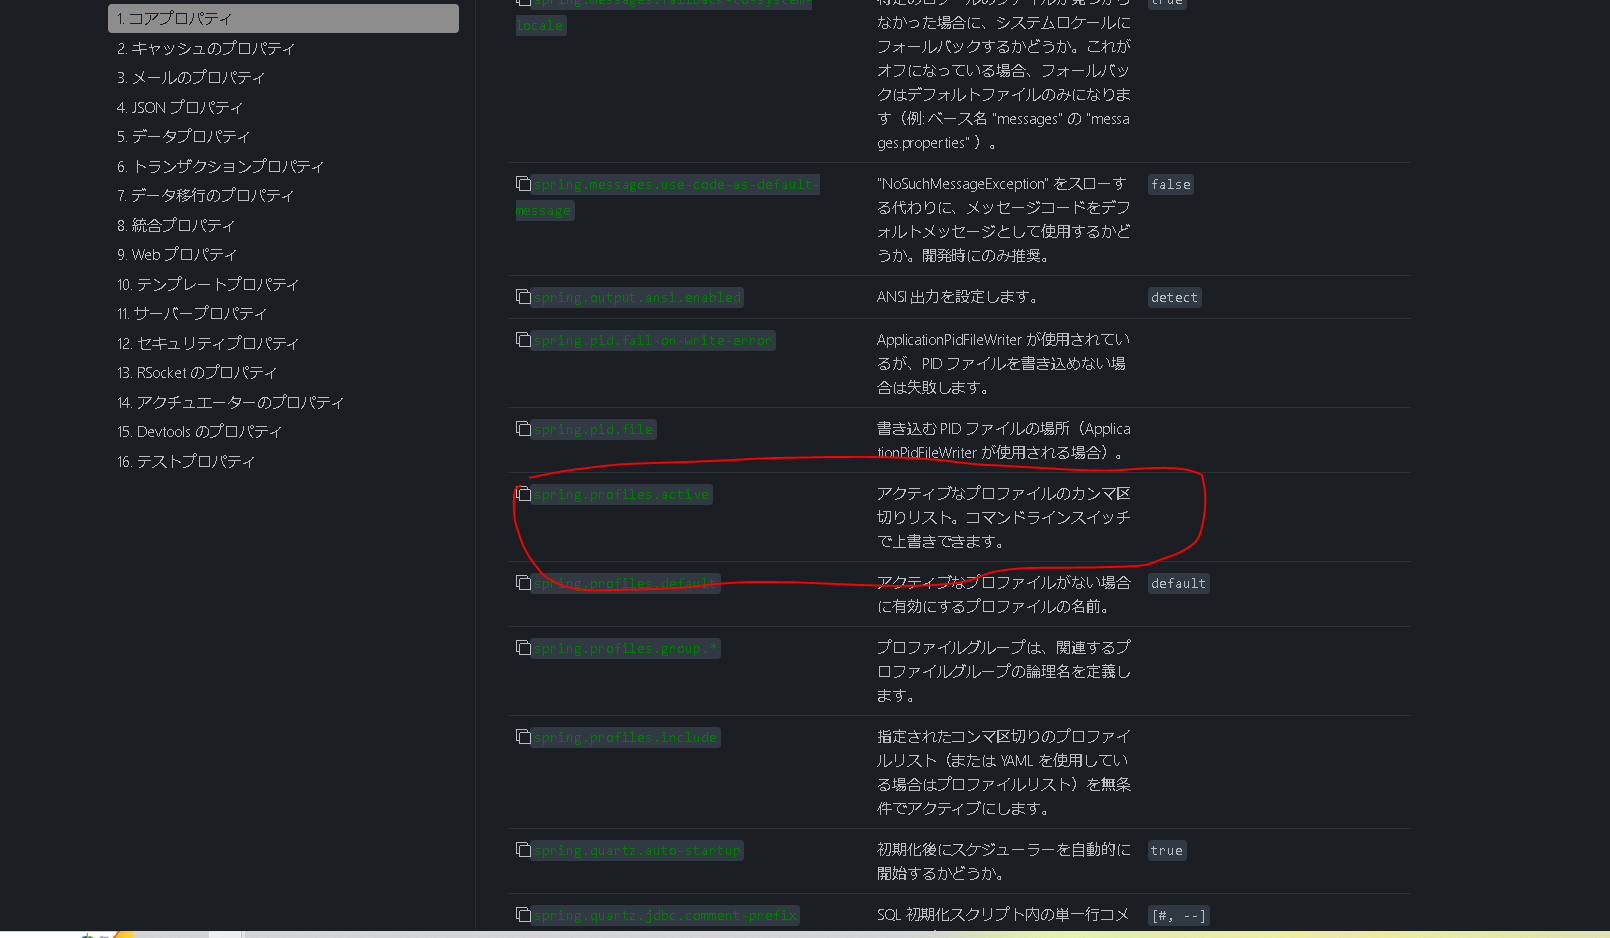
properties:applicationに項目追加
他のpropertiesと切り替えるために設定します。
詳細のプロパティ定義は新しく作成するファイルで行います。
下のコードだと開発環境のプロパティを読みこみます。
application.propeties
# このプロパティで開発環境 or 本番環境を切り替える。
# 詳細のプロパティは別のプロパティファイルで定義
spring.profiles.active = develop
開発環境、本番環境用に新規propetiesファイルを作成する
今回はpropetiesファイルの切り替えを確認したいのでsever.portのみの値を変更します。
application-product.propetiesはgit addしません。(セキュリティ的な理由のため)
application-develop.propeties
# 開発環境用のプロパティ

+ server.port=5000

#MySQL
spring.datasource.url=jdbc:mysql://localhost:3306/ecshopdb
spring.datasource.username=admin
spring.datasource.password=root1234
spring.datasource.driver-class-name=com.mysql.cj.jdbc.Driver

spring.jpa.hibernate.ddl-auto=update
spring.jpa.show-sql=true

# JWT方式ログインの設定
logging.level.org.springframework.security=DEBUG
app.jwt-secret = JWTSecretKey
app.jwt-expiration-milliseconds = 604800000


spring.mvc.pathmatch.matching-strategy = ANT_PATH_MATCHER

# stripeシークレットキー
stripe.key.secret=sk_test_

# フロントエンド側のURL CORで使う
frontend.URL = http://127.0.0.1:3000

# ユーザ登録後メール認証する時に使われる送信元のメールの設定
spring.mail.host=smtp.gmail.com
spring.mail.port=587
spring.mail.username=
spring.mail.password=
spring.mail.properties.mail.smtp.auth = true
spring.mail.properties.mail.smtp.starttls.enable = true
spring.mail.defaultEncoding=UTF-8
spring.mail.properties.mail.smtp.timeout=5000
spring.mail.properties.mail.smtp.socketFactory.port=465
spring.mail.properties.mail.smtp.socketFactory.class =javax.net.ssl.SSLSocketFactory
application-product.propeties
# 本番環境用のプロパティ

+ server.port=2929

#MySQL
spring.datasource.url=jdbc:mysql://localhost:3306/ecshopdb
spring.datasource.username=admin
spring.datasource.password=root1234
spring.datasource.driver-class-name=com.mysql.cj.jdbc.Driver

spring.jpa.hibernate.ddl-auto=update
spring.jpa.show-sql=true

# JWT方式ログインの設定
logging.level.org.springframework.security=DEBUG
app.jwt-secret = JWTSecretKey
app.jwt-expiration-milliseconds = 604800000


spring.mvc.pathmatch.matching-strategy = ANT_PATH_MATCHER

# stripeシークレットキー
stripe.key.secret=sk_test_

# フロントエンド側のURL CORで使う
frontend.URL = http://127.0.0.1:3000

# ユーザ登録後メール認証する時に使われる送信元のメールの設定
spring.mail.host=smtp.gmail.com
spring.mail.port=587
spring.mail.username=
spring.mail.password=
spring.mail.properties.mail.smtp.auth = true
spring.mail.properties.mail.smtp.starttls.enable = true
spring.mail.defaultEncoding=UTF-8
spring.mail.properties.mail.smtp.timeout=5000
spring.mail.properties.mail.smtp.socketFactory.port=465
spring.mail.properties.mail.smtp.socketFactory.class =javax.net.ssl.SSLSocketFactory
動かして確認
ポート番号を変えることで 切り替わったか確認します。
| ファイル名 | 用途 | ポート番号 |
|---|---|---|
| application-dev.properties | 開発環境用 | 5000 |
| application-product.properties | 本番環境用 | 2929 |
application-properties
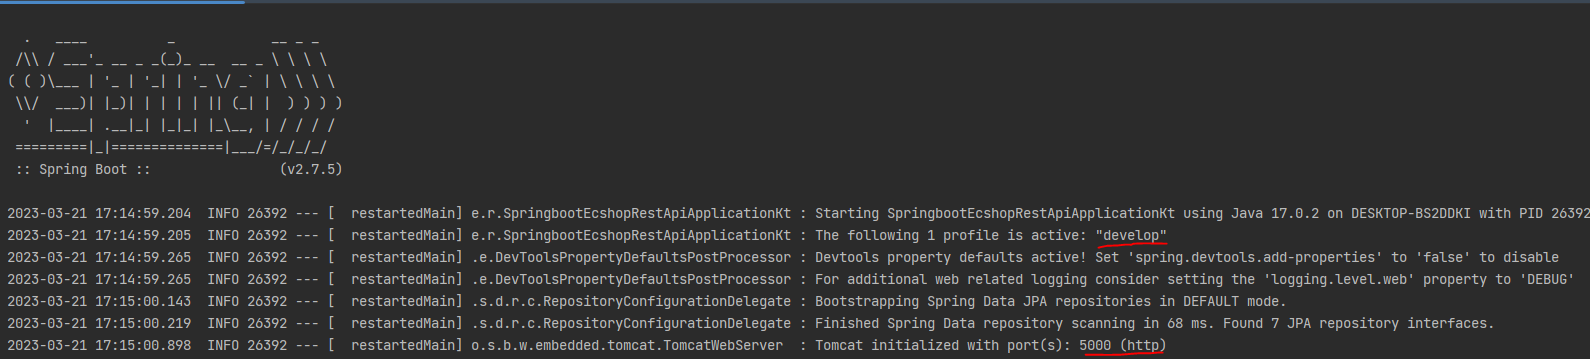
spring.profiles.active = develop
以下実行したときの画面
ポート番号が5000になっており 開発環境用のプロパティファイルを読み込んでいると確認できます
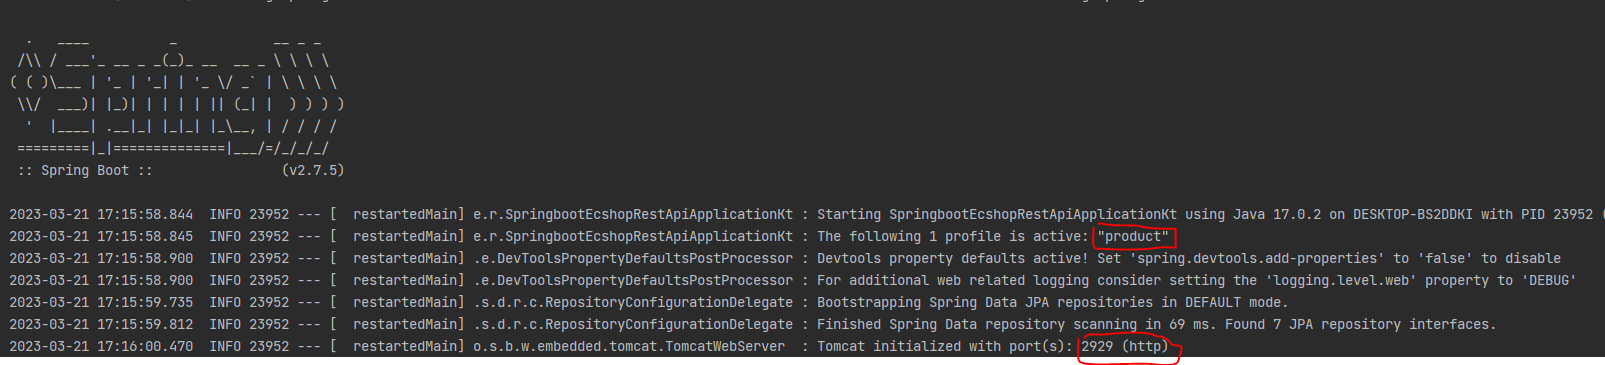
spring.profiles.active = product
以下実行したときの画面
ポート番号が2929になっており 本番環境用のプロパティファイルを読み込んでいると確認できます
参考
Section24 168