playwrightとは
Microsoft が開発したブラウザ自動操作テストツール
実際にインストールしてみる
インストール
npm init playwright@latest
選択内容
Getting started with writing end-to-end tests with Playwright:
Initializing project in '.'
✔ Do you want to use TypeScript or JavaScript? · TypeScript
✔ Where to put your end-to-end tests? · e2e
✔ Add a GitHub Actions workflow? (y/N) · false
✔ Install Playwright browsers (can be done manually via 'npx playwright install')? (Y/n) · true
これで終わり!!
テストを作成してみる
手動作成
テストの書き方 逆引き集
テンプレも作成されるのでそちらも活用できそう
demo-todo-app.spec.ts
import { test, expect, type Page } from '@playwright/test';

test.beforeEach(async ({ page }) => {
  await page.goto('https://demo.playwright.dev/todomvc');
});

const TODO_ITEMS = [
  'buy some cheese',
  'feed the cat',
  'book a doctors appointment'
] as const;

test.describe('New Todo', () => {
  test('should allow me to add todo items', async ({ page }) => {
    // create a new todo locator
    const newTodo = page.getByPlaceholder('What needs to be done?');

    // Create 1st todo.
    await newTodo.fill(TODO_ITEMS[0]);
    await newTodo.press('Enter');
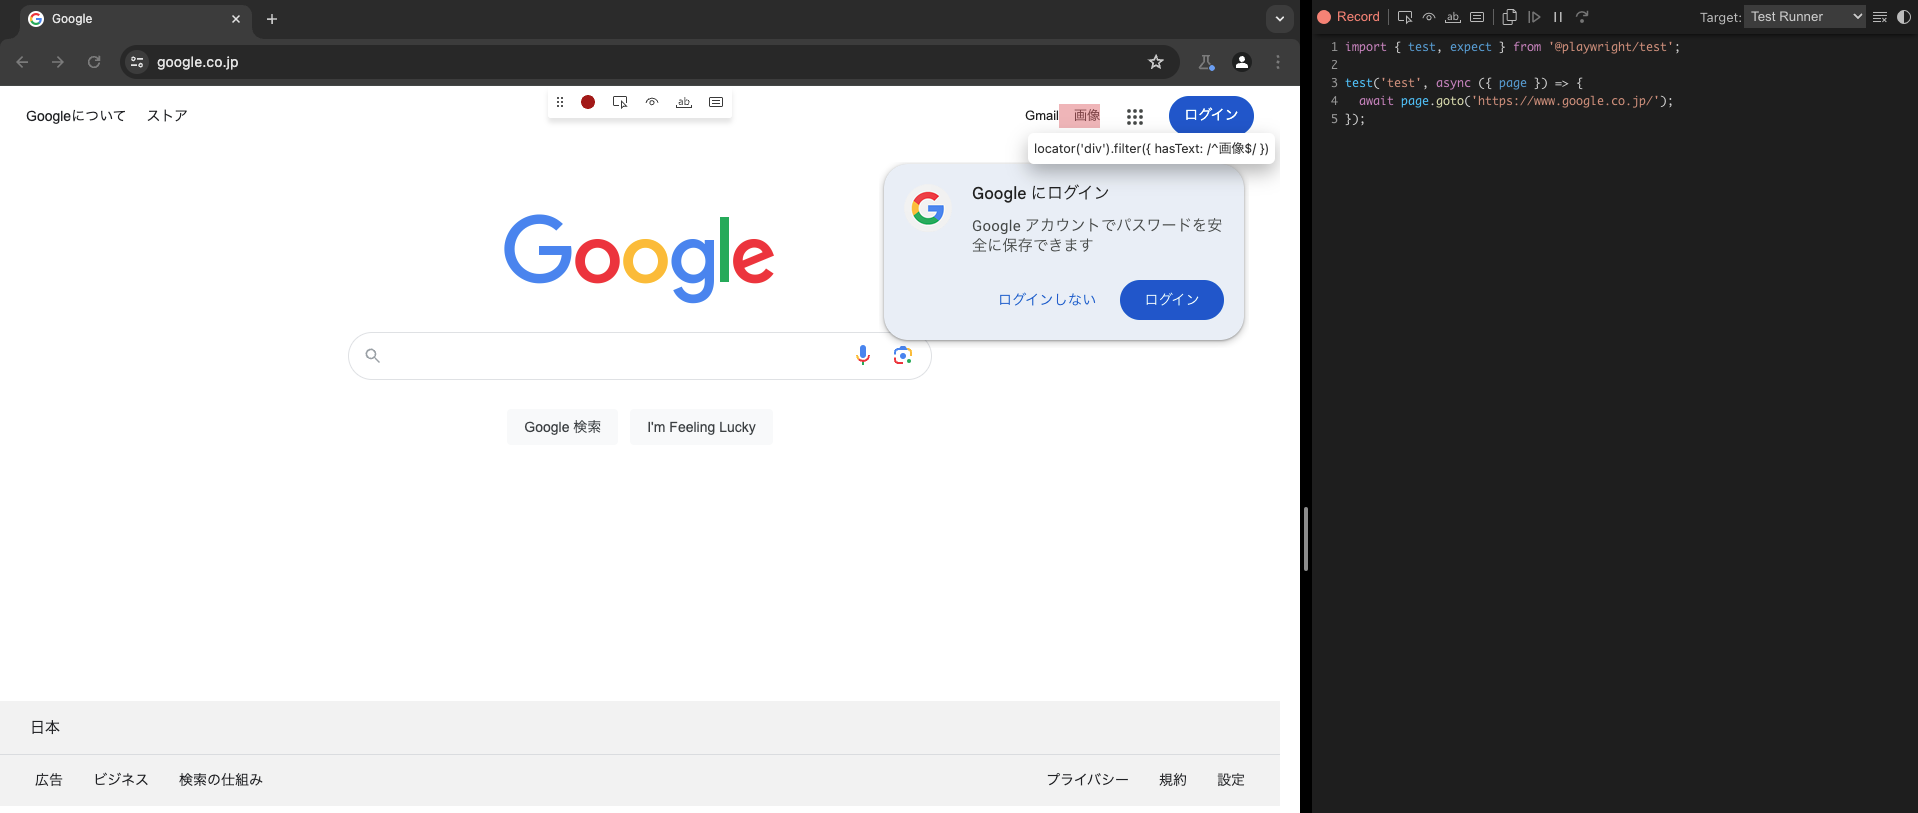
半自動作成
- コード覚えなくてもポチポチするだけでテストコードを自動作成してくれる
npx playwright codegen <テストコードを生成した対象URL>
<テストコードを生成した対象URL> 入力なしの場合
<テストコードを生成した対象URL> 入力ありの場合
直感でテストが作成できる
ボタンの詳細
テストを実行してみる
- テストの違いを確認してみる
package.json
  "scripts": {
    "test:e2e": "playwright test",
    "test:e2e:trace": "playwright test --trace on",
    "test:e2e:debug": "playwright test --debug",
    "test:e2e:headed": "playwright test --headed",
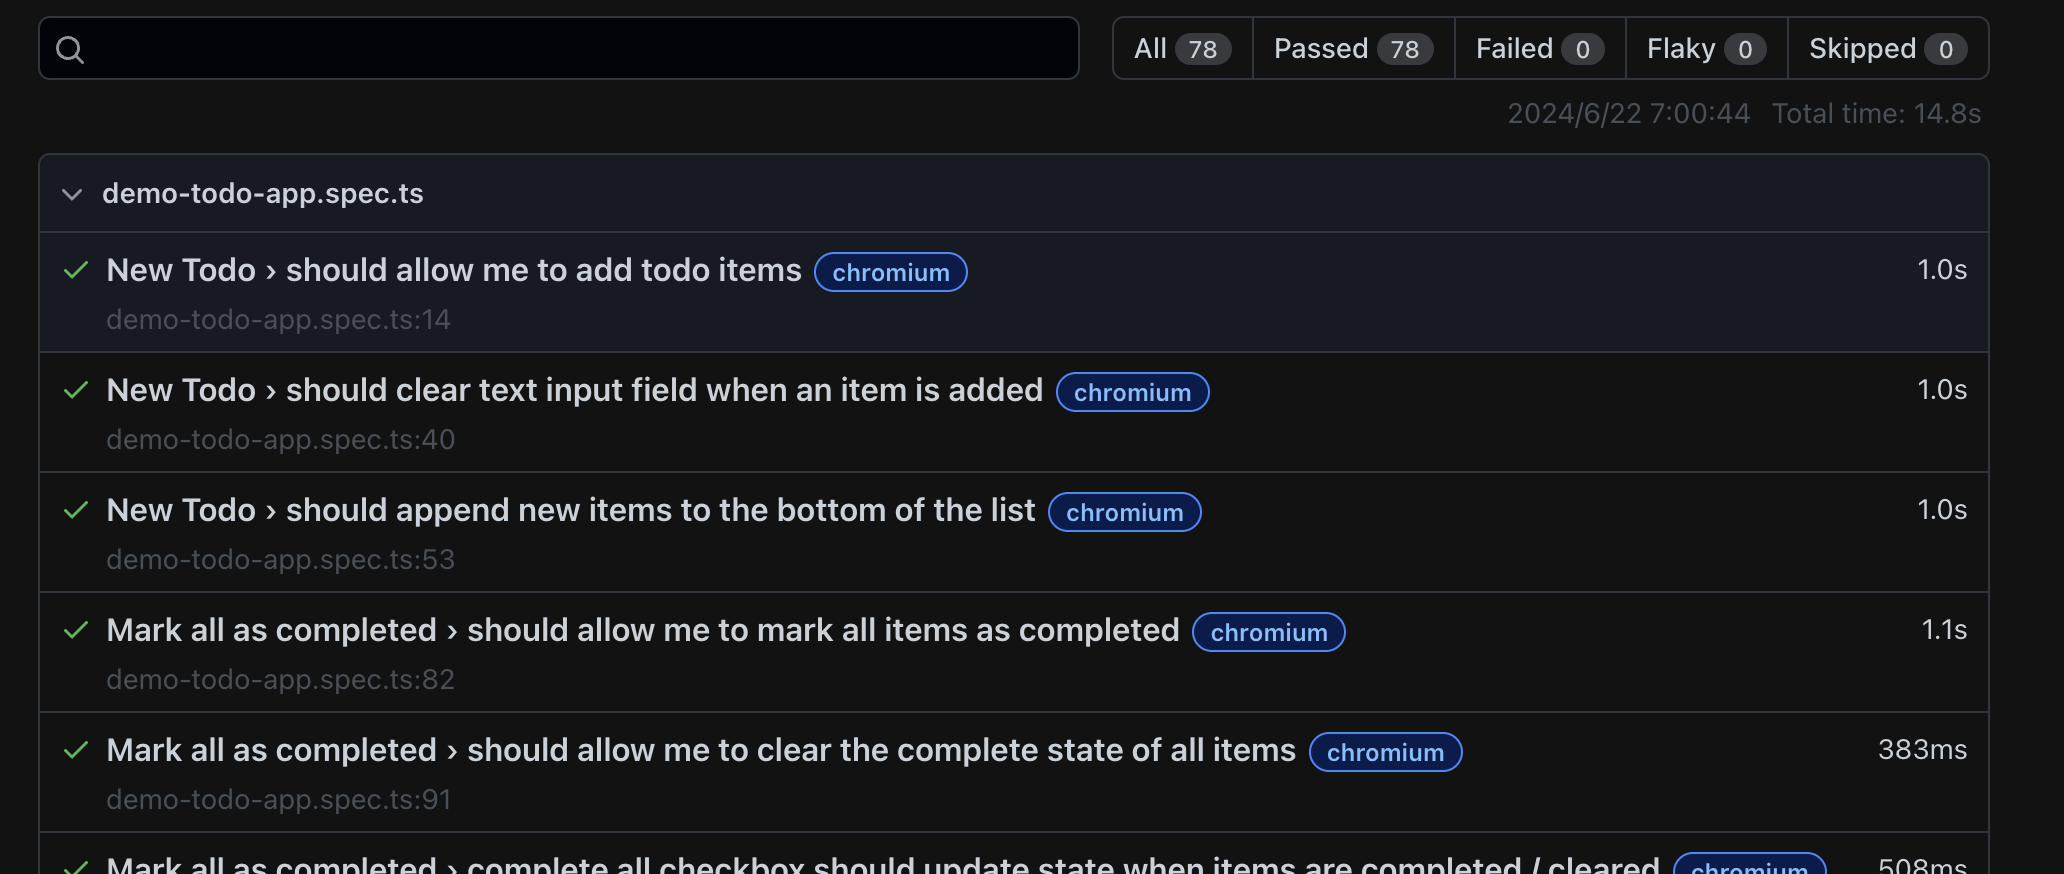
    "test:e2e:report": "playwright show-report",
    "test:e2e:ui": "playwright test --ui"
  }
Playwrightの各コマンドの違いについて
以下は各コマンドの違いをわかりやすく説明したものです
test:e2e: playwright test
test:e2e:trace: playwright test --trace on
-
説明: トレースを有効にしてテストを実行します
トレースを有効にすると、各テストのステップの詳細な記録が取られます
トレースにはスクリーンショット、ログ、ネットワークリクエストの情報などが含まれます - 用途: テストが失敗した場合に、その原因を特定するためのデバッグ情報を提供します
-
結果: 下記ファイルが自動作成された

test:e2e:debug: playwright test --debug
-
説明: デバッグモードでテストを実行します
Playwright Inspectorが開き、ステップごとにコードを実行しながら、ブレークポイントの設定や変数の検査ができます - 用途: テストの詳細なデバッグを行いたい場合に使用します
-
結果: コードベースで実行可能

test:e2e:headed: playwright test --headed
-
説明: ブラウザウィンドウを表示してテストを実行します
通常はヘッドレスモード(ウィンドウなし)で実行されますが、このオプションを使うとウィンドウが表示されます - 用途: テストの実行中のブラウザの動作を視覚的に確認したい場合に使用します
-
結果: テストしている経過を生で確認できる(切り替え早すぎ・・・)

test:e2e:ui: playwright test --ui
-
説明: UIモードでテストを実行します
インタラクティブなユーザーインターフェースを使用してテストを実行・管理できます - 用途: 視覚的にテストを管理し、実行したい場合に使用します
-
結果: テスト単位で視覚的に実行可能

test:e2e:report: playwright show-report
- 説明: テストの実行後に生成されたレポートを表示します レポートには各テストの詳細な結果が含まれます
- 用途: テスト結果を確認し、分析するために使用します
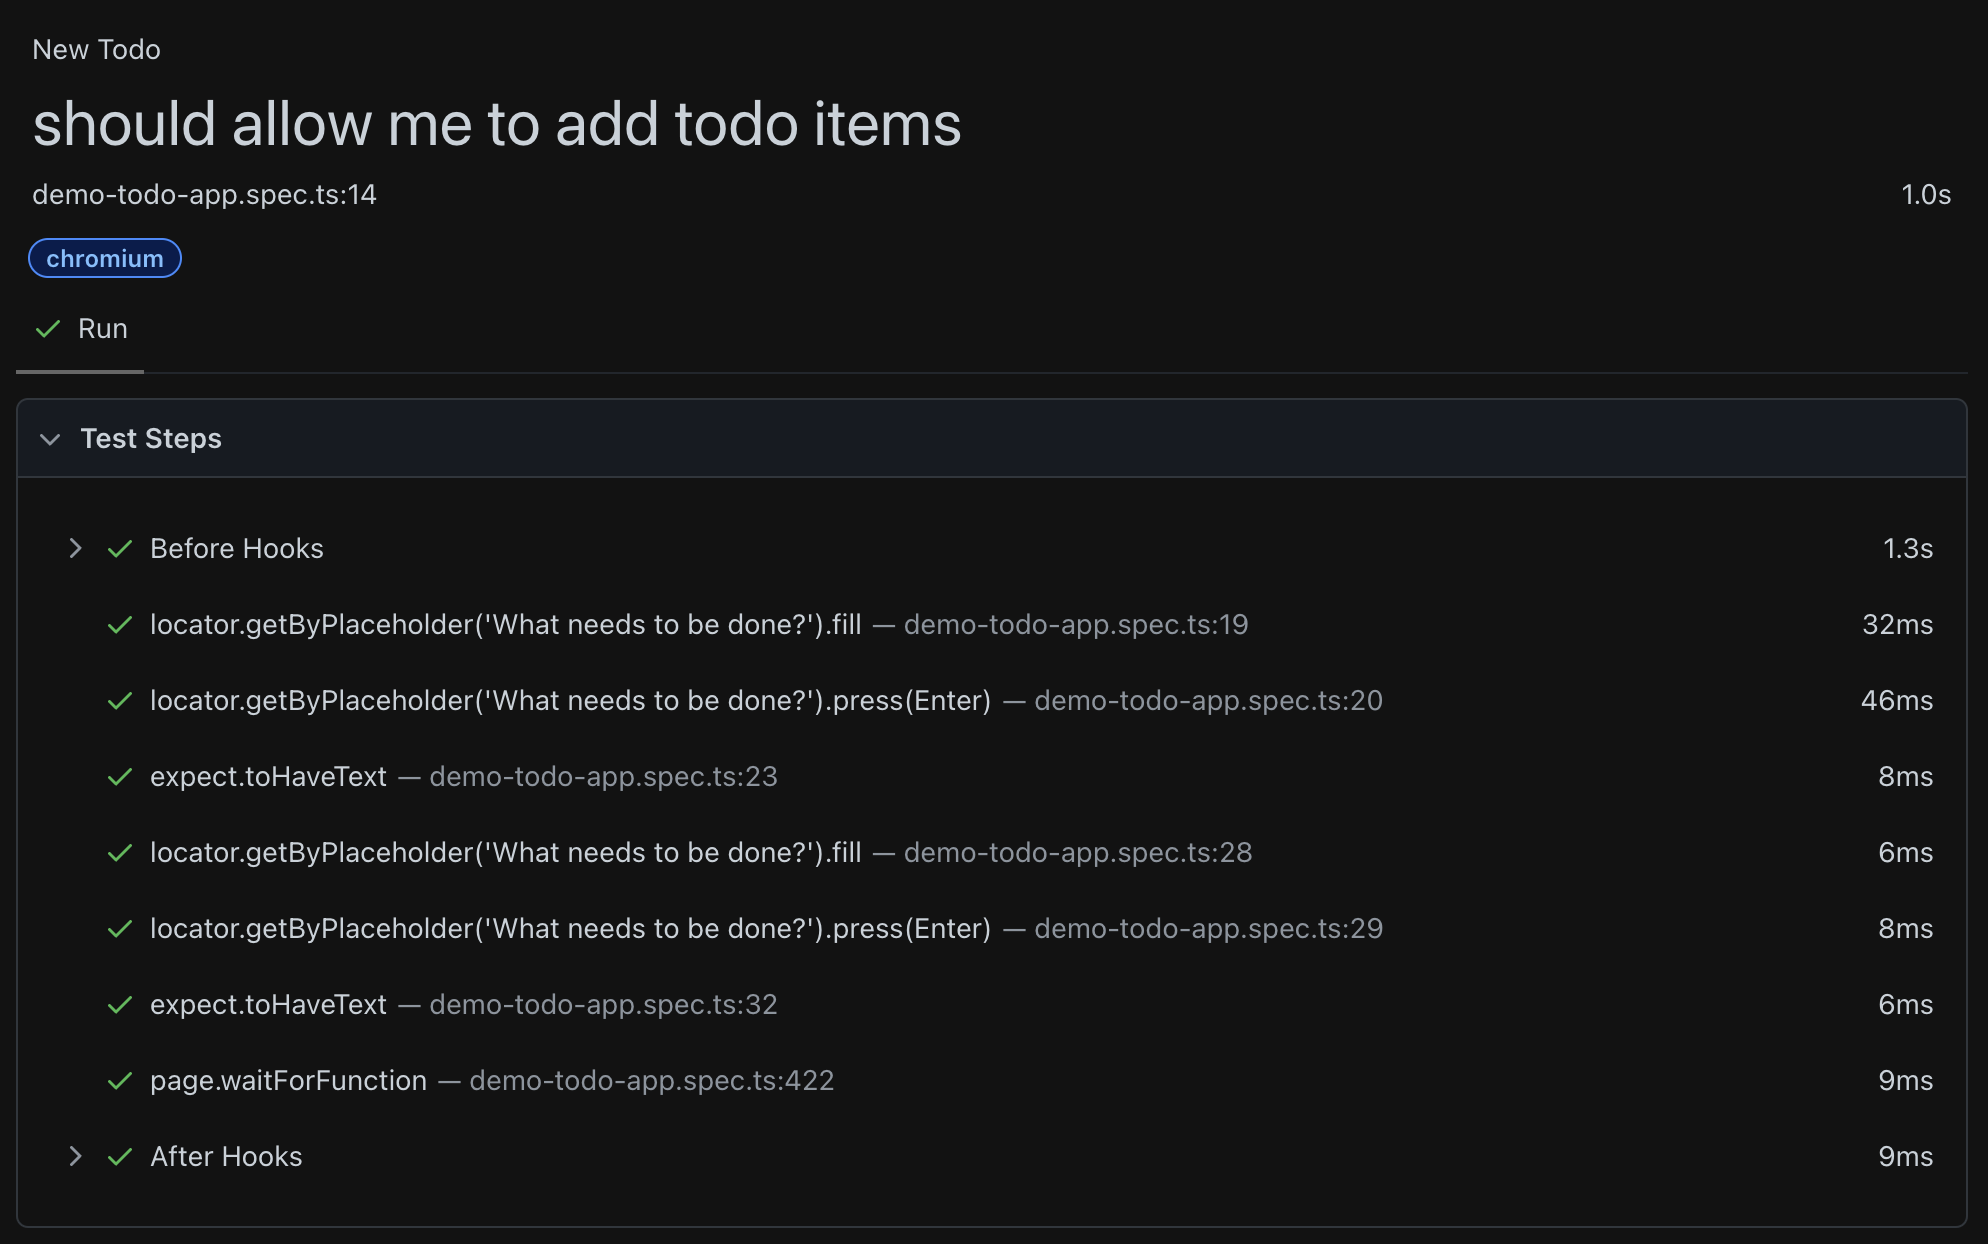
- 結果: テスト結果が確認できる(上記で説明済み)
認証は一回だけにしたい時
inteliJ設定
参考サイト


