
はじめに
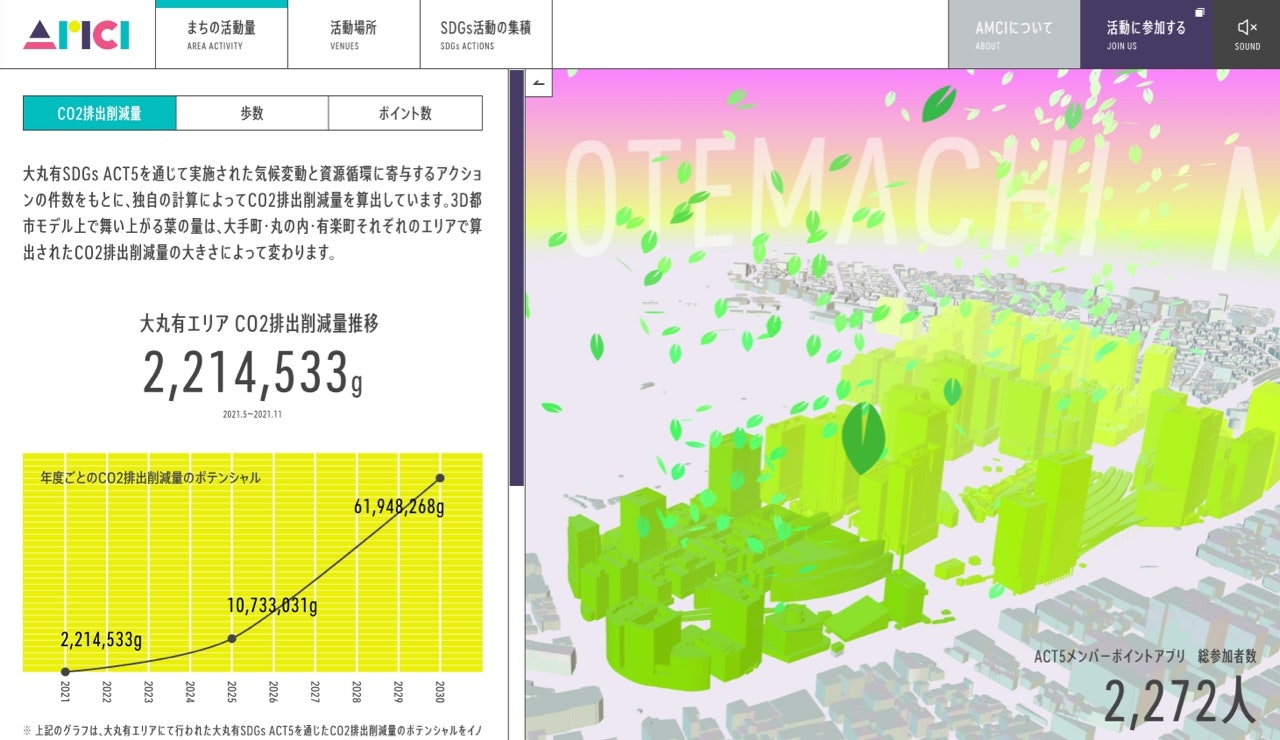
今回は前回(#02 射影テクスチャマッピング演出)に続いて、AMCIサイトの「まちの活動量」ページで使用している、木の葉のパーティクルの実装方法について説明していきたいと思います。
こちらの木の葉ですが、一見ただのテクスチャ画像に見えますが、実はSVG画像をthree.jsでジオメトリに変換し、それをインスタンシングという手法を使ってパーティクルとして描画しています。
今回は、SVG画像の変換とインスタンシングの二つの項目について説明して行きたいと思います。
SVG画像をジオメトリに変換する
今回の木の葉ようなシンプルな形状の場合、通常であればテクスチャとして木の葉の画像を読み込み、それをパーティクルとして描画するのが一番簡単です。
ただ今回は、カメラがパーティクルにかなりよれて近づけてしまうので、テクスチャ画像として読み込むと、カメラが寄った時に解像度の荒さが目に入ってしまいます。
なので、少し手間はかかりますが、SVG画像からジオメトリを生成するという手法を採用しました。
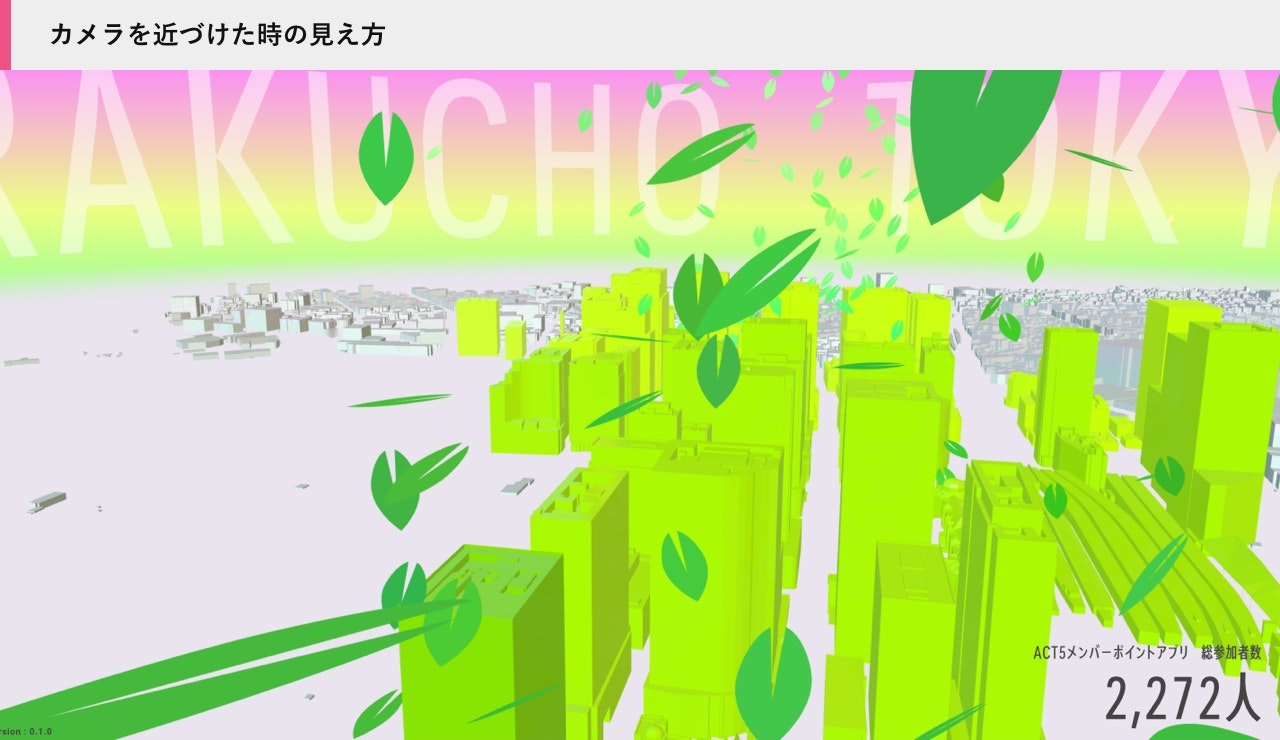
↑手前の木の葉もきれいに表示されています。
実装方法
SVG画像のジオメトリ化の手順は以下のようになります。
- SVG画像の作成
- SVGLoaderで画像を読み込む
- PathをShapeに変換
- THREE.ShapeGeometry でジオメトリ化
実装例
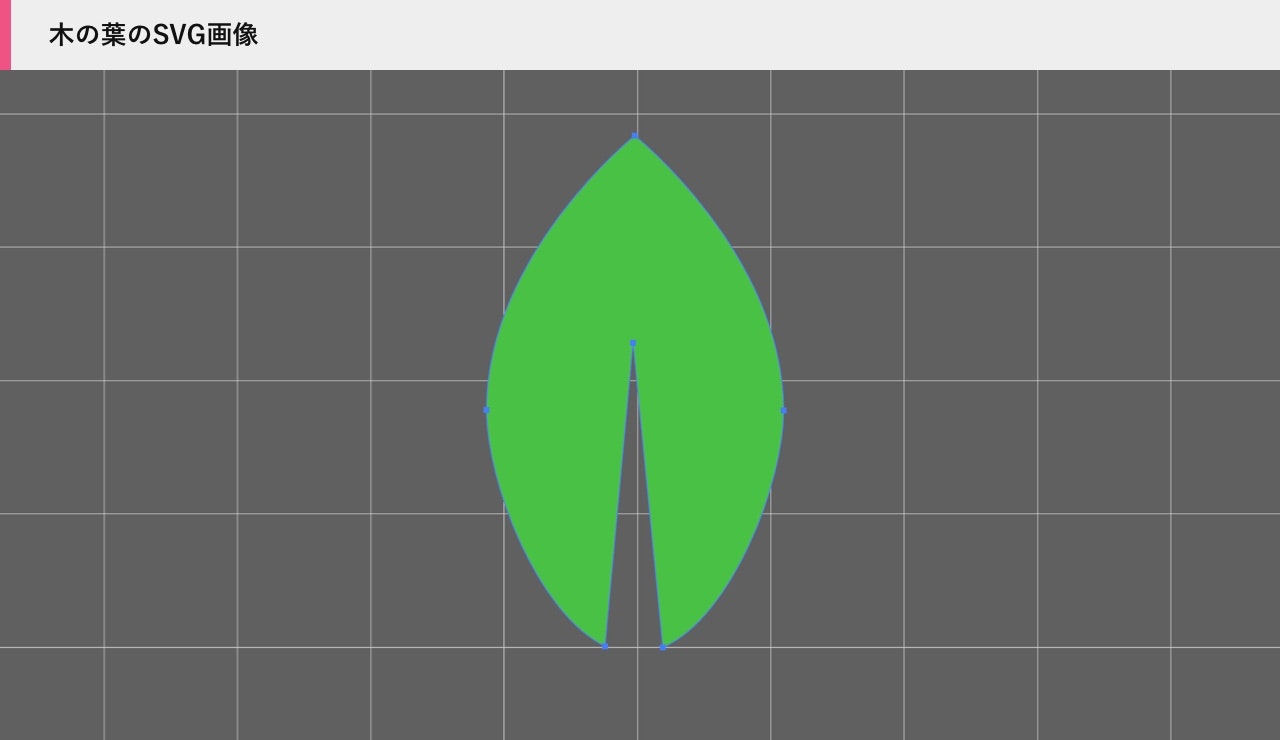
まずIllustratorや他のグラフィックソフトを使ってパスを描き、SVG形式で書き出します。
SVG画像をテキストエディタなどで開くと、XMLのようなフォーマットの文章が表示されます。
この中の <path/> 内の座標データを変換して利用します。
<svg xmlns="http://www.w3.org/2000/svg" viewBox="0 0 20 34.54">
<g id="a7fb9f47-2c15-4d27-a335-82915a92db24" data-name="レイヤー 2">
<g id="a5bbb806-cd56-4dd1-9a05-0bde23584695" data-name="レイヤー 1">
<path d="M10,0S0,8,0,18.54c0,4.82,3.41,13.73,8,15.92L9.9,14l2,20.56c4.64-2,8.14-11.11,8.14-16C20,8,10,0,10,0Z" fill="#4ac144"/>
</g>
</g>
</svg>
出来上がったSVGファイルをthree.jsで読み込みます。
1行目のLoaderクラスはTextureやFont、GLTFファイル、SVGなど様々な外部アセットの読み込みを行う独自のクラスですが、内部で行っている処理としては、three.jsのSVGLoaderを実行しています。詳しくはサンプルをご覧ください。
2行目以降で読み込んだSVGのPathデータをShapeに変換しつつ、最後の行でジオメトリに変換しています。
次のインスタンシングで、このジオメトリを複製しパーティクルとして表示させます。
const data = Loader.getAsset('leafsvg')
const paths = data.paths
const path = paths[0]
const shapes = SVGLoader.createShapes(path)
const shape = shapes[0]
const scale = 0.01
const tmpGeometry = new THREE.ShapeGeometry(shape)
three.js - SVGLoader
https://threejs.org/docs/#examples/en/loaders/SVGLoader
インスタンシングでパーティクル
まずインスタンシングについて簡単にご説明します。
例えば、同じジオメトリを複数配置する際に、forループなどでMeshを大量に作ったとします。
このような処理をすると同じジオメトリにも関わらず、CPUで個別に処理が行なわれる為、処理負荷が非常に高くなってしまいます。
let length = 10000
let objects = THREE.Object3D()
for(let i = 0; i < length; i++){
    let geometry = new THREE.Geometry(...)
    let material = new THREE.PhongMaterial(...)
    let mesh = new THREE.Mesh(geometry, material)
    mesh.position.set(0, 0, 0)
    objects.add(mesh)
}
そこで、下記のような書き方に変更することで、ジオメトリの複製が生成されるのでCPU負荷を抑えることができます。
let length = 10000
let objects = THREE.Object3D()
let geometry = new THREE.InstancedBufferGeometry()

// 座標用のバッファ
let vertices = new THREE.InstancedBufferAttribute(new Float32Array(length * 3), 3 )
for(let i = 0; i < length; i++){
    vertices.setXYZ(i, 0, 0, 0)
}
geometry.setAttribute('vertices', vertices)

let material = new THREE.PhongMaterial(...)
let mesh = new THREE.Mesh(geometry, material)
objects.add(mesh)
こちらのサンプルはかなりの数のオブジェクトが配置されていますが、かなりのフレームレートが出ているかと思います。
それでは、前章で作成した木の葉のジオメトリを大量に配置し、パーティクルとして描画したいと思います。
実装方法
手順としては、以下のようになります。
- InstancedBufferGeometryを作成
- 木の葉ジオメトリのパラメータを複製
- 1のInstancedBufferGeometryのパラメータを作成
- 毎フレーム実行する移動処理などを記述
- マテリアルの作成
- シェーダーの作成
実装例
まず下記の LeadParticles.js では、実装方法の1〜4の処理を行っています。
import * as THREE from 'three'
import { SVGLoader } from 'three/examples/jsm/loaders/SVGLoader.js'
import Core from '../Core'
import Loader from '../Loader'
import Util from '../Utils/Util'
import LeafParticleMaterial from '../Material/LeafParticleMaterial'
import Data from '~/assets/data/data.json'

export default class LeafParticles {
  /**
   * [constructor description]
   * @return {[type]} [description]
   */
  constructor() {
    this.num = 300
    this.radius = 3.5

    this.vertices = []
    this.defaultPos = []
    this.speeds = []
    this.colors = []

    this.geometry = null
    this.material = null
    this.particles = null

    this.setup()
    this.hide()
  }

  /**
   * [setup description]
   * @return {[type]} [description]
   */
  setup() {
    ...

    // パーティクルを作成
    this.geometry = this.createGeometry()
    this.material = new LeafParticleMaterial()
    this.particles = new THREE.Mesh(this.geometry, this.material)
    Core.scene.add(this.particles)
  }


  /**
   * [createGeometry description]
   * @return {[type]} [description]
   */
  createGeometry(){
    const data = Loader.getAsset('leafsvg')
    const paths = data.paths
    const path = paths[0]
    const shapes = SVGLoader.createShapes(path)
    const shape = shapes[0]
    const scale = 0.01
    const tmpGeometry = new THREE.ShapeGeometry(shape)

    const mat = new THREE.Matrix4()
    mat.makeScale(scale, scale, scale)
    tmpGeometry.applyMatrix4(mat)

    const geometry = new THREE.InstancedBufferGeometry()

    let vertice = tmpGeometry.attributes.position.clone()
    geometry.setAttribute('position', vertice)

    let normal = tmpGeometry.attributes.normal.clone()
    geometry.setAttribute('normals', normal)

    let uv = tmpGeometry.attributes.normal.clone()
    geometry.setAttribute('uv', uv)

    let indices = tmpGeometry.index.clone()
    geometry.setIndex(indices)

    this.vertices = new THREE.InstancedBufferAttribute(new Float32Array(this.num * 3), 3 )
    this.color = new THREE.InstancedBufferAttribute(new Float32Array(this.num * 3), 3 )
    this.offsetPos = new THREE.InstancedBufferAttribute(new Float32Array(this.num * 3), 3 )
    this.aNum = new THREE.InstancedBufferAttribute(new Float32Array(this.num * 1), 1 )

    for (let i = 0; i < this.num; i++) {

      let center = null
      let color = {
        r: Math.random() * 0.1 + 0.2,
        g: Math.random() * 0.1 + 0.7,
        b: Math.random() * 0.1 + 0.2,
      }
      if(i < this.num * this.co2Per.otemachi){
        center = Core.centers.otemachi
        color.r = Math.random() * 0.1 + 0.1
      }
      else if(i < this.num * (this.co2Per.otemachi + this.co2Per.marunouchi)){
        center = Core.centers.marunouchi
        color.b = Math.random() * 0.1 + 0.1
      }
      else{
        center = Core.centers.yurakucho
      }

      // offset pos
      let range = 5
      let x = Math.random() * range - range / 2
      let y = Math.random() * range - range / 2
      let z = Math.random() * range - range / 2
      this.offsetPos.setXYZ(i, x, y, z)
      this.aNum.setX(i, i)

      // speed
      const sx = 0.01 * (Math.random() - 0.5)
      const sy = 0.05 * Math.random()
      const sz = 0.01 * (Math.random() - 0.5)
      this.speeds.push(sx, sy, sz)

      // position
      const vx = center.x + this.radius * (Math.random() - 0.5)
      const vy = center.y + 0.0
      const vz = center.z + this.radius * (Math.random() - 0.5)
      this.vertices.setXYZ(i, vx, vy, vz)
      this.defaultPos.push(vx, vy, vz)

      // color
      this.color.setXYZ(i, color.r, color.g, color.b)
    }

    // console.log('offsetPos', this.offsetPos.count)
    // console.log('aNum', this.aNum.count)
    // console.log('speeds', this.speeds.length)
    // console.log('defaultPos', this.defaultPos.length)
    // console.log('vertices', this.vertices.count)
    // console.log('color', this.color.count)

    geometry.setAttribute('vertices', this.vertices)
    geometry.setAttribute('color', this.color)
    geometry.setAttribute('offsetPos', this.offsetPos)
    geometry.setAttribute('num', this.aNum)

    return geometry
  }

  /**
   * [destroy description]
   * @return {[type]} [description]
   */
  destroy() {}

  show() {
    this.particles.visible = true
  }

  hide() {
    this.particles.visible = false
  }

  /**
   * [addParticle description]
   */
  addParticle() {}

  /**
   * [update description]
   * @return {[type]} [description]
   */
  update() {
    // this.aNumが生成されていたら実行
    if (this.aNum.count >= this.num) {
      // 頂点を移動
      for (let i = 0; i < this.num; i++) {
        const index = i * 3
        let x = this.vertices.getX(i) + this.speeds[index + 0]
        let y = this.vertices.getY(i) + this.speeds[index + 1]
        let z = this.vertices.getZ(i) + this.speeds[index + 2]
        // しきい値を超えたら頂点をリセット
        if (y >= 8) {
          x = this.defaultPos[index + 0]
          y = this.defaultPos[index + 1]
          z = this.defaultPos[index + 2]
        }
        this.vertices.setXYZ(i, x, y, z)
      }

      // 頂点のバッファを更新
      this.geometry.setAttribute('vertices', this.vertices)
      this.vertices.needsUpdate = true
    }

    this.material.uniforms.time.value = Core.time.total
  }
}
個別にコードを切り出してご説明します。
const tmpGeometry = new THREE.ShapeGeometry(shape)

const mat = new THREE.Matrix4()
mat.makeScale(scale, scale, scale)
tmpGeometry.applyMatrix4(mat)
こちらは木の葉のジオメトリ(tmpGeometry)に対して、拡縮の処理を行っています。
ここで木の葉のサイズを丁度良いサイズに変更しています。
const geometry = new THREE.InstancedBufferGeometry()

let vertice = tmpGeometry.attributes.position.clone()
geometry.setAttribute('position', vertice)

let normal = tmpGeometry.attributes.normal.clone()
geometry.setAttribute('normals', normal)

let uv = tmpGeometry.attributes.normal.clone()
geometry.setAttribute('uv', uv)

let indices = tmpGeometry.index.clone()
geometry.setIndex(indices)
上記は、createGeometry()内の冒頭の処理ですが、ここでInstancedBufferGeometry の作成と、木の葉ジオメトリが持つ、頂点、ノーマル、UV、インデックスをInstancedBufferGeometryにコピーしています。
this.vertices = new THREE.InstancedBufferAttribute(new Float32Array(this.num * 3), 3 )
this.color = new THREE.InstancedBufferAttribute(new Float32Array(this.num * 3), 3 )
this.offsetPos = new THREE.InstancedBufferAttribute(new Float32Array(this.num * 3), 3 )
this.aNum = new THREE.InstancedBufferAttribute(new Float32Array(this.num * 1), 1 )

for (let i = 0; i < this.num; i++) {
  ...
  // 各属性に初期値を設定
  ...
}
ここでは、InstancedBufferGeometryのパラメータ(属性)を作成しています。
またfor文の中で各属性の初期値を設定しています。
- vertices: オブジェクトの座標
- color: オブジェクトの色
- offsetPos: オブジェクトの初期位置
- aNum: オブジェクトのインデックス番号
update() {
  // this.aNumが生成されていたら実行
  if (this.aNum.count >= this.num) {
    // 頂点を移動
    for (let i = 0; i < this.num; i++) {
      const index = i * 3
      let x = this.vertices.getX(i) + this.speeds[index + 0]
      let y = this.vertices.getY(i) + this.speeds[index + 1]
      let z = this.vertices.getZ(i) + this.speeds[index + 2]
      // しきい値を超えたら頂点をリセット
      if (y >= 8) {
        x = this.defaultPos[index + 0]
        y = this.defaultPos[index + 1]
        z = this.defaultPos[index + 2]
      }
      this.vertices.setXYZ(i, x, y, z)
    }

    // 頂点のバッファを更新
    this.geometry.setAttribute('vertices', this.vertices)
    this.vertices.needsUpdate = true
  }

  this.material.uniforms.time.value = Core.time.total
}
そして、アップデート毎の処理ですが、
上記のコードで木の葉が上からひらひらと降ってくる→地面付近まで来たら上に戻る、という処理を行っています。
木の葉の回転について
木の葉の回転は後述のVertexShader(leafParticle.vert)で行っています
最後にマテリアルに使用してるコードはこちらです。
import * as THREE from 'three'
import Core from '../Core'
import vert from './glsl/leafParticle.vert'
import frag from './glsl/leafParticle.frag'

export default class LeafParticleMaterial extends THREE.ShaderMaterial {

  constructor({ tex, size } = {}) {

    const uniforms = THREE.UniformsUtils.merge([
      THREE.ShaderLib.standard.uniforms,
      {
        time: { value: 0 },
        diffuse: {value: new THREE.Vector3(0.0, 1.0, 0.3)},
        roughness: {value: 1.0},
      }
    ])

    super({
      vertexShader: vert,
      fragmentShader: frag,
      uniforms: uniforms,
      lights: true,
      side: THREE.DoubleSide
    })

  }
}
// modelMatrix: オブジェクト座標からワールド座標へ変換する
// viewMatrix: ワールド座標から視点座標へ変換
// modelViewMatrix: modelMatrixとviewMatrixの積算
// projectionMatrix: カメラの各種パラメータから3次元を2次元に射影し、クリップ座標系に変換する行列
// cameraPosition: カメラの位置
// normalMatrix: 頂点法線ベクトルを視点座標系に変換する行列
// position: 頂点座標
// normal: 頂点法線ベクトル
// uv: テクスチャを貼るためのUV座標

attribute vec3 offsetPos;
attribute vec3 vertices;
attribute vec3 color;
varying vec3 vViewPosition;
varying vec3 vNormal;
varying vec4 vMvPosition;
varying vec3 vColor;
uniform float time;

float PI = 3.141592653589793;

highp mat2 rotate(float rad){
    return mat2(cos(rad), sin(rad), -sin(rad), cos(rad));
}

void main() {
  vColor = color;
  vNormal = normal;
  vec3 pos = position;

  float rad = time + length(offsetPos);
  pos.xz *= rotate(rad);
  pos.xy *= rotate(rad);

  vec4 mvPosition = modelViewMatrix * vec4(pos + vertices, 1.0);
  vMvPosition = mvPosition;

  gl_Position = projectionMatrix * mvPosition;
  vViewPosition = -mvPosition.xyz;
}
// viewMatrix: ワールド座標から視点座標へ変換
// cameraPosition: カメラの位置

uniform float time;

varying vec4 vMvPosition;
varying vec3 vColor;

// vec3 hsv2rgb(vec3 c){
//   vec4 K = vec4(1.0, 2.0 / 3.0, 1.0 / 3.0, 3.0);
//   vec3 p = abs(fract(c.xxx + K.xyz) * 6.0 - K.www);
//   return c.z * mix(K.xxx, clamp(p - K.xxx, 0.0, 1.0), c.y);
// }

void main(){
  float opacity = 10.0 / length(vMvPosition.xyz);
  gl_FragColor = vec4(vColor, opacity);
}
サンプルデータ
当記事のサンプルデータは、下記のリポジトリにて公開しています。
https://github.com/Project-PLATEAU/AMCI-Sample