はじめに
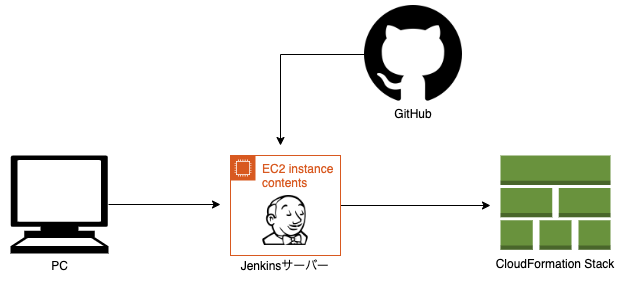
Jenkinsを利用してCFnのテンプレートのスタックを実行するジョブを作成してみました。
使用するCFnのテンプレートは[前回記事]
(https://qiita.com/President_Taka/items/8384110f259b31abdc1b)で作成した3つのテンプレートです。
Jenkinsサーバー作成
AWSのEC2を利用してJenkinsサーバーを作成します。
EC2その他の環境は以下のとおりです。
- インスタンスタイプ : t2.medium
- サブネット : パブリックサブネット
- 自動割り当てパブリックIP : 有効
- セキュリティグループ : SSH(22) カスタムTCP(8080)
※Jenkinsサーバーとの接続に8080番ポートが必要
SSH接続
作成したEC2にSSH接続を行います。
$ ssh -i ~/.ssh/aws-test.pem ec2-user@[パブリックIP]
javaのインストール
Jenkinsを動作させるためにはJavaが必要となりますので、Javaをインストールします。
$ sudo yum install -y java-1.8.0-openjdk
$ java -version
openjdk version "1.8.0_242"
OpenJDK Runtime Environment (build 1.8.0_242-b08)
OpenJDK 64-Bit Server VM (build 25.242-b08, mixed mode)
Jenkinsをyumリポジトリに追加
Jenkinsのインストールを行うために、Jenkinsのyumリポジトリを追加します。今回JenkinsはLTS版を使用します。
$ cd /etc/yum.repos.d     #yum.repos.dフォルダーへ移動
$ sudo curl -O http://pkg.jenkins-ci.org/redhat-stable/jenkins.repo     #curlコマンドでyumリポジトリを取得
$ sudo rpm --import http://pkg.jenkins.io/redhat-stable/jenkins.io.key    #RPMパッケージの公開鍵をrpmコマンドでインポート
Jenkinsのインストール
$ sudo yum install jenkins -y
$ rpm -qa | grep jenkins    #インストール確認
jenkins-2.204.5-1.1.noarch
gitのインストール
GitリポジトリからCFnのテンプレートコードを参照するためgitが必要になります。
$ sudo yum install git -y
$ git --version
git version 2.23.1
Jenkinsの起動
$ sudo systemctl start jenkins
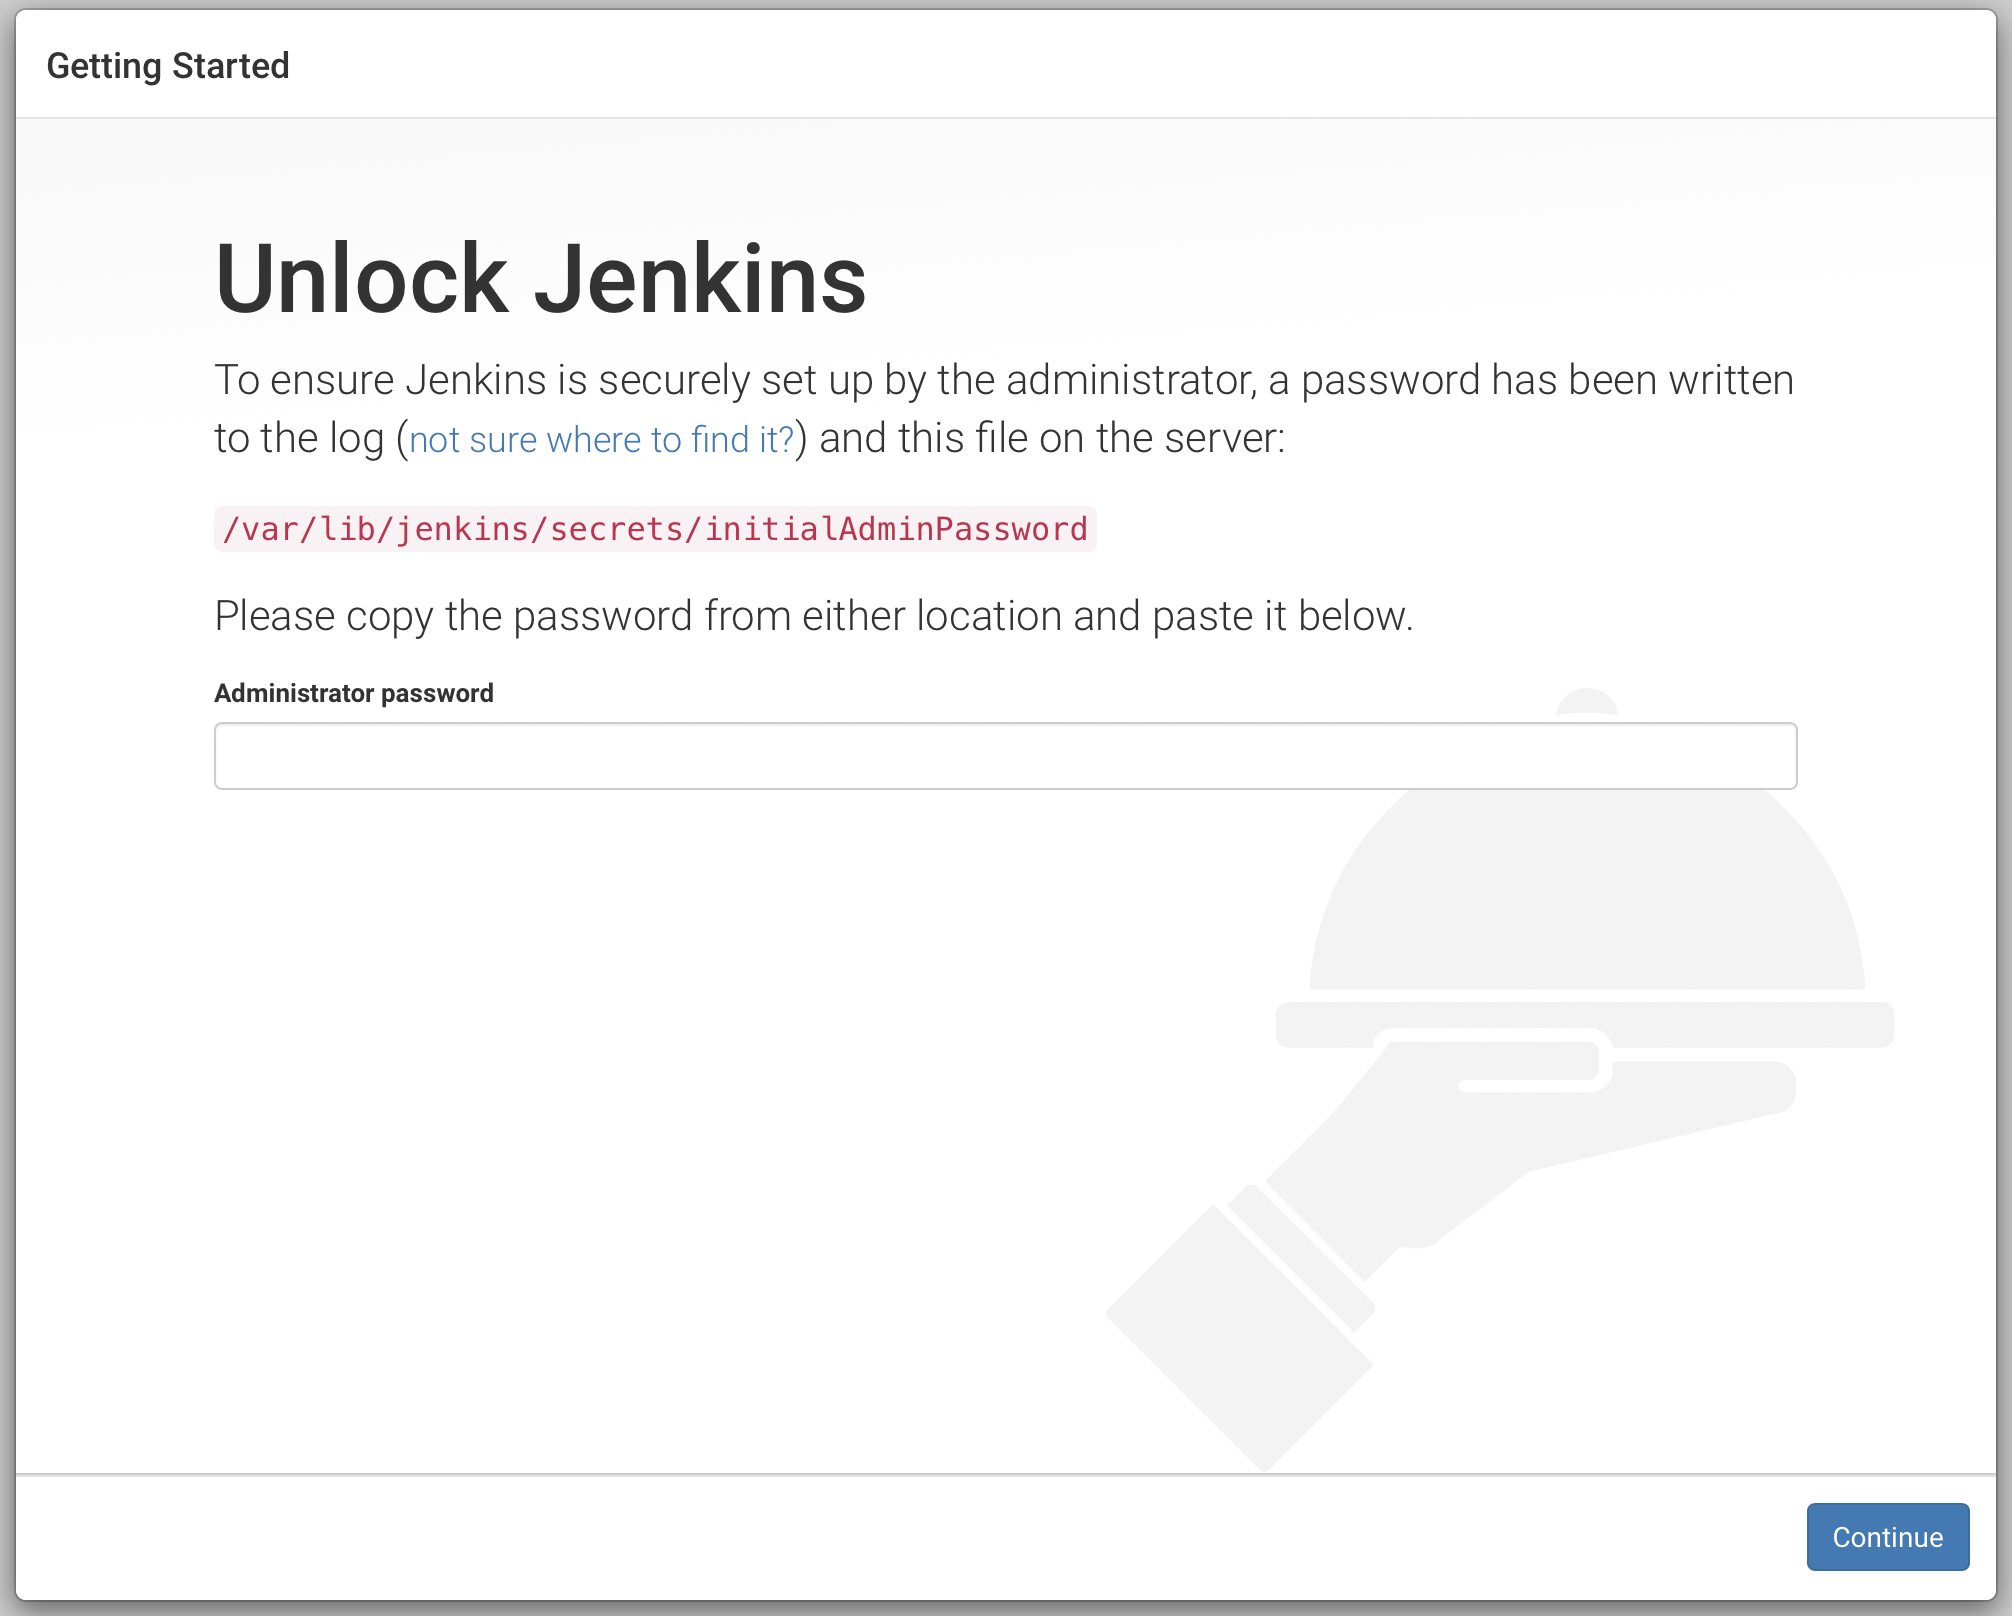
ブラウザからhttp://パブリックIPアドレス:8080でアクセスするとJenkinsのトップページが表示されます。
Jenkinsサーバー初期設定
トップページはアクセスがロックされていますので、Administrator passwordを入力が必要となります。指示どおり/var/lib/jenkins/secrets/initialAdminPasswordで確認できるパスワードを入力します。
$ sudo cat /var/lib/jenkins/secrets/initialAdminPassword
133d8a2572-------------------
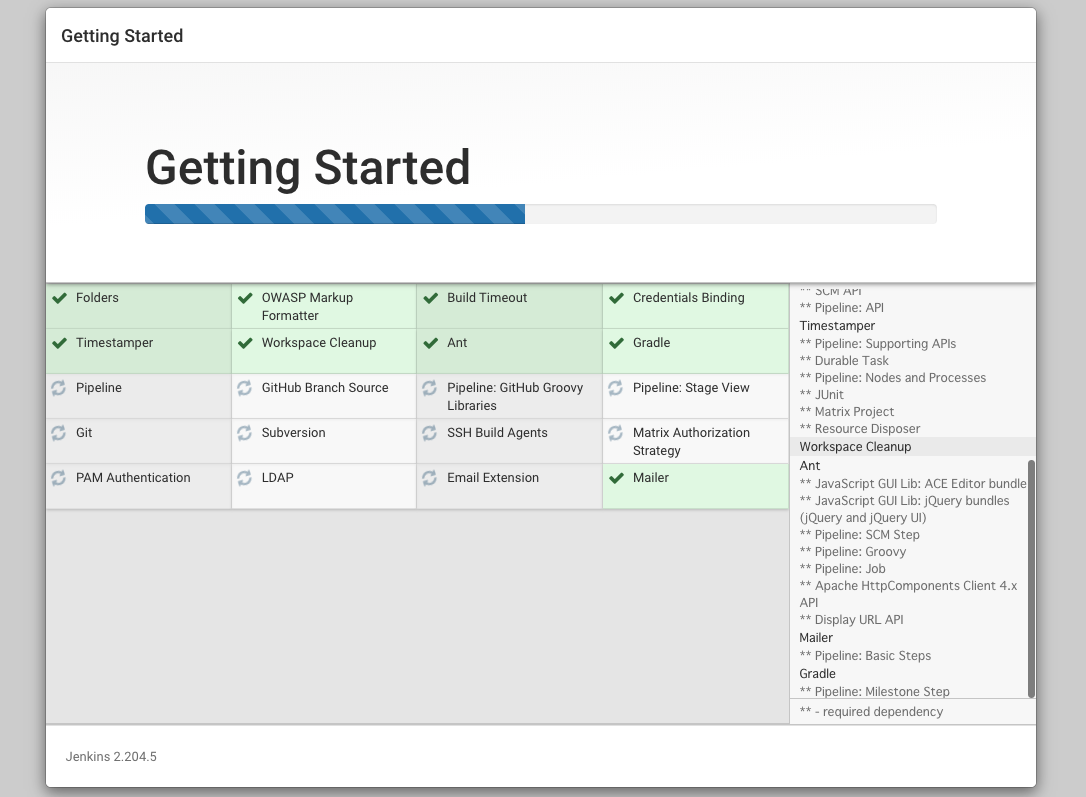
次にCustomize Jenkins画面が表示され、2つのカスタマイズ方法のうち一つを選択します。違いはプラグインを自分で選択するか推奨されるものにするか、になりますので、今回は推奨プラグインInstall suggested pluginsを選択します。

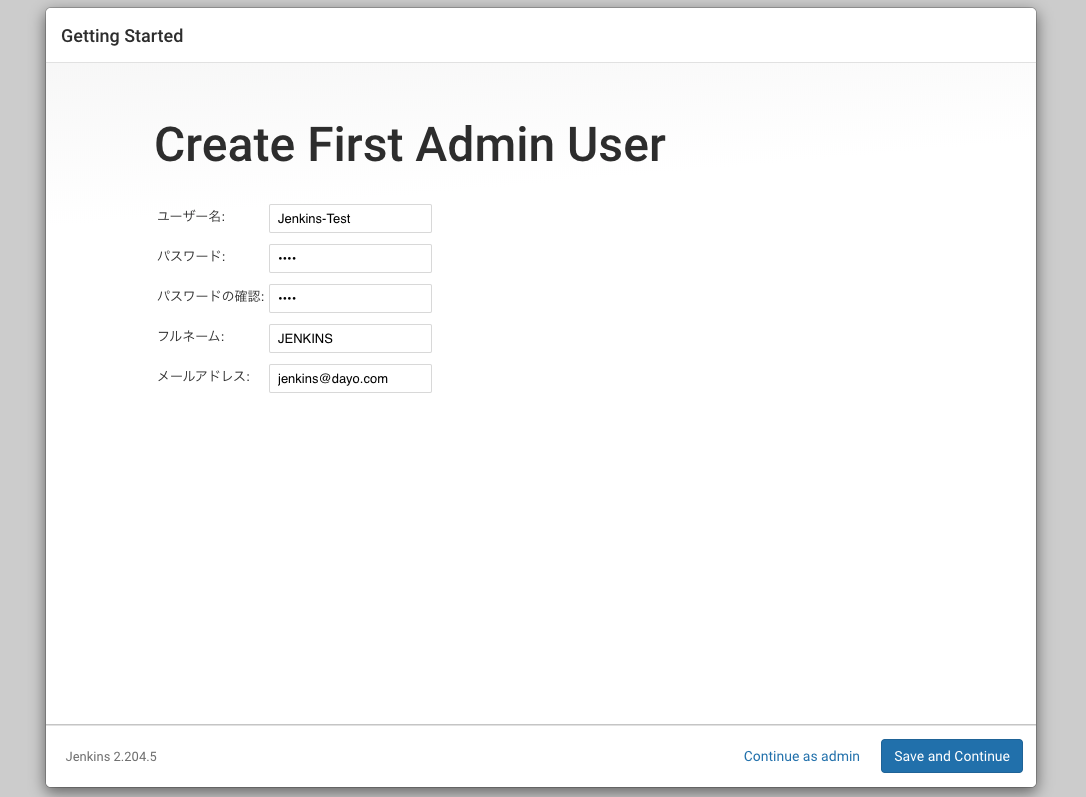
次に、Adminユーザーの設定を行います。メールアドレスは実在しないものでも設定は可能です。
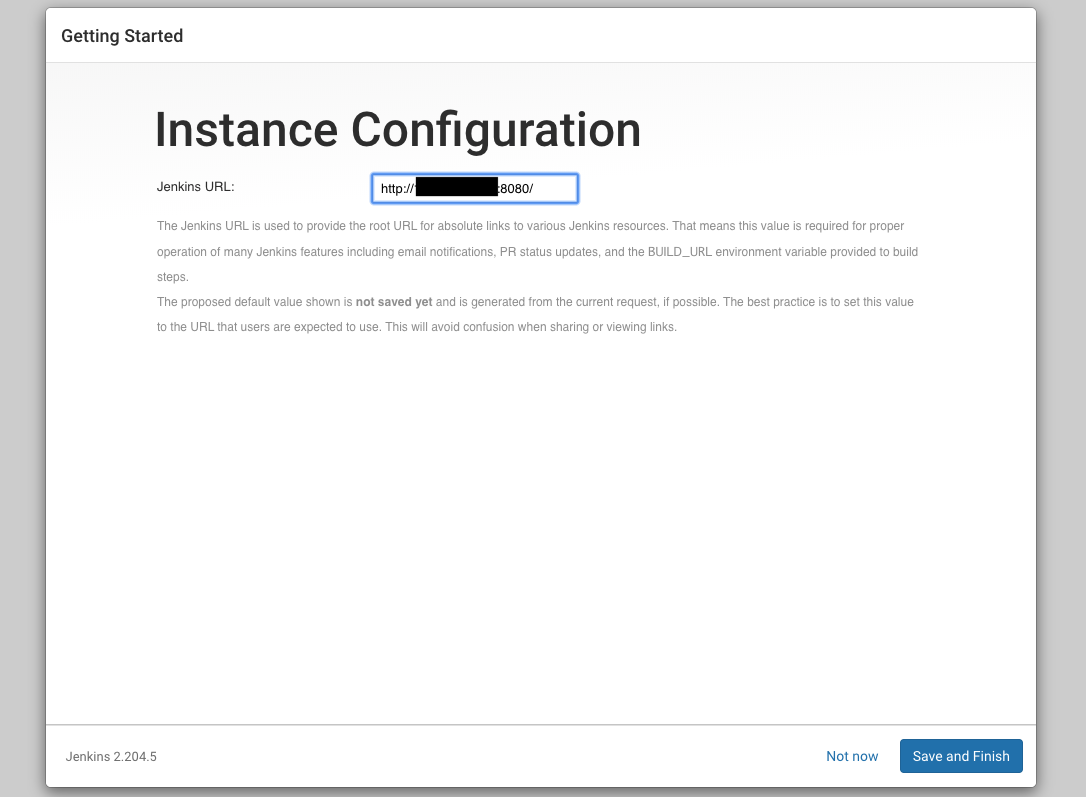
最後にSave and Finishをクリックしてセットアップは完了です。
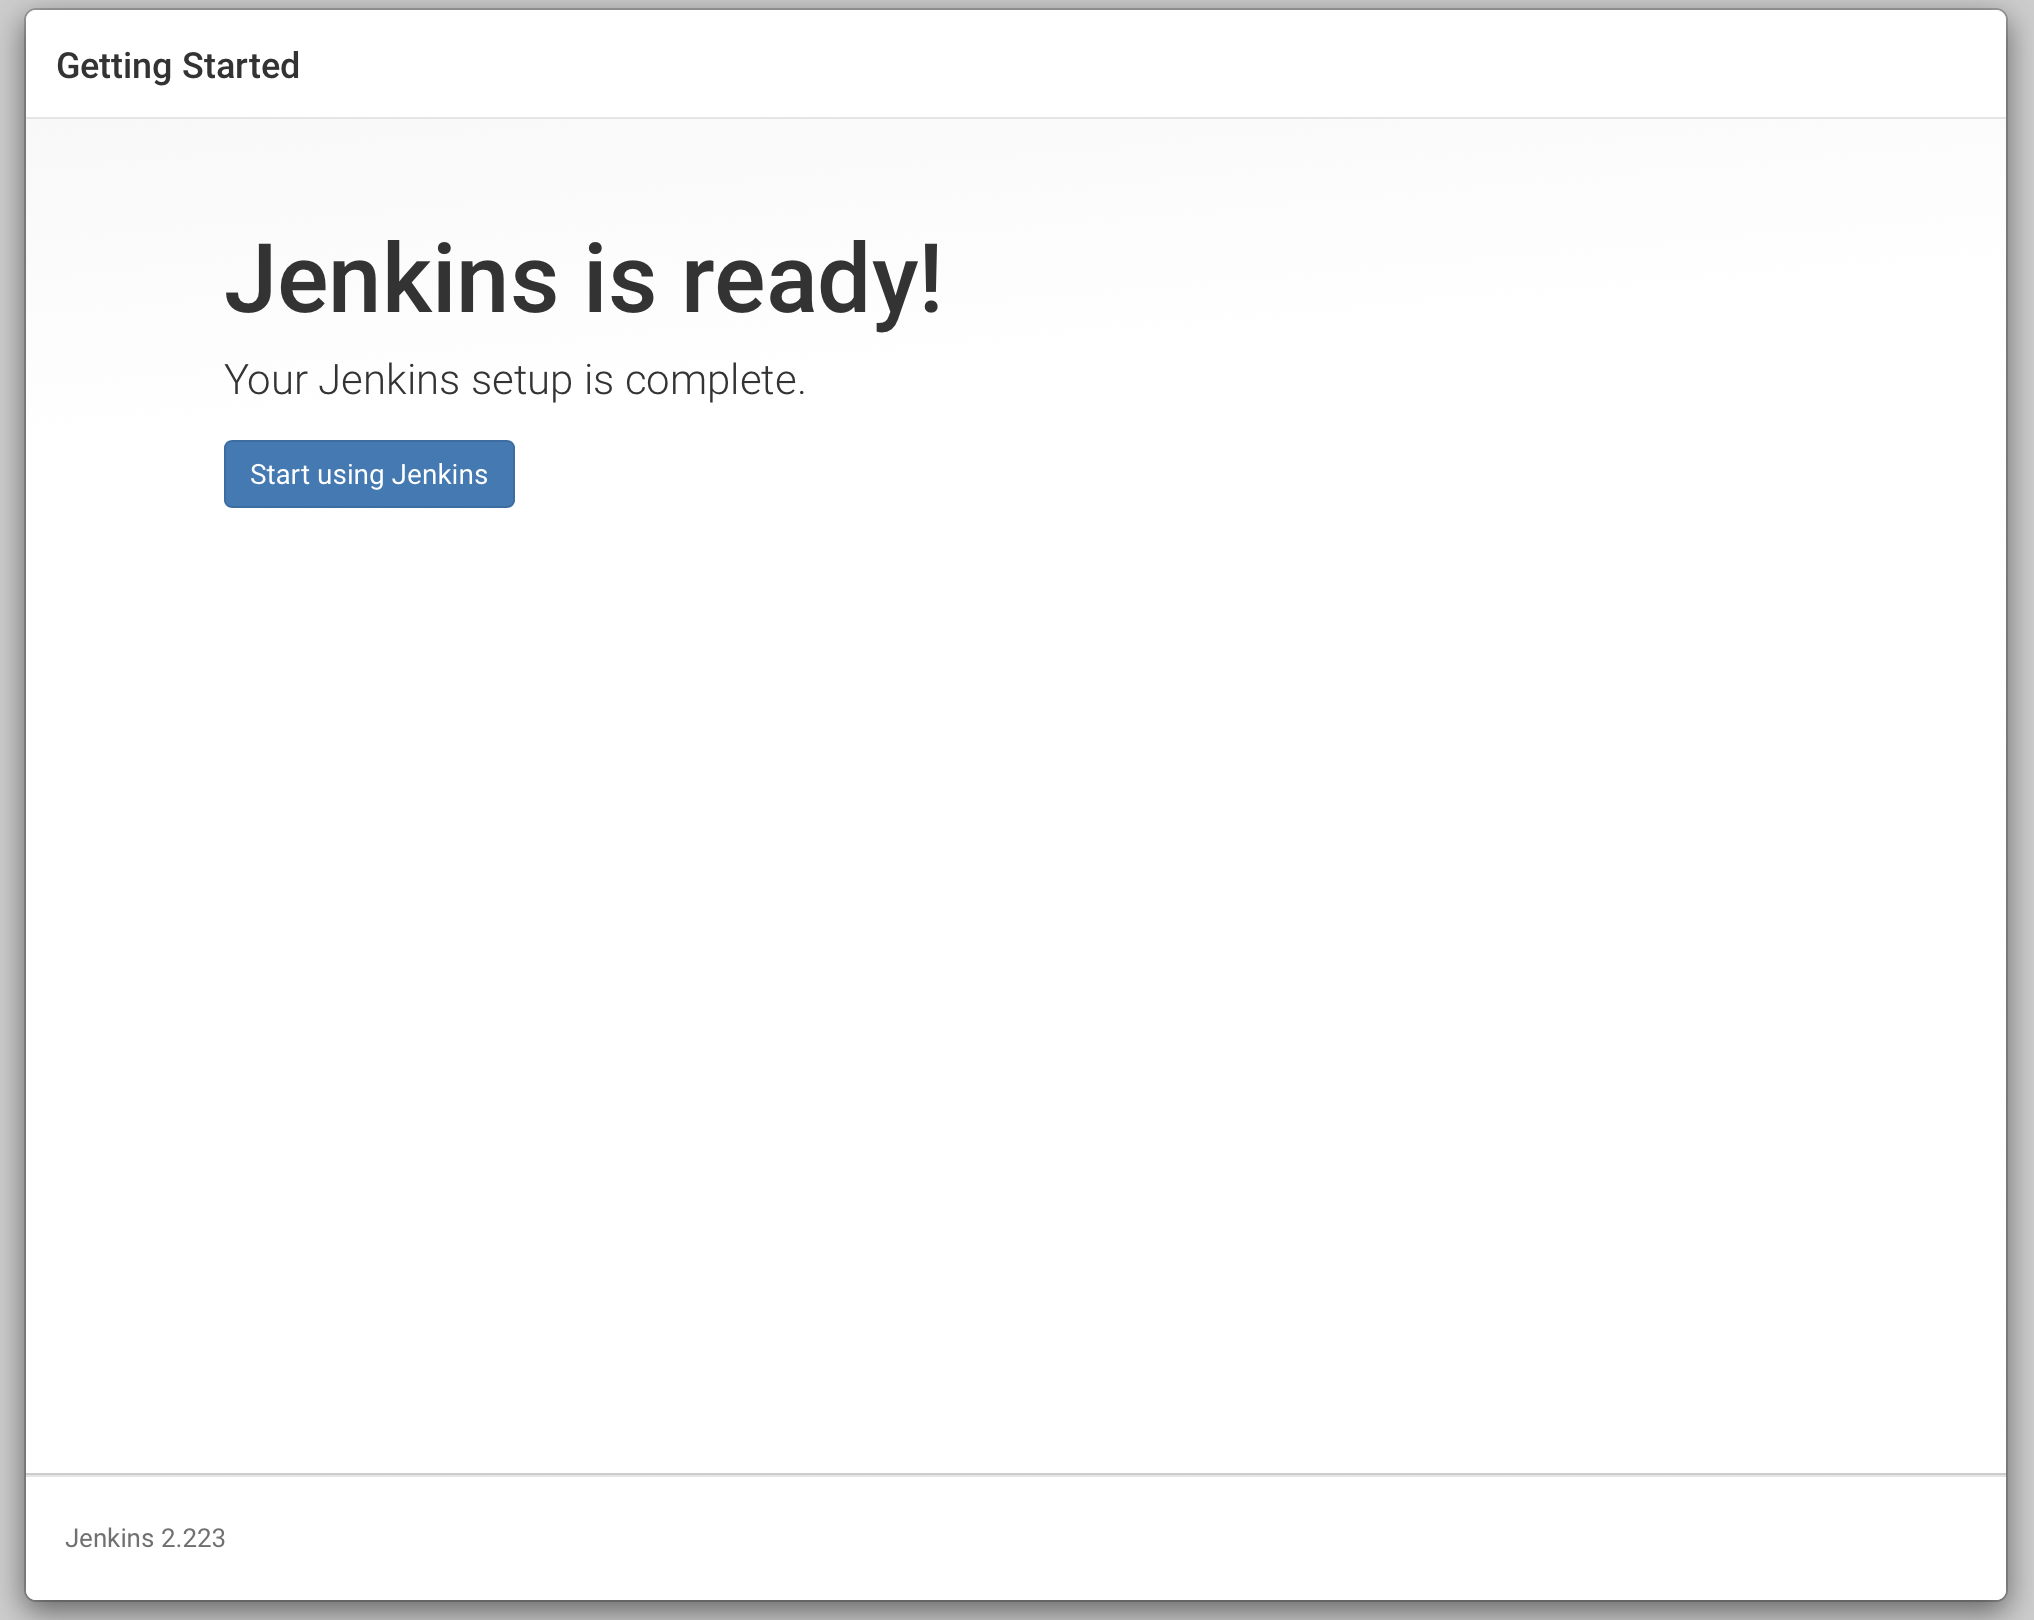
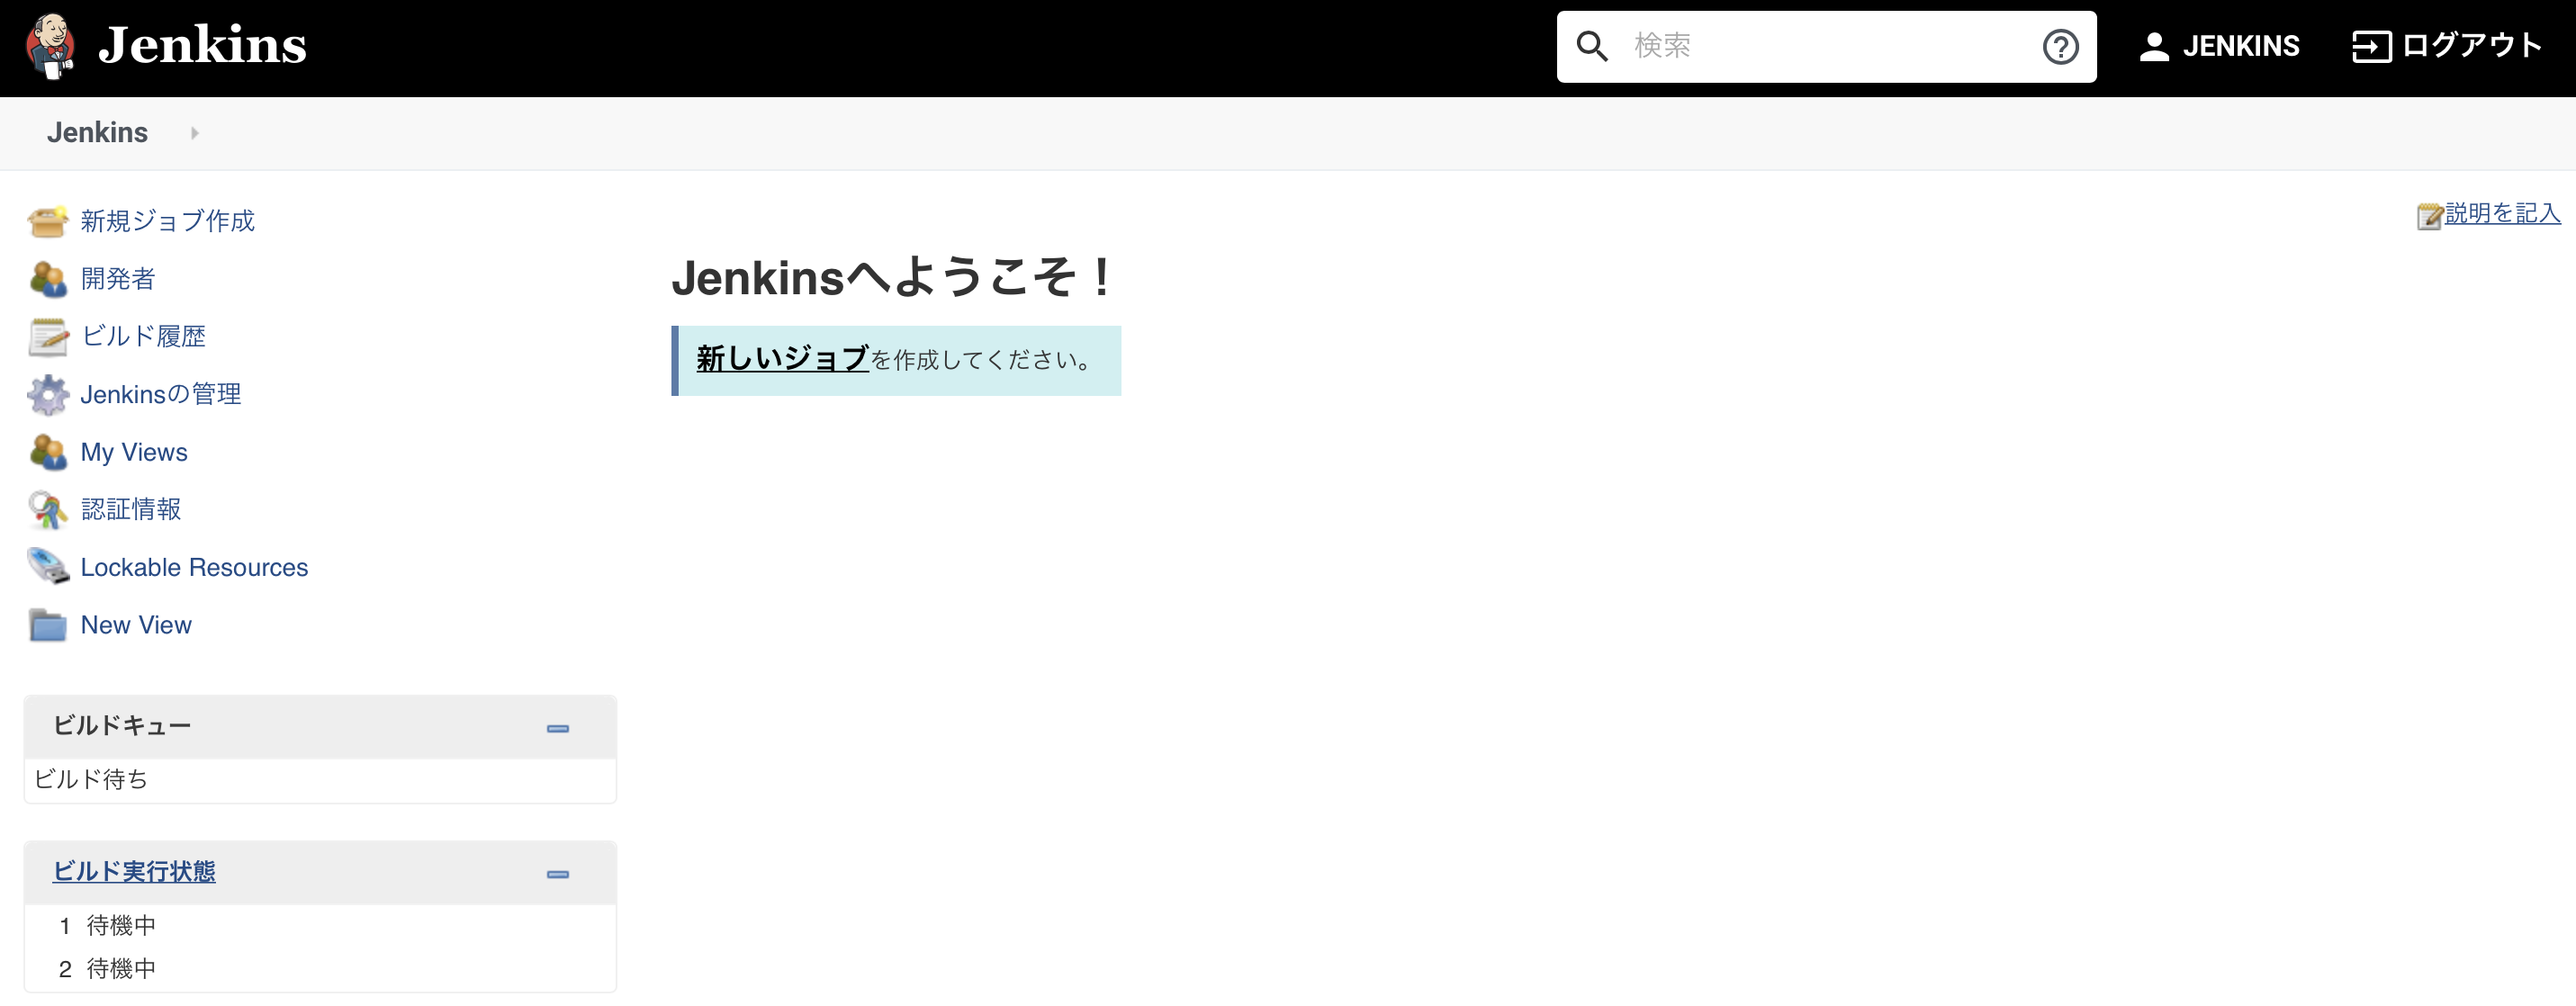
Start using Jenkinsをクリックして利用開始です。
ジョブの作成
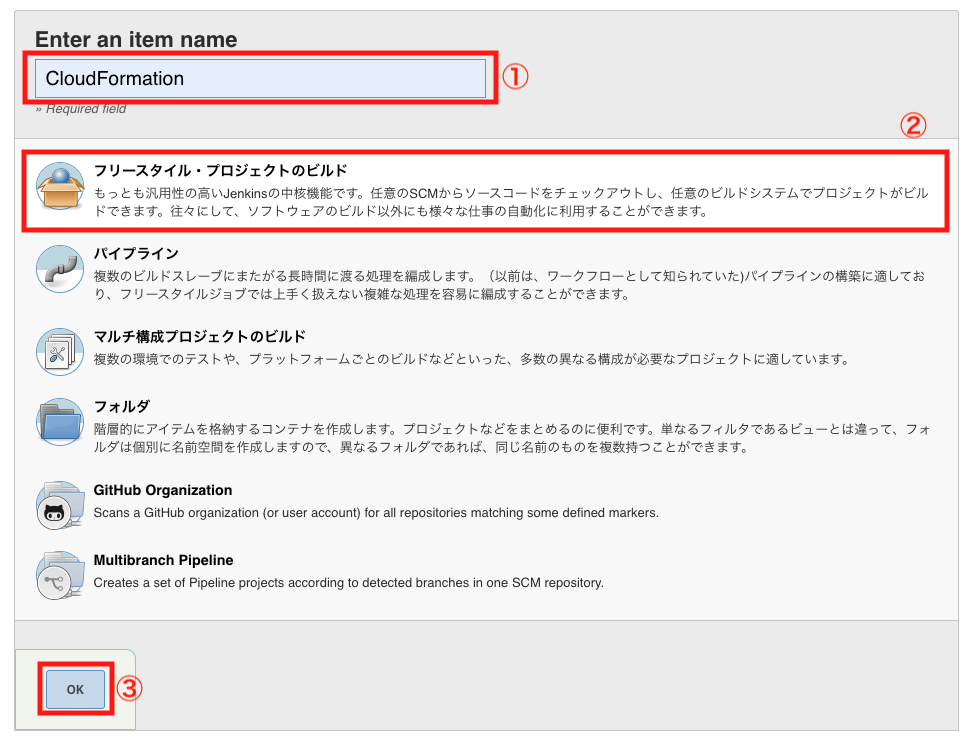
CloudFormationのテンプレートを実行させるジョブを作成します。

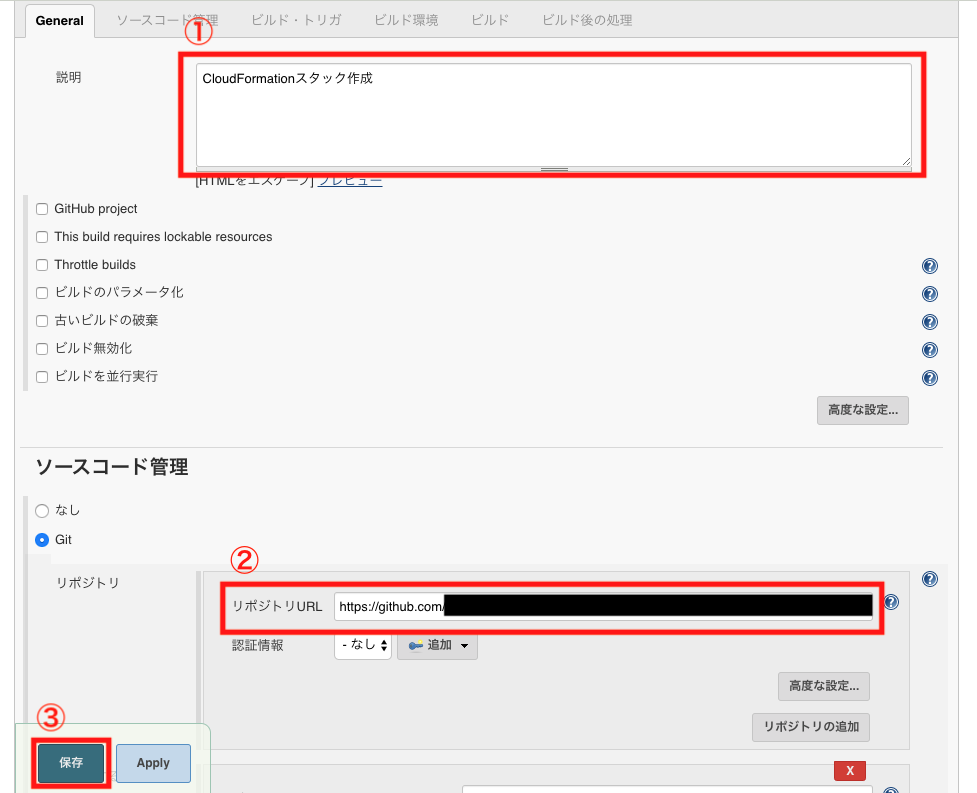
説明欄に実行内容の概要を入力し、ソースコード管理のGitを選択します。GitHubから取得した対象リポジトリのURLを貼り付けて保存します。
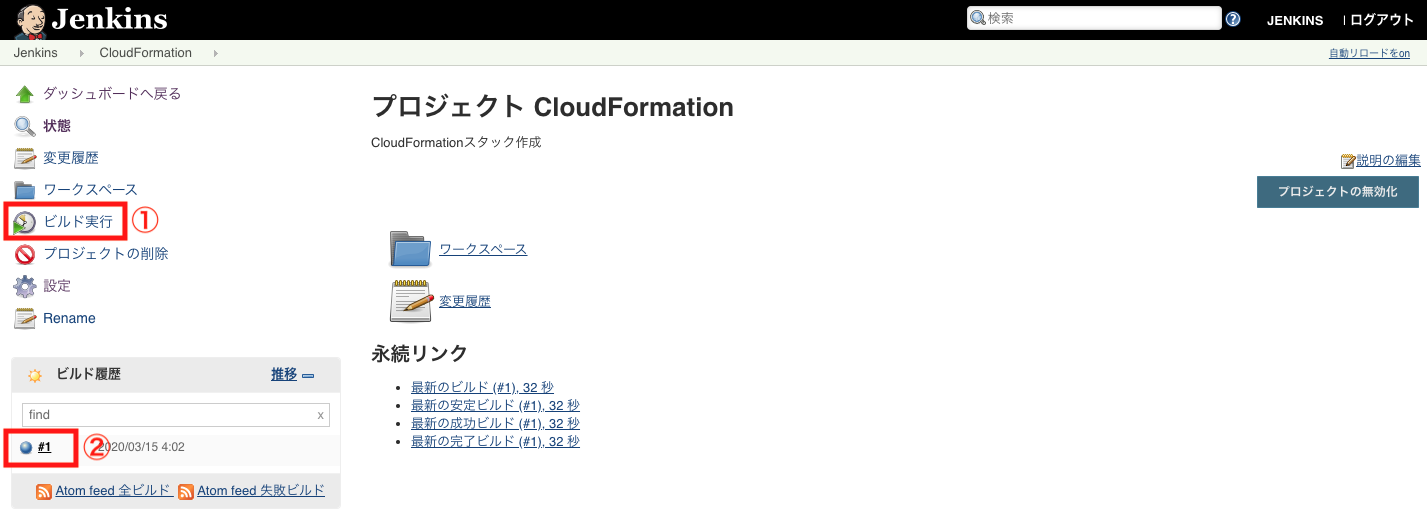
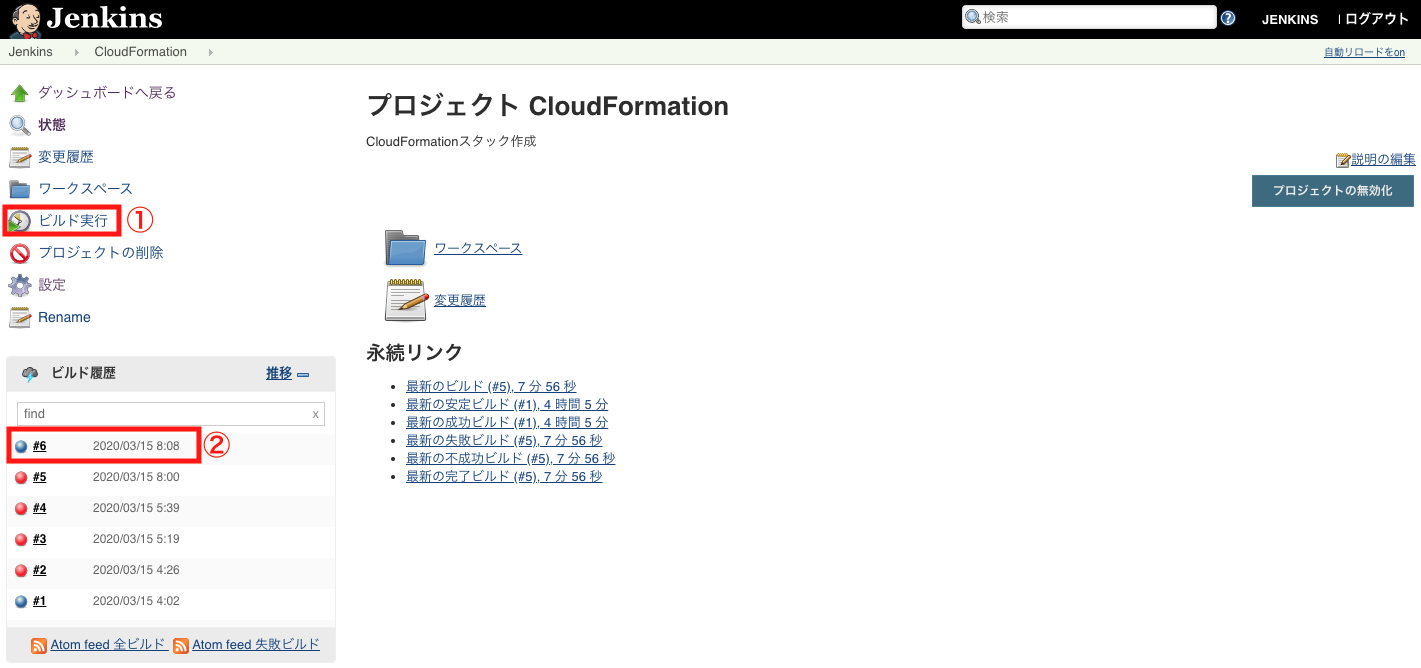
作成したジョブのビルドを実行し、下図の②のように青が表示されたらgitcloneのビルドが成功です。
ターミナルで確認すると、workspaceのディレクトリが新たに追加されているのがわかります。その中には作成したジョブ名のディレクトリが入っており、中身はGitHubからcloneしたソースコードが格納されています。
$ ls /var/lib/jenkins/workspace
CloudFormation
続いて、ジョブの実行で実際にCFnのスタックが作成されるように設定します。現状、サーバーにログインしているのがec2-userでジョブを実行しているのはjenkinsユーザーとなるため、次の処理の実行が必要になります。
①AWS CLIにAWSのアカウント情報を紐付ける
AWSのマネジメントコンソール画面でIAMユーザーの認証情報(アクセスキーID、シークレットアクセスキー)を確認し以下のように入力します。
$ aws configure
AWS Access Key ID: AKI-------------
AWS Secret Access Key: iiYg-------------
Default region name: ap-northeast-1
Default output format: json

$ aws s3 ls    #上記のキーが正しければS3のバケット情報が確認できます。
② 実行権限を付与し、Jenkinsを再起動
$ sudo visudo
Defaults visiblepwの下に以下の2行を追加

root    ALL=(ALL:ALL) ALL
jenkins ALL=(ALL) NOPASSWD:ALL

$ sudo systemctl restart jenkins  #jenkinsの再起動 jenkins画面が再起動される
ビルドの設定
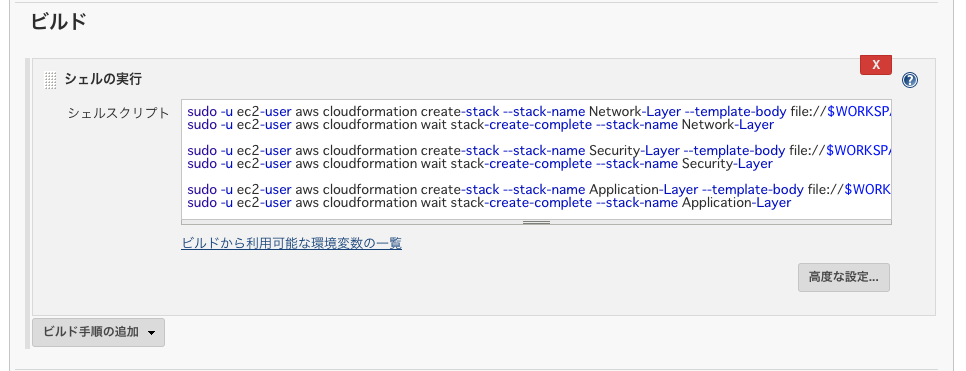
シェルスクリプトに実行内容を入力して編集内容を保存します。
実際に入力した内容は以下になります。Application_LayerのスタックにはParameterを設定していたので各値の指定が必要になります。今回シェルスクリプト内に直に入力しましたが、もっとスマートな方法があると思います。Pluginとかいれたら変わるのかな?また勉強しておきます。
sudo -u ec2-user aws cloudformation create-stack --stack-name Network-Layer --template-body file://$WORKSPACE/Network_Layer.yml
sudo -u ec2-user aws cloudformation wait stack-create-complete --stack-name Network-Layer

sudo -u ec2-user aws cloudformation create-stack --stack-name Security-Layer --template-body file://$WORKSPACE/Network_Layer.yml
sudo -u ec2-user aws cloudformation wait stack-create-complete --stack-name Security-Layer

sudo -u ec2-user aws cloudformation create-stack --stack-name Application-Layer --template-body file://$WORKSPACE/Network_Layer.yml --parameters ParameterKey=KeyPair,ParameterValue="aws-test"  ParameterKey=DBInstanceIdentifier,ParameterValue="sample-rds" ParameterKey=DBSubnetGroupDescription,ParameterValue="sample-rds-sg" ParameterKey=S3BucketName,ParameterValue="samples3bucketfromjenkins"
sudo -u ec2-user aws cloudformation wait stack-create-complete --stack-name Application-Layer
ビルドの実行
ビルドの実行結果が青になったことを確認して、AWSのマネジメントコンソールで実際にスタックが作成されたかを確認します。途中に何度か赤で失敗したのは、Parameterの値の設定がうまくできておらず、次のように怒られていました。
An error occurred (ValidationError) when calling the CreateStack operation: Parameters: [KeyPair, S3BucketName, DBSubnetGroupDescription, DBInstanceIdentifier] do not exist in the template
Build step 'Execute shell' marked build as failure
Finished: FAILURE
最後は、なんとか無事に作成できました。
参考記事
