Raspberry Piのカメラモジュールを使ったストリーミングの覚え書きです。
環境
- Raspberry Pi2 ModelB (raspbian-Jessie・Node.js v4.2.4)
- PLANEX 無線LAN子機 (USBアダプター型) GW-USNANO2A (FFP)
- Raspberry Pi カメラモジュール Raspberry Pi Camera Board
- Raspberry Pi カメラモジュール専用 Blackケース
mjpg-streamer
Raspberry Piであまり手間を掛けずにストリーミングしたい場合はlinuxのフリーソフト「mjpg-streamer」を利用するのがオススメです。
jacksonliam/mjpg-streamer - GitHub
こちらのブログの手順がエラーもなく実行出来ました。
Cloud Piをつかってみました。(カメラモジュール)- スイッチサイエンス マガジン
$ sudo apt-get install libv4l-dev libjpeg8-dev imagemagick
$ sudo apt-get install cmake
$ git clone https://github.com/jacksoliam/mjpg-streamer.git
$ cd mjpg-streamer/mjpg-streamer-experimental
$ make
実行コマンドは8000番ポート、fps10を指定してこんな風に
$ ./mjpg_streamer -o "./output_http.so -w ./www -p 8000" -i "./input_raspicam.so -fps 10"
http://192.168.0.10:8000/stream.html にアクセス
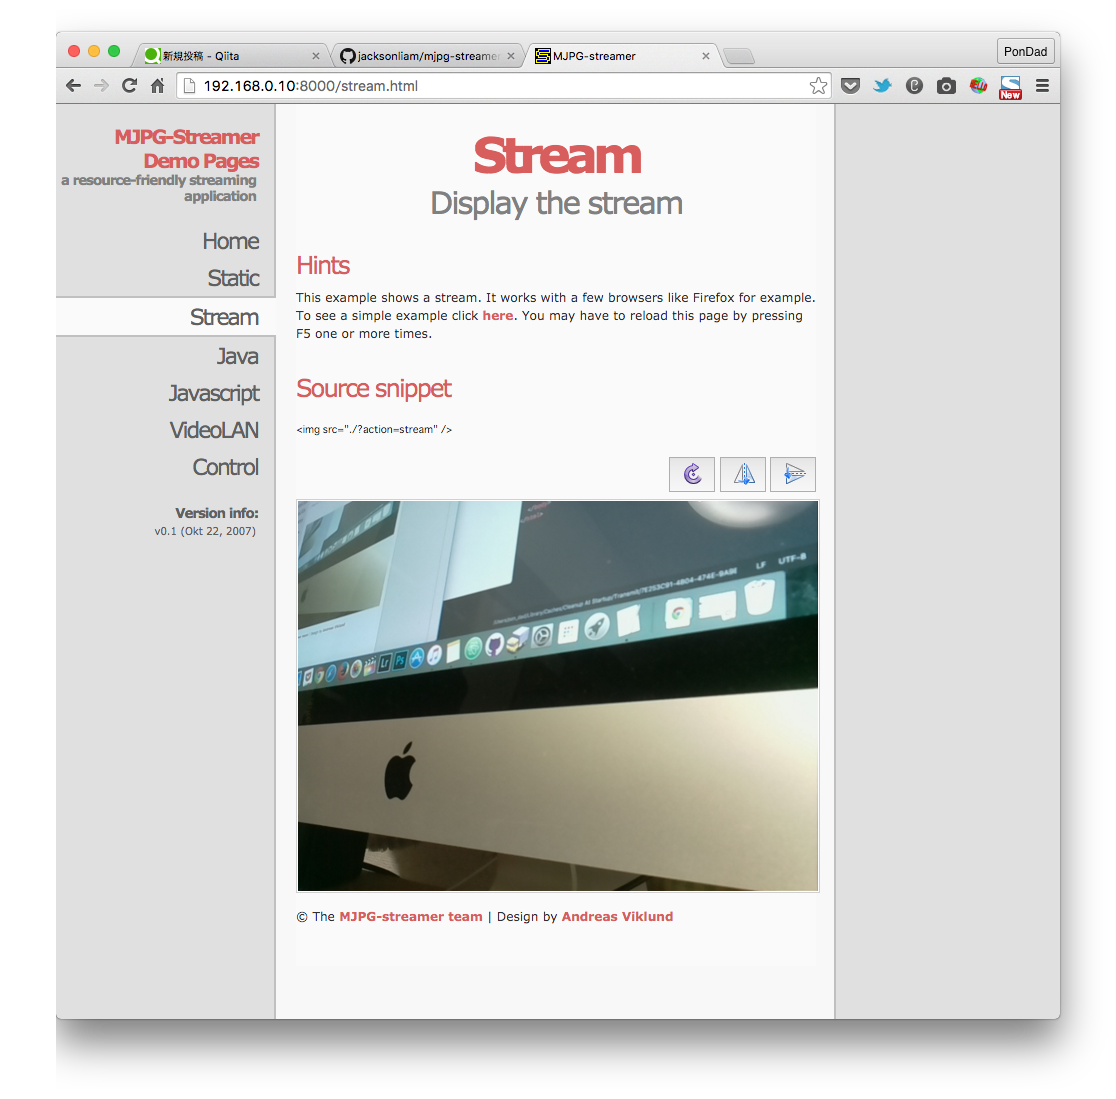
fps10と動画そのものとは行きませんがかなり滑らかにストリーミング出来ます。
Node.jsと標準のタイムラプスを使う
Raspberry Piをサーバーとしても利用している場合、タイムラプス撮影を利用してストリーミングを行うことも可能です。
mjpeg規格の様に圧縮を行わないので、サイズは480x320px、フレームレートは3fps(秒間3コマ)ほどのストリーミングになります。
今回もNode.jsとexpress generatorを利用します。
//expressの使用許可
var express = require('express');
var router = express.Router();

//コマンドラインを利用する為child_processの使用許可
var spawn = require('child_process').spawn;

//ホーム画面index.ejsの表示
router.get('/', function(req, res, next) {
  res.render('index', { title: 'Ras Pi Stream' });
});

//ストリームボタンクリック時の処理
router.get('/stream', function (req, res) {
  console.log(req.query);
  var id = req.query.id;

var raspistill = spawn('raspistill', [ '-o' , './public/images/raspi.jpg', '-h', '300', '-w', '480', '-tl', '300', '-t', '60000', '-v']);

raspistill.stdout.on('data', function (data) {
  console.log('stdout: ' + data);
});

raspistill.stderr.on('data', function (data) {
  console.log('stderr: ' + data);
});

raspistill.on('close', function (code) {
  console.log('child process exited with code ' + code);
});

});

//ストップボタンクリック時の処理
router.get('/stop', function (req, res) {
  console.log(req.query);
  var id = req.query.id;

var raspistill = spawn('killall', ['raspistill']);

raspistill.stdout.on('data', function (data) {
  console.log('stdout: ' + data);
});

raspistill.stderr.on('data', function (data) {
  console.log('stderr: ' + data);
});

raspistill.on('close', function (code) {
  console.log('child process exited with code ' + code);
});

});

//プレビュー画面preview.ejsの表示
router.get('/preview', function(req, res, next) {
  res.render('preview', { title: 'Ras Pi Stream' });
});

module.exports = router;
Raspberry Piの写真撮影の標準コマンドraspistillを利用します。オプションコマンド -tl でタイムラプス撮影の間隔、-t で撮影トータル時間を設定出来ます。
今回は0.3秒間隔で60秒撮影撮影する様に指示しています。
<html>
  <head>
    <meta http-equiv="content-type"
        content="text/html; charset=UTF-8">
    <meta name="viewport" content="width=device-width, initial-scale=1.0,user-scalable=no">
    <title><%= title %></title>
    <link rel="stylesheet" href="https://maxcdn.bootstrapcdn.com/bootstrap/3.3.6/css/bootstrap.min.css" type="text/css" />
   <link rel="stylesheet" href="https://maxcdn.bootstrapcdn.com/font-awesome/4.5.0/css/font-awesome.min.css">
    <link rel='stylesheet' href='/stylesheets/style.css' />
  </head>
  <body>
    <header>
        <h1 class="text-center h2"><%=title %></h1>
    </header>
    <article class="text-center">

      <button class="btn btn-default" id="stream">Stream</button>
      <a class="btn btn-default" role="button" href="/preview">Preview</a>

    </article>
    <script src="http://code.jquery.com/jquery-2.2.1.min.js"></script>
    <script>
     $("#stream").click(function() {
        $.get("http://192.168.0.10:3000/stream", { id: 'stream' } );
    });
    </script>

  </body>
</html>
body {
  margin: 0 auto;
  max-width: 640px;
  font: 14px "Lucida Grande", Helvetica, Arial, sans-serif;
}

article{
  padding: 50px;
}

a {
  color: #00B7FF;
}
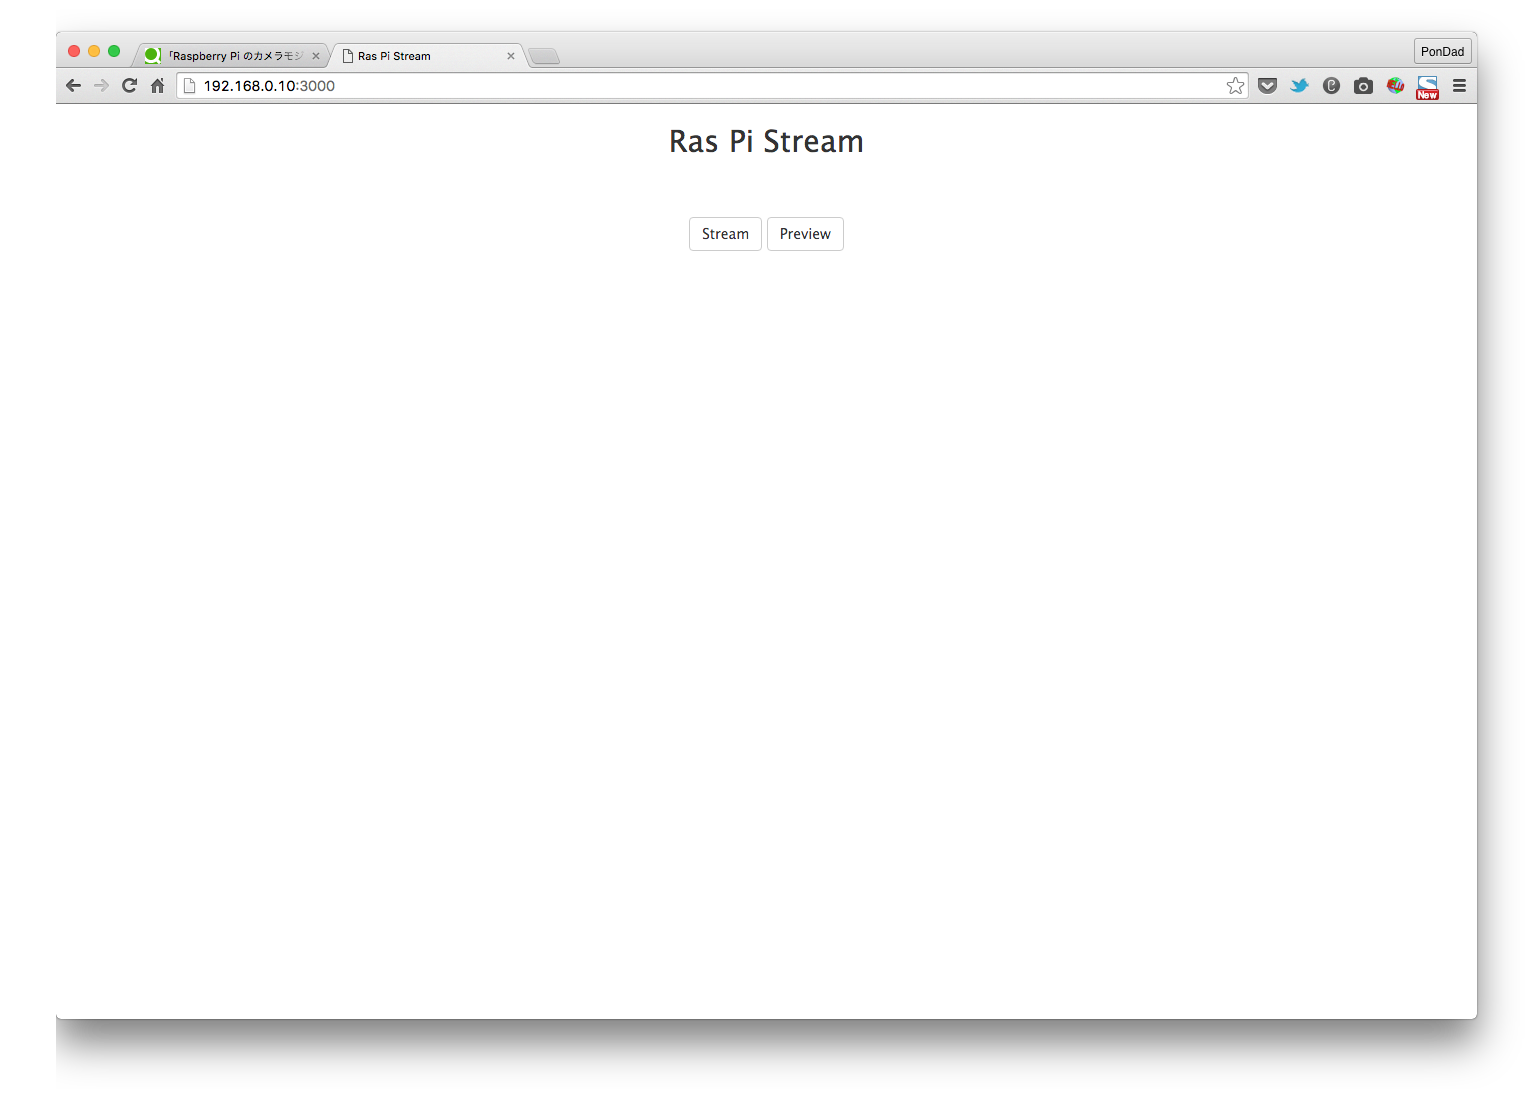
ストリームボタンでタイムラプス撮影を開始します。
<!DOCTYPE html>
<html>
  <head>
    <meta http-equiv="content-type"
        content="text/html; charset=UTF-8">
    <meta name="viewport" content="width=device-width, initial-scale=1.0,user-scalable=no">
    <title><%= title %></title>
    <link rel="stylesheet" href="https://maxcdn.bootstrapcdn.com/bootstrap/3.3.6/css/bootstrap.min.css" type="text/css" />
   <link rel="stylesheet" href="https://maxcdn.bootstrapcdn.com/font-awesome/4.5.0/css/font-awesome.min.css">
    <link rel='stylesheet' href='/stylesheets/style.css' />
  </head>
  <body>
    <header>
        <h1 class="text-center h2"><%=title %></h1>
    </header>
    <article class="text-center">
            <img src="/images/raspi.jpg"  name="webcam" />
            <br>
     <button class="btn btn-default" id="stop">Stop</button>
      <a class="btn btn-default" href="/" role="button">Back</a>

    </article>
    <script src="http://ajax.googleapis.com/ajax/libs/jquery/1.4.2/jquery.min.js"></script>
    <script>
      cam = new Image();
      cam.src = document.webcam.src;
      webcamTimer();

      function webcamTimer() {
      	var now = new Date();
      	document.webcam.src = cam.src + "?" + now.getTime();
      	setTimeout("webcamTimer()",300);
      }

        $("#stop").click(function() {
           $.get("http://192.168.0.10:3000/stop", { id: 'stop' } );
       });
    </script>
  </body>
</html>

タイムラプスで上書きされる写真の更新に悩んだのですが、img要素のsrc属性に?hogeを付けて更新すれば良いみたいです。
new Date()と+ now.getTime();を使うことで1000分の1秒毎に数値を加算することが出来ます。(これは知らなかった)あとはsettimeoutで0.3秒毎に更新するという仕組みです。
プレビュー画面にストップボタンを付けたので(killall raspistillコマンドを実行するボタン)ストリーミングを停止させることが出来ます。(右クリックやスマートフォンの長タップで画像を保存することも可能です)