はじめに
Vue3とViteを使ってみたく記事を作成しました。
本当はPythonをAPIとして利用してVueでフロントを構築予定でしたが。。。
それはまた今度にします。
Vueとは
Vue.jsは、JavaScriptフレームワークの一つです。
Vue.jsは、SPA(シングルページアプリケーション)の構築にも利用されています。
環境
macOS Sonoma 14.1
ゴール
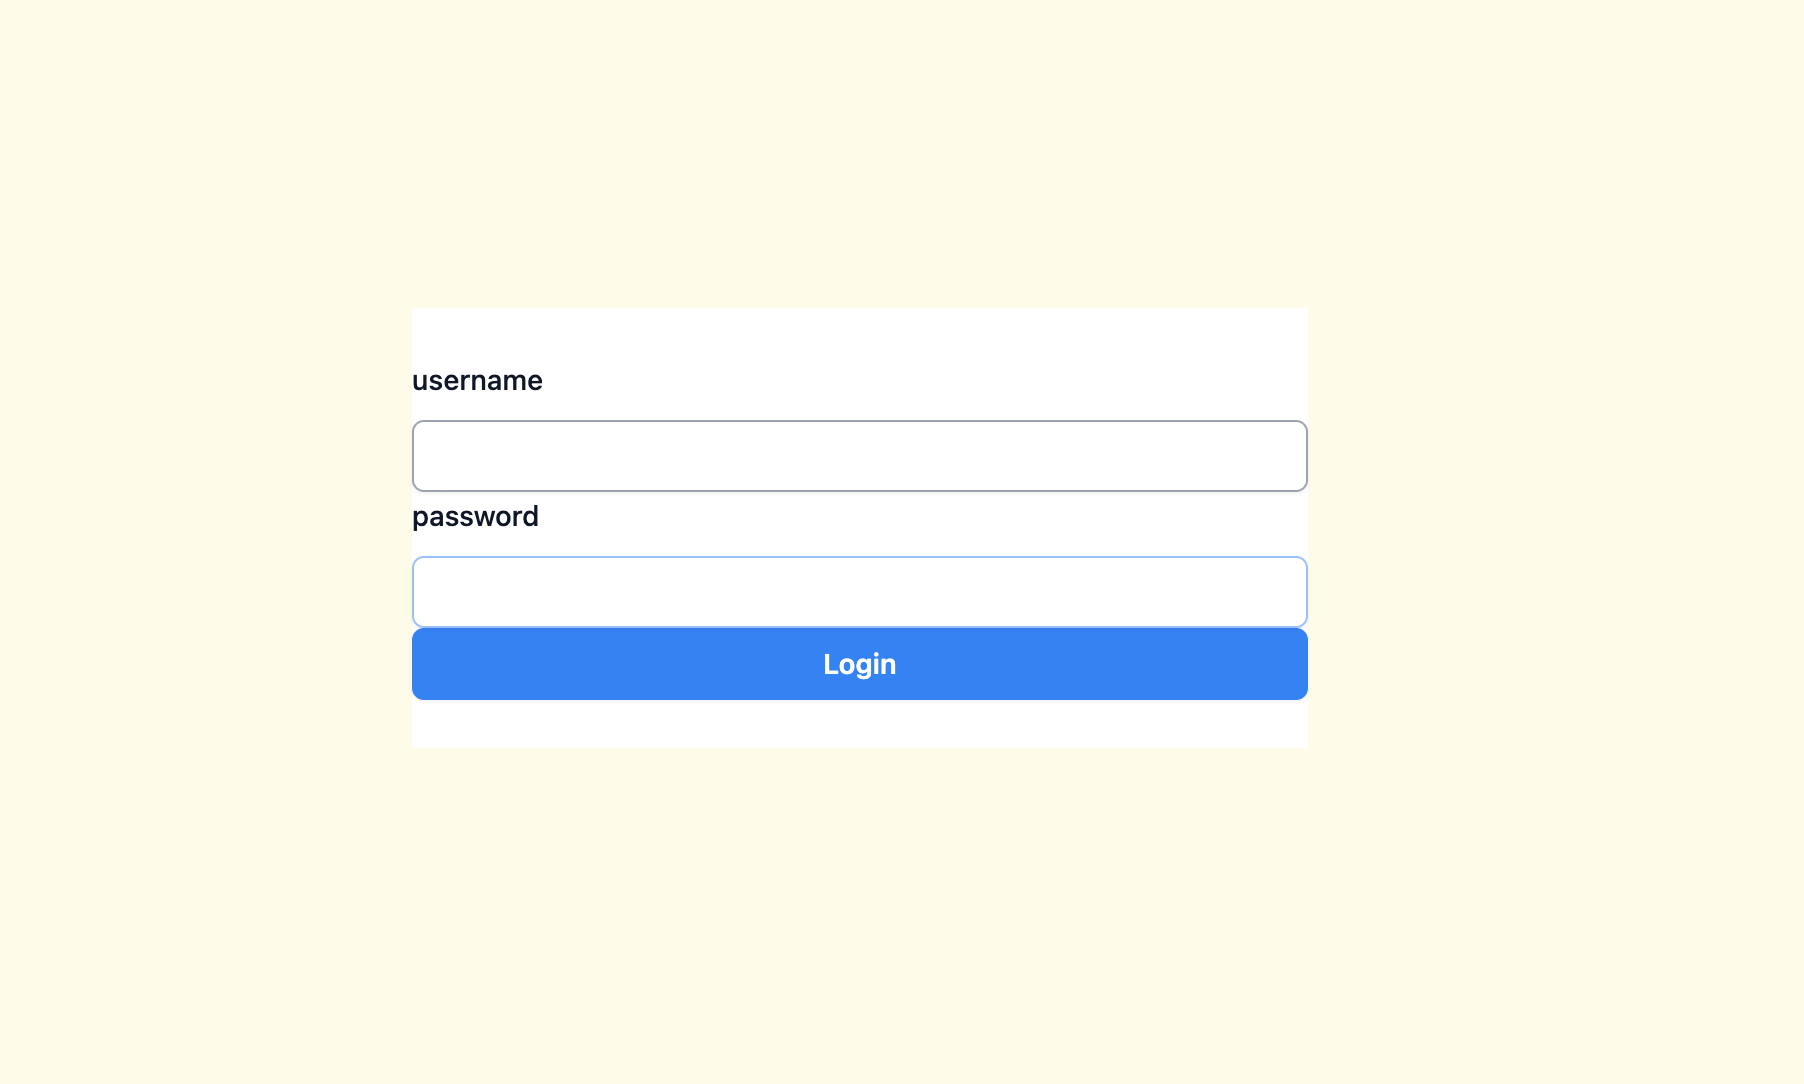
今回のゴールはVueでログイン画面を表示することです。
構成
.
├── Dockerfile
├── docker-compose.yml
├── app.py
├── requirements.txt
└── templates
    ├── top.html
    ├── login.html
作業ディレクトリの作成
初めに作業ディレクトリを用意します。
mkdir vue_vite_app && cd vue_vite_app
Vue3&Viteのアプリケーション作成
Viteを使用してvue3のアプリケーションを作成します。
下記のコマンドを実行して環境構築します。
npm create vite@latest

✔ Project name: … vue_vite_app
✔ Select a framework: › Vue
✔ Select a variant: › JavaScript
npm installします。
npm install
下記コマンドを実行して、サーバーを起動します。
npm run dev

> vue_vite_app@0.0.0 dev
> vite


  VITE v5.0.7  ready in 809 ms

  ➜  Local:   http://localhost:5173/
  ➜  Network: use --host to expose
  ➜  press h + enter to show help
http://localhost:5173/ にアクセスすると下記の画面が表示されます。
表示されたら正常にプロジェクトが作成できています。
次にTailwindのインストールを行います。
下記のコマンドを実行します。
npm install -D tailwindcss@latest postcss@latest autoprefixer@latest
Tailwind用の設定ファイルを作成します。
npx tailwindcss init -p
tailwind.config.jsとpostcss.config.jsを下記のように変更します。
このあたりはそのままコピペでOKです。
module.exports = {
  content: [
    './index.html',
    './src/**/*.{vue,js,ts,jsx,tsx}'
  ],
  darkMode: 'media',
  theme: {
    extend: {},
  },
  variants: {
    extend: {},
  },
  plugins: [],
};
module.exports = {
  plugins: {
    tailwindcss: {},
    autoprefixer: {},
  }
};
Tailwindをアプリケーションで使用できるようにsrc/ディレクトリ配下に
index.cssを作成します。
@tailwind base;
@tailwind components;
@tailwind utilities;
main.jsでindex.cssを有効化します。
import { createApp } from 'vue';
import App from './App.vue';
import './index.css';

createApp(App).mount('#app');
package.jsonを下記のように変更します。
"type"を "module"から"commonjs"に変更しないと自分の環境では動きませんでした。
{
  "name": "vue_vite_app",
  "private": true,
  "version": "0.0.0",
  "type": "commonjs",
  "scripts": {
    "dev": "vite",
    "build": "vite build",
    "preview": "vite preview"
  },
  "dependencies": {
    "vue": "^3.3.8"
  },
  "devDependencies": {
    "@vitejs/plugin-vue": "^4.5.0",
    "autoprefixer": "^10.4.16",
    "postcss": "^8.4.32",
    "tailwindcss": "^3.3.6",
    "vite": "^5.0.0"
  }
}
ここからは画面の構築をします。
componentsの中にLogin.vueを作成します。
<template>
  <section class="bg-yellow-50">
    <div class="mx-auto flex flex-col items-center justify-center px-6 py-8 h-screen">
      <div class="w-full bg-white sm:max-w-md">
        <div class="md:space-y-6">
          <div class="flex min-h-full flex-col justify-center py-6">
            <div>
              <form @submit.prevent="login">
                <div>
                  <label class="block text-sm font-medium leading-6 text-gray-900" for="username" > username </label>
                  <div class="mt-2">
                    <input id="username" class="block w-full rounded-md border-0 py-1.5 pl-2 text-gray-900 shadow-sm ring-1 ring-inset ring-gray-400 placeholder:text-gray-400 sm:text-sm sm:leading-6"
                    v-model="username" name="text" type="text" autocomplete="username" :disabled="formDisabled" required />
                  </div>
                </div>
                <div>
                    <label class="block text-sm font-medium leading-6 text-gray-900" for="password"> password </label>
                    <div class="mt-2">
                    <input id="password" name="password" class="w-full rounded-md border-0 px-2 py-1.5 text-gray-900 shadow-sm ring-1 ring-inset ring-gray-340 placeholder:text-gray-400 sm:text-sm sm:leading-6"
                    v-model="password" :type="password" required />
                  </div>
                </div>
                <div>
                    <button type="submit" class="flex w-full justify-center rounded-md bg-blue-500 px-3 py-1.5 text-sm font-semibold leading-6 text-white shadow-sm hover:bg-blue-600">Login</button>
                </div>
              </form>
            </div>
          </div>
        </div>
      </div>
    </div>
  </section>
</template>
<script>
export default {
  name: 'LoginForm',
  data() {
    return {
      username: '',
      password: ''
    };
  },
  methods: {
    login() {
      // ユーザー名とパスワードが特定の値の場合にログイン成功とする。
      if (this.username === 'test' && this.password === 'test') {
        this.$emit('login-success');
      }
    }
  }
};
</script>
<style scoped>
</style>
vueは構文を用いてHTMLを書けるのが初学者には大変ありがたいなと感じてます。
scriptタグ内でJavaScriptを記述することができます。
今回はdataに"username" と "password" をそれぞれユーザーが入力したユーザー名とパスワードを格納するためのデータ変数です。
methodsでフォームが送信されたときに呼び出されます。ユーザー名が 'test' で、パスワードが 'test' の場合、login-success イベントが発火します。
App.vueでLogin.vueを表示できるように書き換えます。
<template>
  <div id="app">
    <LoginForm @login-success="showHelloWorld" v-if="!loggedIn" />
    <TopPage :loggedIn="loggedIn" v-else />
  </div>
</template>

<script>
import LoginForm from './components/Login.vue';
import TopPage from './components/Top.vue';

export default {
  name: 'App',
  components: {
    LoginForm,
    TopPage
  },
  data() {
    return {
      loggedIn: false
    };
  },
  methods: {
    showHelloWorld() {
      this.loggedIn = true;
    }
  }
};
</script>
<style>
</style>
サーバーを起動すると下記のような画面が表示されると思います。

最後に
今回vueでログイン画面を作成しましたが、本来はPythonでAPIを作成して構築する予定でしたが色々と間に合わなかったためまた今度続きを書きたいと思います。
