はじめに
Next.jsアプリケーションにおいて、Server Actions と cookie を利用した Flash メッセージを実装しました。
本記事では、その実装方法を紹介します。
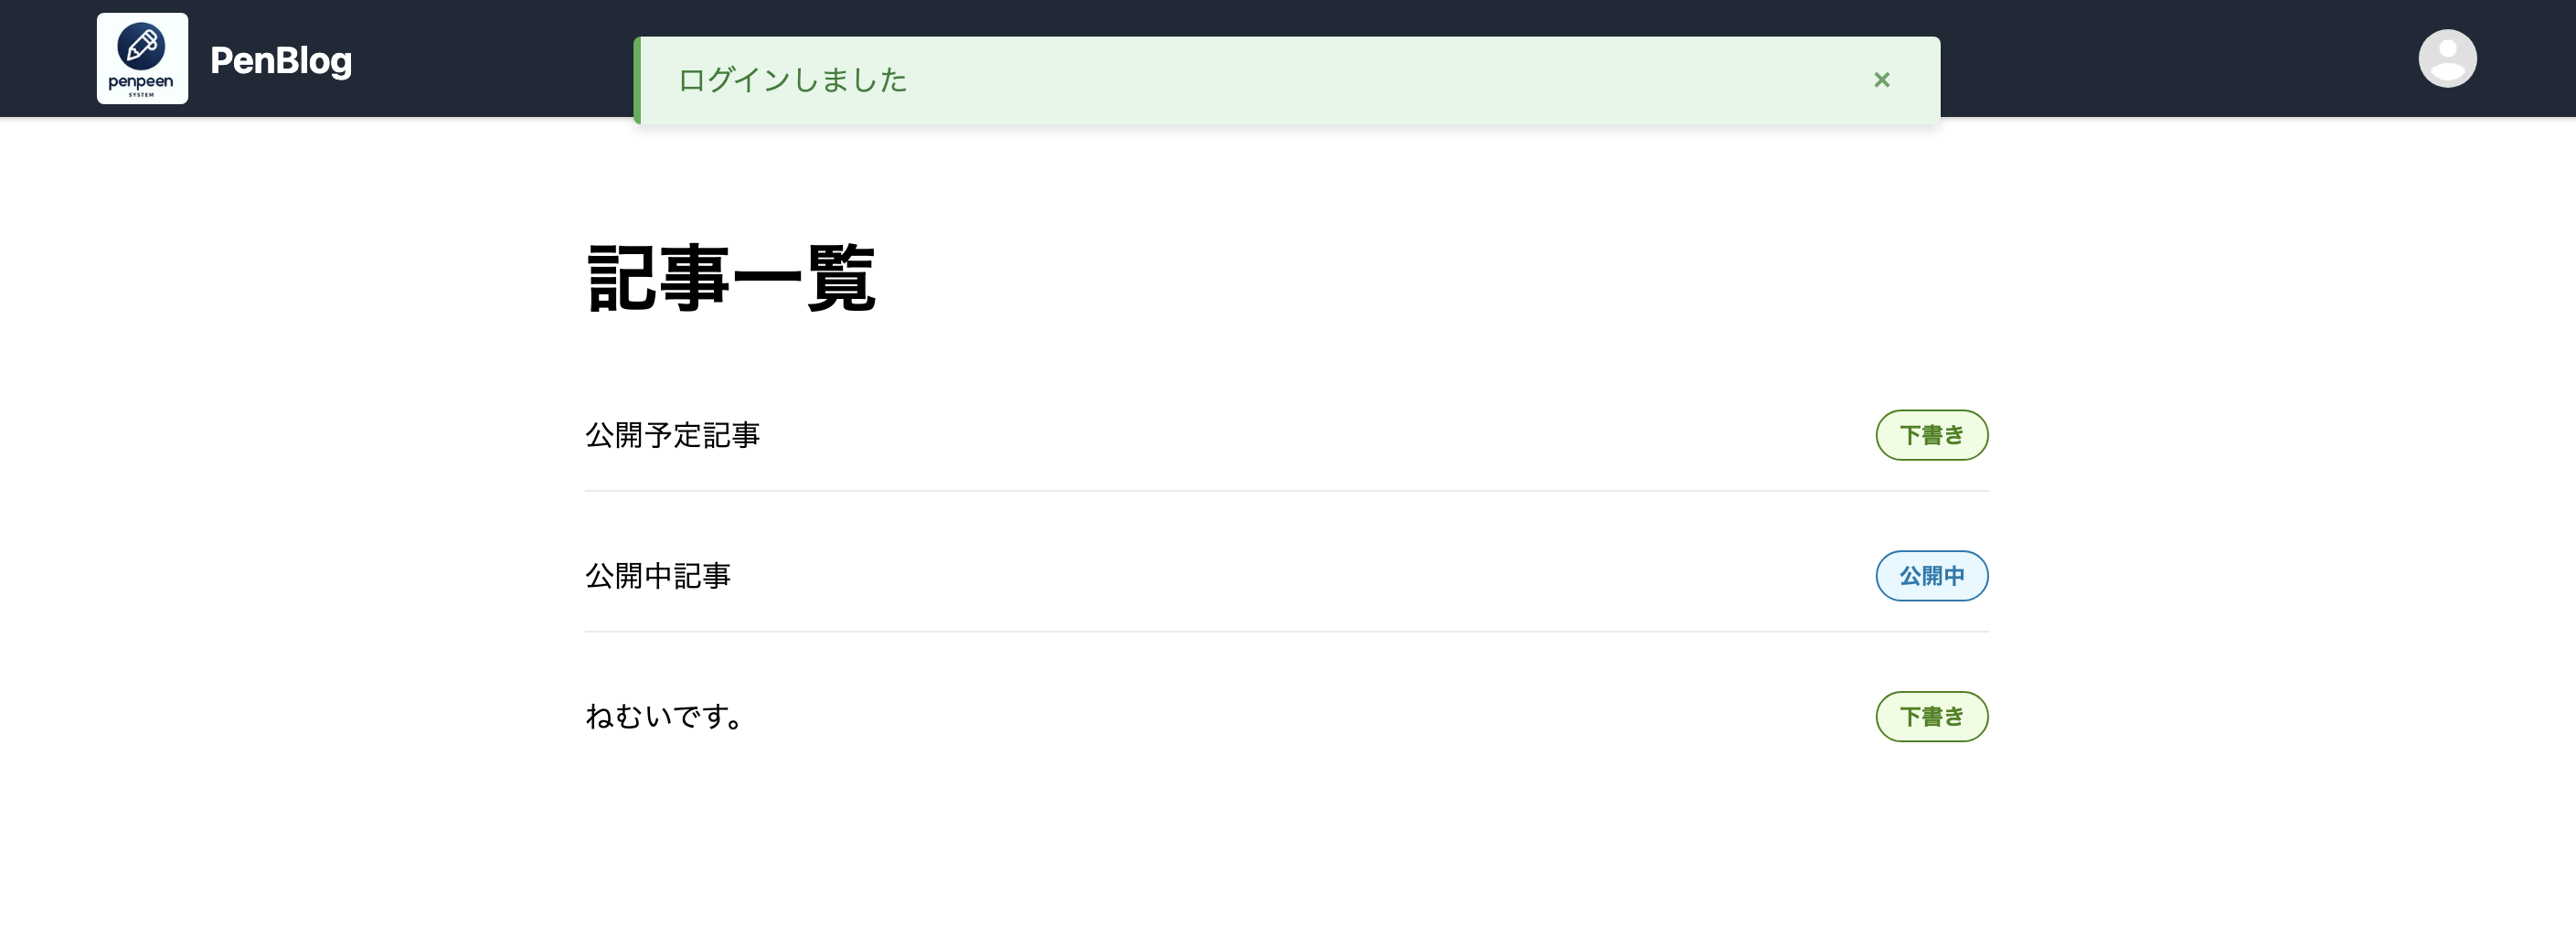
Success
Error

(試行錯誤で実装した部分が多いので、より良い実装方針などがあればご教示いただけますと幸いです🙋♂️)
検証環境
- next: 15.2.5
全体像
Flashメッセージの実装は以下のような流れになります。
実装手順
1. Flashメッセージの型定義とアクション作成
まず、Flashメッセージのための型定義と Server Actions を作成します。
このファイルでは、メッセージを格納、取得する関数を定義します。
cookie を使って一時的なデータとして保存します。
'use server';

import { cookies } from 'next/headers';
export type FlashType = 'success' | 'error' | 'warning';
export type Flash = {
  type: FlashType;
  message: string;
};

export async function getFlash(): Promise<Flash | null> {
  const cookieStore = await cookies();
  const flashCookie = cookieStore.get('flash');

  if (!flashCookie) {
    return null;
  }

  const flashData = JSON.parse(flashCookie.value) as Flash;
  return flashData;
}

export async function setFlash(flash: Flash) {
  const cookieStore = await cookies();
  cookieStore.set("flash", JSON.stringify(flash), {
    path: "/",
    maxAge: 1, // 本来は0秒で指定したかったが、正常動作しなかったため1秒を指定
  });
}
maxAge: 0として遷移先のページでのみ有効な Cookie としたかったのですが、正常動作を確認できなかったため、maxAge: 1を指定しています。
クライアントサイドルーティングだと利用できないのかもしれません。
ご存知の方がいればコメントいただきたいです🙏
2. Flashメッセージのコンポーネント作成
次に、Flashメッセージを表示するコンポーネントを作成します。
Container/Presentational パターンに沿って実装していきます。
まずはデータを取得を担う Container コンポーネントを作成します。
key に uuid を指定している理由
同一ページで複数回メッセージが表示される場合にも、再レンダリングが適切にされるようにするため🙋♂️
import { getFlash } from '@/actions/flash';
import FlashMessagePresentation from './FlashMessagePresentation';
import { v4 as uuid } from 'uuid';

export default async function FlashMessageContainer() {
  try {
    const flashData = await getFlash();

    if (!flashData) {
      return null;
    }

    return (
      <FlashMessagePresentation
        key={uuid()}
        type={flashData.type}
        message={flashData.message}
      />
    );
  } catch (error) {
    console.error('Error in FlashMessage component:', error);
    return null;
  }
}
次にメッセージの表示・制御を行うPresentationalコンポーネントを作成します。
'use client';

import React, { useEffect, useState } from 'react';
import styles from './styles.module.css';
import { FlashType } from '@/actions/flash';

type Props = {
  type: FlashType;
  message: string;
};

export default function FlashMessagePresentation({ type, message }: Props) {
  const [isVisible, setIsVisible] = useState(true);

  useEffect(() => {
    const timer = setTimeout(() => {
      setIsVisible(false);
    }, 5000);

    return () => clearTimeout(timer);
  }, []);

  if (!isVisible) return null;

  return (
    <div className={`${styles.flashMessage} ${styles[type]}`}>
      <p className={styles.messageText}>{message}</p>
      <button
        className={styles.closeButton}
        onClick={() => setIsVisible(false)}
        aria-label="閉じる"
      >
        ×
      </button>
    </div>
  );
}
3. スタイルの定義
Flashメッセージのスタイルを定義します。
.flashMessage {
  position: fixed;
  top: 20px;
  left: 50%;
  transform: translateX(-50%);
  padding: 12px 20px;
  border-radius: 4px;
  display: flex;
  align-items: center;
  justify-content: space-between;
  box-shadow: 0 4px 6px rgba(0, 0, 0, 0.1);
  z-index: 1000;
  min-width: 300px;
  max-width: 500px;
  animation: slideIn 0.3s ease-out forwards;
}

.success {
  background-color: #e3f7e8;
  border-left: 4px solid #4caf50;
  color: #2e7d32;
}

.error {
  background-color: #fdecea;
  border-left: 4px solid #f44336;
  color: #d32f2f;
}

.warning {
  background-color: #fff8e1;
  border-left: 4px solid #ffc107;
  color: #ff8f00;
}

.messageText {
  margin: 0;
  font-size: 1rem;
  flex-grow: 1;
}

.closeButton {
  background: none;
  border: none;
  font-size: 1.2rem;
  cursor: pointer;
  margin-left: 10px;
  color: inherit;
  opacity: 0.7;
  transition: opacity 0.2s;
  padding: 0;
  width: 24px;
  height: 24px;
  display: flex;
  align-items: center;
  justify-content: center;
}

.closeButton:hover {
  opacity: 1;
}

@keyframes slideIn {
  from {
    opacity: 0;
    transform: translate(-50%, -20px);
  }
  to {
    opacity: 1;
    transform: translate(-50%, 0);
  }
}
4. ルートレイアウトにコンポーネントを追加
アプリケーション全体でFlashメッセージを表示できるように、ルートレイアウトに追加します。
// Flash は Cookieにアクセスするため、動的レンダリングを強制
export const dynamic = 'force-dynamic';

import React from 'react'
import './globals.css'
import FlashMessage from '@/components/ui/FlashMessageContainer';

export default function RootLayout({
  children,
}: {
  children: React.ReactNode
}) {
  return (
    <html lang="ja">
      <body>
        <FlashMessage />
        {children}
      </body>
    </html>
  )
}
5. Server Actionでの使用例
具体的なServer Actionでの使用例を見てみましょう。ログイン処理にFlashメッセージを追加します。
'use server';

import { apolloClient, LoginDocument } from '@/app/graphql';
import { cookies } from 'next/headers';
import { ApolloError } from '@apollo/client';
import { setFlash } from '@/actions/flash';

// ...その他のコード...

export async function login(formData: FormData): Promise<LoginResponse> {
  try {
    // ...ログイン処理...

    if (data.login.token) {
      // ...トークン保存処理...

      await setFlash({
        type: 'success',
        message: 'ログインしました'
      });

      return { success: true, redirectUrl: '/account' };
    } else {
      throw new Error(loginProcessingError);
    }
  } catch (error) {
    // ...エラー処理...

    await setFlash({
      type: 'error',
      message: errorMessage
    });

    return {
      success: false,
      error: errorMessage
    };
  }
}
ポイント
動的レンダリングの有効化
Flashメッセージコンポーネントはcookiesにアクセスするため、動的レンダリングが必要です。App Routerでの動的レンダリングは以下のように設定します。
// src/app/layout.tsx
export const dynamic = 'force-dynamic';
この設定により、すべてのページがSSRになります。
最適化するには、Route Groupを使用して静的ページと動的ページを分けることを検討しましょう。
例)
(dynamic)(static)
まとめ
以上です。
試行錯誤を繰り返し、なんとか実現できました 🙋♂️
X もフォローしてください(フォロワーまだ3人です...🥲)