1.Introduction
The procedure to install Ubuntu 19.10 aarch64 (64bit) on RaspberryPi4 is described below.
2.Environment
- Ubuntu 18.04 x86_64
- RaspberryPi4 model B (Ubuntu 19.10 aarch64 / Python 3.7)
- microSD card 32GB
3.Procedure
$ curl -sc /tmp/cookie "https://drive.google.com/uc?export=download&id=1clGRI0yuyceevz9i9OsvNYvvnEYpluRy" > /dev/null
$ CODE="$(awk '/_warning_/ {print $NF}' /tmp/cookie)"
$ curl -Lb /tmp/cookie "https://drive.google.com/uc?export=download&confirm=${CODE}&id=1clGRI0yuyceevz9i9OsvNYvvnEYpluRy" -o ubuntu-19.10.1-preinstalled-server-arm64+raspi3.img.xz
$ xz -dv ubuntu-19.10.1-preinstalled-server-arm64+raspi3.img.xz
$ curl -sc /tmp/cookie "https://drive.google.com/uc?export=download&id=1E2KTzDVjzBywFVHyx1nfMoCW3hSeQkMd" > /dev/null
$ CODE="$(awk '/_warning_/ {print $NF}' /tmp/cookie)"
$ curl -Lb /tmp/cookie "https://drive.google.com/uc?export=download&confirm=${CODE}&id=1E2KTzDVjzBywFVHyx1nfMoCW3hSeQkMd" -o balenaEtcher-1.5.70-x64.AppImage
Insert microSD card into SD card reader/writer.
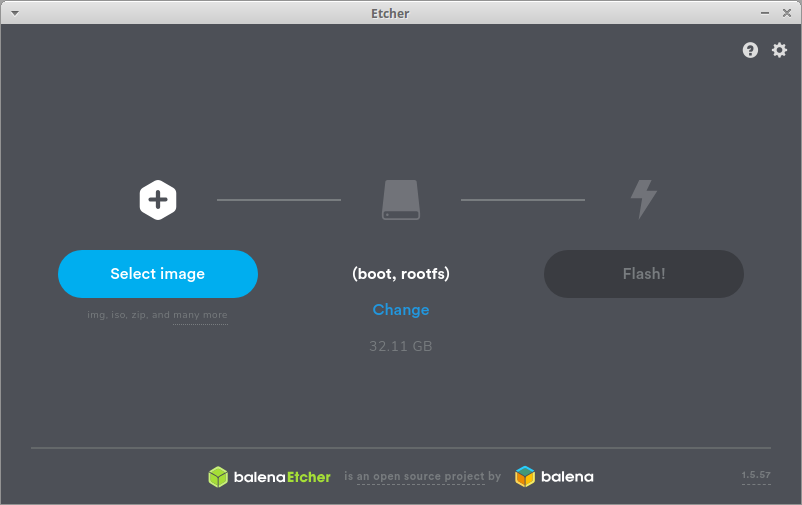
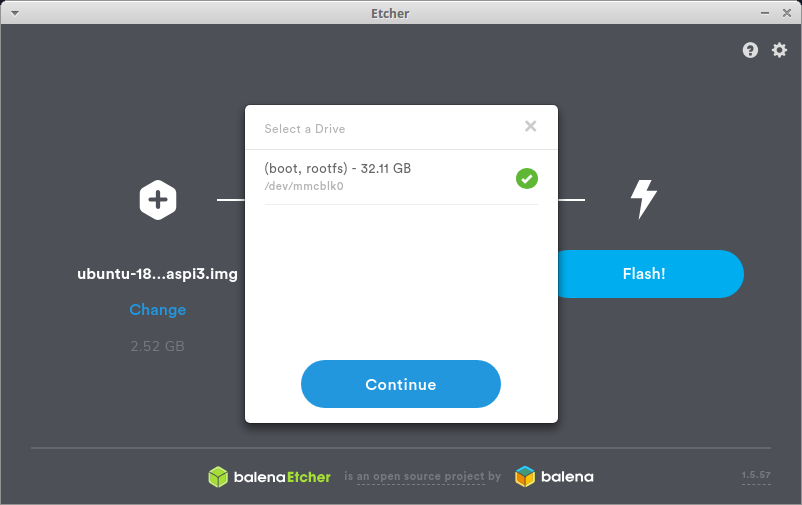
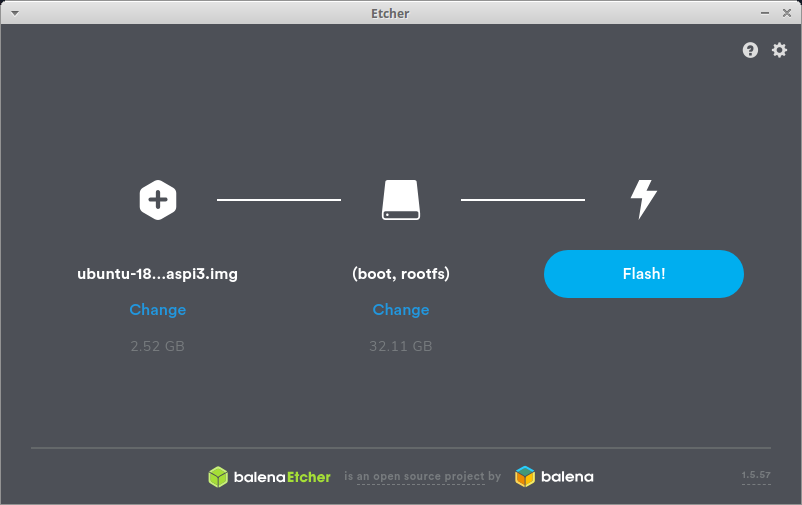
$ sudo ./balenaEtcher-1.5.70-x64.AppImage
Insert the microSD card into RaspberryPi and turn on the power. The initial login ID and password is ubuntu / ubuntu.
$ sudo timedatectl set-timezone Asia/Tokyo
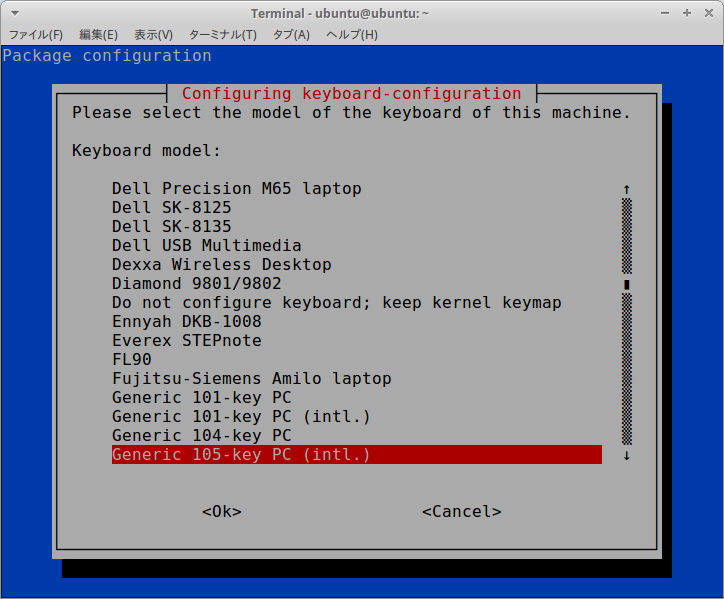
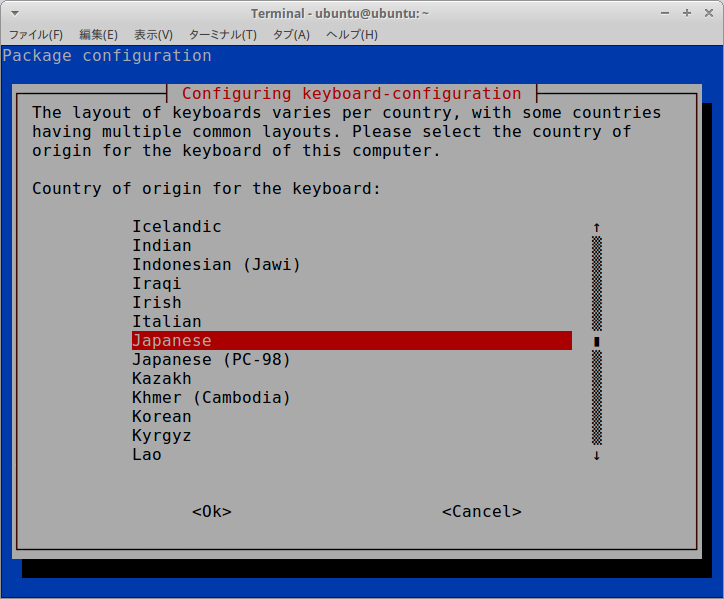
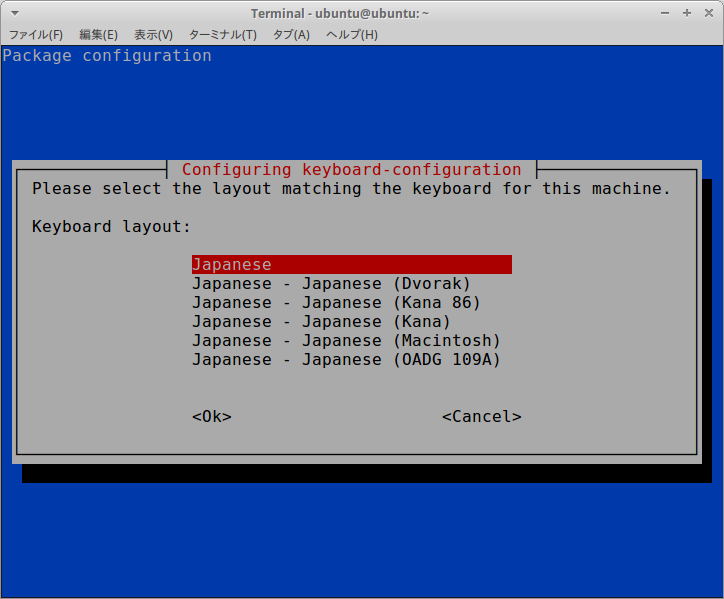
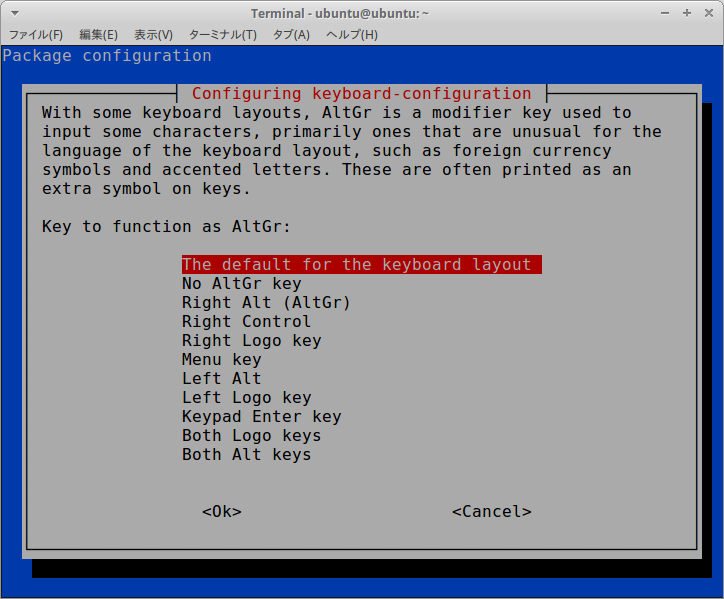
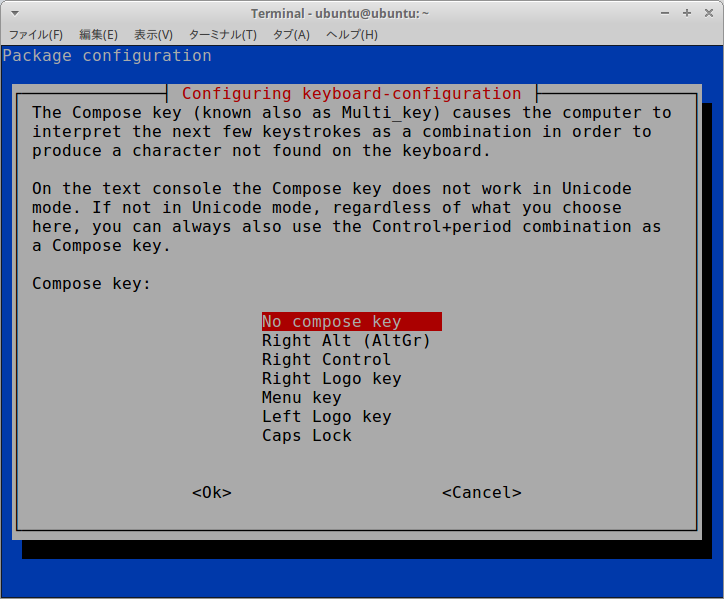
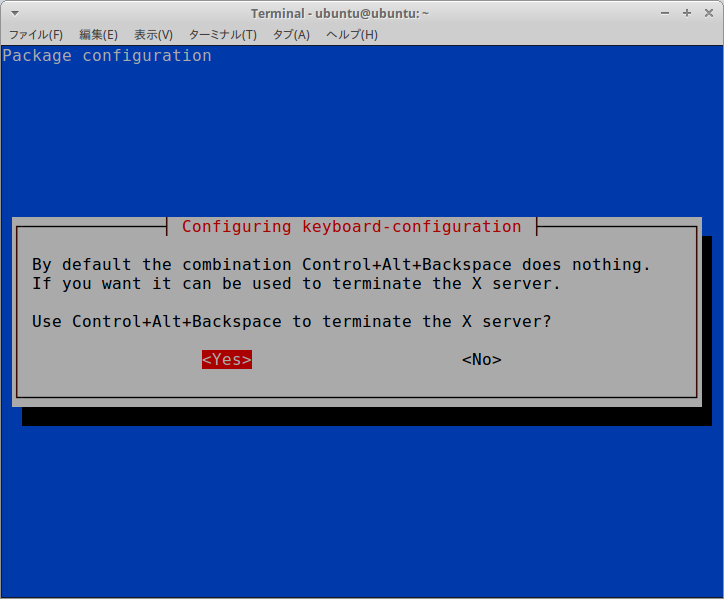
$ sudo dpkg-reconfigure keyboard-configuration
$ sudo apt-get update && sudo apt-get upgrade
$ sudo apt-get install wget curl git zip unzip python3-pil \
    python3-opencv python3-pip libhdf5-dev openjdk-8-jdk net-tools
$ sudo -H pip3 install pip --upgrade
$ sudo apt-get install -y dphys-swapfile
$ sudo nano /etc/dphys-swapfile

CONF_SWAPSIZE=2048
Ctrl + O
Ctrl + X
$ sudo /etc/init.d/dphys-swapfile restart swapon -s
$ free -h
$ uname -a
$ cat /etc/lsb-release
$ ifconfig
$ nano /etc/netplan/50-cloud-init.yaml
Replace <MAC address> with MAC address, and <SSID> with Wi-Fi SSID, and replace <Passphrase> with SSID passphrase.
network:
    version: 2
    ethernets:
        eth0:
            dhcp4: true
            match:
                macaddress: <MAC address>
            set-name: eth0
    wifis:
        wlan0:
            access-points:
                <SSID>:
                    password: <Passphrase>
            dhcp4: true
            dhcp6: true
Ctrl + O
Ctrl + X
$ sudo netplay apply
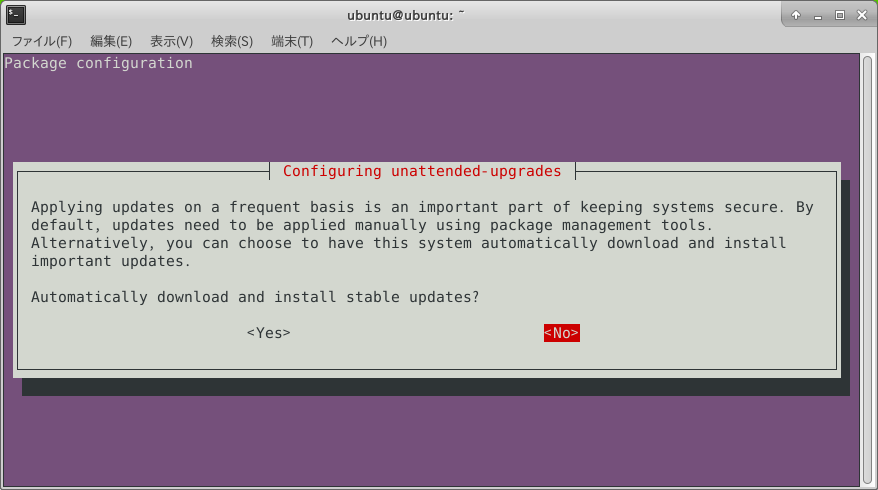
Disable automatic updates.
$ sudo apt-get install -y unattended-upgrades
$ sudo dpkg-reconfigure --priority=low unattended-upgrades
Check whether the automatic update is enabled or disabled.
"0"-> disabled
"1"-> enabled
$ cat /etc/apt/apt.conf.d/20auto-upgrades
APT::Periodic::Update-Package-Lists "0";
APT::Periodic::Unattended-Upgrade "0";
Installing additional packages.
$ sudo pip3 install keras_applications==1.0.8 --no-deps
$ sudo pip3 install keras_preprocessing==1.1.0 --no-deps
$ sudo apt-get install -y openmpi-bin libopenmpi-dev
$ sudo -H pip3 install -U --user six wheel mock
4. Appendix
4-1. Desktop Install
$ sudo apt-get install ubuntu-desktop
or
$ sudo apt-get install xubuntu-desktop
or
$ sudo apt-get install lubuntu-desktop
or
$ sudo apt-get install kubuntu-desktop

$ sudo systemctl set-default graphical.target
4-2. Overclock 1.75GHz
$ sudo nano /boot/firmware/config.txt
Paste at the end of config.txt.
over_voltage=2
arm_freq=1750
Ctrl + O
Ctrl + X
$ sudo reboot
4-3. Check the CPU clock frequency
$ sudo apt-get install -y cpufrequtils
$ cpufreq-info

cpufrequtils 008: cpufreq-info (C) Dominik Brodowski 2004-2009
Report errors and bugs to cpufreq@vger.kernel.org, please.
analyzing CPU 0:
  driver: BCM2835 CPUFreq
  CPUs which run at the same hardware frequency: 0 1 2 3
  CPUs which need to have their frequency coordinated by software: 0 1 2 3
  maximum transition latency: 355 us.
  hardware limits: 600 MHz - 1.75 GHz
  available frequency steps: 600 MHz, 1.75 GHz
  available cpufreq governors: conservative, ondemand, userspace, powersave, performance, schedutil
  current policy: frequency should be within 600 MHz and 1.75 GHz.
                  The governor "ondemand" may decide which speed to use
                  within this range.
  current CPU frequency is 600 MHz.
  cpufreq stats: 600 MHz:62.33%, 1.75 GHz:37.67%  (223)
analyzing CPU 1:
  driver: BCM2835 CPUFreq
  CPUs which run at the same hardware frequency: 0 1 2 3
  CPUs which need to have their frequency coordinated by software: 0 1 2 3
  maximum transition latency: 355 us.
  hardware limits: 600 MHz - 1.75 GHz
  available frequency steps: 600 MHz, 1.75 GHz
  available cpufreq governors: conservative, ondemand, userspace, powersave, performance, schedutil
  current policy: frequency should be within 600 MHz and 1.75 GHz.
                  The governor "ondemand" may decide which speed to use
                  within this range.
  current CPU frequency is 1.75 GHz.
  cpufreq stats: 600 MHz:62.33%, 1.75 GHz:37.67%  (223)
analyzing CPU 2:
  driver: BCM2835 CPUFreq
  CPUs which run at the same hardware frequency: 0 1 2 3
  CPUs which need to have their frequency coordinated by software: 0 1 2 3
  maximum transition latency: 355 us.
  hardware limits: 600 MHz - 1.75 GHz
  available frequency steps: 600 MHz, 1.75 GHz
  available cpufreq governors: conservative, ondemand, userspace, powersave, performance, schedutil
  current policy: frequency should be within 600 MHz and 1.75 GHz.
                  The governor "ondemand" may decide which speed to use
                  within this range.
  current CPU frequency is 1.75 GHz.
  cpufreq stats: 600 MHz:62.33%, 1.75 GHz:37.67%  (223)
analyzing CPU 3:
  driver: BCM2835 CPUFreq
  CPUs which run at the same hardware frequency: 0 1 2 3
  CPUs which need to have their frequency coordinated by software: 0 1 2 3
  maximum transition latency: 355 us.
  hardware limits: 600 MHz - 1.75 GHz
  available frequency steps: 600 MHz, 1.75 GHz
  available cpufreq governors: conservative, ondemand, userspace, powersave, performance, schedutil
  current policy: frequency should be within 600 MHz and 1.75 GHz.
                  The governor "ondemand" may decide which speed to use
                  within this range.
  current CPU frequency is 1.75 GHz.
  cpufreq stats: 600 MHz:62.33%, 1.75 GHz:37.67%  (223)
## GOVERNOR changes
$ sudo cpufreq-set -c 0 -g performance
$ sudo cpufreq-set -c 1 -g performance
$ sudo cpufreq-set -c 2 -g performance
$ sudo cpufreq-set -c 3 -g performance

## GOVERNOR change persistence
$ sudo nano /etc/default/cpufrequtils
GORVENOR="performance"
