完璧自分用です。
rvmでrubyのバージョン変更
terminal.
$ rvm install 2.5.1
$ rvm use 2.5.1
バージョン指定でRailsでアプリ作成
terminal.
$ gem install rails -v 5.2.1 -N #6系なら6.0.2.1とか適宜。
$ rails _5.2.1_ new < app name >
必要なgemをインストールしておく
Gemfile.
gem 'bootstrap', '~> 4.1.1'
gem 'jquery-rails', '~> 4.3.1'

gem 'bycript' #最初から用意されているので、コメントアウトを外す
その他便利gem
・ページネーション gem 'kaminari'
「kaminari x Rails6」
・ユーザー認証実装 gem 'device'
「 deviceの使い方」
その他まとめ記事など
・Ruby on Rails 初心者に贈る絶対に使いたくなるGem15選
・Qiita記事 「Railsやるなら知っておきたい便利Gem」
最後に
terminal.
$ bundle install
サーバー立てて、ブラウザで確認
terminal.
$ rails s -p 任意のポート番号 #-p以下はなくてもok。特に指定しないと3000になる
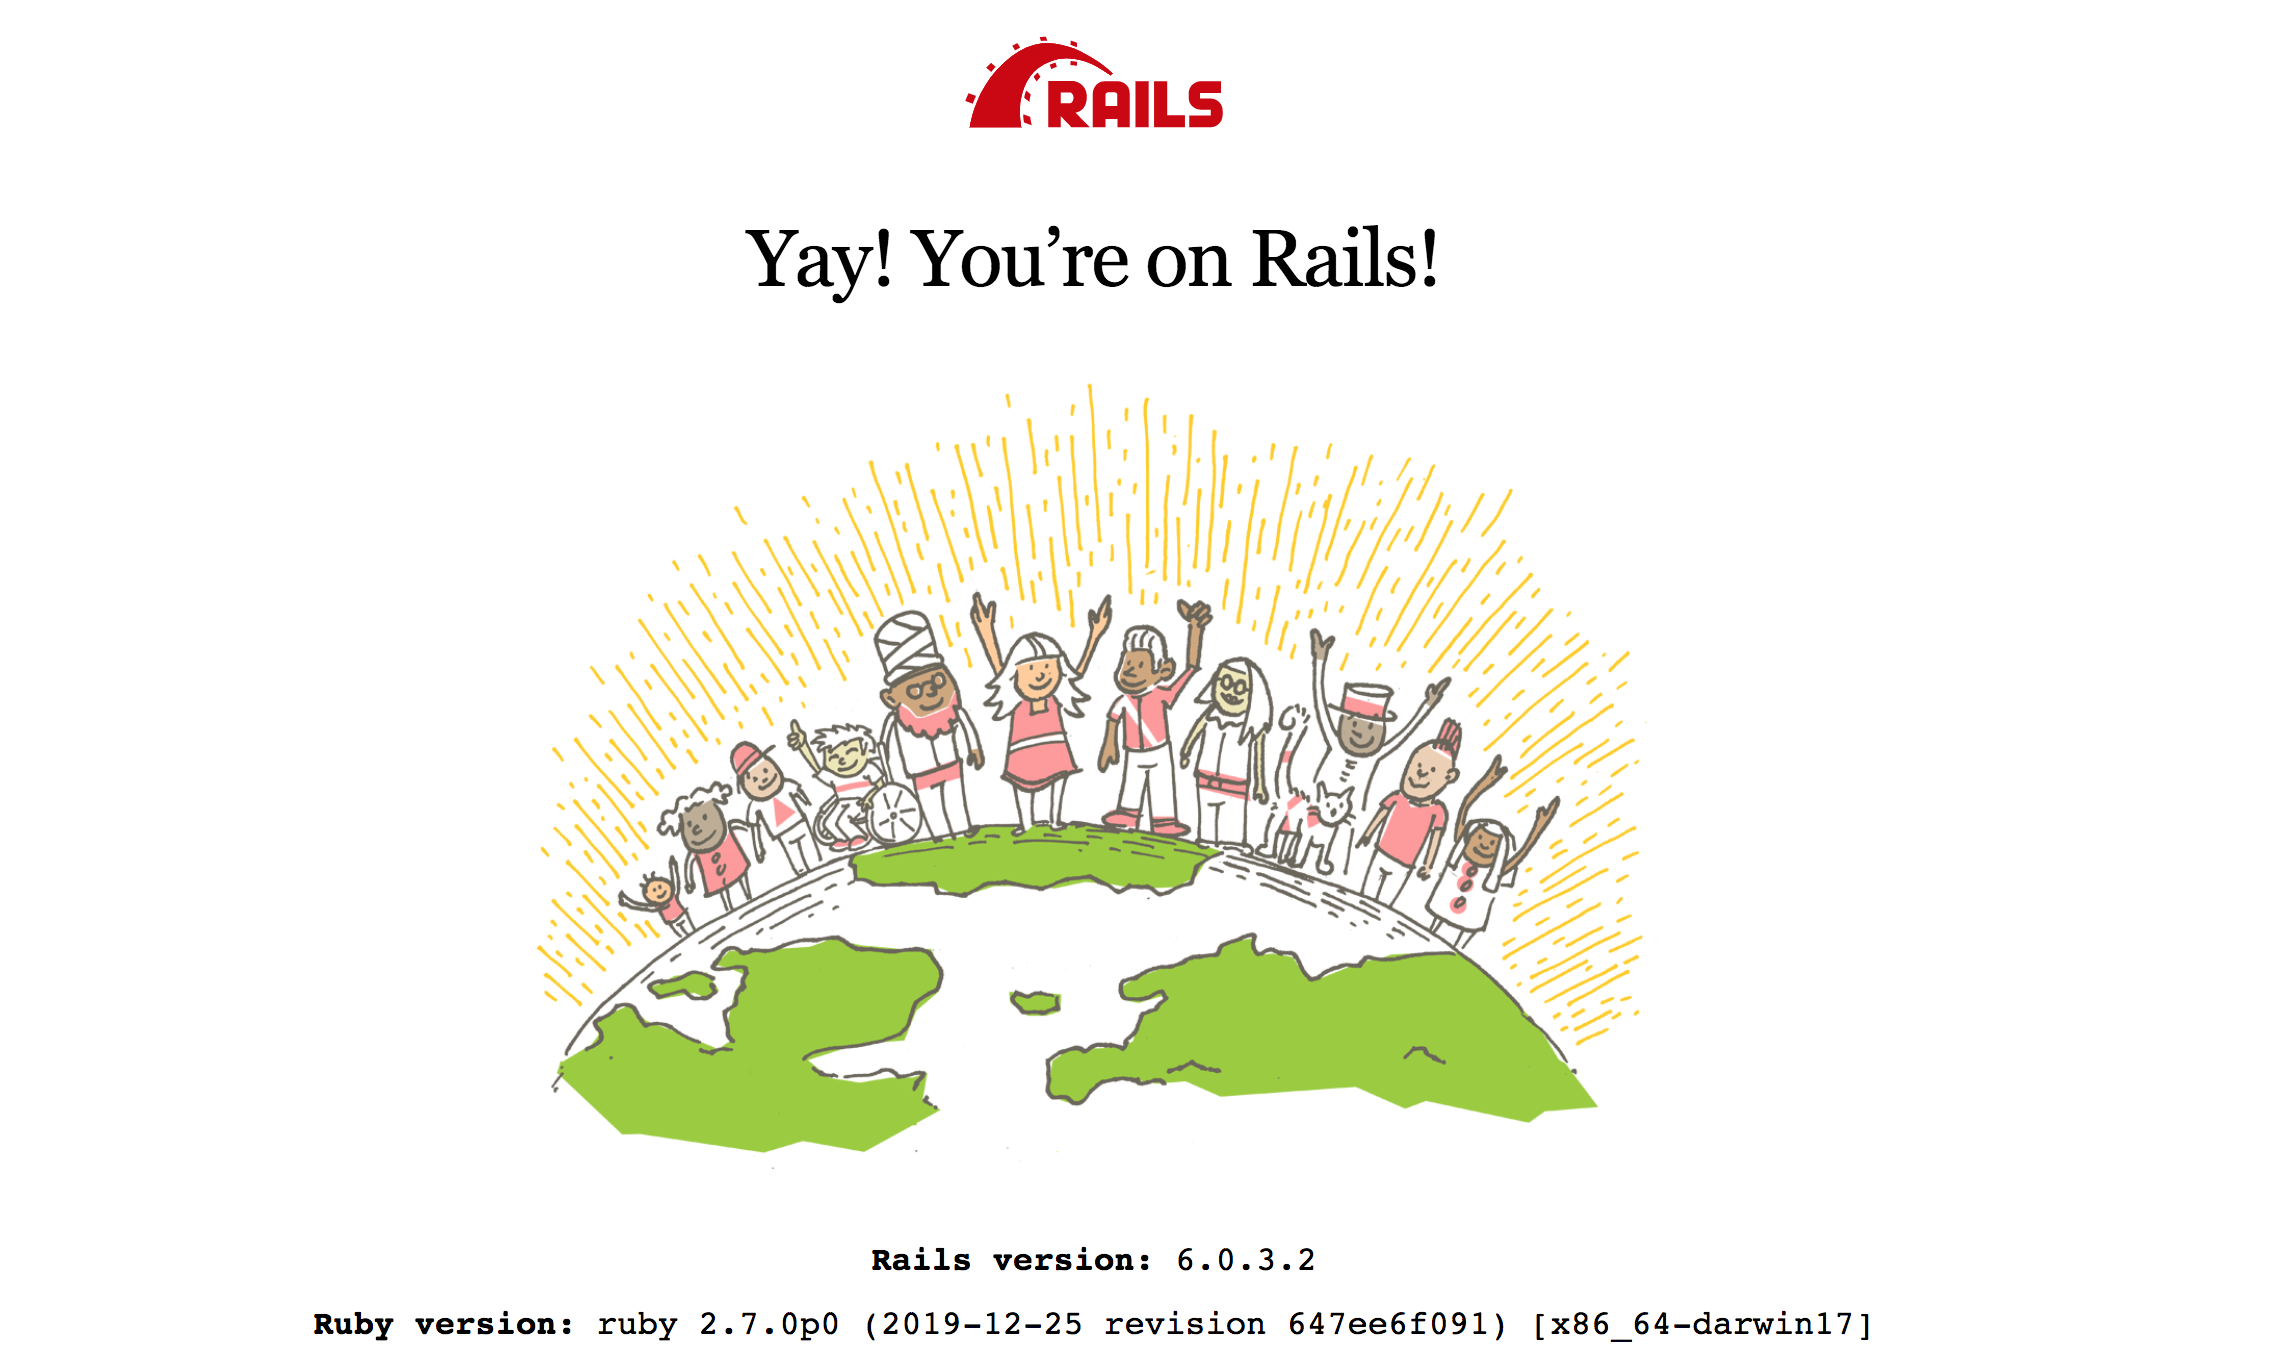
localhost:3000(もしくは指定したポート番号)にブラウザでアクセスして、以下のページが表示されればok

モデル作成
ログインシステムやユーザー認証機能用
terminal.
$ rails generate model User name:string email:string password_digest:string
ブログなどのコンテンツ用
terminal.
$ rails generate model Articles title:string description:text
既存テーブルに後からカラムを追加したい場合(user_idをArticlesモデルに足す場合を例に)
terminal.
$rails g migration add_user_id_to_articles
できたmigrateファイルに以下のように追記
class AddUserIdToArticles < ActiveRecord::Migration[5.1]
  def change
    add_column :articles, :user_id, :int
  end
end
最後に
terminal.
$ rails db:migrate
コントローラとビュー作成
terminal.
$rails g controller Users index(ユーザー一覧作るなら) new edit

$rails g controller Home index

$rails g controller Sessions new #login用
ルーティング調整
一対多のアソシエーションを作りたい
①既存テーブルに後からカラムを追加したい場合(user_idをArticlesモデルに足す場合を例に)
terminal.
$rails g migration add_user_id_to_articles
できたmigrateファイルに以下のように追記
class AddUserIdToArticles < ActiveRecord::Migration[5.1]
  def change
    add_column :articles, :user_id, :int
  end
end
最後に
terminal.
$ rails db:migrate
②Userモデル、articlesモデルに追記する
user.rb
class User < ApplicationReacord
 has_many :articles
end
articles.rb
class User < ApplicationReacord
  (validates :title〜)
  belongs_to :user #これを追記
end
rails consoleでアソシエーションができてるか確認する
terminal.
$ user_1 = User.first
$ user.articles => articleなんかないと言われる
$ article.create(title: "test_title", description: "test_description", user_id: user_1.id) #articleを新規作成
$ user_1.articles => 作成したarticleが紐づいてればok!!
Githubに適宜pushする
個人開発におけるGithubの使い方を学ぶのに参考になるサイト
・個人開発する場合における「GitHub」の基本的な使い方を解説
・【初心者向け】Gitで個人開発
$ git init #ローカルリポジトリを作成
$ git add .
$ git commit -m "first commit"
$ git remote add origin Githubに作成したリポジトリのURL
$ git push origin master
ブランチ系コマンド
〜ブランチを新規作成〜
$ git branch 任意のブランチ名

〜存在するブランチの確認〜
$ git branch

〜書き込みたいブランチに移動〜
$ git checkout 移動したいブランチ名

 〜ブランチ先にpush〜
$ git add .
$ git commit -m "first commit"
$ git push origin 書き込みたいブランチ名
マージ系コマンド
==取り込み先のブランチを選択==
$ git checkout master

==materに統合したいブランチを結合==
$ git merge 統合したいブランチ名

==結合情報をGitHubに送る==
$ git push origin master
ビューに書きがちなrubyコードまとめ
hoge.html.erb
# link_to
<%= link_to 'トップページ', root_path %>
<%= link_to “Yahooへ移動する”, “http://www.yahoo.co.jp/” %>
<%= link_to “削除”, member_path(params[:id]), method: :delete %>